Gunite pools are renowned for their durability and customizability, offering a robust structure that can last for decades. Built from a mixture of sand, cement, and water sprayed over a rebar framework, these pools are incredibly strong. However, like any concrete structure exposed to the elements and constant water pressure, they are not entirely immune to wear and tear. Over time, you might notice small cracks, stains, or even hollow spots developing on the surface.

Seeing a crack in your pool can be alarming, often conjuring images of costly, complex repairs. The good news is that many common gunite pool issues are manageable DIY projects that you can tackle with the right tools and knowledge. Addressing these problems early prevents them from escalating into major structural failures that require professional intervention. This guide will provide clear, effective instructions on how to repair gunite pool surfaces, helping you keep your investment in top condition for years of enjoyment.
Identifying Common Gunite Pool Problems
Before you can fix a problem, you need to correctly diagnose it. Different issues require different repair methods, so a thorough inspection is your first step.
Diagnosing Cracks
Cracks are the most common issue you will encounter. It is crucial to determine if you are dealing with a minor surface crack or a more serious structural one. Surface cracks, often called craze cracks, are typically very fine and shallow, only affecting the top layer of plaster. They often look like a spiderweb and do not usually leak water. Structural cracks, on the other hand, are deeper and wider, often running through the entire gunite shell. These are more serious, as they can leak water and indicate movement or stress in the pool’s structure.

Detecting Hollow Spots (Delamination)
Delamination occurs when the plaster finish separates from the underlying gunite shell, creating a hollow void. These spots are not always visible to the naked eye. The best way to find them is to “sound out” the pool surface. Take a hammer or a heavy tool and gently tap along the walls and floor of the pool. Listen for a change in sound. A solid, well-bonded area will produce a sharp “thwack” sound. If you tap over a delaminated area, you will hear a lower, hollow “thud.” These hollow spots are weak points that can easily crack or break away, so they should be repaired promptly.
Understanding Spalling and Stains
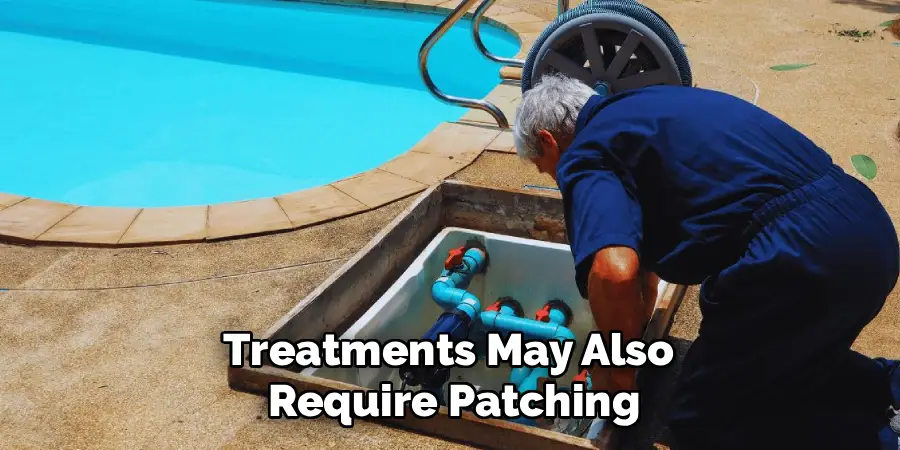
Spalling is when small chips or flakes of the plaster surface break away, leaving a rough, pockmarked texture. This is often caused by imbalanced water chemistry that is too aggressive, etching away at the finish over time. While you can patch small spalling areas, widespread spalling is often a sign that the entire pool needs to be resurfaced. Similarly, deep-set organic or metal stains that cannot be removed with brushing or chemical treatments may also require patching or resurfacing rather than a simple spot repair.
Tools and Materials for Gunite Repair
Having the right gear on hand before you start will make the process much smoother and more efficient.
Essential Repair Tools
For a proper crack repair, you will need a few key tools to prepare the surface. A 4-inch angle grinder fitted with a diamond blade is essential for widening the crack cleanly. You will also need a hammer and a cold chisel to undercut the edges of the crack, which helps lock the patch material in place. A wire brush is necessary for cleaning out loose debris, and a shop vacuum is invaluable for removing all the dust before patching. For applying the patch, have a sturdy steel trowel and a few buckets for mixing your repair compound.
Repair Materials Checklist
The most important material is your pool patch kit. These come in two main varieties: hydraulic cement-based patches and epoxy-based patches. Hydraulic cement is a popular choice as it expands as it cures, creating a very tight seal. Epoxy patches offer incredible strength and adhesion. You will also need a liquid concrete bonding agent. This is painted onto the old concrete before patching to ensure the new material forms a powerful bond. Finally, do not forget your safety gear. You must have safety goggles, a dust mask, and waterproof gloves.
Safety Precautions Before You Begin
Working on a pool, especially when draining it, involves significant risks. Prioritizing safety is non-negotiable.
Draining the Pool
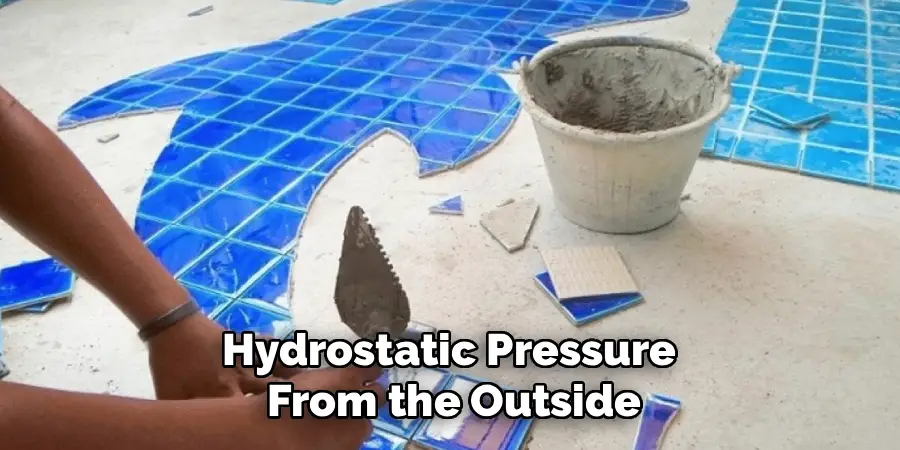
To repair a crack below the waterline, you will need to drain the pool. You may only need a partial drain, but for cracks on the floor, a full drain is necessary. Before you drain, you must check the groundwater level around your pool. If the ground is saturated from recent heavy rains, the hydrostatic pressure from the outside can be strong enough to lift or “pop” the lightweight, empty pool shell out of the ground, causing catastrophic damage. Dig a small hole a few feet away from the pool deck, about two feet deep. If it stays dry, you are likely safe to drain. If water seeps in, postpone the repair.
Personal Protective Equipment (PPE)
When you are grinding or chipping concrete, dust and sharp fragments will fly everywhere. High-quality safety goggles are essential to protect your eyes from serious injury. Grinding concrete also releases fine silica dust, which is harmful to your lungs if inhaled. Always wear a well-fitting dust mask or respirator. The chemicals in patch kits and bonding agents can irritate the skin, so waterproof gloves are also a must.
A Step-by-Step Guide on How to Repair Gunite Pool Cracks
With your pool safely drained and your tools ready, it is time to perform the repair. This method focuses on creating a durable patch that locks into place and lasts for years.
Step 1: Prepare the Crack
The first step is to “chase” the crack. Using your angle grinder with a diamond blade, carefully cut along the length of the crack to widen it to about a half-inch. You are aiming to create a clean, V-shaped groove. This removes any weak, crumbling concrete from the edges and provides a solid foundation for the new patch material. This process creates a lot of dust, so be sure you are wearing your mask and goggles.
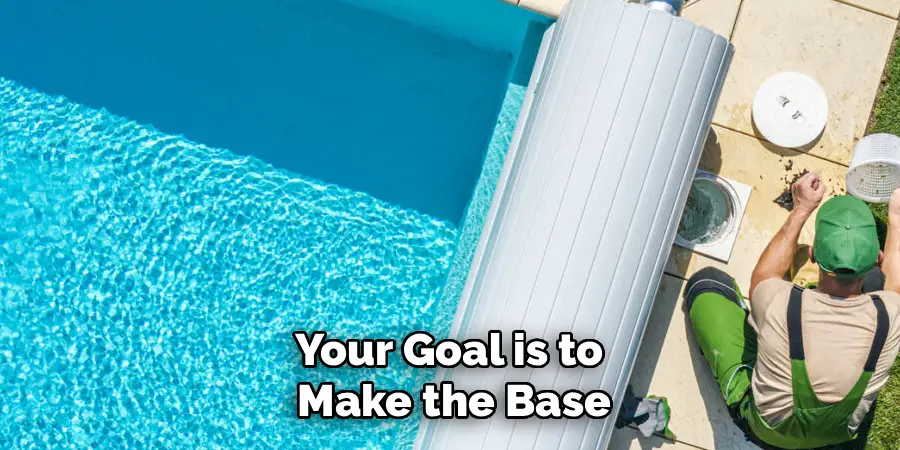
Step 2: Undercut the Edges
This is the most important step for a long-lasting repair. Take your hammer and chisel and carefully chip away at the inside edges of the V-shaped groove. Your goal is to make the base of the groove slightly wider than the opening at the surface. This creates an inverted “V” or a “dovetail” shape. This keyway physically locks the patch material into place, preventing it from popping out under water pressure or from future movement.
Step 3: Clean the Repair Area
A successful patch requires a perfectly clean surface for bonding. Use a wire brush to vigorously scrub the inside of the prepared crack, removing any loose particles, dust, and debris. Follow up with a shop vacuum to suck out every last bit of dust from the groove. Any dust left behind will act as a bond-breaker and weaken the repair. The area should be completely clean and dry before you move on.
Step 4: Apply a Bonding Agent
Once the crack is clean, use a small, disposable paintbrush to apply a liberal coat of concrete bonding agent to all the interior surfaces of the groove you just prepared. This milky-white liquid acts as a primer, penetrating the old concrete and creating a tacky surface that the new patch material can adhere to much more strongly than it would to bare concrete. Allow the bonding agent to set up according to the manufacturer’s directions, usually until it is tacky to the touch.
Step 5: Mix and Apply the Patch Material
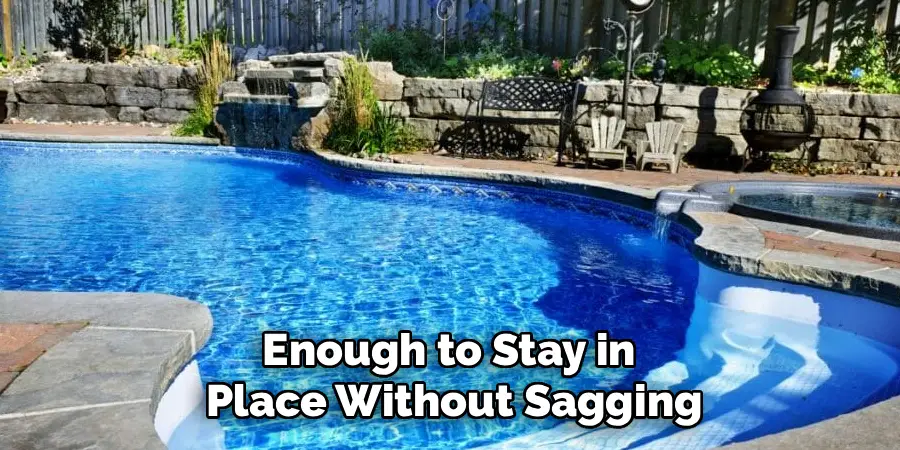
Now, mix your pool patch compound. Follow the instructions on the package precisely. Add water or the liquid activator slowly until you achieve a thick, lump-free consistency, similar to peanut butter. You want it to be stiff enough to stay in place without sagging. Working quickly before the material starts to set, use your trowel to pack the patch material firmly into the crack. Press it in with force to ensure there are no air pockets. Overfill the crack slightly, so the patch is just proud of the surrounding pool surface.
Step 6: Smooth and Finish the Patch
With the crack filled, use your trowel to smooth the surface of the patch. Hold the trowel at a low angle and pull it across the patch, making it flush with the existing pool plaster. To help it blend in, feather the edges by applying light pressure to smooth the transition between the patch and the old surface. For a truly seamless look, you can try to replicate the texture of your plaster by dabbing it gently with a damp sponge while it is still wet.
Curing and Refilling the Pool
The repair is done, but the job is not over. The patch needs time to cure properly to reach its full strength.
Understanding Cure Times
Curing times vary widely between products, so always consult the patch manufacturer’s instructions. Some fast-setting hydraulic cements can cure in a few hours, while others may need 24-48 hours. If you are working on a hot, sunny day, you may need to keep the patch damp by misting it with water occasionally. This prevents it from drying out too quickly, which can cause it to shrink and crack.
Refilling the Pool and Rebalancing Water Chemistry
Once the patch has fully cured according to the instructions, you can begin refilling the pool. As soon as the pool is full, you must test and rebalance your water chemistry. Fresh plaster or patch material can raise the pH and calcium hardness of the water significantly. Adjust your pH, total alkalinity, and calcium levels immediately to protect your new patch and the rest of your pool’s surface from aggressive water.

When to Call a Professional
While many repairs are DIY-friendly, some situations are best left to the experts.
Identifying Major Structural Damage
If you see signs of serious damage, it is time to call a professional pool company. These signs include cracks that are wider than a half-inch, cracks that run vertically through the tile line and down the wall, or multiple large cracks appearing in different areas of the pool. These are often symptoms of a larger problem, such as ground settlement or rebar failure, that a simple patch will not fix.
The Risks of Improper Repairs
Attempting a DIY repair on a major structural issue can be risky. If the patch fails, it can make the original problem worse, leading to more significant water loss and even more expensive repairs down the line. A professional can assess the underlying cause of the damage and recommend the correct solution, whether it’s epoxy injection, carbon fiber staples, or a full resurfacing.
Preventative Maintenance for Your Gunite Pool
The best way to handle repairs is to prevent them from happening in the first place.
Maintaining Proper Water Chemistry
Consistently balanced water is the single most important factor in preserving your pool’s plaster surface. Water that is too acidic (low pH) or too soft (low calcium) will aggressively etch and dissolve the plaster over time, leading to spalling and roughness. Test your water weekly and keep pH, alkalinity, and calcium hardness within their ideal ranges.
Regular Inspections
Make a habit of visually inspecting your pool’s surface every time you swim or brush the walls. Look for any new cracks, chips, or stains. Catching a small issue when it first appears and repairing it promptly is much easier and cheaper than dealing with a major failure that has been ignored for months.
Conclusion
Your gunite pool is a significant investment in your home and your lifestyle, and knowing how to care for it is key to its longevity. While the thought of repairs can be intimidating, understanding how to repair gunite pool cracks and other minor issues is an empowering skill. By performing timely, correct repairs and practicing consistent preventative maintenance, you can tackle common problems with confidence, save money, and ensure your pool remains a beautiful and safe centerpiece of your backyard for many years.
About
Outdoor Fixes is a distinguished figure in the world of Diy design, with a decade of expertise creating innovative and sustainable Diy solutions.
His professional focus lies in merging traditional craftsmanship with modern manufacturing techniques,
fostering designs that are both practical and environmentally conscious. As the author of diy,
outdoorfixes delves into the art and science of outdoorfixes-making, inspiring artisans and industry professionals alike.
Education RMIT University
(Melbourne, Australia) Associate Degree in Design (Outdoor Fixes) Focus on sustainable design, industry-driven projects,
and practical craftsmanship. Gained hands-on experience with traditional and digital manufacturing tools, such as CAD and CNC software.
Nottingham Trent University
(United Kingdom) Bachelor’s in outdoorfixes.com and Product Design (Honors) Specialized in product design with a focus on blending creativity with production
techniques. Participated in industry projects, working with companies like John Lewis and Vitsoe to gain real-world insights.
Publications and Impact
In diy, Outdoor Fixes his insights on indoor design processes, materials, and strategies for efficient production.
His writing bridges the gap between artisan knowledge and modern industry needs, making it a must-read for both budding designers and seasoned professionals.