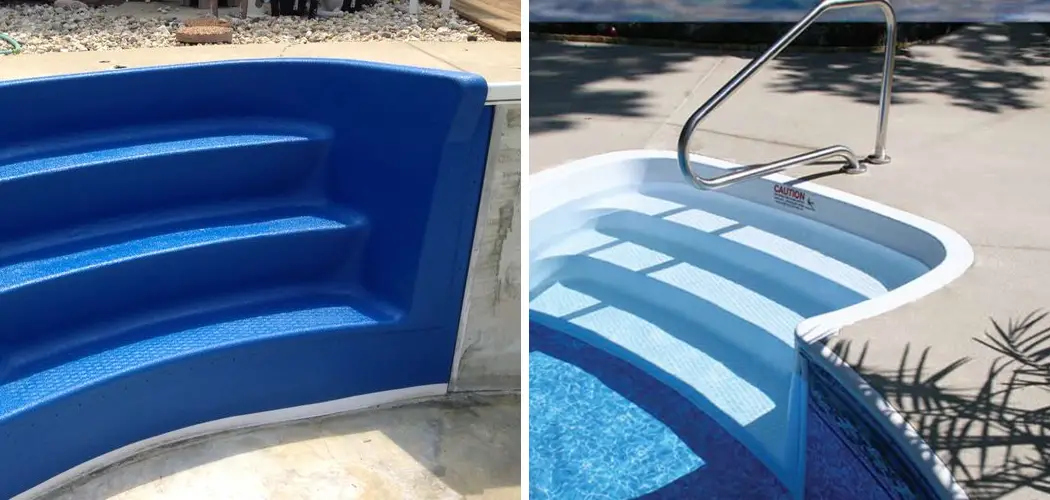
Are you dealing with the frustrating reality of a broken pool step? Before you go out to find an expert technician, consider resolving it yourself! With some basic tools and supplies, such as those for repairing thermoplastic pool steps, you can make simple repairs on your own.
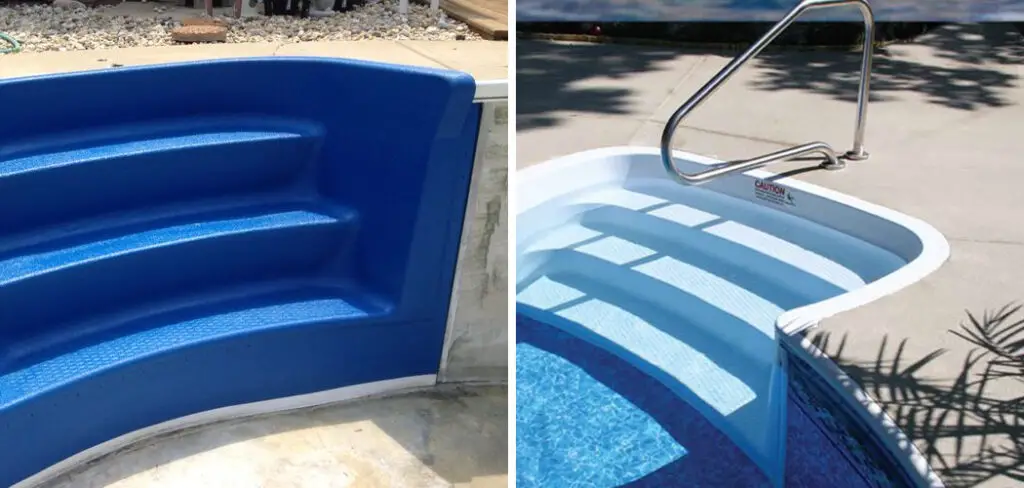
This blog post will provide step-by-step instructions on how to repair thermoplastic pool steps using materials that are readily available. Keep reading to learn more about how you can save time and money by repairing your broken swimming pool steps at home!
Tools and Materials You Will Need to Repair Thermoplastic Pool Steps
- Epoxy adhesive
- Sandpaper (medium and fine grit)
- Plastic filler or putty
- Screwdriver (flat head and Phillips)
- Paintbrush
- Protective gloves
- Masking tape
- Clean cloth or rag
Step-by-step Guidelines on How to Repair Thermoplastic Pool Steps
Step 1: Inspect the Damage
Before you start any repair work, it is important to inspect the damage. Take a close look at the broken pool step and determine which parts need to be fixed or replaced. This will help you plan your repair process and gather the necessary tools and materials. If the damage is extensive, you may need to purchase replacement parts.
Step 2: Prepare the Area
To ensure a clean and smooth repair, you should prepare the area surrounding the broken pool step. Use masking tape to cover any areas that do not require repairs, such as the edges of nearby steps or the pool floor. This will prevent any accidental spills or drips from ruining these areas. Preparing the area also includes cleaning any dirt or debris from the broken step, as this will affect the adhesion of the repair materials.
Step 3: Sand Down the Damaged Area
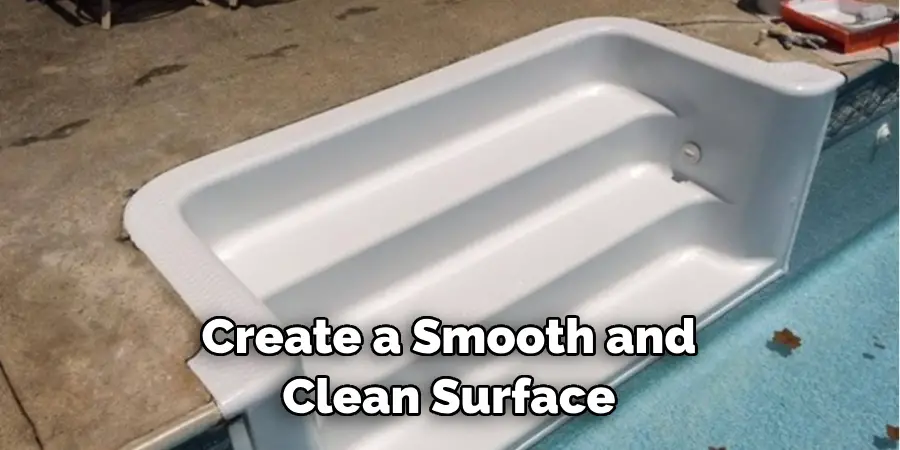
Using medium-grit sandpaper, gently sand down the damaged area to remove any loose or rough edges. This will help create a smooth and clean surface for the repair materials to adhere to. Next, use fine-grit sandpaper to further smooth out the area and ensure proper adhesion of the repair materials. Be sure to clean off any debris or dust from the sanded area before proceeding.
Step 4: Mix and Apply Epoxy Adhesive
Follow the instructions on your epoxy adhesive package to properly mix it. Once mixed, apply a thin layer of the adhesive to the sanded area using a paintbrush. Be sure to work quickly, as the epoxy adhesive dries fast. This will act as a strong bond for the repair materials. While mixing and applying the adhesive, be sure to wear protective gloves to avoid any skin irritation.
Step 5: Fill in Gaps with Plastic Filler/ Putty
Once the epoxy adhesive has dried, you can fill in any gaps or holes using plastic filler or putty. Mix the filler according to the package instructions and apply it to the damaged area using a putty knife. Smooth out the surface with the putty knife and allow it to dry completely. Once dry, use fine-grit sandpaper to smooth out the surface once again.
Step 6: Reattach Any Loose Parts
If there are any loose parts on the broken step, such as railings or non-slip treads, use a screwdriver to reattach them securely. This will ensure that the repaired step is safe and sturdy for use. Make sure to use the appropriate screwdriver, whether it is a flathead or Phillips. While reattaching, you may also want to apply a small amount of epoxy adhesive for added strength.
Step 7: Paint the Repaired Area
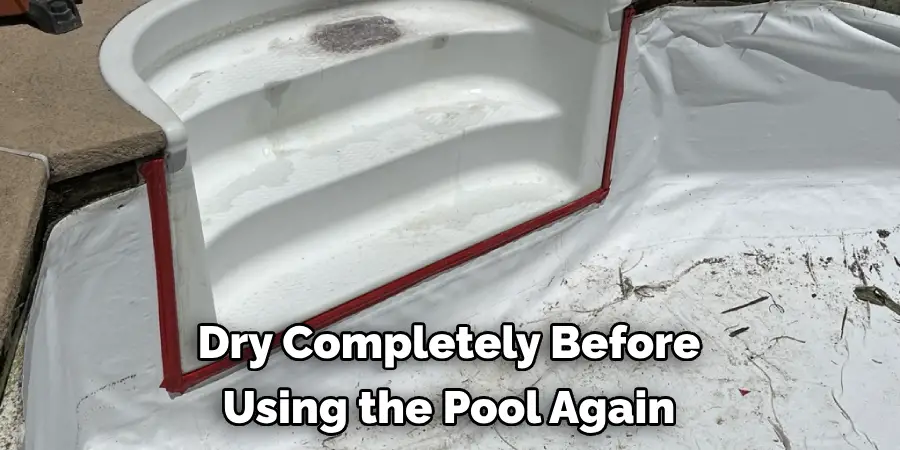
To make your repaired pool step look like new, consider painting the repaired area. Choose a paint that is suitable for outdoor use and matches the color of your pool steps. Apply the paint with a clean cloth or rag and allow it to dry completely before using the pool again. This will not only improve the aesthetics of your pool, but it will also protect the repaired area from further damage.
Following these simple steps, you can easily repair your thermoplastic pool steps at home. With just a few basic tools and materials, you can save time and money by avoiding the need for professional assistance. Remember to always follow safety precautions while working on any repair projects, and don’t hesitate to seek expert help if needed. Enjoy your newly repaired pool step!
Additional Tips and Tricks to Repair Thermoplastic Pool Steps
- When repairing cracks or holes in thermoplastic pool steps, always make sure the surface is clean and dry before applying any adhesives or patches. Dirt, moisture, and debris can interfere with the bonding process and result in a weak repair.
- For small cracks and holes, using a vinyl patch kit specifically designed for swimming pools can be a quick and easy solution. These kits often include a patching material and adhesive that are compatible with thermoplastic pool steps.
- When using a patch kit, be sure to follow the instructions carefully and allow enough time for the adhesive to fully cure before using the pool again.
- In addition to patch kits, there are also specialized filler materials available for larger cracks and holes in thermoplastic pool steps. These fillers are typically a two-part epoxy that can be mixed and applied to the damaged area. Once cured, they create a strong and durable repair.
- When using filler materials, it’s important to work quickly as they often have a short working time before they begin to harden. It may also be helpful to have an extra set of hands for larger repairs.
- For extensive damage or deep cracks in thermoplastic pool steps, it may be necessary to consult a professional for repair. They have the experience and specialized tools to effectively repair and strengthen damaged steps.
- To prevent future damage to thermoplastic pool steps, it’s important to regularly check for any signs of wear or damage and address them promptly. Regular cleaning and maintenance can also help extend the lifespan of your pool steps.
- In addition to repairing damaged areas, you may also want to consider reinforcing weak spots on the steps. This can be done by adding an extra layer of adhesive or patch material to these areas for added strength.
- When making repairs, always use caution and follow safety guidelines. If working with adhesives or chemicals, be sure to wear protective gear such as gloves and goggles.
- Finally, staying proactive and addressing repairs as soon as they arise can save you time and money in the long run. Regular maintenance and prompt repairs will help keep your thermoplastic pool steps in optimal condition for years to come.
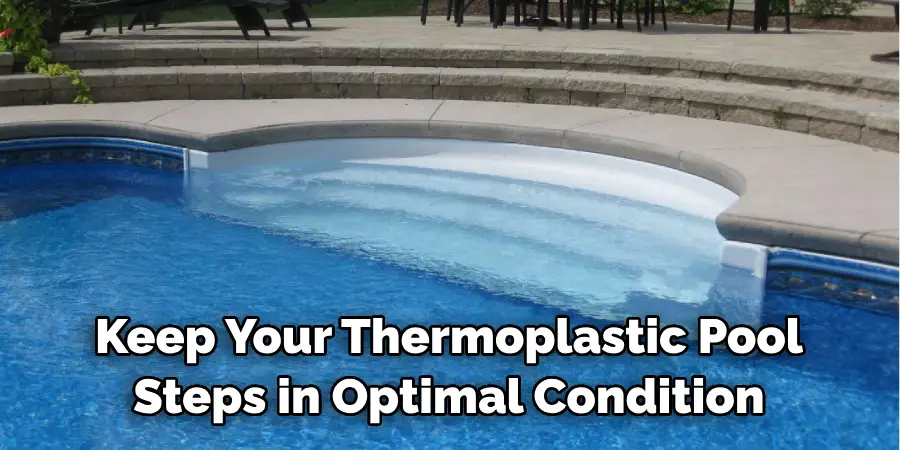
Following these tips and tricks can help ensure successful repairs and a longer lifespan for your thermoplastic pool steps. Remember to always prioritize safety and consult a professional if needed for extensive damage. With proper care and maintenance, you can continue to enjoy your pool steps and the refreshing oasis they provide. So don’t wait, take action now to repair any issues with your thermoplastic pool steps and keep your pool experience safe and enjoyable. Happy swimming!
Precautions Need to Be Followed for Repairing Thermoplastic Pool Steps
- First and foremost, it is important to identify the type of thermoplastic used for your pool steps as different types may require different repair methods.
- Make sure to wear protective gear, including gloves and safety glasses, while repairing the pool steps to avoid any contact with the chemical compounds.
- Before starting the repair process, drain the pool and clean the steps thoroughly using a mild detergent to remove any dirt or debris.
- It is important to have a well-ventilated area for the repair process as some adhesives used in repairing thermoplastic can emit strong fumes.
- Always read and follow the instructions on the repair kit carefully. Using the wrong type of adhesive or applying it incorrectly can cause further damage to the pool steps.
- If the damage is minor, you can use a patch kit specifically designed for thermoplastic pools. Make sure to apply pressure evenly and let it dry completely before using the pool again.
- For larger cracks or holes, you may need to use a two-part epoxy adhesive. Before applying the adhesive, roughen the surface of the pool step using sandpaper to ensure better adhesion.
- It is important to apply the adhesive in thin layers and let each layer dry completely before applying the next one. This process may need to be repeated multiple times depending on the severity of the damage.
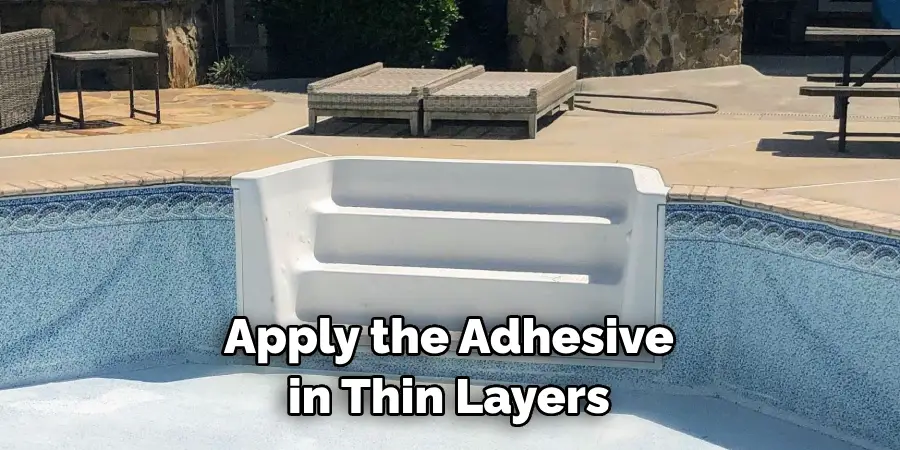
Following these precautions will ensure a successful repair of your thermoplastic pool steps. It is also recommended to regularly inspect and maintain your pool steps to prevent any major damage in the future. Remember, safety should always be the top priority when working with chemicals and repairing pool equipment. So, make sure to follow all necessary precautions for a smooth and safe repair process.
Conclusion
Overall, Pool steps are a great way to stay safe while using your pool and ensure that you don’t have any problems when swimming. Being knowledgeable about pool steps, including how to repair thermoplastic pool steps, will give you the confidence to fully enjoy and take advantage of all your backyard pool has to offer.
Whether you’re focusing on preventative maintenance or planning ahead for potential issues in the future, having an understanding of your pool stepping system is essential. So, if you care about safety and the life of your kids – get the job done right! With the right information, tools, and knowledge from this blog post on repairing thermoplastic pool steps, your family will be swimming safely all summer long.
If anything here is unclear or you’re looking for more detailed help please don’t hesitate to request assistance from our online experts – they can provide specific advice according to your needs related to repairing thermoplastic pool steps. As always – safe swimming!

