
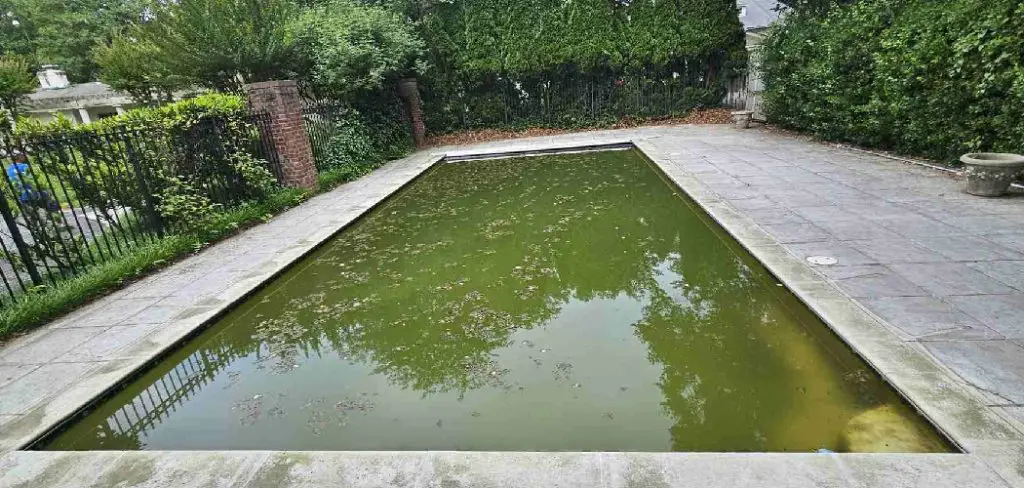
An inground pool is a fantastic asset for any home, offering a private escape for relaxation, exercise, and family fun. However, years of sun exposure, chemical imbalance, and harsh weather can take a heavy toll. What was once a sparkling blue gem can eventually turn into a cracked, stained, or outdated eyesore that detracts from your property value.
Many homeowners assume that a full restoration requires a contractor and a massive budget, but a significant portion of the work can be managed with the right plan and effort. Whether you are dealing with faded plaster, broken tiles, or worn-out decking, learning how to restore an old inground pool is the first step toward reclaiming your summer sanctuary. This guide breaks down the renovation process into manageable stages, empowering you to transform your neglected pool back into the beautiful centerpiece of your backyard.
Restoring an old inground pool is a rewarding project that brings both challenges and satisfaction. Over time, pools can suffer from wear and tear due to exposure to the elements and regular use, but with careful planning and attention to detail, you can breathe new life into your pool. By breaking the process into clear, actionable steps, even complex repairs can become achievable. With the right tools and a commitment to seeing the project through, your forgotten pool can once again become the center of relaxation and enjoyment for family and friends.
Why Should You Invest Time and Effort Into Restoring a Pool?
Beyond the obvious aesthetic appeal, a well-maintained pool can significantly enhance the value of your property. Pools provide a perfect space for creating memories, hosting gatherings, and promoting physical fitness through swimming. Additionally, repairing or upgrading an old pool is often more cost-effective than starting fresh with a new installation. Restoration also allows you to incorporate modern improvements, such as energy-efficient systems or updated safety features, making the pool more enjoyable and sustainable in the long term.
A swimming pool can be a true centerpiece of a home, offering relaxation, recreation, and a space for social connection. Whether you are considering installing a new pool or restoring an existing one, thoughtful planning and maintenance are key to maximizing its benefits. From improving aesthetic appeal to enhancing functionality, a well-designed pool can create lasting value and enjoyment for homeowners. In this guide, we will explore some key factors to consider when planning and maintaining a swimming pool.

Pool Design and Planning
One of the first steps in creating a new pool or upgrading an existing one is to carefully plan its design. A well-designed pool should complement the overall architecture and landscaping of your home, while also considering practical features such as safety, maintenance, and accessibility.
The location of your pool is crucial for both aesthetic appeal and functionality. Placing it in a spot with ample sunlight can help keep the water warm and reduce heating costs. Additionally, avoid areas with overhanging trees that can cause debris buildup in the pool.
Step-by-Step Guide on How to Restore an Old Inground Pool
Step 1: Drain and Clean the Pool Thoroughly
The restoration process must begin with a completely empty and clean canvas. You will need to rent a submersible pump to drain the water, as your main pool pump is not designed to pull water from the very bottom. Pump the water into a sewer cleanout or a designated drainage area, ensuring you comply with local environmental regulations. Once the pool is empty, the real work begins.

You must pressure wash the entire surface to remove layers of algae, calcium buildup, and loose paint. This step is critical because it exposes the true condition of the pool shell, revealing cracks, hollow spots, or structural issues that were previously hidden under dirty water. A thorough cleaning ensures that any new materials you apply will adhere properly to the substrate.
Step 2: Repair Structural Cracks
Once the surface is clean and dry, inspect the shell carefully for cracks. Small hairline cracks might only be cosmetic, but larger fissures can lead to significant water loss and structural failure. Use an angle grinder with a diamond blade to widen the crack into a V-shape.
This might seem counterintuitive, but it creates a better surface for the repair material to bond with. Clean out the debris and dust from the crack, then fill it with a hydraulic cement or a high-quality pool patch compound. Smooth the patch so it is flush with the surrounding surface. Properly addressing these structural weaknesses now prevents them from reappearing later and ruining your new finish.

Step 3: Remove and Replace Old Waterline Tile
The band of tile around the top edge of your pool, known as the waterline tile, is often the first thing to show age. It collects calcium deposits and often cracks due to freeze-thaw cycles. To update the look, use a chisel and hammer or an air chisel to carefully remove the old tiles. Be gentle to avoid damaging the beam behind the tile.
Once the old tile is gone, scrape away the old thin-set mortar to create a flat, clean surface. Apply a waterproof outdoor thin-set and install your new, modern tiles. This single change can drastically modernize the appearance of the entire pool, shifting the aesthetic from dated to contemporary in just a few days of work.
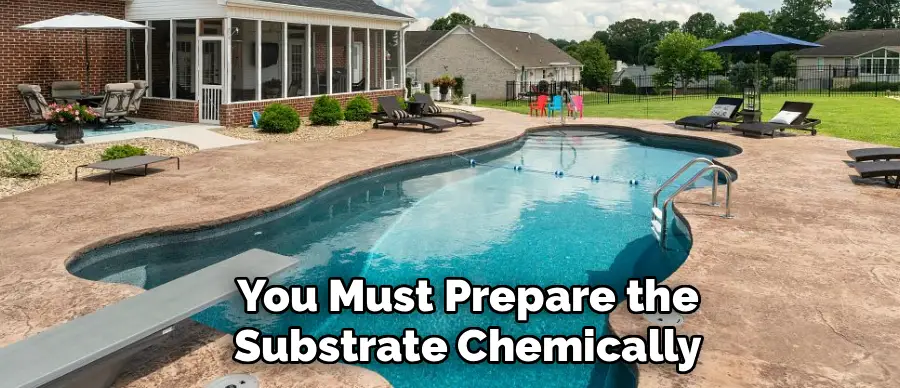
Step 4: Acid Wash the Surface for Prep
Before you can resurface or paint the interior, you must prepare the substrate chemically. An acid wash, typically done with a mixture of muriatic acid and water, etches the surface of the plaster or concrete. This etching process opens up the pores of the material, creating a rough texture similar to sandpaper. This texture is vital for mechanical bonding.
If you skip this step, your new plaster or paint will likely peel or delaminate within a year. Wear heavy protective gear, including a respirator and rubber gloves, as acid fumes are dangerous. Work in small sections, scrubbing the acid mixture into the walls and floor, then rinsing thoroughly with baking soda and water to neutralize the acid before it drains away.
Step 5: Apply a Bond Coat
For older pools where the surface has become very smooth or painted, an acid wash alone might not provide enough grip for new plaster. In these cases, applying a bond coat is essential. This is a liquid bonding agent, often mixed with cement and sand, that is rolled or sprayed onto the pool shell.
It acts like a powerful glue, creating a textured, sticky surface that chemically and mechanically locks the new finish to the old shell. Let this bond coat cure according to the manufacturer’s instructions. It serves as the bridge between the old, tired concrete and the fresh new surface you are about to apply, ensuring longevity and durability for your renovation.
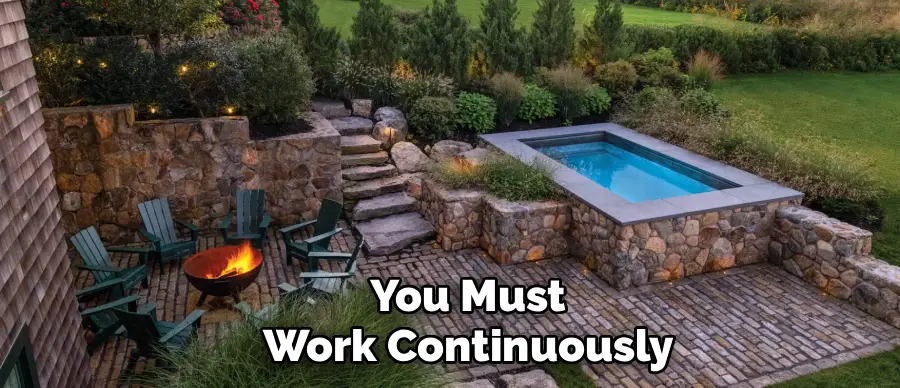
Step 6: Resurface the Pool Interior
This is the most transformative stage of the restoration. You have several options for the finish, ranging from epoxy paint (the most budget-friendly DIY option) to quartz or pebble aggregate finishes (which are more durable but labor-intensive). If you are plastering, you will mix the plaster with water to a specific consistency and trowel it onto the walls and floor.
This requires skill and speed, as plaster sets quickly. You must work continuously to avoid “cold joints” where wet plaster meets dry plaster. Smooth the material firmly to eliminate air pockets and achieve a watertight seal. If you choose to paint, apply at least two coats of high-quality epoxy pool paint, allowing ample drying time between coats.
Step 7: Upgrade the Pool Coping
The coping is the cap or edging that sits on top of the pool wall, separating the pool structure from the deck. Old coping is often cracked pre-cast concrete or faded plastic. Replacing this frames your new pool interior beautifully. You can choose natural stone, brick, or modern concrete pavers. Remove the old coping carefully to avoid damaging the bond beam.
Lay a fresh bed of mortar and set your new coping stones, ensuring they overhang the water slightly to prevent splashes from getting behind the pool wall. Grout the joints between the stones with a flexible, waterproof grout. New coping provides a safe, non-slip edge for swimmers and acts as a stunning visual border for the water.
Step 8: Update the Pool Decking
A restored pool will look out of place next to a cracked or stained deck. You don’t necessarily need to pour new concrete to fix this. Resurfacing the existing deck is a cost-effective solution. There are acrylic deck coatings available that can be rolled over old concrete to fill hairline cracks and provide a cool, slip-resistant texture.
Alternatively, you could install pavers directly over the old concrete using a sand bed method, provided the height difference doesn’t interfere with door thresholds. Cleaning, repairing, and resealing the deck ties the whole renovation together, creating a cohesive outdoor living space that feels brand new and inviting for your family and guests.

Step 9: Replace or Repair Pool Equipment
A cosmetic restoration is pointless if the mechanical heart of the pool is failing. While the pool is empty, inspect your skimmers, main drains, and return jets. Replace brittle plastic faceplates and gaskets to prevent leaks. This is also the perfect time to upgrade your pump and filter.
Modern variable-speed pumps are far more energy-efficient than the single-speed pumps of decades past, often paying for themselves in energy savings within two years. If your filter is old, swap the sand or cartridge elements to ensure crystal-clear water. Updating the plumbing and equipment ensures that your beautifully restored pool will run smoothly and efficiently, reducing maintenance headaches down the road.
Step 10: Refill and Balance the Water Chemistry
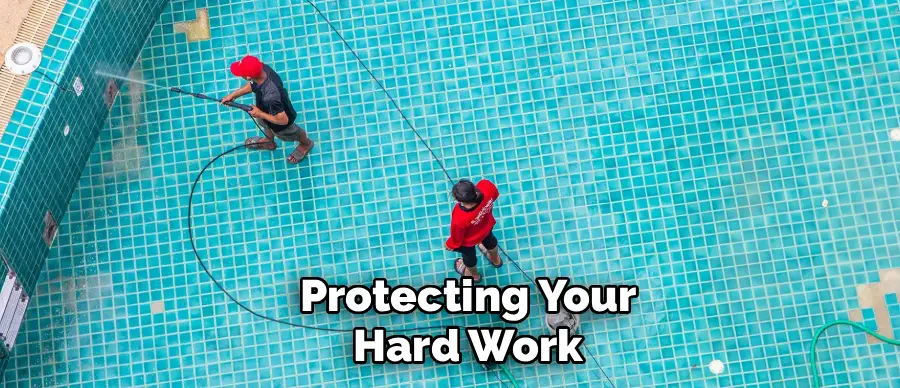
With the surface cured, the tile grouted, and the equipment checked, it is finally time to refill the pool. Place a hose in the deep end and wrap the metal end with a sock or rag to prevent it from staining the new plaster. Do not stop the water flow until the pool is full; stopping and starting can leave a permanent “ring” on fresh plaster surfaces.
Once full, start the filtration system immediately. You must now balance the water chemistry. This is a critical period called the “start-up.” New plaster will raise the pH of the water significantly, so you will need to test and add acid daily to keep the pH neutral. Proper chemical balance during the first month prevents scaling and staining, protecting your hard work.
Taking Proper Care of Your Pool
Taking proper care of your pool not only protects your investment but also has positive environmental impacts. By maintaining proper water chemistry and avoiding the need to drain and refill the pool prematurely, you conserve water—a vital resource. Additionally, regularly balanced chemicals reduce harmful runoff into surrounding areas, minimizing the ecological footprint of pool maintenance. Proper filtration and efficient use of resources ensure that your pool operates sustainably while remaining a safe and enjoyable space for everyone.
Another crucial aspect of sustainable pool maintenance is energy efficiency. Utilizing energy-efficient pool pumps, heaters, and lighting can significantly reduce energy consumption and lower utility costs over time. Solar-powered equipment, where feasible, offers a renewable alternative, harnessing the power of the sun to operate essential systems.
Simple adjustments, like reducing pump operation times or using a pool cover to retain heat, can also contribute to energy savings while maintaining the pool’s functionality and comfort. Prioritizing energy-efficient practices helps ensure that your pool remains both eco-friendly and cost-effective in the long term.
Frequently Asked Questions
Can I Restore a Pool Myself or Do I Need a Pro?
You can certainly tackle many aspects of a pool restoration yourself, such as draining, cleaning, tiling, and even painting. These tasks require patience and labor but not necessarily specialized trade skills. However, tasks like re-plastering with quartz or pebble finishes are highly technical and time-sensitive. If you mess up the plastering, it can result in a rough, leaking surface that is expensive to fix. Many homeowners choose to do the prep and demolition work themselves (saving money) and hire professionals for the final plaster application to ensure a smooth, warrantied finish.
How Much Does It Cost to Restore an Old Inground Pool?
The cost varies wildly depending on the scope of work and materials. A simple DIY restoration involving draining, acid washing, and painting with epoxy might cost between $1,500 and $3,000 in materials. However, a full professional renovation involving new coping, tile, and a pebble finish can range from $10,000 to over $25,000. Replacing the pool deck and equipment will add to this total. Setting a realistic budget beforehand is crucial. DIY efforts can save you roughly 40-50% of the total cost compared to hiring a full-service pool company.
How Long Does a Pool Restoration Take?
A typical DIY restoration project will take significantly longer than a professional crew. Expect the process to take anywhere from two to four weeks, depending on your availability and the weather. Draining and prep work usually take 3-4 days. Tiling and coping can take another week. Plastering or painting takes a few days, followed by cure times. Paint needs about 5-7 days to cure before filling, while plaster can often be filled the next day. Always factor in extra time for unforeseen repairs, like fixing cracks or plumbing leaks you discover after draining.
Is It Better to Paint or Re-Plaster an Old Pool?
This depends on your budget and desired longevity.
- Painting: This is the most affordable option and is very DIY-friendly. It looks great initially but typically only lasts 2-5 years before it starts to fade, chalk, or peel.
- Re-plastering: This is significantly more expensive and labor-intensive but restores the pool to a “like-new” structural condition. A standard white plaster finish lasts 10-15 years, while aggregate finishes like pebble can last 20+ years. If you want a long-term solution, re-plastering is the better investment.
What Is the Best Time of Year to Restore a Pool?
The ideal times for pool restoration are late summer into early autumn or early spring. You want to avoid the extreme heat of mid-summer, as it can cause plaster and paint to dry too quickly, leading to cracking and poor adhesion. Conversely, freezing winter temperatures can ruin materials before they cure. Aim for a window of time where daytime temperatures are consistently between 60°F and 85°F (15°C – 29°C) and there is little rain in the forecast. This ensures the materials cure properly and the working conditions are safe.
Conclusion
Restoring an aging swimming pool is a major project, but it is also one of the most rewarding home improvement tasks you can undertake. It requires a significant investment of time, labor, and careful planning, but the payoff is immense. By meticulously cleaning the surface, repairing structural damage, and updating the aesthetics with new tile and coping, you essentially build a brand-new pool within the footprint of the old one.
The result is not just a visual upgrade, but also a long-lasting and safe pool that your family can enjoy for years to come. Whether you choose to restore your pool yourself or hire professionals, the key is to approach the process with patience and attention to detail. With proper care and maintenance, your restored swimming pool will continue to provide endless hours of relaxation and fun. So don’t hesitate – start planning your pool restoration project today!
If you’ve already completed your swimming pool restoration project, congratulations! You now have a beautiful and functional backyard oasis that you can enjoy for many years. However, even if your restoration is complete, there are still some important steps you should take to maintain and protect your investment.
About
Outdoor Fixes is a distinguished figure in the world of Diy design, with a decade of expertise creating innovative and sustainable Diy solutions.
His professional focus lies in merging traditional craftsmanship with modern manufacturing techniques,
fostering designs that are both practical and environmentally conscious. As the author of diy,
outdoorfixes delves into the art and science of outdoorfixes-making, inspiring artisans and industry professionals alike.
Education RMIT University
(Melbourne, Australia) Associate Degree in Design (Outdoor Fixes) Focus on sustainable design, industry-driven projects,
and practical craftsmanship. Gained hands-on experience with traditional and digital manufacturing tools, such as CAD and CNC software.
Nottingham Trent University
(United Kingdom) Bachelor’s in outdoorfixes.com and Product Design (Honors) Specialized in product design with a focus on blending creativity with production
techniques. Participated in industry projects, working with companies like John Lewis and Vitsoe to gain real-world insights.
Publications and Impact
In diy, Outdoor Fixes his insights on indoor design processes, materials, and strategies for efficient production.
His writing bridges the gap between artisan knowledge and modern industry needs, making it a must-read for both budding designers and seasoned professionals.