
Separating bromeliad pups is crucial for maintaining the health and vigour of both the parent plant and its offspring. Bromeliad pups, also known as offsets or suckers, are small plants that grow at the base of the parent plant.
Over time, if these pups are not separated, they can overcrowd the parent plant, leading to competition for nutrients, water, and light. By learning how to separate bromeliad pups, gardeners can encourage healthier growth and propagate new plants effectively.
Pups should ideally be separated when they are at least one-third the size of the parent plant and have developed their own root system. This process involves a few essential steps: identifying viable pups, carefully removing the parent plant, separating the pups with minimal root damage, and planting and caring for the new pups.
Understanding these steps ensures both the parent plant and its pups thrive, contributing to a flourishing bromeliad collection.
Understanding Bromeliad Pups
What are Bromeliad Pups?
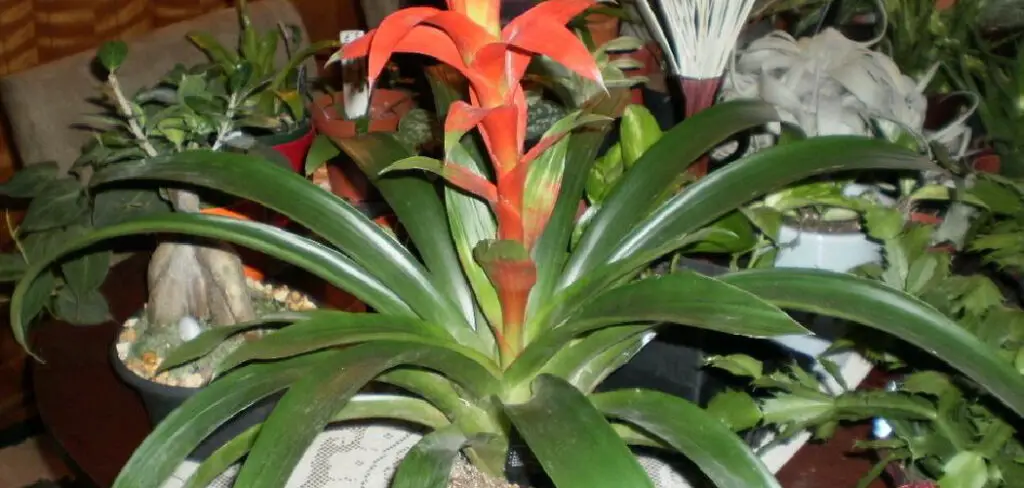
Bromeliad pups, also known as offsets or suckers, are small offshoots that emerge at the base of the parent bromeliad plant. These pups are essentially clones of the parent plant, carrying the same genetic material and characteristics.
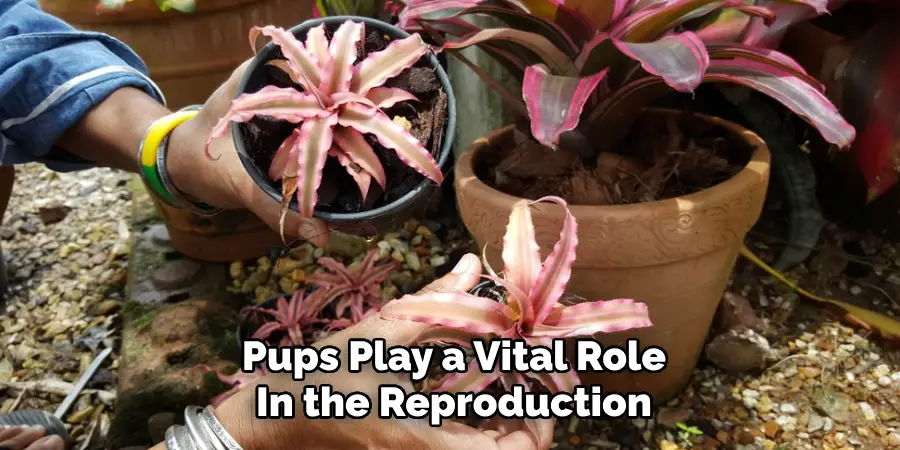
Typically, a bromeliad will start producing pups after it has flowered as part of its natural life cycle. Pups play a vital role in the reproduction of bromeliads, allowing them to propagate and spread without needing seeds. By nurturing these pups, gardeners can create new plants that maintain the unique qualities of the parent bromeliad, ensuring the continuity of their bromeliad collection.
When to Separate Pups
Knowing when to separate bromeliad pups is crucial for their successful propagation. The ideal moment to separate pups is when they have reached at least one-third the size of the parent plant and have begun developing their own root systems. Look for signs such as the presence of multiple, healthy leaves and visible roots.
Factors influencing the timing of separation include the overall health and maturity of the parent plant and the pups’ size and growth rate. Separating pups too early or too late can stress both the parent plant and the pups, so careful observation is essential.
Preparation and Tools
Gathering Materials
Before beginning the separation process, gather all necessary materials to ensure a smooth and successful propagation. Essential tools include a sharp knife or pruning shears, which should be sterilized to prevent disease spread.
Additionally, prepare a suitable potting mix tailored for bromeliads and clean pots or containers with drainage holes. Using clean and sharp tools is crucial to minimize damage to both the parent plant and the pups, promoting healthy growth and reducing the risk of infection.
Preparing Workspace
To properly separate bromeliad pups, create a clean and organized workspace. Choose an area with ample light and ventilation, contributing to a more comfortable working environment and help ensure plant health.
Clear the workspace of any clutter or debris, and have all your tools and materials within easy reach. A well-prepared workspace not only facilitates a smoother process but also safeguards the health of your plants by minimizing the risk of contamination or damage.
How to Separate Bromeliad Pups: Steps to Separate Bromeliad Pups
Identifying Pups
The first step in separating bromeliad pups is to locate and identify viable pups around the base of the parent plant. These pups should be at least one-third the size of the parent plant and exhibit multiple healthy leaves.
Additionally, viable pups will have begun developing their own root systems. Carefully inspect the base of the parent bromeliad for these new offshoots.
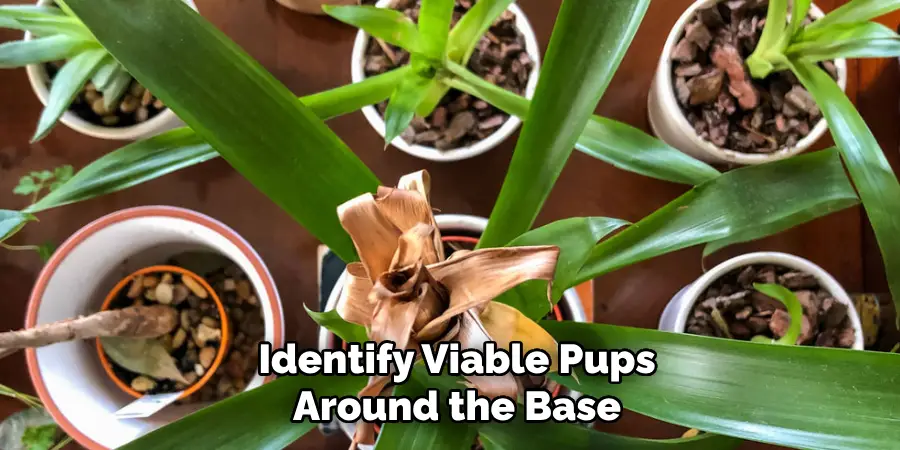
Ensuring that the pups are sufficiently mature is crucial for their successful establishment as independent plants. Immature pups are less likely to survive the separation process and may not thrive once planted.
Removing Parent Plant
Once you have identified the viable pups, carefully remove the parent plant from its pot or garden bed. This process should be done gently to avoid damaging the root system. Start by loosening the soil around the parent plant, making lifting the plant out as a whole easier.
After removing the parent plant, inspect the root system closely to identify attachment points where the pups connect to the parent plant. This careful inspection will guide you in making precise separations without causing unnecessary harm to either the parent plant or the pups.
Separating Pups
With the parent plant and pups clearly identified, the next step involves separating the pups. There are two main techniques for this: twisting and cutting. For the twisting method, grasp the base of the pup and gently twist it away from the parent plant. This may take a bit of patience and gentle pressure but can often result in a clean break.
Alternatively, use a sterilized, sharp knife or pruning shears to remove the pup from the parent plant. Make sure each pup has its own roots intact to ensure it can establish itself independently. Minimize damage to the root system during separation, as healthy roots are critical for the pup’s survival and growth. After successfully separating the pups, inspect them to ensure they are ready for planting.
Trimming and Root Inspection
After separating the bromeliad pups, trim any damaged or excess roots using sterilized shears. This helps prevent decay and encourages healthy new growth. Also, check the roots and leaves for signs of pests or diseases. If detected, treat the affected areas promptly to safeguard the health of your new plants.
Planting Pups
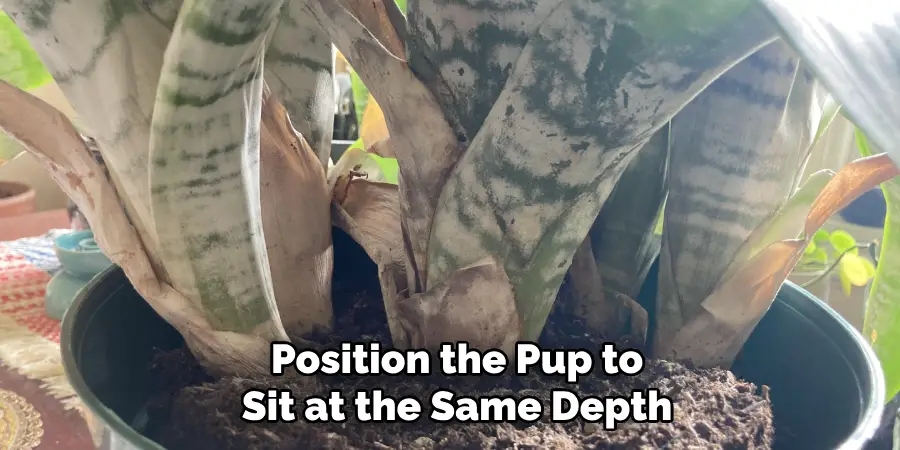
Once the bromeliad pups are separated, the next step is planting them to ensure their successful growth and development. Begin by gently placing each pup into its designated container, taking care not to damage the roots. Position the pup to sit at the same depth as it was growing.
This ensures stability and allows the roots to easily acclimate to their new environment. Fill in around the pup with the potting mix, lightly pressing the soil to eliminate air pockets. Water the newly planted pups thoroughly but avoid waterlogging, as bromeliads are prone to root rot if kept too moist.
Placing the pots in a location with indirect, bright light will help the pups acclimate and grow. Additionally, maintaining a consistent watering schedule, allowing the soil to dry out slightly between waterings, will promote strong and healthy growth.
Choosing Containers
Selecting the appropriate pots or containers for planting individual pups is crucial for their development. Choose containers that provide ample space for root growth and ensure they have proper drainage holes to prevent waterlogging.
Bromeliads are susceptible to root rot, and adequate drainage is vital to maintaining their health. Consider using terracotta pots, which allow for better air circulation around the roots, further reducing the risk of overwatering.
Potting Mix and Planting Depth
When planting bromeliad pups, using a well-draining potting mix tailored to bromeliads is essential. Incorporate orchid bark or coarse perlite into the mix for epiphytic bromeliads to mimic their natural growing conditions.
Terrestrial bromeliads benefit from a mix enriched with organic material. Plant the pups at the same depth they were previously growing to ensure they settle well and establish a robust root system. This careful planting technique helps in anchoring the pups and promotes optimal growth.
Aftercare and Maintenance
Proper aftercare and maintenance are vital to ensuring the successful growth and development of newly planted bromeliad pups. Establishing a consistent care routine will help minimize stress and promote healthy, vigorous growth.
Watering and Moisture Control
Establishing a watering routine is crucial for the root establishment of bromeliad pups. Use a misting spray to keep the foliage hydrated, and fill the central water cups if the bromeliad variety allows for it.
Maintain consistent moisture levels without letting the soil become waterlogged, as bromeliads are susceptible to root rot. Ensure that pots have adequate drainage to prevent excess water build-up, promoting healthy root development.
Light and Temperature Requirements
Providing the right light conditions is essential for the healthy growth of bromeliad pups. Place them in a location with bright, indirect light to mimic their natural environment.
Direct sunlight can scorch the leaves, so shielding newly separated pups from harsh sun exposure is important. Furthermore, protect the pups from extreme temperatures as both high heat and cold can stress the plants and hinder their development. Maintaining a stable, moderate temperature range will support optimal growth.
Monitoring and Troubleshooting
Monitoring Growth
Regularly inspecting separated pups for signs of growth and health is essential to ensure their successful development. Look for new leaf growth, vibrant color, and overall plant vigour as indicators of good health.
Adjust care routines based on plant responses, such as modifying watering frequency and light exposure to meet the specific needs of each pup.
Common Issues and Solutions
Identifying potential problems early, such as wilting, discoloration, or stunted growth, and addressing them promptly can save your bromeliad pups from deteriorating.
Common solutions include adjusting watering schedules, improving drainage, or relocating the plant to a more suitable light condition. When faced with specific issues, consulting resources or experts can provide valuable advice and tailored solutions to ensure the health of your bromeliad pups.
Conclusion
Successfully learning how to separate bromeliad pups involves meticulous planning and careful execution. Key steps include ensuring that each pup has developed a sufficient root system before separating, using sterilized tools to make clean cuts, and selecting the right containers and potting mix to accommodate the unique needs of bromeliads.
Regularly monitoring the health of the newly separated pups, maintaining proper watering routines, and providing appropriate light and temperature conditions are crucial for their growth. Practicing propagation techniques not only expands your bromeliad collection but also enhances your overall gardening skills.
Remember, patience and proper care are essential in nurturing thriving bromeliad pups. By following these guidelines and being attentive to each plant’s individual needs, you can successfully propagate and enjoy a diverse and flourishing bromeliad collection.
About
Outdoor Fixes is a distinguished figure in the world of Diy design, with a decade of expertise creating innovative and sustainable Diy solutions.
His professional focus lies in merging traditional craftsmanship with modern manufacturing techniques,
fostering designs that are both practical and environmentally conscious. As the author of diy,
outdoorfixes delves into the art and science of outdoorfixes-making, inspiring artisans and industry professionals alike.
Education RMIT University
(Melbourne, Australia) Associate Degree in Design (Outdoor Fixes) Focus on sustainable design, industry-driven projects,
and practical craftsmanship. Gained hands-on experience with traditional and digital manufacturing tools, such as CAD and CNC software.
Nottingham Trent University
(United Kingdom) Bachelor’s in outdoorfixes.com and Product Design (Honors) Specialized in product design with a focus on blending creativity with production
techniques. Participated in industry projects, working with companies like John Lewis and Vitsoe to gain real-world insights.
Publications and Impact
In diy, Outdoor Fixes his insights on indoor design processes, materials, and strategies for efficient production.
His writing bridges the gap between artisan knowledge and modern industry needs, making it a must-read for both budding designers and seasoned professionals.