
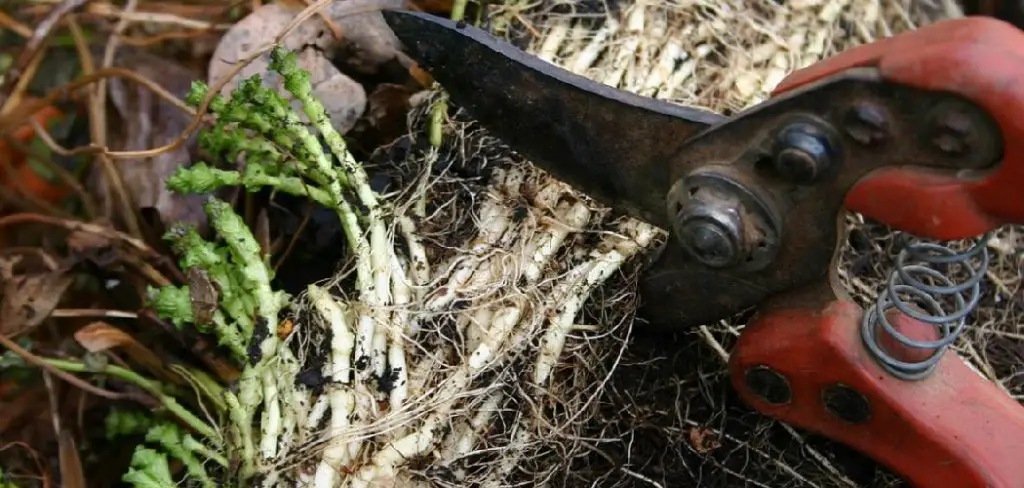
Keeping your garden tools in pristine condition is essential for the health of your plants and the ease of your work. Dull pruners can crush stems rather than slicing them cleanly, which leaves plants vulnerable to disease and pests while causing unnecessary hand fatigue.
Regular maintenance of your Felco pruners ensures they last a lifetime and perform like new every season. By investing just a few minutes in proper sharpening techniques, you can restore that razor-sharp edge that makes pruning effortless and precise. In this guide on how to sharpen Felco pruners, we’ll cover the tools needed, step-by-step instructions, and tips for achieving a professional result.
Understanding Felco Pruners
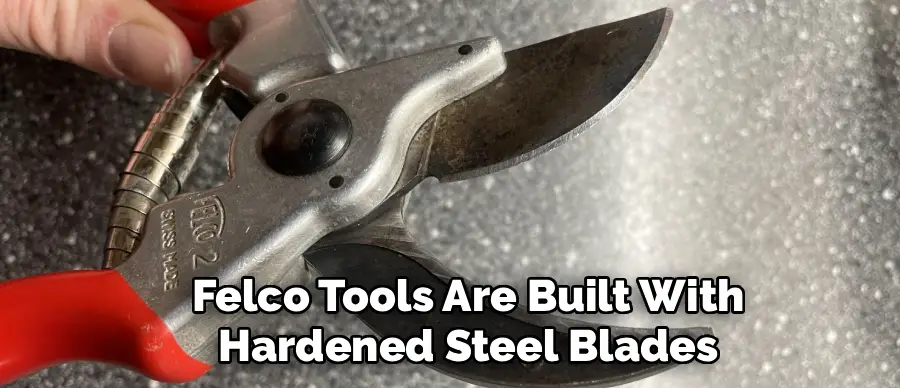
Felco pruners are widely regarded as the gold standard in horticulture due to their exceptional durability, ergonomic design, and replaceable parts. Unlike cheaper alternatives that are often disposable, Felco tools are built with hardened steel blades that are specifically designed to be sharpened repeatedly without losing their temper or strength. The unique geometry of the blade, particularly the bevel angle, is engineered for a precise bypass cutting action that minimizes damage to plant tissue.
Understanding this anatomy is crucial because sharpening requires you to follow the original angle of the bevel rather than creating a new one. The high-quality steel used in these Swiss-made tools holds an edge remarkably well, but it also requires specific care to prevent corrosion and maintain smooth operation. Knowing how your tool functions allows you to respect its mechanics during the sharpening process, ensuring you don’t accidentally alter the blade profile or compromise the tight tolerance between the cutting blade and the anvil blade.
Assessment and Preparation
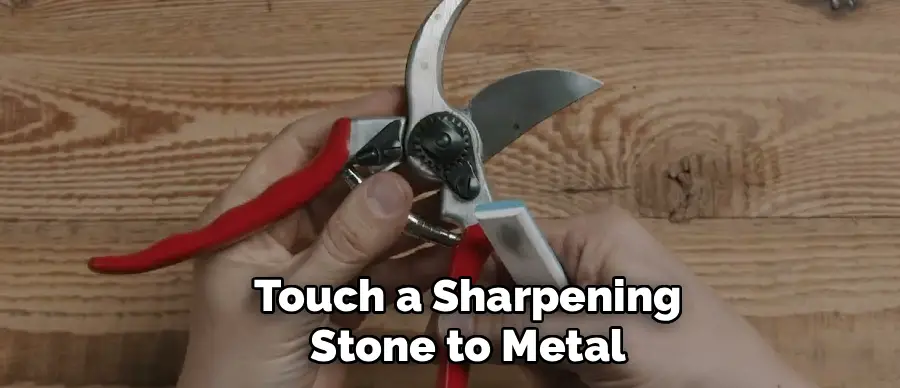
Before you even touch a sharpening stone to metal, you must thoroughly assess the condition of your pruners and prepare your workspace. Start by cleaning the tool completely. Sap, resin, and plant debris often accumulate on the blades, hardening into a sticky residue that mimics dullness. Use warm, soapy water or a specialized solvent to scrub away this grime, as you cannot effectively sharpen a dirty blade. Once clean, inspect the cutting edge under a bright light. You are looking for nicks, chips, or rolled edges that might require more aggressive filing before fine honing.
Next, check the alignment of the blades. Hold the pruners up to the light and close them slowly; there should be no gap between the cutting blade and the anvil blade as they pass each other. If the blades are loose, the nut may need tightening before you proceed. Gather your materials: you will need a diamond sharpening tool or a whetstone (medium and fine grit), some lubricating oil or water depending on your stone type, a clean rag, and perhaps some fine steel wool for polishing.
Having everything laid out beforehand prevents interruptions and ensures a safe, methodical process. Stable positioning is also key; ensure you have a flat surface or a sturdy vise to hold the pruners if you aren’t comfortable holding them freehand.
6 Simple Step-by-step Guidelines on How to Sharpen Felco Pruners
Step 1: Position and Secure the Pruners
The foundation of a good sharpening job is stability and control, so begin by finding a comfortable position where the pruners won’t slip while you work. Hold the pruners firmly in your non-dominant hand with the blades open wide, or secure them in a bench vise with soft jaws to prevent scratching the handles.
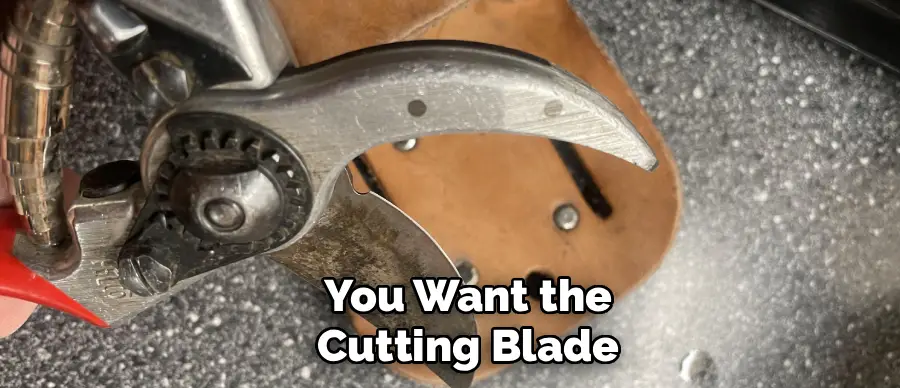
You want the cutting blade (the sharp, curved top blade) facing towards you and the anvil blade (the lower, thicker blade) pointing away. It is vital that the tool remains stationary as you apply pressure with the sharpening stone, as any wobble can result in an uneven edge or an accidental cut to your hand.
Orienting the tool correctly allows you to see the bevel clearly, which is the angled part of the blade that does the actual cutting. Take a moment to identify the factory angle, which is typically around 23 degrees on Felco models. You aren’t trying to create a new angle; you are simply trying to refresh the existing one.
Ensure you have good lighting directed at the blade edge so you can see the shiny strip of the bevel. If you are holding the pruners by hand, brace your arm against your body or a table to create a solid anchor point. This initial setup is critical because maintaining a consistent angle throughout the sharpening strokes is the only way to achieve a truly razor-sharp result.
Step 2: Select the Right Stone and Angle
Selecting the correct sharpening tool is the next crucial step, and for Felco pruners, a dedicated diamond file or a small sharpening stone is ideal due to the curved nature of the blade. A flat bench stone is difficult to use on the curved profile of a bypass pruner, so opt for a tool specifically designed for this purpose, like the Felco 903 sharpener. Place your stone against the beveled edge of the cutting blade.
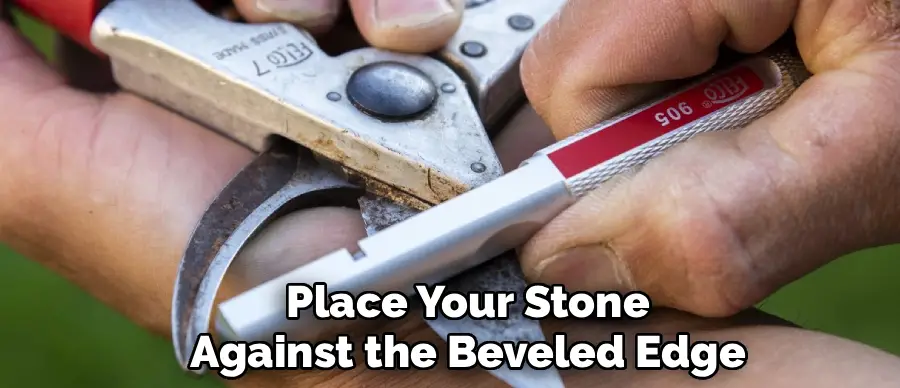
You must match the angle of the stone exactly to the existing bevel. If your angle is too steep, you will blunt the edge; if it is too shallow, you will scratch the face of the blade without actually sharpening the cutting edge.
Take your time to feel the stone sit flat against the bevel before you make a single stroke. This is often described as “finding the flat.” You can test your angle by coloring the bevel with a black permanent marker before you start. Make one light pass with your stone; if the marker is removed only from the very edge, your angle is too steep.
If it is removed only from the back of the bevel, your angle is too shallow. You want the marker to be removed evenly across the entire width of the bevel. Adjust your hand position until you feel locked into that specific angle. Consistency here is far more important than speed or force. A few well-aligned strokes are worth a hundred haphazard ones.
Step 3: The Sharpening Motion
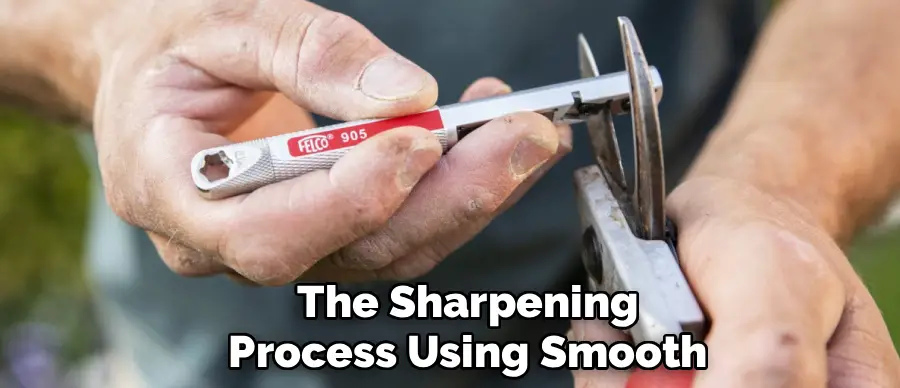
Now that you are positioned correctly, begin the sharpening process using smooth, sweeping strokes that cover the entire length of the blade. Start from the base of the blade (near the pivot bolt) and sweep outwards toward the tip in a single, fluid motion. Apply moderate pressure—you want to grind away a small amount of metal, but you don’t need to force it.
The motion should always be directed into the edge or along it, maintaining that critical angle you established in the previous step. Imagine you are trying to slice a thin layer off the surface of the sharpening stone.
Repeat this motion, counting your strokes to ensure you are grinding evenly. Usually, 10 to 20 passes are sufficient for a moderately dull blade, though a severely neglected tool may require more work.
Focus intensely on maintaining the curvature of the blade; do not flatten out the curve by filing in a straight line. You must pivot your wrist slightly as you move from the base to the tip to follow the blade’s natural arc. Stop frequently to inspect your progress. You are looking for a uniform, shiny strip of fresh metal along the entire bevel. Run your fingernail lightly across the edge (perpendicular to it, never along it) to feel for “catch points” or dull spots that need more attention.
Step 4: Checking for the Burr
After you have worked the beveled side of the blade sufficiently, you need to check for the formation of a “burr.” A burr is a microscopic lip of metal that rolls over to the flat, back side of the blade as you sharpen the bevel. It signifies that you have ground the edge down enough to meet the back surface, creating a true apex. To check for this, carefully run your thumb across the flat, non-beveled side of the cutting blade, moving from the spine toward the edge. You should feel a slight catch or roughness at the very edge, similar to a tiny wire hook.
If you do not feel this burr along the entire length of the blade, you have not sharpened enough yet. Go back to Step 3 and continue sharpening the bevel until that burr is continuous from base to tip. This is a critical checkpoint; without raising a burr, you haven’t actually created a sharp edge—you’ve just polished the shoulder of the bevel. Do not rush this part. The presence of the burr is your only physical guarantee that the two planes of the blade have met to form a zero-radius edge. Once you confirm the burr is present along the whole blade, you are ready to refine the edge and remove that excess metal wire.

Step 5: Removing the Burr (Deburring)
Now you must remove the burr to reveal the clean, sharp edge beneath. Turn the pruners over so you are looking at the flat, non-beveled side of the cutting blade. Take your sharpening stone or a fine ceramic hone and place it absolutely flat against this back surface. It is imperative that you do not angle the stone here; doing so would create a “back bevel,” which ruins the shearing action of bypass pruners. The flat side of the cutting blade must remain perfectly flat to slide flush against the anvil blade.
With the stone flat against the back, apply very light pressure and make one or two gentle strokes. You are not trying to sharpen this side; you are simply wiping away the wire edge you created earlier. Alternatively, you can close the pruners gently; often, the action of the blades sliding against each other will shear off the burr, but using a stone is more precise.
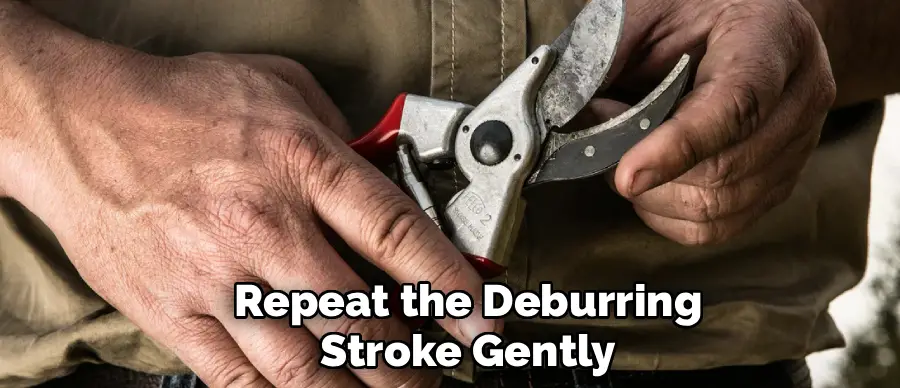
Check the edge again with your thumb. It should now feel smooth on the back side and incredibly sharp on the beveled side. If you still feel rough spots, repeat the deburring stroke gently. The goal is a crisp, clean intersection between the flat back and the angled bevel, free of any hanging metal fragments.
Step 6: Cleaning and Lubrication
The final step in the sharpening process is to protect your newly restored edge and ensure the smooth mechanical operation of the tool. Sharpening creates fine metal dust and exposes fresh steel to the air, which can lead to rapid oxidation if not addressed. Wipe the blades down thoroughly with a clean, dry cloth to remove any filings, stone grit, or oil residue. If you used water with your stone, make sure the tool is completely dry, paying special attention to the pivot point and the spring mechanism where moisture loves to hide.
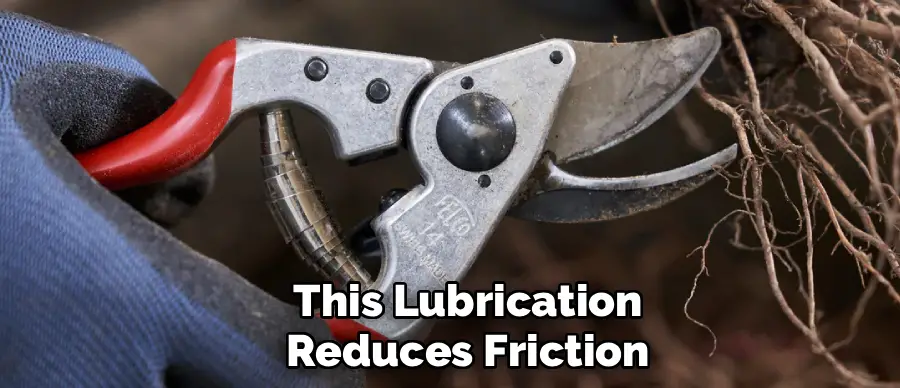
Once clean, apply a few drops of high-quality tool oil or a specific lubricant spray to the blades and the pivot bolt. Open and close the pruners several times to work the oil into the moving parts. This lubrication reduces friction, prevents rust, and ensures the blades glide past each other effortlessly. This is also a good time to tighten the central nut if the blade action feels too loose. A properly tightened and lubricated pruner should snap open and close smoothly. Wipe away any excess oil so the handles aren’t slippery. Your Felco pruners are now sharp, protected, and ready for another season of heavy use in the garden.
Following these steps on how to sharpen Felco pruners will not only help maintain the quality and longevity of your tool, but it also ensure safe and efficient use during gardening tasks.
Safety Considerations
Sharpening involves handling sharp metal edges and abrasive tools, so safety must be your top priority. Always wear protective work gloves when cleaning the tool to avoid accidental cuts from unseen burrs or the blade tip, but you may choose to remove them for the actual sharpening to have better tactile feedback. However, if you do work bare-handed, exercise extreme caution and always move your fingers away from the cutting edge.
Ensure your work area is well-lit and free of clutter so you don’t knock tools over. Never sharpen the tool while holding it close to your face or body; keep it at a comfortable arm’s length.
When testing the sharpness of the blade, never run your finger along the edge like you are slicing skin. Instead, test the edge on a piece of paper or a small twig. If you are using oil or solvents, ensure the area is ventilated to avoid inhaling fumes. Finally, when not in use, keep the pruners locked and stored safely away from children, as a freshly sharpened Felco pruner is as dangerous as a kitchen knife.
Alternative Sharpening Methods
While a handheld diamond file or whetstone is the standard method for Felco pruners, other methods exist depending on your equipment and skill level. Some gardeners prefer using a carbide sharpening tool, often sold as a “garden tool sharpener.” These are small, V-shaped tools that you drag across the blade. While fast and easy to use, they tend to peel off a lot of metal and can leave a rougher edge compared to a stone, potentially shortening the lifespan of the blade over time. They are excellent for a quick field touch-up but less ideal for precision maintenance.
Another alternative is using a rotary tool (like a Dremel) with a grinding attachment. This method is very fast but carries a high risk of overheating the metal, which can ruin the blade’s temper and make it brittle. If you choose this route, use a low speed and a light touch, ensuring you follow the bevel angle precisely.
Lastly, for those who want the ultimate edge, high-grit sandpaper (wet/dry) wrapped around a wooden dowel can serve as an excellent finishing tool to polish the bevel to a mirror finish after the main sharpening is done. This “stropping” method results in a frighteningly sharp edge that cuts with zero resistance.
Frequently Asked Questions
Q1: How Often Should I Sharpen My Felco Pruners?
The frequency of sharpening depends heavily on how intensely you use your pruners and what type of plant material you are cutting. For the casual home gardener who prunes roses and small shrubs on weekends, a thorough sharpening once a year at the start of the season is usually sufficient to maintain good performance.
However, if you are a professional landscaper or pruning hard, woody material like dead branches or thick vines daily, you might need to touch up the edge every week or even daily. The best indicator is performance: as soon as you feel increased resistance while cutting, or if the pruners start crushing stems rather than snapping through them cleanly, it is time to sharpen. Regular light touch-ups are far better for the blade than waiting until it is completely dull and requires aggressive grinding.
Q2: Can I Sharpen The Anvil Blade (The Lower Blade)?
Generally, you should not sharpen the anvil blade of a bypass pruner like a Felco. The anvil blade (the lower, thicker, non-cutting blade) is designed to act as a support for the stem while the cutting blade slices through it. It usually has a flat or slightly angled face but is not meant to be razor-sharp. Sharpening it can alter the geometry of the gap between the blades, causing them to jam or fail to cut completely.
However, you should inspect it for burrs or nicks. If the anvil blade has rough spots that are catching on the cutting blade, you can lightly hone the flat inside face to smooth it out. Do not attempt to create a cutting edge on it; simply keep it clean, smooth, and perfectly aligned with the upper blade.
Q3: What If My Blade Is Chipped Or Damaged?
If your blade has a significant chip or deep nick, simple sharpening might not be enough to restore it. Small nicks can often be filed out during the normal sharpening process by spending extra time grinding the edge down past the depth of the chip. However, this removes a significant amount of metal and can reduce the life of the blade.
For deep chips or bent tips, the beauty of the Felco system is that all parts are replaceable. It is often more cost-effective and safer to simply purchase a replacement blade rather than trying to salvage a severely damaged one. Trying to grind out a deep chip can ruin the blade profile and affect the closing mechanism. If the damage is minor, sharpen as usual; if it compromises the cut, swap the blade out for a new one.
Conclusion
Sharpening your Felco pruners is a satisfying ritual that connects you deeper to the craft of gardening. By understanding the tool’s anatomy and following these six simple guidelines on how to sharpen Felco pruners, you transform a chore into a precise maintenance task that pays dividends in garden health. A sharp tool reduces the effort required for every cut, saves your hands from fatigue, and leaves clean wounds on plants that heal quickly.
Remember that safety and patience are your best allies during the process. Whether you are a master gardener or a weekend enthusiast, mastering this skill ensures your Felco pruners will remain a reliable partner in your garden for decades to come.
About
Outdoor Fixes is a distinguished figure in the world of Diy design, with a decade of expertise creating innovative and sustainable Diy solutions.
His professional focus lies in merging traditional craftsmanship with modern manufacturing techniques,
fostering designs that are both practical and environmentally conscious. As the author of diy,
outdoorfixes delves into the art and science of outdoorfixes-making, inspiring artisans and industry professionals alike.
Education RMIT University
(Melbourne, Australia) Associate Degree in Design (Outdoor Fixes) Focus on sustainable design, industry-driven projects,
and practical craftsmanship. Gained hands-on experience with traditional and digital manufacturing tools, such as CAD and CNC software.
Nottingham Trent University
(United Kingdom) Bachelor’s in outdoorfixes.com and Product Design (Honors) Specialized in product design with a focus on blending creativity with production
techniques. Participated in industry projects, working with companies like John Lewis and Vitsoe to gain real-world insights.
Publications and Impact
In diy, Outdoor Fixes his insights on indoor design processes, materials, and strategies for efficient production.
His writing bridges the gap between artisan knowledge and modern industry needs, making it a must-read for both budding designers and seasoned professionals.