
There are few things more frustrating for a homeowner than gearing up for a Saturday morning of yard work only to be met with silence when you turn the key or push the button. You have your coffee, the grass is the perfect height, and the sun is shining, but your equipment refuses to cooperate.
While a bad starter usually requires a replacement part eventually, it does not mean your lawn has to stay overgrown today.
Engines are resilient machines, and with a little mechanical know-how, you can often bypass a faulty starting mechanism to get the engine running.
This guide on how to start a lawn mower with a bad starter will walk you through the process of safely starting your mower even when the starter has failed, ensuring you can finish your chores before heading to the repair shop.
What Will You Need?
Before you begin, gather the following tools and materials. Safety is paramount when working with engine components that carry electrical current or have moving parts.
- Protective Gear: Heavy-duty work gloves and safety glasses.
- Insulated Screwdriver: Preferably a long flathead or Phillips with a rubber handle.
- Jumper Cables: If you suspect the battery might also be weak.
- Wrench Set or Socket Set: To remove engine covers if necessary.
- Wire Brush: To clean corroded terminals.
- A Strong Rope: Required if you need to manually spin the flywheel (for riding mowers without a pull cord).
- Voltage Meter (Optional): To test electrical flow.
10 Easy Steps on How to Start a Lawn Mower With a Bad Starter
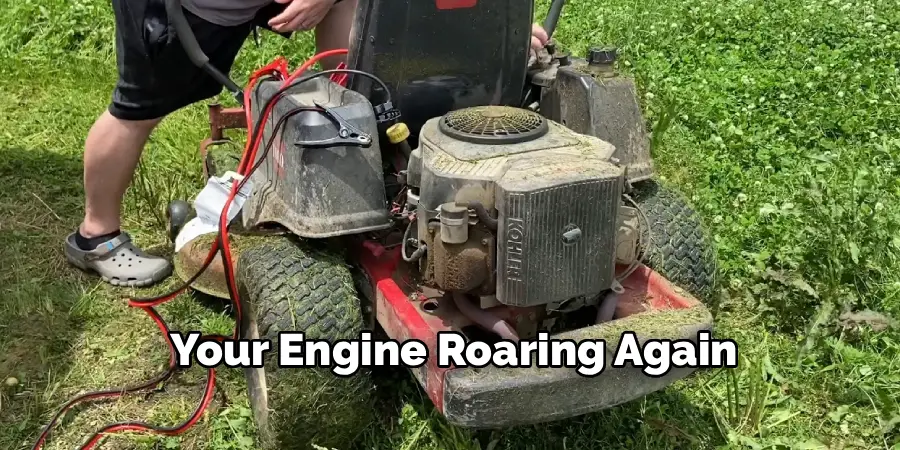
Dealing with a bad starter requires a systematic approach. We will move from the simplest checks to the more mechanical bypass methods. Follow these steps carefully to get your engine roaring again.
Step 1: Secure the Mower and Ensure Safety
Before you touch any engine components, you must ensure the environment is safe. Park your lawnmower on a completely flat, level surface. If you are working on a riding mower, engage the parking brake firmly to prevent it from rolling while you are working on the engine. If it is a push mower, ensure it is stable.
Next, disengage the mower blades. The lever that controls the cutting deck must be in the “off” or disengaged position. This is critical because if the engine suddenly fires up while you are bypassing the starter, you do not want the blades to start spinning immediately. Finally, put on your safety glasses and rubber-handled gloves. You will be working near electrical terminals, and sparks can fly.
Step 2: Inspect and Clean Battery Terminals
Many homeowners assume their starter is broken when the real culprit is actually a poor connection. A starter motor requires a significant surge of electricity to turn the engine over. If your battery terminals are covered in white or green corrosion, that electricity cannot get through, mimicking a “bad starter” symptom.
Locate the battery (usually under the seat on riding mowers). Use your wrench to disconnect the negative (black) cable first, then the positive (red). Take your wire brush and vigorously scrub the battery posts and the metal connectors on the cables until they shine. Reconnect them tightly—positive first, then negative. Try starting the mower. If it works, your starter is fine; it was just dirty.
Step 3: Check the Battery Voltage
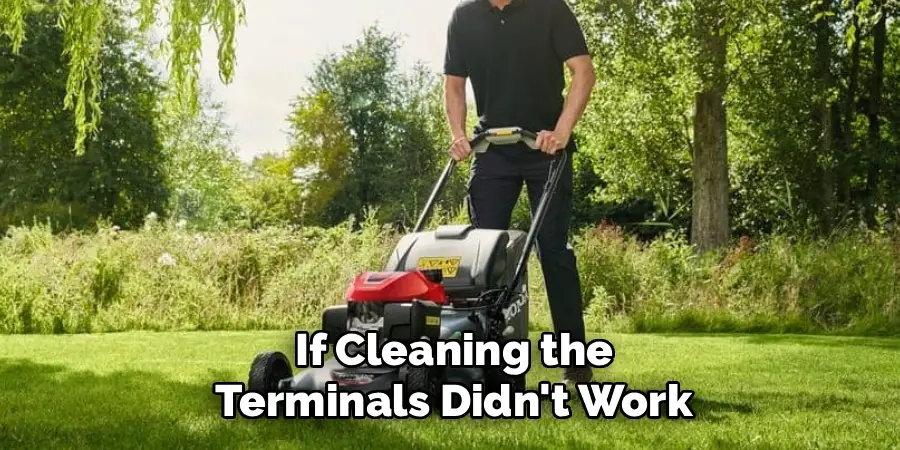
If cleaning the terminals didn’t work, you need to rule out a dead battery before condemning the starter. A starter motor will make a clicking sound or groan if the battery voltage is low, which sounds exactly like a failing starter.
If you have a voltmeter, check that the battery reads around 12.6 volts. If you don’t have a meter, try to jump-start the mower using jumper cables connected to a car battery (engine off) or a portable jump pack. Connect the positive to the positive and the negative to a metal ground on the mower frame. If the mower starts instantly with a jump, your starter is healthy, but your battery is dead. If it still won’t start with a jump, proceed to the next step.
Step 4: Locate the Starter Solenoid
If you have confirmed the battery is full and connections are clean, the issue is likely the solenoid or the starter motor itself. You need to locate the solenoid to perform a bypass. The solenoid is a small component, usually mounted near the starter motor or on the frame near the battery.
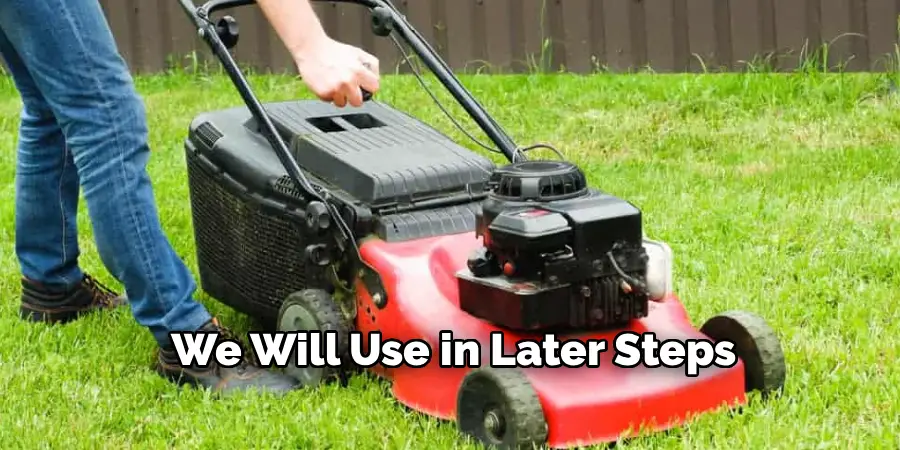
It typically looks like a small black cylinder with two large bolts sticking out of it. One thick red wire comes from the battery to one bolt, and another thick wire goes from the other bolt to the starter motor. There will also be smaller wires for the ignition switch. Finding this part is key to the “screwdriver trick” we will use in later steps.
Step 5: Give the Starter a “Percussive Maintenance” Tap
Sometimes, the starter motor gets stuck. The gears inside can jam against the flywheel, or the internal brushes can develop a dead spot. Before we try electrical bypasses, a little physical persuasion can work wonders. This is an old mechanic’s trick that works surprisingly often.
Take the handle of your screwdriver or a small hammer and gently tap the side of the starter motor housing while someone else turns the key to the “start” position. Do not hit it hard enough to dent the metal; you just want to create vibration. This vibration can jar the stuck gears loose or shift the brushes just enough to make electrical contact. If the engine turns over, you know the starter is failing and will need replacement soon, but you can finish your mow today.
Step 6: Perform the Screwdriver Bypass (The Solenoid Jump)
If tapping didn’t work, we will bypass the solenoid. This step sends power directly from the battery to the starter motor, skipping the ignition switch and safety interlocks. Warning: Be very careful not to touch any metal part of the mower frame with the screwdriver shaft.
Hold your insulated screwdriver by the rubber handle. Locate the two large bolts on the solenoid described in Step 4. You are going to touch the metal shaft of the screwdriver to both bolts simultaneously, creating a bridge. You will likely see sparks—this is normal. If the starter spins and the engine cranks, your starter motor is good, but your solenoid is bad. The mower should run now.
Step 7: Prepare the Engine for Manual Rope Start
If the electric starter is completely dead and won’t spin even with the screwdriver trick, you must bypass the electric system entirely and use manual force. This applies mostly to riding mowers or zero-turns that don’t have a pull cord.
First, turn the ignition key to the “On” or “Run” position. This opens the fuel solenoid and allows the spark plugs to fire. If you leave the key off, you can spin the engine all day, but it will never start. Ensure the throttle is set to a mid-range or “choke” position if the engine is cold.
Step 8: Expose the Flywheel
To manually start a mower without a pull cord, you need access to the flywheel. This is the large metal fan-like wheel at the top of the engine. On many mowers, this is covered by a plastic or metal cowling (the decorative engine cover).
Use your socket set or screwdriver to remove the bolts holding the top engine cover in place. Lift the cover off carefully. You might need to disconnect the headlight wires if they are attached to the hood. Once the cover is off, you will see the round flywheel screen at the very top of the engine. This is what spins to generate the momentum for combustion.
Step 9: Wrap and Pull the Rope
This step mimics the action of a standard push mower pull-cord. Take your strong rope (about 3-4 feet long) and tie a small knot at one end. Look for a notch or a small hole on the edge of the flywheel cup. Hook the knot into that notch.
Wind the rope clockwise around the flywheel cup. You want about two or three full rotations of rope. Make sure the rope is wrapped neatly and isn’t tangled. Stand firmly with a good footing. Grab the free end of the rope (you can wrap it around a stick to make a handle) and pull with a sharp, strong motion. The goal is to spin the flywheel fast enough to ignite the engine. You may need to try this a few times.
Step 10: Reassemble and Keep it Running
Once the engine roars to life, do not shut it off! Let it idle for a moment to warm up. Carefully remove your rope if it didn’t come loose automatically. Now, you have a running engine with the top cover removed.
If it is safe to do so, carefully replace the engine cover and hand-tighten a few bolts to keep it in place while you mow. If the spinning flywheel is exposed and dangerous, you may need to shut it down, reinstall the cover properly, and then repeat the process (though it is harder to wrap the rope with the cover on). Ideally, secure the cover loosely enough that it doesn’t rattle but allows you to finish the job. Drive the mower back to the garage immediately once you are done, as you will need to fix the starter before the next use.
5 Things You Should Avoid
- Never bridge the terminals with a non-insulated tool. Using a bare metal wrench to jump the solenoid can send electricity through your body or weld the wrench to the frame, causing a fire hazard or severe burns.
- Avoid forcing the ignition key. If the starter isn’t engaging, twisting the plastic key harder won’t help. It will only snap the key off in the ignition, adding a broken lock to your list of repairs.
- Do not ignore safety interlocks permanently. While bypassing safety switches (like the seat sensor) might help diagnose a problem, never operate the mower normally with these disabled. They are there to prevent serious injury.
- Avoid using a rope that is too thin. When manually starting the flywheel, thin twine or clothesline can snap under the tension, sending you flying backward or whipping your hand. Use a solid, thick rope.
- Don’t keep cranking a hot starter. If you are trying to jump the starter and it smokes or gets extremely hot, stop immediately. Continuous current to a seized motor can melt the wiring harness and destroy expensive electrical components.
Conclusion
A bad starter doesn’t have to ruin your weekend or leave your lawn looking like a jungle.
By following these steps—from checking simple connections to performing a manual bypass—you can usually get one more mow out of your machine before repairs are needed. Remember, these methods are temporary solutions. Once you have successfully finished your lawn care, make it a priority to order a replacement starter or solenoid. Proper maintenance ensures your equipment is ready to go whenever you are.
Hopefully, this guide on how to start a lawn mower with a bad starter has helped you troubleshoot and solve any starter issues you may have encountered.
About
Outdoor Fixes is a distinguished figure in the world of Diy design, with a decade of expertise creating innovative and sustainable Diy solutions.
His professional focus lies in merging traditional craftsmanship with modern manufacturing techniques,
fostering designs that are both practical and environmentally conscious. As the author of diy,
outdoorfixes delves into the art and science of outdoorfixes-making, inspiring artisans and industry professionals alike.
Education RMIT University
(Melbourne, Australia) Associate Degree in Design (Outdoor Fixes) Focus on sustainable design, industry-driven projects,
and practical craftsmanship. Gained hands-on experience with traditional and digital manufacturing tools, such as CAD and CNC software.
Nottingham Trent University
(United Kingdom) Bachelor’s in outdoorfixes.com and Product Design (Honors) Specialized in product design with a focus on blending creativity with production
techniques. Participated in industry projects, working with companies like John Lewis and Vitsoe to gain real-world insights.
Publications and Impact
In diy, Outdoor Fixes his insights on indoor design processes, materials, and strategies for efficient production.
His writing bridges the gap between artisan knowledge and modern industry needs, making it a must-read for both budding designers and seasoned professionals.