Do you want to keep your flowers and plants healthy? Are you looking for an easy way to sterilize soil without resorting to steam sterilization methods? Are you looking for the perfect solution to sterilize your soil quickly and effectively? We have good news!
Not only is it possible, but chemical-based soil sterilization can help you maintain a healthy, disease-free garden while overcoming any weed seed or pest problems that may be present.
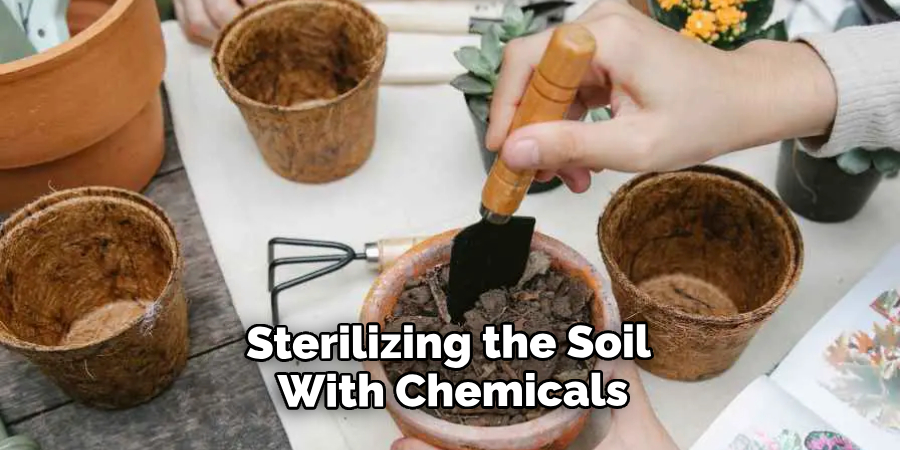
In this blog post, we’ll explore how to sterilize soil with chemicals in order to safely sterilize the soil for your beloved plants so that they can stay healthy and flourish without fear of pests or disease. Keep reading to learn more about the benefits and dangers of chemical treatments when sterilizing soil!
Necessary Items for Chemical-Based Soil Sterilization
Before we dive into the chemical sterilization process, let’s start by gathering all the necessary items you will need. Some of these items may already be in your gardening toolbox, but if not, they can easily be found at your local garden center or hardware store.
- Protective Equipment: When working with chemicals, it is essential to wear protective gear such as gloves, safety glasses, and a mask to avoid any potential harm.
- Chemical Sterilizer: There are various types of chemical soil sterilizers available on the market. Some popular options include methyl bromide, formaldehyde, and chlorine-based products. It’s important to carefully read the labels and instructions before choosing one for your specific needs.
- Watering Can or Sprayer: You will need a watering can or sprayer to distribute the sterilizing solution over the soil surface evenly.
- Tarp or Plastic Sheeting: To prevent any chemical runoff, it’s recommended to use a tarp or plastic sheeting to catch any excess liquid.
- Timer: A timer will help you keep track of the necessary exposure time for the chemical to take effect.
10 Steps on How to Sterilize Soil With Chemicals
Once you have gathered all the necessary items, it’s time to start the sterilization process!
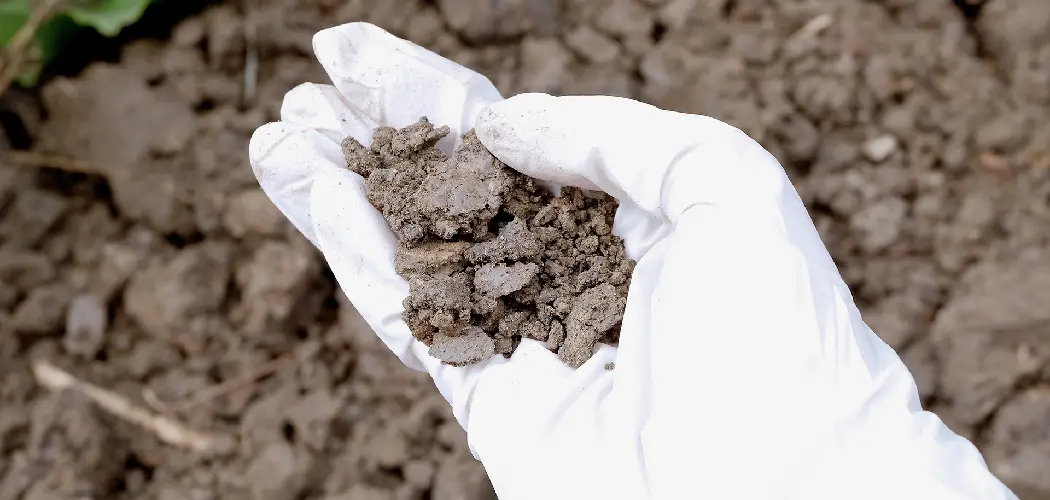
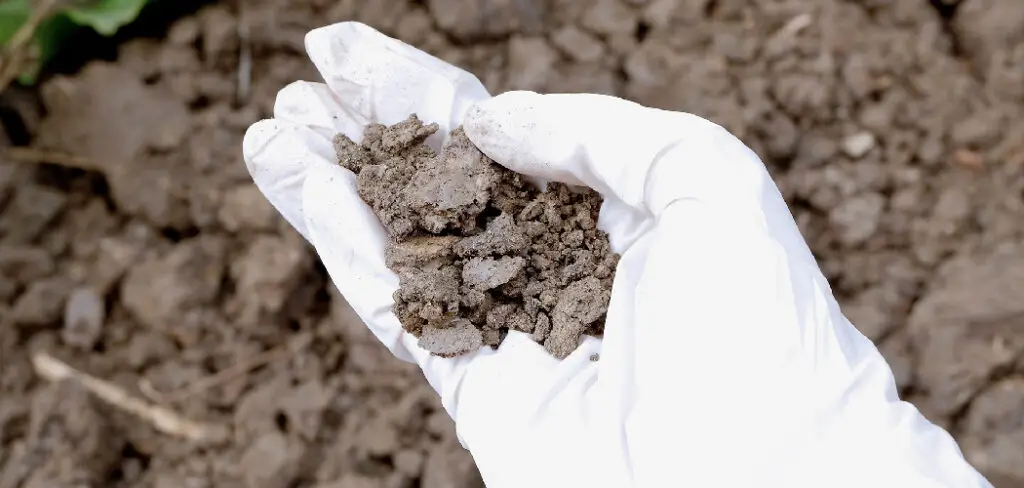
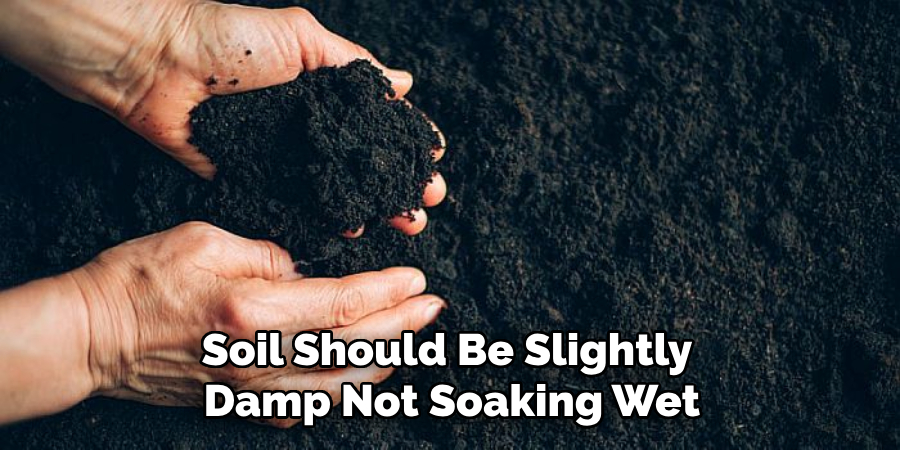
Step 1: Prepare Your Soil
Begin by watering your soil thoroughly. This will help the chemicals penetrate deeper into the ground and reach any potential pests or diseases hiding beneath the surface. It’s important to note that the soil should be slightly damp, not soaking wet.
Step 2: Read the Instructions
Before starting, read and understand the instructions on the chemical sterilizer label carefully. Each product may have different application methods and exposure times, so it’s crucial to follow them precisely for optimum results.
Step 3: Wear Protective Gear
As mentioned before, protective gear is essential when working with chemicals. Wear gloves, safety glasses, and a mask to protect your skin, eyes, and respiratory system from potential harm.
Step 4: Mix the Chemical Sterilizer
Follow the instructions on the label to mix the chemical sterilizer with water in the recommended ratio. Be careful not to inhale the fumes and avoid contact with your skin.
Step 5: Apply the Solution
Using a watering can or sprayer, evenly distribute the sterilizing solution over the soil surface. Be sure to cover all areas, including corners and edges.
Step 6: Cover the Area
Cover the area with a tarp or plastic sheeting to prevent any runoff and to trap the fumes. This will also help the chemicals work more effectively.
Step 7: Set a Timer
Set a timer according to the instructions on the label. The exposure time may vary depending on the product and target pests, so follow it precisely.
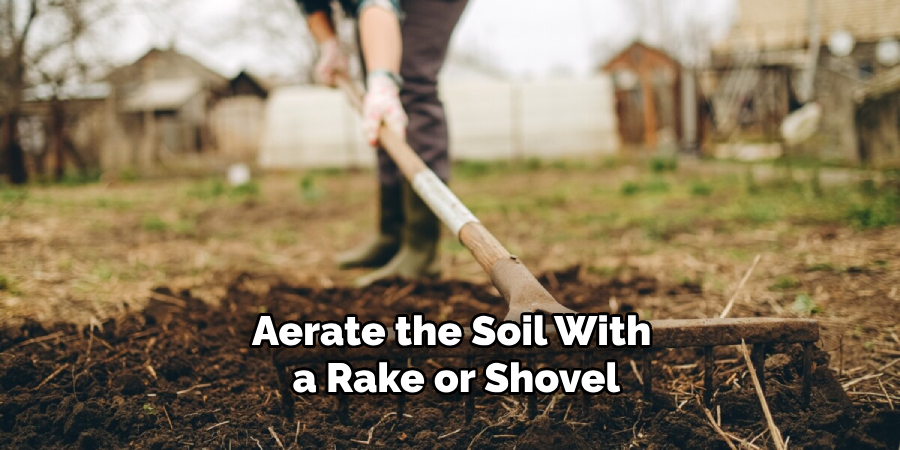
Step 8: Aerate the Soil
After exposure, remove the cover and aerate the soil with a rake or shovel. This will help release any trapped fumes and allow the soil to dry.
Step 9: Rinse the Area
If you are using a product that may leave harmful residue, it’s recommended to rinse the area with water carefully.
Step 10: Let Soil Rest
Allow the soil to rest for at least a week before planting new plants or seeds. This will give the chemicals enough time to dissipate and make the soil safe for your plants.
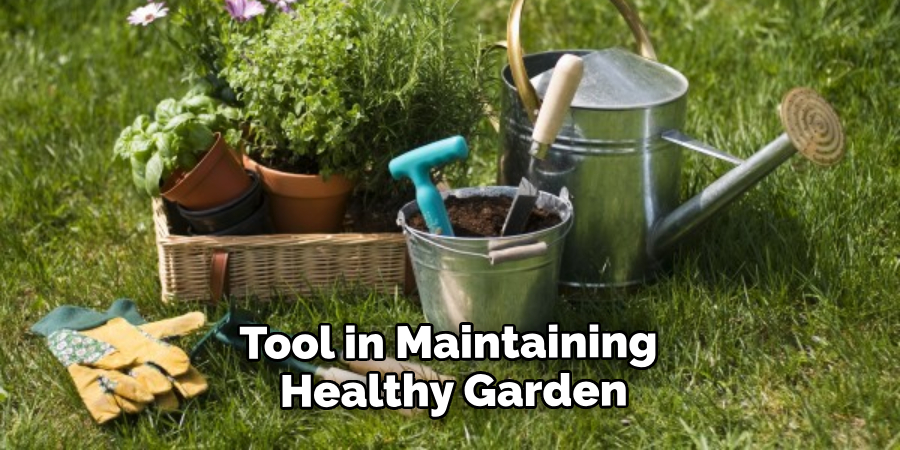
Chemical-based soil sterilization can be a highly effective method to eliminate pests and diseases, making it an essential tool for any gardener. However, it’s important always to follow the instructions carefully and take proper precautions when working with chemicals. With this guide, you can safely sterilize your soil and enjoy a healthy, thriving garden all year round!
8 Benefits of Chemical-Based Soil Sterilization
1. Eliminates Pests and Diseases
Chemical sterilization effectively kills harmful pests, pathogens, and weed seeds in the soil, ensuring your plants can grow healthy and disease-free.
2. Saves Time and Effort
Chemical sterilization is a quick and efficient method compared to steam sterilization, which can be time-consuming and labor-intensive.
3. Cost-Effective
Chemical sterilizers are readily available at affordable prices, making them a cost-effective solution for maintaining a healthy garden.
4. Safe for All Plant Types
Chemical sterilizers are safe for all plant types, including vegetables and flowers.
5. Can Be Used Anytime
Unlike other methods, chemical sterilization can be done anytime, before planting or when the soil is already planted with crops.
6. Long-Lasting Effects
Chemical sterilization can have long-lasting effects, preventing pests and diseases from returning for an extended period.
7. Improves Soil Quality
Sterilizing the soil with chemicals can also improve its quality by killing harmful microbes and creating a clean environment for growing plants.
8. Increases Plant Yield
By eliminating pests and diseases, chemical-based soil sterilization can significantly increase plant yield, resulting in a more bountiful harvest.
In addition to these benefits, it’s important to note that chemical-based soil sterilization should not be used as the sole method for maintaining healthy soil. It’s still essential to practice good gardening habits, such as crop rotation and proper watering techniques to ensure long-term soil health.
FAQs About Chemical-Based Soil Sterilization
Is Chemical Sterilization Safe for My Plants?
Yes, as long as you follow the instructions carefully and use the recommended chemical sterilizer, it is safe for all plants. However, it’s always best to test a small area before applying it to your garden.
How Often Should I Sterilize My Soil?
The frequency of soil sterilization depends on the pest and disease infestation level in your garden. If you have had previous issues, it’s recommended to sterilize your soil at least once a year.
Can Chemical Sterilization Harm the Environment?
Chemical sterilizers can be harmful to the environment if not used correctly. Be sure to follow all instructions, dispose of any leftover chemicals properly, and avoid using them near bodies of water.
Can I Use Chemical Sterilization in My Vegetable Garden?
Yes, chemical sterilization is safe for use in vegetable gardens. However, follow the recommended waiting period before planting any new crops.
Can I Sterilize My Soil While My Plants Are Already Growing?
It’s not recommended to sterilize your soil while plants are already growing, as it can harm their roots and potentially kill them. It’s best to do it before planting or when the soil is bare. Overall, chemical-based soil sterilization can be a useful tool in maintaining a healthy garden.
However, using it properly and in conjunction with other gardening practices for long-term soil health is essential. With the right precautions and care, you can enjoy a thriving garden free of pests and diseases all year round. So give your soil that much-needed clean slate for your plants to thrive!
Conclusion
Soil sterilization plays a vital role in maintaining a healthy and thriving garden. By following the steps on how to sterilize soil with chemicals outlined in this guide, you can safely and effectively eliminate pests and diseases from your soil using chemical-based sterilizers.
Ultimately, the decision on how to sterilize your soil lies with you. Based on the needs of your specific soil type and project, it’s important to pick the method that best works for you and your unique idea.
Whether it involves hot water and steam sterilization or chemical soaking, it is important to ensure that all rabbit droppings, weeds, insect eggs, and other organisms are eliminated to ensure a successful growing experience. It can be an arduous process, but remember that careful preparation makes for a positive gardening year.
So don’t be discouraged – you have all the tools necessary to make your garden thrive! If you ever feel like you need more assistance in space preparation, there are always professionals out there who can help.
Taking preventative measures now will always lead to better results. So get sterilizing and get growing! Always follow the instructions carefully, take proper precautions, and practice good gardening habits for long-term soil health.
You Can Check It Out to Store Mulch
About
Outdoor Fixes is a distinguished figure in the world of Diy design, with a decade of expertise creating innovative and sustainable Diy solutions.
His professional focus lies in merging traditional craftsmanship with modern manufacturing techniques,
fostering designs that are both practical and environmentally conscious. As the author of diy,
outdoorfixes delves into the art and science of outdoorfixes-making, inspiring artisans and industry professionals alike.
Education RMIT University
(Melbourne, Australia) Associate Degree in Design (Outdoor Fixes) Focus on sustainable design, industry-driven projects,
and practical craftsmanship. Gained hands-on experience with traditional and digital manufacturing tools, such as CAD and CNC software.
Nottingham Trent University
(United Kingdom) Bachelor’s in outdoorfixes.com and Product Design (Honors) Specialized in product design with a focus on blending creativity with production
techniques. Participated in industry projects, working with companies like John Lewis and Vitsoe to gain real-world insights.
Publications and Impact
In diy, Outdoor Fixes his insights on indoor design processes, materials, and strategies for efficient production.
His writing bridges the gap between artisan knowledge and modern industry needs, making it a must-read for both budding designers and seasoned professionals.