
If you have a backyard flock of chickens, you know how expensive buying feed can be. One solution to this problem is to make your fermented chicken feed.
Fermented chicken feed has numerous benefits for both your chickens and your wallet. It’s easier to digest, more nutritious, and it helps reduce waste. In this guide, we’ll go over the steps on how to store fermented chicken feed.
Why Fermented Chicken Feed is Better
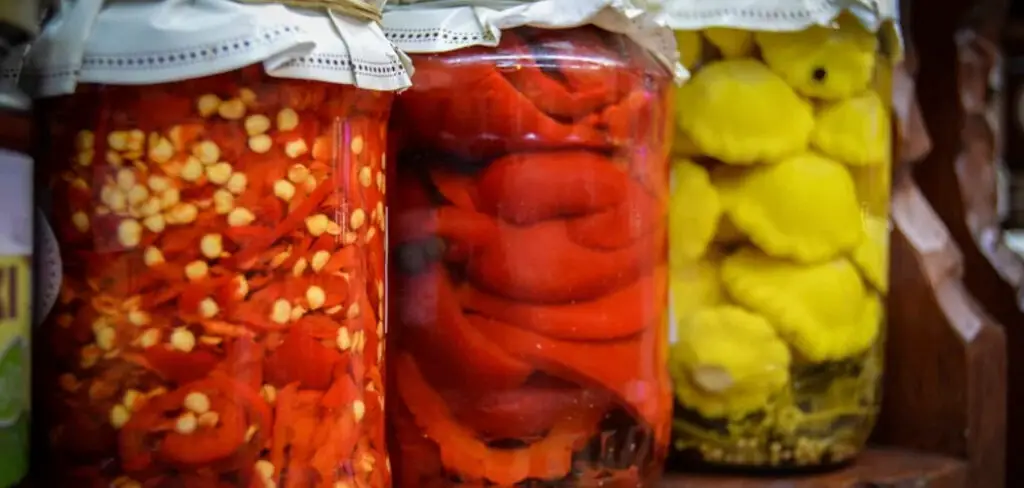
Fermenting chicken feed helps mimic the natural foraging behavior of chickens. In the wild, chickens eat a variety of food sources, including insects, plants, and grains. By fermenting the feed, you are creating an environment where beneficial bacteria can break down complex nutrients and make them more easily digestible for your chickens.
Fermented feed also has a higher nutritional value compared to non-fermented feed. The fermentation process increases the levels of B vitamins, probiotics, and enzymes in the feed. This can result in healthier and happier chickens, as well as improving egg production.
Additionally, fermenting chicken feed can help reduce waste. Chickens tend to be messy eaters, and they often waste a lot of food by scattering it around their coop or run. Fermented feed has a stronger smell and taste, making it less appealing for chickens to scatter and waste.
Necessary Items for Storing Fermented Chicken Feed
Before we get into the steps on how to store fermented chicken feed, here are some necessary items you will need:
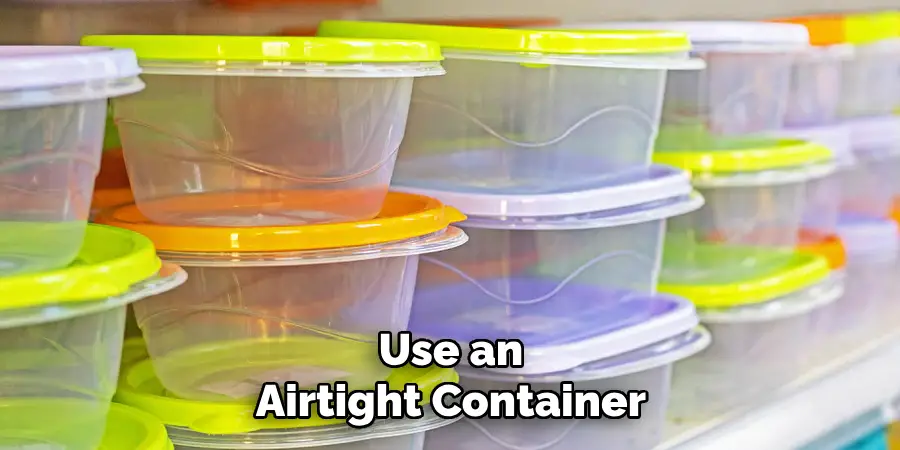
- Airtight Container: This is essential for keeping out oxygen and preventing mold growth.
- Water: You will need this to soak your feed before fermenting it.
- Non-chlorinated Water: It’s important to use non-chlorinated water in the fermentation process as chlorine can kill off beneficial bacteria.
- Feed: Use a high-quality feed that is free from mold and contaminants.
8 Things to Know Before You Start
1) Use the Right Container
When storing fermented chicken feed, the best option is to use an airtight container. This will help prevent oxygen from getting in and ruining your fermented feed. You can use a food-grade bucket or a tightly sealed glass jar.
2) Keep it Cool
Fermented feed should be stored in a cool location, preferably between 50-70°F (10-21°C). This is the ideal temperature for the fermentation process to occur without spoiling the feed. If the temperature is too high, the feed can spoil and become unsafe for your chickens to eat.
3) Avoid Direct Sunlight
When storing fermented chicken feed, it’s important to keep it away from direct sunlight. Sunlight can speed up the fermentation process, causing the feed to spoil quickly. But more importantly, sunlight can also reduce the nutritional value of the feed.
4) Don’t Overfill the Container
It’s important not to overfill your container when storing fermented chicken feed. The fermentation process produces gases that need room to expand. If you fill your container too full, it may burst or become difficult to open.
5) Label and Date Your Container
To keep track of how long your fermented feed has been fermenting, it’s important to label and date your container. This will help you determine when the feed is ready to be fed to your chickens and ensure that you don’t accidentally over-ferment your feed.
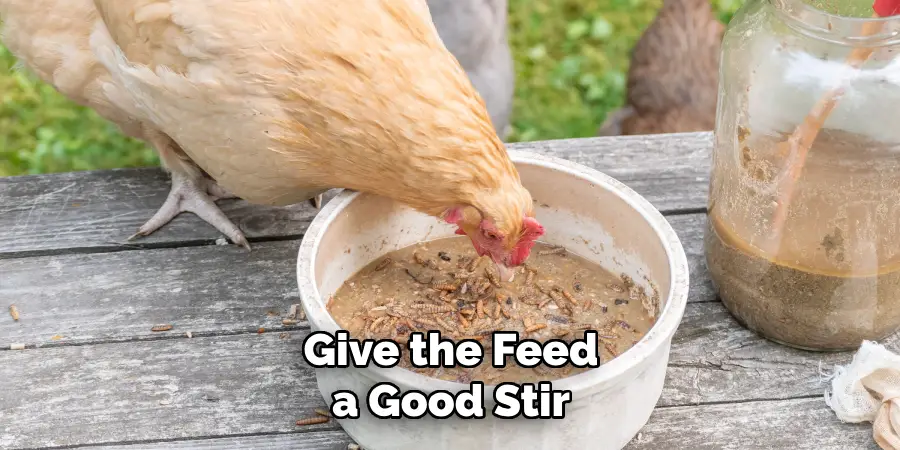
6) Stir Before Using
Before using the fermented chicken feed, make sure to give it a good stir. This will help distribute any settled liquid and ensure that all of your chickens are getting the same amount of nutrients.
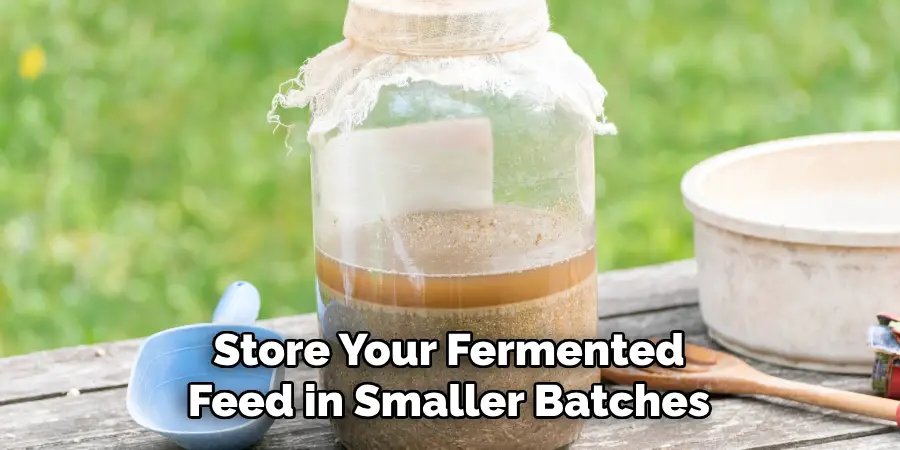
7) Store in Smaller Batches
If you have a large flock, it may be tempting to make a big batch of fermented feed to save time. However, it’s better to store your fermented feed in smaller batches. This will prevent the feed from spoiling and ensure that your chickens are always getting fresh, nutrient-rich feed.
8) Keep it Covered
When storing fermented chicken feed, make sure to keep the container covered at all times. This will help prevent any contaminants or pests from getting into the feed and potentially spoiling it. While keeping it covered, make sure to also leave a small vent for the gases produced during fermentation to escape.
Fermenting chicken feed is a simple and cost-effective way to provide your chickens with nutritious and easily digestible food. By following these steps, you can properly store your fermented feed and enjoy all of its benefits for your flock. Remember to always use high-quality feed and to monitor the fermentation process closely to ensure the safety of your chickens.
12 Steps on How to Store Fermented Chicken Feed
Step 1: Soak the Feed
The first step in storing fermented chicken feed is to soak your feed. This process softens the grains and allows for easier fermentation. Measure out the desired amount of feed and place it in a large container. Then, cover the feed with non-chlorinated water until it is fully submerged.
Step 2: Let the Feed Soak
After soaking, leave the container in a cool location for at least 24 hours. This will allow enough time for the beneficial bacteria to start breaking down the nutrients in the feed. While the feed is soaking, make sure to keep it covered and away from direct sunlight.
Step 3: Stir the Feed
After 24 hours, give the feed a good stir. This will help distribute any settled liquid and ensure that all of your chickens are getting an equal amount of nutrients. If the feed seems too dry, you can add a little more water to achieve the desired consistency.
Step 4: Begin Fermenting
Once you have stirred the feed, it is ready to be fermented. Transfer the soaked feed into an airtight container and make sure to leave about two inches of space at the top for expansion. This will help prevent your container from bursting or becoming difficult to open.
Step 5: Store in a Cool Location
As mentioned earlier, it’s essential to store your fermented chicken feed in a cool location. Find a spot that stays between 50-70°F (10-21°C) and make sure the container is not exposed to direct sunlight.
Step 6: Keep it Covered
Always keep your fermented feed container covered to prevent any contaminants or pests from getting in. You can use a lid or cover it with a cloth secured by a rubber band. So long as there is a small vent for gases to escape, the container should be sufficiently covered.
Step 7: Monitor Gas Release
During fermentation, beneficial bacteria produce gases that can cause pressure to build up in the container. It’s essential to monitor this and release any excess gas through the venting hole. This will prevent your container from bursting or becoming too difficult to open.
Step 8: Label and Date Your Container
To keep track of how long your fermented feed has been fermenting, make sure to label and date your container. This will help you determine when the feed is ready for your chickens and ensure that you don’t accidentally over-ferment it.
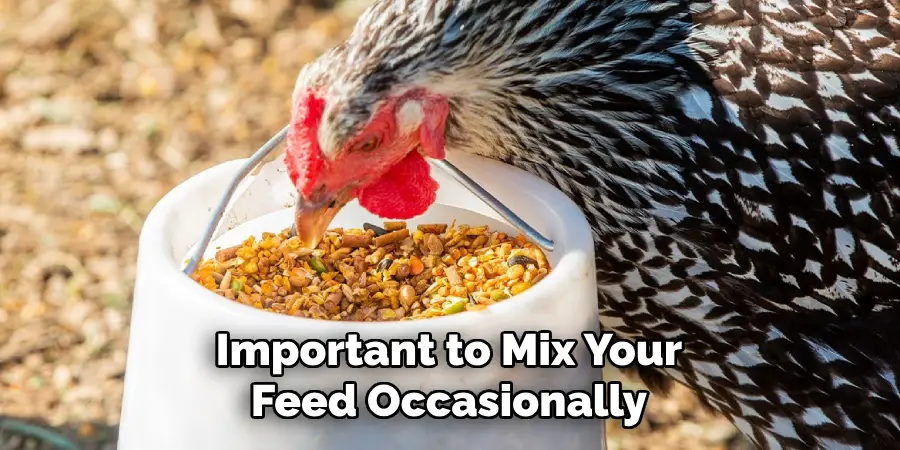
Step 9: Mix Occasionally
Throughout the fermentation process, it’s important to mix your feed occasionally. This will help distribute any settled liquid and ensure that all of your chickens are getting an equal amount of nutrients.
Step 10: Harvest Your Fermented Feed
After about 5-7 days, your fermented chicken feed should be ready to harvest and feed to your flock. The consistency should be similar to oatmeal and may have a slightly sour smell.
Step 11: Store in Smaller Batches
To prevent spoilage, it’s best to store your fermented feed in smaller batches. This will ensure that your chickens are always getting fresh, nutrient-rich feed and prevent any excess from going to waste.
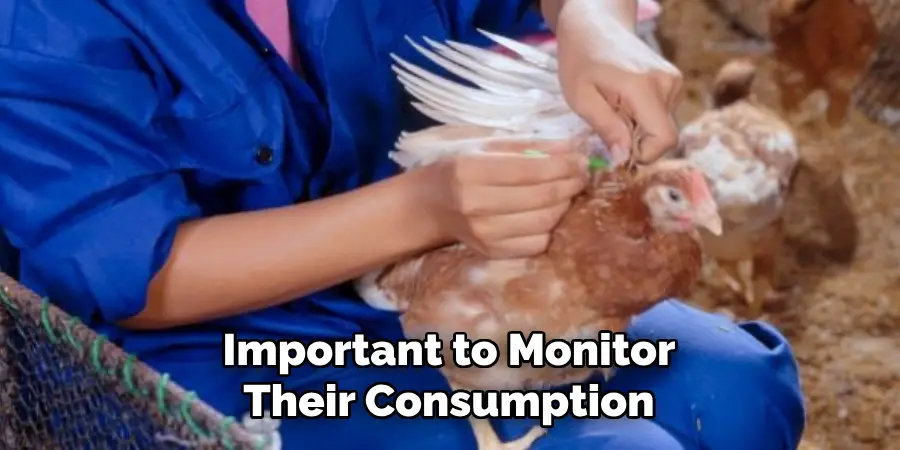
Step 12: Monitor Feed Consumption
As with any type of feed, it’s important to monitor your chickens’ consumption of fermented feed. They may take some time to adjust to the new taste and consistency, so make sure to introduce it slowly and keep track of how much they are eating. If you notice any adverse effects on their health or egg production, discontinue use immediately.
Properly stored fermented chicken feed can provide numerous benefits for your chickens, including increased nutrient absorption and improved gut health. By following these steps on how to store fermented chicken feed and keeping a close eye on the fermentation process, you can ensure that your chickens are getting the best possible feed. So why not give it a try and see the results for yourself? Your flock will thank you!
8 Things to Avoid When Storing Fermented Chicken Feed
1) Using Chlorinated Water
When soaking your feed for fermentation, make sure to use non-chlorinated water. Chlorine can kill beneficial bacteria and hinder the fermentation process. If your tap water is chlorinated, simply let it sit in an open container for 24 hours to allow the chlorine to evaporate.
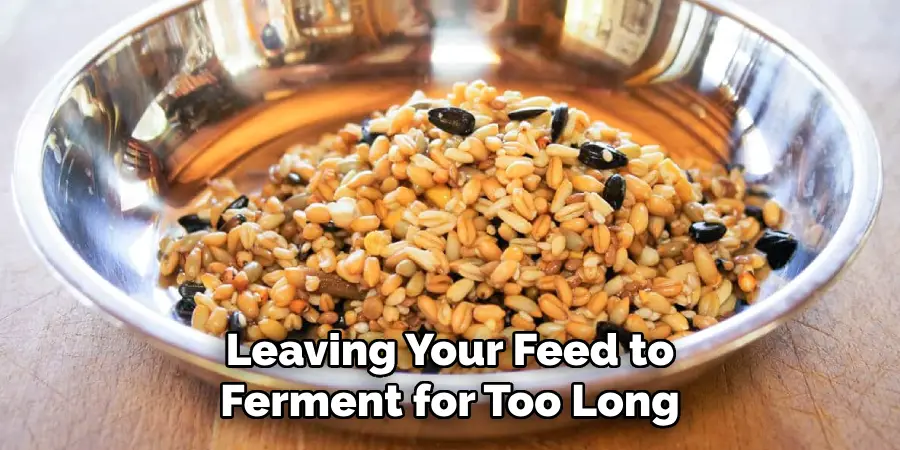
2) Over-fermenting
Leaving your feed to ferment for too long can result in a sour and potentially harmful product. It’s important to monitor the fermentation process closely and harvest the feed at the right time (typically 5-7 days).
3) Not Covering the Container
As mentioned earlier, it’s important to keep your fermented feed container covered to prevent contamination and pests. Leaving it uncovered can also lead to excess moisture loss, which can affect the consistency and nutrient content of the feed.
4) Storing in Direct Sunlight
Exposing your fermented feed to direct sunlight can affect the fermentation process and potentially spoil the feed. Make sure to store it in a cool, dark place for optimal results. As an extra precaution, you can also wrap the container in a dark cloth.
5) Not Mixing Occasionally
Fermentation is an ongoing process that requires occasional mixing to ensure the even distribution of nutrients. Neglecting to mix your feed can result in uneven consistency and nutrient levels. So make sure to give it a good stir every now and then.
6) Allowing Excess Gas Buildup
As mentioned earlier, releasing excess gas buildup is crucial in preventing your container from bursting. If you notice excessive pressure building up, simply release some of the gas through the venting hole or transfer the feed into a larger container.
7) Not Labeling or Dating Your Container
To avoid confusion and potential spoilage, make sure to label and date your fermented feed container. This will help you keep track of how long it has been fermenting and when it is ready to be fed to your chickens.
8) Not Monitoring Feed Consumption
While fermented feed can provide numerous benefits for your chickens, it’s important to monitor their consumption and ensure they adjust well to the new feed. If you notice any adverse effects, it’s best to discontinue use immediately and consult a veterinarian if necessary.
Your chickens’ health and well-being should always be top priority. Overall, by avoiding these common mistakes and following proper storage techniques how to store fermented chicken feed, you can ensure that your fermented chicken feed is safe, nutritious, and beneficial for your flock.
8 Additional Tips for Successful Fermentation
1) Use High-Quality Ingredients
The quality of your ingredients will directly impact the nutrient content and overall success of your fermented feed. Make sure to use fresh, high-quality grains and other ingredients to ensure that your chickens are getting the best possible nutrition.
2) Experiment with Different Recipes
There is no one “perfect” recipe for fermented chicken feed. Don’t be afraid to experiment with different grains, ratios, and added ingredients (such as herbs or probiotics) to find what works best for your flock.
3) Use a Mason Jar for Small Batches
If you only have a small number of chickens, consider using a mason jar for fermenting smaller batches of feed. This will allow for easier mixing and monitoring of the fermentation process. Soaking the feed in a mason jar can also help prevent contamination.
4) Use a Larger Container for Larger Batches
On the other hand, if you have a larger flock, it’s best to use a larger container for fermenting your feed. This will provide enough space for proper fermentation and ensure that all of your chickens are getting enough feed.
5) Clean and Sanitize Your Container Regularly
To prevent the growth of harmful bacteria, make sure to regularly clean and sanitize your fermentation container. Use hot water and soap, and consider using a natural disinfectant such as vinegar.
6) Consider Adding Probiotics or Other Supplements
Adding probiotics or other supplements to your fermented feed can provide additional health benefits for your chickens. However, make sure to do your research and consult with a veterinarian before adding any new ingredients.
7) Store Fermented Feed in Smaller Containers
To avoid spoilage and maintain freshness, consider dividing your fermented feed into smaller containers for storage. This will also make it easier to access and feed your chickens on a daily basis.
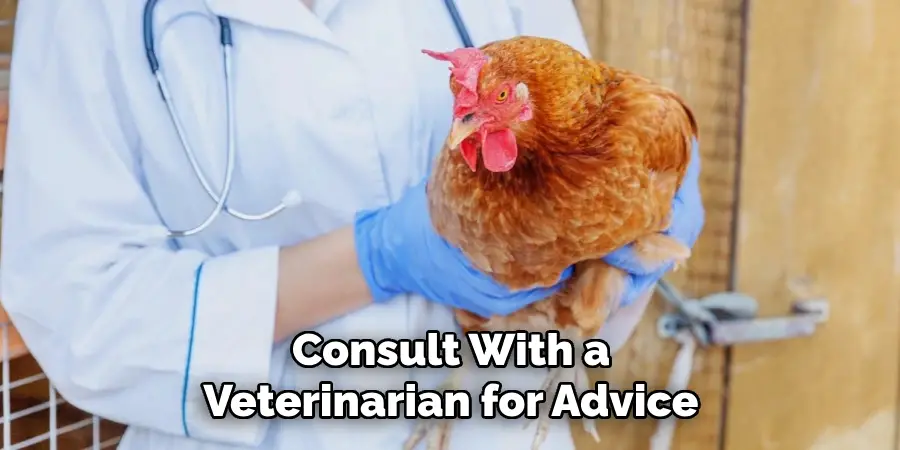
8) Monitor Your Chickens’ Health and Egg Production
After transitioning to fermented feed, make sure to monitor your chickens’ health and egg production. If you notice any changes or issues, adjust the fermentation process or consult with a veterinarian for advice. Remember, every flock is unique and may require different techniques for successful fermentation.
By following these additional tips on how to store fermented chicken feed and constantly learning and adapting your fermentation process, you can ensure that your fermented chicken feed is a success for both you and your flock. Happy fermenting! Remainder of Document.
Overall, fermented chicken feed is an excellent way to provide your flock with optimal nutrition while also reducing waste and improving gut health. By avoiding common mistakes and implementing proper storage techniques, as well as following these additional tips, you can successfully ferment feed for your chickens and reap the benefits.
Frequently Asked Questions
How Long Does It Take to Ferment Chicken Feed?
The amount of time it takes to ferment chicken feed can vary depending on factors such as temperature and the type of grains used. In general, fermentation can take anywhere from 3-7 days. It’s best to closely monitor the feed and use your senses (smell, taste, appearance) to determine when it is ready.
Can I Ferment Other Types of Feed for My Chickens?
Yes, you can ferment other types of feed, such as vegetables, fruits, and even kitchen scraps for your chickens. Just make sure to do thorough research on proper fermentation techniques for each type of feed.
Is Fermented Chicken Feed Safe for My Chickens?
When done correctly, fermented chicken feed is safe and even beneficial for your chickens. However, it’s important to closely monitor your chickens’ health and discontinue use if any issues arise. If you have concerns or questions, consult with a veterinarian for advice.
Can I Use Fermented Feed for Chicks?
It’s generally not recommended to use fermented feed for chicks as they have different nutritional needs. It’s best to stick with a high-quality, unfermented starter feed for young chicks.
What If My Chickens Don’t Like the Fermented Feed?
Some chickens may take time to adjust to fermented feed or simply prefer their old feed. In this case, you can slowly transition them to fermented feed by gradually mixing it in with their current feed until they are fully adjusted.
Alternatively, you can also try experimenting with different recipes and ingredients to find what works best for your flock. Overall, remember that every flock is unique and may have different preferences when it comes to fermented feed. Keep an open mind and be willing to adapt and adjust your methods for the benefit of your chickens.
Conclusion
Thank you for taking the time to learn about fermented chicken feed and how to successfully ferment it for your flock.
By avoiding common mistakes, implementing proper storage techniques, and following these additional tips on how to store fermented chicken feed, you can ensure that your chickens are getting the best nutrition possible. Remember to always prioritize your chickens’ health and well-being and consult with a veterinarian if necessary.
You Can Check It Out to Hang a Chicken Feeder
About
Outdoor Fixes is a distinguished figure in the world of Diy design, with a decade of expertise creating innovative and sustainable Diy solutions.
His professional focus lies in merging traditional craftsmanship with modern manufacturing techniques,
fostering designs that are both practical and environmentally conscious. As the author of diy,
outdoorfixes delves into the art and science of outdoorfixes-making, inspiring artisans and industry professionals alike.
Education RMIT University
(Melbourne, Australia) Associate Degree in Design (Outdoor Fixes) Focus on sustainable design, industry-driven projects,
and practical craftsmanship. Gained hands-on experience with traditional and digital manufacturing tools, such as CAD and CNC software.
Nottingham Trent University
(United Kingdom) Bachelor’s in outdoorfixes.com and Product Design (Honors) Specialized in product design with a focus on blending creativity with production
techniques. Participated in industry projects, working with companies like John Lewis and Vitsoe to gain real-world insights.
Publications and Impact
In diy, Outdoor Fixes his insights on indoor design processes, materials, and strategies for efficient production.
His writing bridges the gap between artisan knowledge and modern industry needs, making it a must-read for both budding designers and seasoned professionals.