
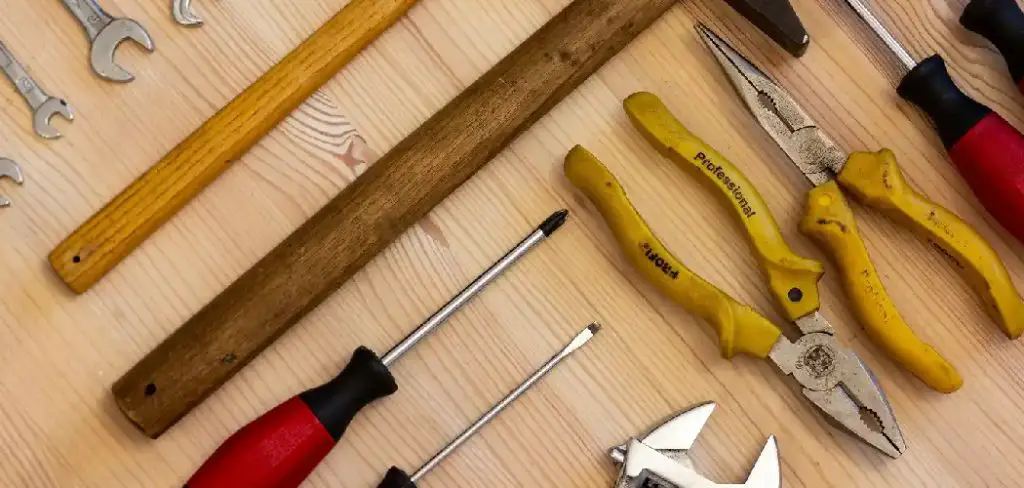
Every gardener knows the frustration of searching for a misplaced trowel or discovering a favorite pair of shears has rusted over the winter. Your tools are the essential extensions of your hands, helping you cultivate, plant, and prune your personal oasis. However, when they are tossed haphazardly into a corner or left exposed to the elements, their lifespan drastically decreases, leading to unnecessary replacement costs and dull performance.
Proper organization is about more than just tidiness; it is about respecting the equipment that helps your garden thrive. By implementing a systematic approach to storage, you protect your investment, ensure safety for your family, and make every gardening session more efficient and enjoyable.
This guide is designed to transform your chaotic shed or garage into a functional workspace. We will walk you through exactly how to store gardening tools properly, covering everything from cleaning and maintenance to creative hanging solutions that save space and keep your gear ready for action.
When to Store Your Gardening Tools
Timing is crucial when it comes to storing your gardening tools. After each use, it’s important to clean and dry your tools before putting them away to prevent rust and prolong their lifespan.
At the end of the gardening season, typically in late fall, take time to inspect all equipment for damage or wear, performing any necessary maintenance before storing them for the winter. Seasonal storage ensures your tools remain in excellent condition and are ready for use when spring arrives. Regularly assess your storage area throughout the year to address organization needs and keep everything in its designated place.
Step-by-Step Guide on How to Store Gardening Tools
Step 1: Clean and Dry Before Storage
Before you even consider where to place your equipment, you must ensure it is ready for hibernation. Putting away dirty tools is the fastest way to invite rust and spread plant diseases. Start by using a stiff wire brush or a putty knife to scrape off caked-on mud from shovels, hoes, and spades. Wash metal surfaces with a strong stream of water and a little dish soap if necessary to remove sap or sticky residue.
Once they are visibly clean, dry them thoroughly with an old towel or rag. Moisture is the enemy of metal, so never put a tool away wet. For added protection, wipe down metal parts with an oily rag to create a barrier against humidity and oxidation while they sit in storage.
Step 2: Remove Rust and Sharpen

Ideally, your tools should be in peak condition before they are stored away. Inspect each item closely for signs of rust or dullness. If you find orange or brown spots, use steel wool or a piece of medium-grit sandpaper to buff the metal until it shines again. Once the rust is gone, sharpen the edges of your hoes, shovels, and pruning shears using a mill file or a specialized sharpening stone. A sharp tool requires less physical effort to use and makes cleaner cuts that heal faster on your plants. Maintaining the edge now means you will be ready to work immediately when spring arrives, rather than having to perform maintenance on the first sunny day of the season.
Step 3: Condition Wooden Handles
The metal business end of the tool gets most of the attention, but the handle is just as critical for safety and comfort. Wooden handles can dry out, crack, and splinter over time if they are not properly cared for. Inspect your handles for any rough spots or splinters and sand them smooth with fine-grit sandpaper. Once the wood is smooth and clean, apply a generous coat of boiled linseed oil using a clean cloth. Allow the oil to soak into the grain for several minutes before wiping away any excess. This simple process keeps the wood flexible and water-resistant, preventing the handle from becoming brittle and snapping under pressure during heavy use next season.
Step 4: Sort and Categorize Your Collection
Organization begins with grouping similar items together. Lay all your tools out on a driveway or lawn and sort them into logical categories. Group long-handled tools like rakes, shovels, and brooms in one pile. Place hand tools like trowels, cultivators, and weeders in another. Separate specialized cutting tools like pruners, loppers, and shears. This visual inventory helps you understand exactly how much space you need for each type of equipment. It also helps you identify duplicates or broken items that can be donated or discarded. By categorizing first, you can design a storage system that fits your specific collection rather than trying to force your tools into a generic setup that doesn’t work for you.
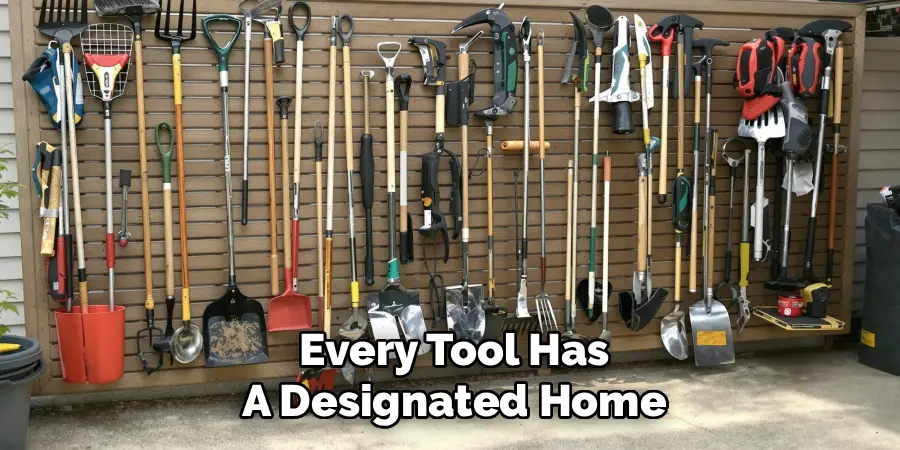
Step 5: Utilize Vertical Wall Space
The most efficient way to maximize space in a shed or garage is to get your tools off the floor. Vertical storage keeps your equipment visible, accessible, and safe from moisture damage. Install a heavy-duty pegboard, a slat wall system, or a simple row of sturdy hooks along the wall studs. Hang long-handled tools with the heads facing up to prevent them from resting on the ground and dulling their edges. For heavier items, consider using specialized brackets or gravity-held tool racks that grip the handles securely. This vertical approach clears valuable floor space for lawnmowers or bags of soil and transforms your walls into an organized gallery where every tool has a designated home.
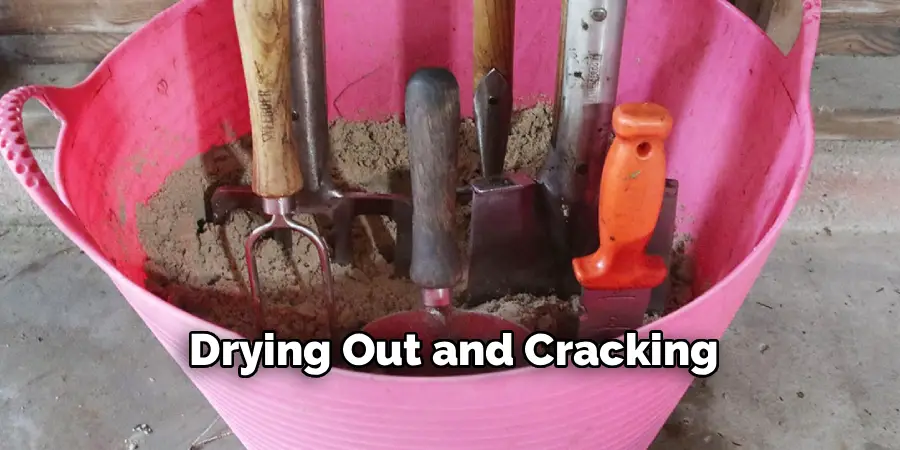
Step 6: Use Containers for Small Items
Small hand tools often get lost in the shuffle of larger equipment. To prevent this, designate specific containers for your smaller items. A dedicated bucket filled with sand and a bit of oil makes an excellent holder for trowels and hand forks; you simply plunge the metal blades into the mixture, which cleans and oils them simultaneously. Alternatively, you can use magnetic strips mounted to the wall or workbench to hold metal hand tools securely in place. Clear plastic bins or labeled drawers are perfect for storing gardening accessories like gloves, plant markers, twine, and seed packets. Keeping these smaller items contained ensures they are easy to find and protects them from dust and pests.
Step 7: Create a Mobile Tool Station
For the ultimate in convenience, consider creating a mobile storage solution that can move with you around the garden. An old golf bag, a rolling utility cart, or a bucket organized with a fabric tool caddy can serve as a portable command center. Load this mobile station with your most frequently used items—pruners, a trowel, gloves, and a water bottle. When you are done for the day, simply roll or carry the entire station back to the shed. This method saves you from making multiple trips back and forth to grab forgotten items and encourages you to put tools back in their rightful place immediately after use, maintaining the order you worked so hard to establish.
Frequently Asked Questions
Should I Oil My Gardening Tools Before Storing Them?
Yes, applying a light coat of oil is highly recommended, especially for long-term winter storage.
- Metal Parts: Use general-purpose machine oil, WD-40, or even vegetable oil spray on metal blades and heads. This creates a protective barrier against moisture and oxygen, which are the primary causes of rust.
- Moving Parts: Lubricate the pivot points of shears and loppers to keep the action smooth.
- Wooden Handles: As mentioned, linseed oil prevents the wood from drying out and cracking.
Can I Store Garden Tools Outside?
Storing tools outdoors is generally not advisable unless you have a completely waterproof storage box. Even if they are under an overhang, humidity, temperature fluctuations, and UV rays can cause significant damage. Moisture leads to rust on metal and rot in wooden handles, while the sun can make plastic handles brittle and prone to cracking. Always aim to store your equipment in a shed, garage, or basement to extend its lifespan.
What Is the Best Way to Store a Hose?
Leaving a hose in a heap on the ground causes kinks and cracks, and creates a tripping hazard.
- Drain It: Always drain all the water out before winter to prevent freezing and bursting.
- Coil It: Loop the hose neatly onto a wall-mounted hose reel or a large hook.
- Connect Ends: Screw the male and female ends together to keep insects and dirt out of the interior.
- Store Indoors: If possible, bring the hose inside a garage or shed during freezing months.
How Do I Remove Heavy Rust from Old Tools?
For tools that have been neglected for years, simple steel wool might not be enough.
- Vinegar Soak: Submerge the rusty metal parts in a bucket of white vinegar for 24 hours. The acidity dissolves the rust.
- Scrub: After soaking, scrub with a wire brush or ball of aluminum foil. The rust should come off easily.
- Baking Soda: Neutralize the acid by rinsing with a baking soda and water solution, then dry thoroughly and oil immediately.
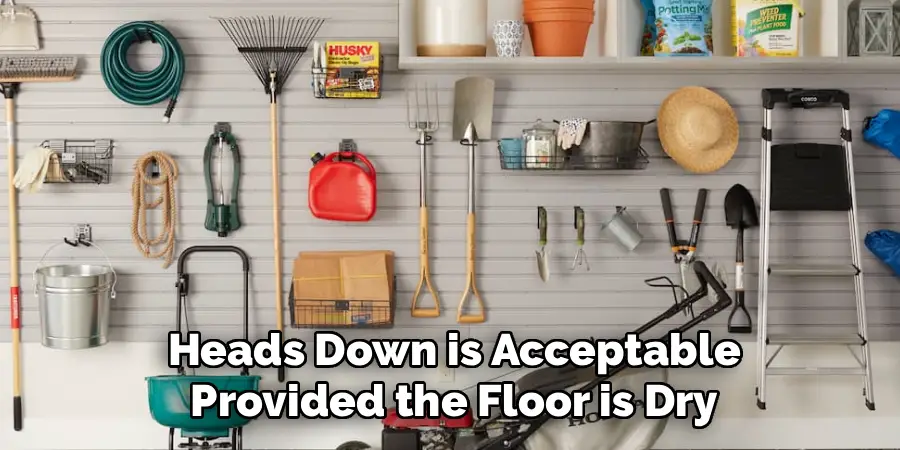
Is It Better to Hang Tools Up or Down?
Generally, it is better to hang long-handled tools like shovels and rakes with the heads up. This prevents the weight of the tool from resting on the blade or tines, which can dull edges or bend metal over time. It also keeps the sharp parts at eye level, making them easier to identify. However, ensure they are secured properly so they don’t fall. If you use a floor rack, heads down is acceptable provided the floor is dry.
Conclusion
Organizing your garden shed is an investment that pays dividends every time you head out to work in the yard. By taking the time to clean, repair, and properly house your equipment, you are not just tidying up a space; you are extending the life of your valuable gear and making your hobby more enjoyable. A well-organized space reduces frustration, prevents accidents, and ensures that when the weeds start growing, you are ready to meet them head-on with sharp, reliable equipment. Remember that maintenance is an ongoing process, but setting up a solid system now makes it effortless to keep up with in the future.
About
Outdoor Fixes is a distinguished figure in the world of Diy design, with a decade of expertise creating innovative and sustainable Diy solutions.
His professional focus lies in merging traditional craftsmanship with modern manufacturing techniques,
fostering designs that are both practical and environmentally conscious. As the author of diy,
outdoorfixes delves into the art and science of outdoorfixes-making, inspiring artisans and industry professionals alike.
Education RMIT University
(Melbourne, Australia) Associate Degree in Design (Outdoor Fixes) Focus on sustainable design, industry-driven projects,
and practical craftsmanship. Gained hands-on experience with traditional and digital manufacturing tools, such as CAD and CNC software.
Nottingham Trent University
(United Kingdom) Bachelor’s in outdoorfixes.com and Product Design (Honors) Specialized in product design with a focus on blending creativity with production
techniques. Participated in industry projects, working with companies like John Lewis and Vitsoe to gain real-world insights.
Publications and Impact
In diy, Outdoor Fixes his insights on indoor design processes, materials, and strategies for efficient production.
His writing bridges the gap between artisan knowledge and modern industry needs, making it a must-read for both budding designers and seasoned professionals.