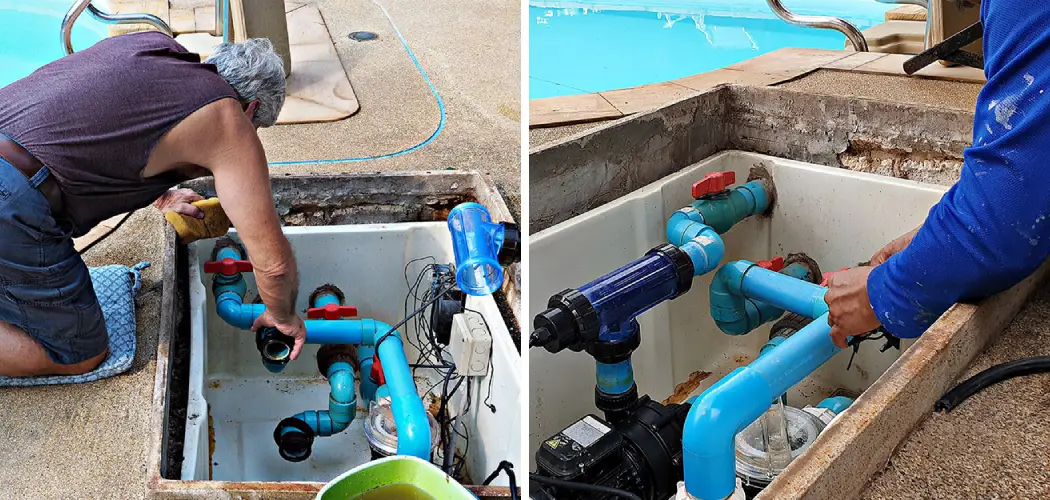
It’s summertime and pool maintenance season is in full swing! You may be looking for the best ways to keep the water in your pool sparkling. A crucial element of a successful pool maintenance routine is testing your pump capacitor. Without it, you won’t have the circulation necessary to keep your water clean and safe.
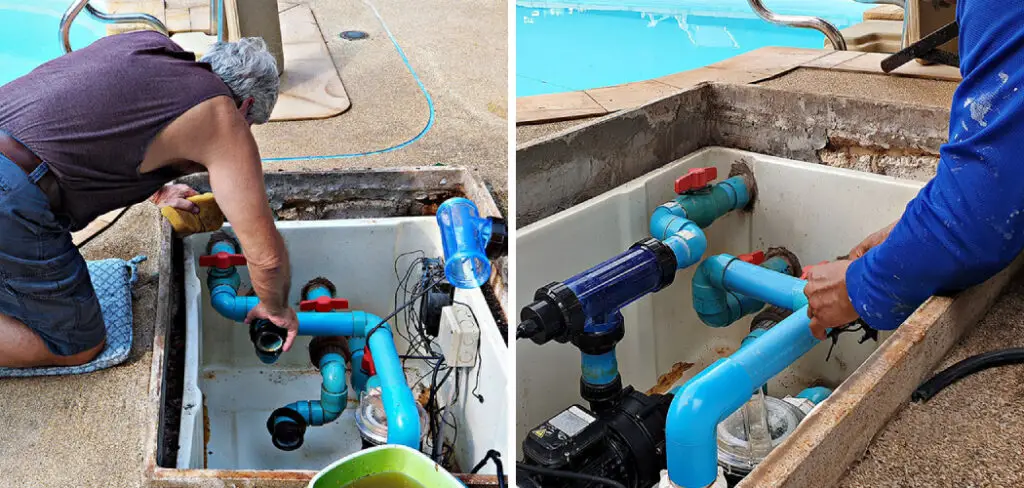
If you’re not sure what a capacitor does or how to test it, don’t worry – we’ve got all the information you need right here! Read on to learn about how capacitors work, why they are important for keeping a swimming pool running smoothly, and step-by-step instructions on how to test a pool pump capacitor.
Things to Consider Before Testing Your Pool Pump Capacitor
Before jumping in and testing your pool pump capacitor, it’s important to know a few things. Firstly, make sure you have the correct tools for the job. You’ll need a multimeter (a device used to measure electrical current) and protective gloves that are rated for working with electricity.
Secondly, be aware of any safety precautions recommended by your pool pump manufacturer. Different models may require specific steps to be taken before testing the capacitor.
Lastly, keep in mind that pool pump capacitors store an electrical charge even when disconnected from power. Always handle them with care and caution.
Necessary Materials
Given below is a list of materials that will be needed in order to successfully test your pool pump capacitor:
- Multimeter
- Protective Gloves Rated for Working With Electricity
- Screwdriver (if Necessary)
- Electrical Tape (if Necessary)
- Safety Glasses (if Recommended by Manufacturer)
11 Step-by-step Guidelines on How to Test a Pool Pump Capacitor
Step 1: Turn off the Power to the Pump
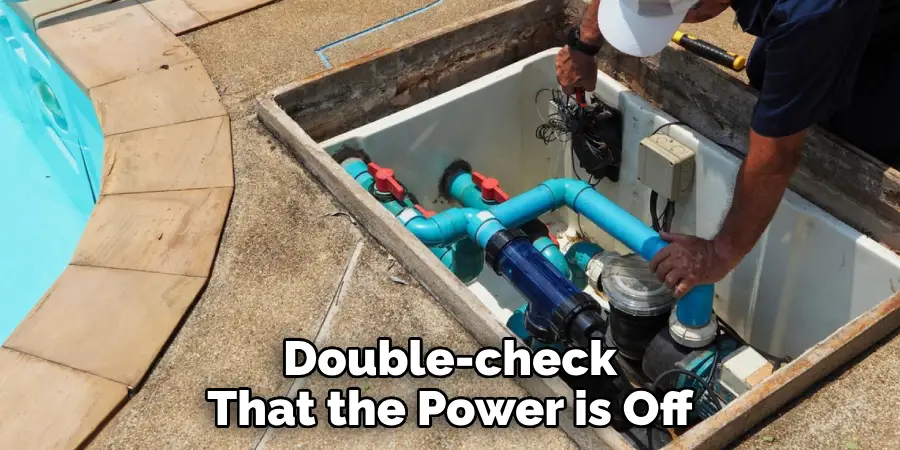
Before you begin, make sure to turn off all power sources connected to your pool pump. This includes any circuit breakers or switches. It’s crucial to not only protect yourself but also avoid damaging the capacitor and other components of the pump. It’s a good idea to double-check that the power is off by trying to turn on the pump.
Step 2: Locate the Capacitor
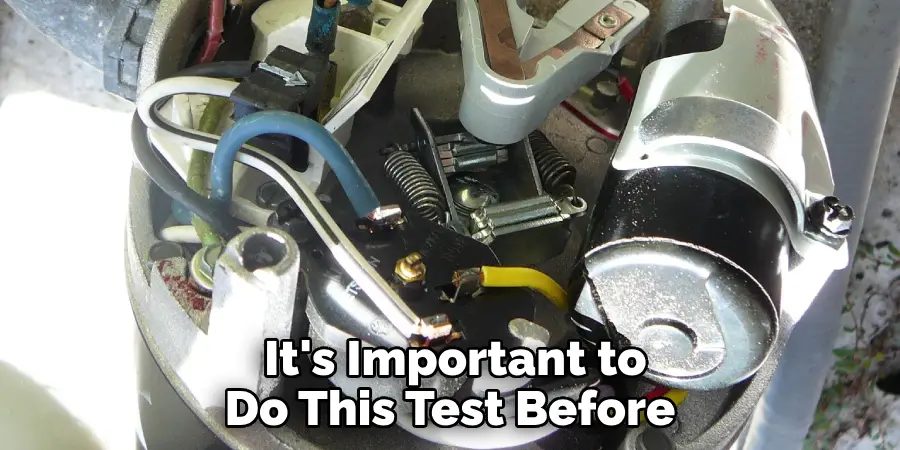
The capacitor will be located in your pool pump’s electrical panel. You may need to open the panel with a screwdriver if it’s not easily accessible. Bigger pumps may have more than one capacitor, so make sure to locate the right one.
It should be cylindrical in shape and have two or more wires connected to it. This is the part that stores electrical energy and helps start the pump’s motor. It’s a critical component in your pool pump’s functioning.
Step 3: Discharge the Capacitor
As mentioned earlier, capacitors can hold an electrical charge even when disconnected from power. To avoid any accidents, you’ll need to discharge it before testing it. Start by disconnecting all wires connected to the capacitor.
Then use a screwdriver with insulated handles to shorten the two terminals together. This will release any stored electrical charge. You can also use a capacitor tester to discharge the capacitor if you have one. It’s always better to be safe than sorry!
Step 4: Set Up Your Multimeter
Now it’s time to prepare your multimeter for testing the capacitor. First, make sure it’s set to read capacitors and not any other unit of measurement. Next, set the dial to the highest range available (usually in microfarads or μF). This will ensure accurate readings. It’s also a good idea to zero the multimeter before testing. But don’t worry if your multimeter doesn’t have this feature, as it will still work without zeroing.
Step 5: Test for Continuity
Continuity testing helps determine if there are any breaks in the circuit. This step will make sure that your capacitor is not already damaged before proceeding with further tests. Connect one lead of the multimeter to one terminal of the capacitor and touch the other lead to the other terminal.
The multimeter will either display a reading (meaning there is continuity) or it won’t (meaning there is a break in the circuit). However, don’t assume your capacitor is working just yet. There are further tests to be done.
Step 6: Test for Resistance
Resistance testing measures the flow of electricity through a device. It’s important to do this test before and after discharging the capacitor to determine if there are any changes in readings. Touch one lead of the multimeter to either terminal of the capacitor and touch the other lead to both terminals simultaneously.
The reading on your multimeter should be close to zero, indicating low resistance. It’s normal for there to be some resistance, but if the reading is too high or infinite, it could mean that the capacitor has failed.
Step 7: Test for Voltage
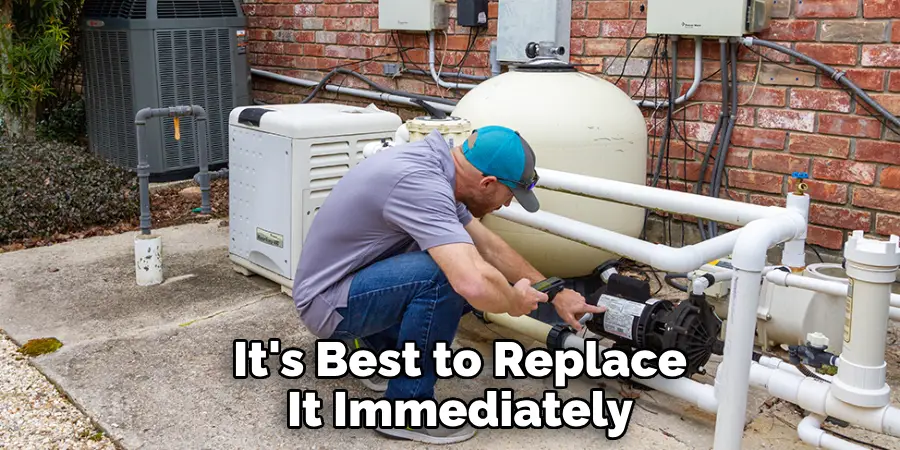
Voltage testing will determine if your capacitor can hold and sustain a charge. Touch one lead of the multimeter to one terminal of the capacitor and touch the other lead to any metal part (not the other terminal!) on the pump. The reading should be close to zero, indicating no voltage. If there is any significant voltage present, it means that your capacitor is faulty. You should replace it immediately. But if the reading is zero, it means your capacitor is good.
Step 8: Test for Capacitance
This step will measure the actual value of capacitance stored in the capacitor. Touch one lead of the multimeter to one terminal and touch the other lead to the other terminal. The reading will indicate the capacitance value in microfarads (μF). Compare this value to the manufacturer’s recommended range for your pump model. If it’s within that range, then your capacitor is functioning correctly.
Step 9: Test for Capacitor Leakage
Capacitors can sometimes leak, causing them to fail. This test will determine if there is any leakage in your capacitor. First, discharge the capacitor again using the same method as before. Then touch one lead of the multimeter to either terminal and touch the other lead to any metal part on the pump (not the other terminal).
The reading should be infinite or close to it. If there is any significant reading, it means that your capacitor is leaking and needs to be replaced.
Step 10: Reinstall the Capacitor
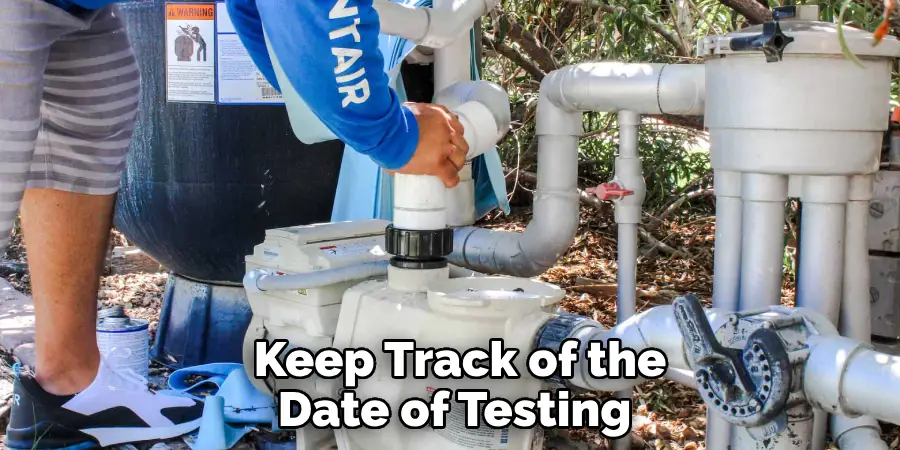
Once you have completed all the necessary tests and determined that your capacitor is functioning correctly, it’s time to reinstall it. Make sure to connect all wires as they were before, and securely close the electrical panel of your pump. It’s also a good idea to label the capacitor with the date of testing, so you know when it might need to be replaced in the future. But don’t worry; capacitors have a relatively long lifespan.
Step 11: Turn on the Power and Check Pump Functionality
Now that everything is back in place, turn the power back on and check your pump’s functionality. If it starts up without any issues and runs smoothly, it means that your capacitor was not the problem.
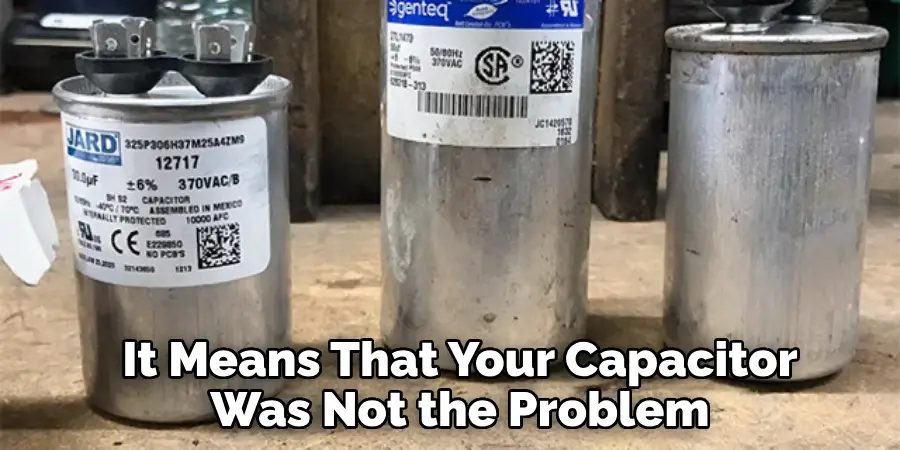
However, if you continue to experience problems with your pump, it’s best to call a professional for further troubleshooting and repairs. Regularly testing your pool pump capacitor can help prevent unexpected breakdowns and ensure that your pool stays clean and functional.
So make sure to include this maintenance task in your routine pool care regimen. Happy swimming! With these steps, you now know how to test a pool pump capacitor and can confidently diagnose any potential issue
Do You Need to Hire Professionals?
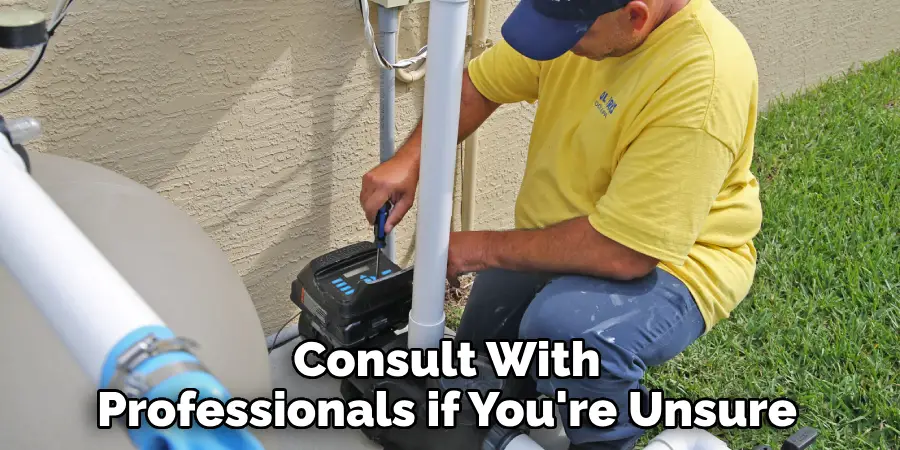
While testing a pool pump capacitor may seem like a simple task, it’s always best to consult with professionals if you’re unsure or uncomfortable performing the tests yourself. They have the necessary knowledge and experience to accurately diagnose any issues and make repairs if needed.
Additionally, some manufacturers may require that only certified technicians handle any repairs or replacements of pool pump components. This is because they want to ensure the safety and proper functioning of their products. So if you’re not confident in your abilities or are unsure of any warranty restrictions, it’s best to leave it to the professionals.
Maintaining Your Pool Pump
Proper maintenance of your pool pump is crucial to its longevity and efficiency. In addition to regularly testing the capacitor, there are a few other things you can do to keep your pool pump in top condition.
- Clean or Replace the Filter Regularly to Prevent Clogs and Ensure Proper Filtration.
- Check for Any Debris in the Impeller Housing and Remove It if Necessary.
- Lubricate Any O-rings and Gaskets to Prevent Drying Out and Cracking.
- Keep an Eye Out for Leaks and Address Them Promptly to Prevent Damage.
- Regularly Check the Pump’s Motor for Any Unusual Vibrations or Noises, Which Could Indicate a Problem.
Additional Tips
- It’s Recommended to Test Your Pool Pump Capacitor at Least Once a Year or Whenever You Notice Any Irregularities in Your Pump’s Functioning.
- Always Use Caution When Handling Electrical Components, and Make Sure to Disconnect All Power Before Working on Your Pump. Safety First!
- If You’re Unsure About Performing the Tests Yourself, It’s Best to Consult a Professional for Assistance. Don’t Risk Injury or Further Damage to Your Pool Pump.
- Keep Track of the Date of Testing and Consider Replacing Your Capacitor Every 3-5 Years, Even if It’s Still Functioning Properly. This Will Help Prevent Any Unexpected Breakdowns in the Future.
- Regular Maintenance and Testing Can Help Prolong the Life of Your Pool Pump and Keep Your Pool Water Clean and Safe for Swimming. Don’t Neglect This Important Task! Now that you know how to test a pool pump capacitor, make sure to add it to your routine pool maintenance checklist. Happy swimming!
Frequently Asked Questions
Q: How Often Should I Test My Pool Pump Capacitor?
A: It’s recommended to test your pool pump capacitor every 2-3 years or at the beginning of each pool season. You can also test it if you notice any issues with your pump’s performance. It’s better to be proactive and catch any problems before they become bigger issues.
Q: Can I Replace My Pool Pump Capacitor Myself?
A: If you have experience working with electrical equipment, you can replace your pool pump capacitor yourself. However, it’s always best to hire a licensed professional for safety and accuracy reasons. They also have the necessary tools and knowledge to troubleshoot any other potential issues with your pump. So if you’re not confident in your abilities, it’s best to leave it to the experts.
Q: What Are Some Signs That My Pool Pump Capacitor Needs Replacement?
A: If you notice that your pool pump is making strange noises, running slower than usual, or not starting at all, it could be a sign of a faulty capacitor. If you see any visible damage to the capacitor, such as cracks or bulging, it’s best to replace it immediately. Regular testing and maintenance can also help prevent unexpected breakdowns.
Q: Can I Test My Pool Pump Capacitor Without a Multimeter?
A: A multimeter is the most accurate tool for testing your pool pump capacitor. However, you can do some basic visual and physical checks to determine if it’s faulty. Look for any visible damage or discoloration on the capacitor, and gently shake it – if you hear a rattling sound, it could indicate a failed capacitor. But for more accurate results, a multimeter is recommended.
Conclusion
Finally, testing a pool pump capacitor is not a challenging task if you are familiar with electric theory and safety precautions. You can always hire a professional if you’re still unsure. They will likely have the necessary tools to make sure your capacitor is working correctly and that no other problems exist with your pool pump motor or wiring.
Remember: safety always comes first! Always isolate power from the pool pump motor before attempting any electrical work, including testing a capacitor.
With proper testing and maintenance, your pool pump should provide many years of reliable service. So don’t take chances – test capacitors regularly, follow basic safety measures during servicing, and contact an authorized dealer when in doubt.
Do all this and you’ll be well equipped to ensure optimal performance from your pool pump for years to come! Thanks for reading this article on how to test a pool pump capacitor.
About
Outdoor Fixes is a distinguished figure in the world of Diy design, with a decade of expertise creating innovative and sustainable Diy solutions.
His professional focus lies in merging traditional craftsmanship with modern manufacturing techniques,
fostering designs that are both practical and environmentally conscious. As the author of diy,
outdoorfixes delves into the art and science of outdoorfixes-making, inspiring artisans and industry professionals alike.
Education RMIT University
(Melbourne, Australia) Associate Degree in Design (Outdoor Fixes) Focus on sustainable design, industry-driven projects,
and practical craftsmanship. Gained hands-on experience with traditional and digital manufacturing tools, such as CAD and CNC software.
Nottingham Trent University
(United Kingdom) Bachelor’s in outdoorfixes.com and Product Design (Honors) Specialized in product design with a focus on blending creativity with production
techniques. Participated in industry projects, working with companies like John Lewis and Vitsoe to gain real-world insights.
Publications and Impact
In diy, Outdoor Fixes his insights on indoor design processes, materials, and strategies for efficient production.
His writing bridges the gap between artisan knowledge and modern industry needs, making it a must-read for both budding designers and seasoned professionals.

