Rain Bird sprinkler systems are a popular choice for homeowners and landscape professionals seeking efficient, reliable lawn irrigation. These systems are trusted for their performance, but even the best equipment needs regular care to deliver the lush, healthy grass you want.

Regularly testing a Rain Bird sprinkler system ensures optimal performance, prevents water waste, reduces your utility bills, and helps avoid costly system damage in the long run. This article provides a comprehensive, step-by-step guide on how to test rain bird sprinkler system thoroughly. Whether you’re a first-time user or a seasoned gardener, you’ll learn how to keep your sprinklers running at their best.
Understand Your Rain Bird Sprinkler System
Understanding your Rain Bird sprinkler system is the crucial first step before any testing begins. Each system consists of core components, including a controller (or timer), valves, pipes (or tubing), and the sprinkler heads themselves.
The controller serves as the system’s command center, telling the valves when to open. The valves regulate water flow to each zone, while the pipes deliver water to the sprinkler heads, which spray the lawn. By knowing each part and its function, you’ll be better prepared to spot issues, conduct accurate tests, and maintain efficient operations.
Identifying Your Rain Bird Model
Before you go further, take a moment to identify the model of your Rain Bird system. This information is usually found on the controller, the owner’s manual, or a label on the device. Knowing the exact model helps you reference specific settings, troubleshoot with greater precision, and follow the correct testing techniques, as some features and troubleshooting steps can vary between models.
Prepare for the Test
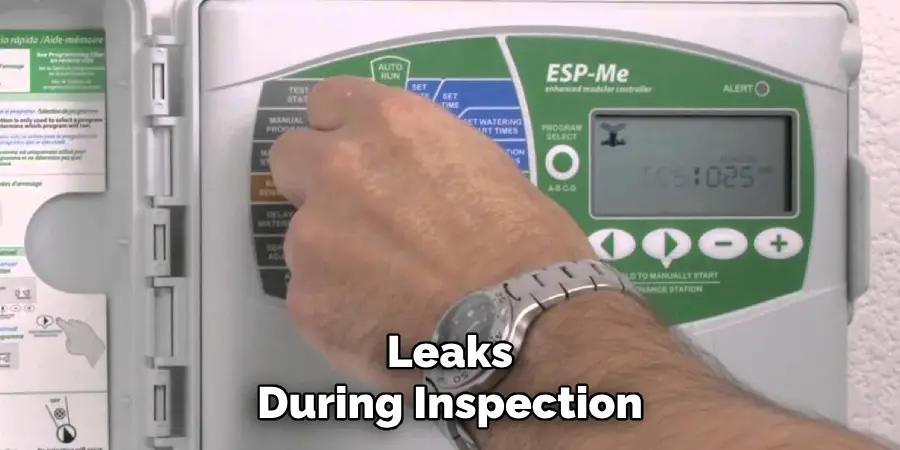
Before jumping into testing, gather all the tools and materials you’ll need. Typical supplies include a flathead screwdriver, your controller’s user manual, a water pressure gauge, a notepad for taking observations, and possibly some work gloves. Begin by turning off the water supply—this prevents accidental sprays or leaks during inspection.
Safety matters, so ensure the area around the control box and valves is dry and free from any trip hazards. Before touching electrical components, double-check that you’re following the manufacturer’s safety instructions, as well as general best practices for working with irrigation systems.
Inspect Sprinkler Heads
Signs of Damaged Sprinkler Heads
One of the most common causes of sprinkler inefficiency is a problem with the sprinkler heads themselves. As you walk each irrigation zone, closely examine every sprinkler head. Watch for clear signs of trouble, such as cracked casings, broken or missing pieces, or inconsistent spray patterns. Clogs from dirt, debris, or grass clippings can also disrupt water flow or spray direction. Obstructions may be obvious or subtle, so inspect carefully.
Steps to Clean and Unclog Sprinkler Heads
If you notice any buildup on or around the nozzles, gently wipe away dirt, grass, or debris using a damp cloth. For more stubborn clogs, carefully remove the nozzle and rinse it under running water to dislodge internal blockages. Make sure all parts are free of residue before reassembling.
Steps to Adjust Misaligned Heads
Proper alignment of sprinkler heads is critical for even water distribution. If a head appears tilted, sunken, or misdirected, grasp the body and gently twist or elevate it until it’s upright and facing the desired area. Ensure the head sits at ground level—too high increases the risk of breakage, while too low restrict spray. Make subtle adjustments while the system is running so you can observe water coverage in real-time.
How to Replace Damaged Sprinkler Heads
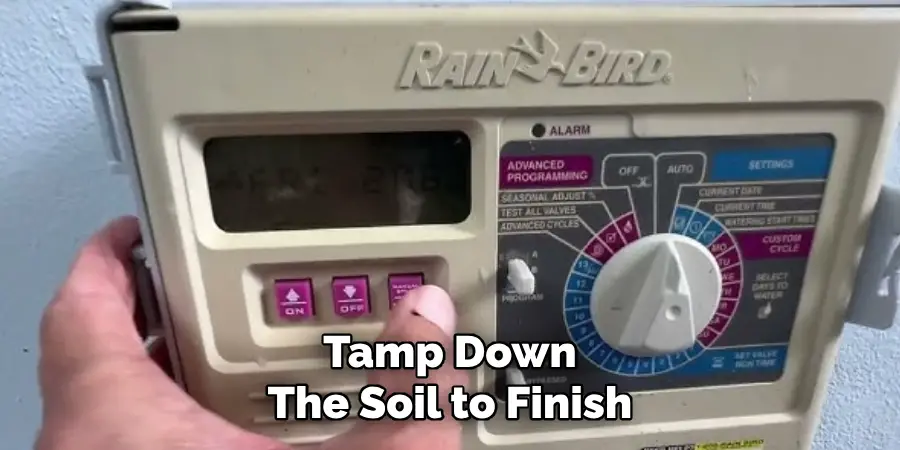
If you discover a sprinkler head that’s broken or not working after cleaning and adjusting, replacement is straightforward. Begin by turning off the water supply. Use a small shovel or trowel to carefully dig around the head, exposing its base and minimizing damage to the surrounding turf. Unscrew the old sprinkler head from the riser, and inspect the riser for cracks—replace it if needed. Attach the new sprinkler head by screwing it on firmly. Turn the water back on and briefly run the zone to confirm proper operation and spray alignment. Adjust as necessary, then gently refill the hole and tamp down the soil to finish.
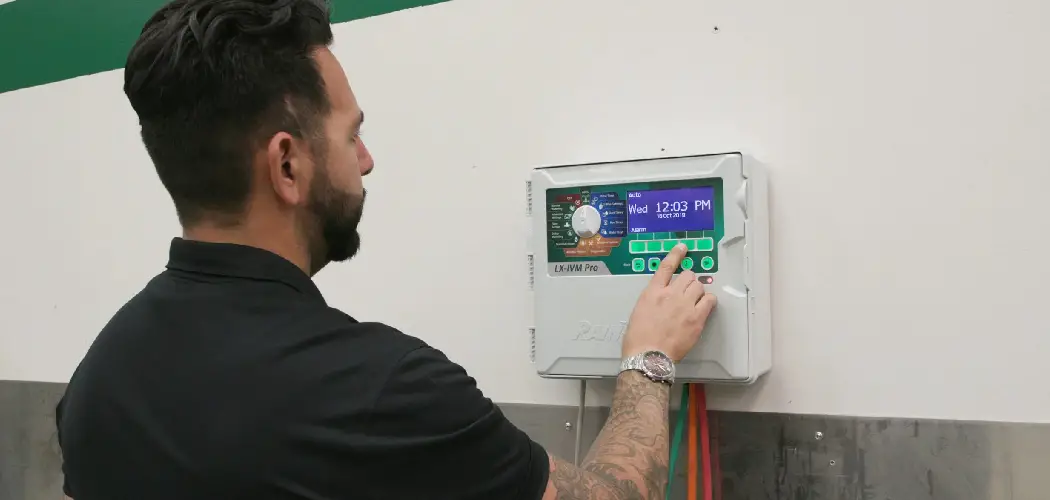
Check Controller Settings
With physical inspections complete, turn your focus to the system’s brain—the controller. Access the control panel and review the programmed schedules: watering days, times, and zones. Verify that these match the season’s requirements and local watering ordinances.
Next, check each zone’s run times and calibration, ensuring the system is neither over- nor under-watering. If you’re not familiar with programming the controller, consult the model’s user manual or look for online tutorials specific to your Rain Bird controller. Customizing schedules seasonally can save water and keep your lawn thriving.
How to Test Rain Bird Sprinkler System: Perform a Manual Test Run
Observing Spray Patterns
Most Rain Bird controllers offer a manual test feature, allowing you to run each zone individually. Activate this function and watch each zone as it operates. Notice the spray pattern, the time each head takes to pop up, and any leaks from pipes or fittings. Pay attention to dry spots or areas with pooling water—these indicate an adjustment is needed.
Troubleshooting Non-Activating Zones
If a zone fails to activate, check for programming issues, damaged wiring, or stuck valves. Use these observations to fine-tune schedules and identify zones that need further attention.
Evaluate the Valve and Timer Operation
Valves control water flow to each irrigation zone and are critical for performance. Manually activate each valve (most have a lever or solenoid for manual operation) and verify water starts and stops as expected. Listen for clicking or buzzing sounds, which might signal a stuck or faulty valve. Next, test the timer’s function by setting the controller to run a short cycle in each zone. Ensure the timer turns zones on and off properly. If valves fail to respond or water continues running after a cycle, you may need to clean or replace the affected valve.
Address Common Issues
Fixing Uneven Water Distribution
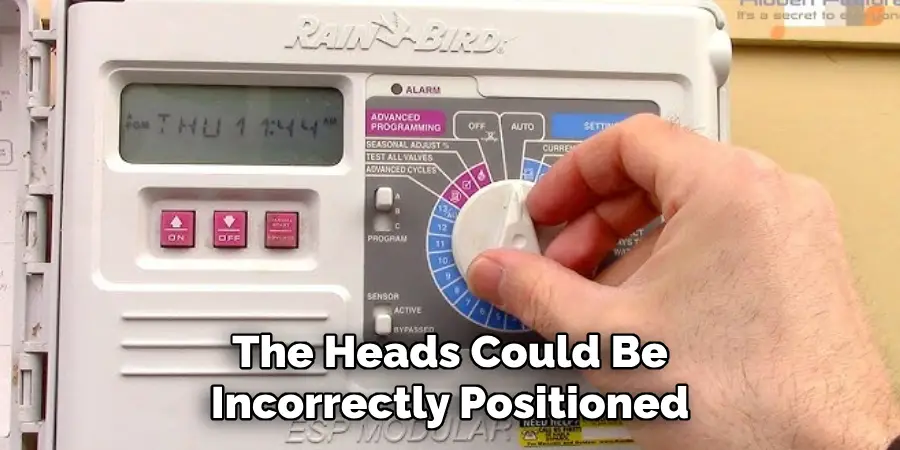
If you notice some areas of your lawn are getting more water than others, this often means there are clogs or misaligned sprinkler heads. Go back and inspect each head. Clean out any debris and adjust the heads to ensure the spray pattern covers the intended area evenly. When water is pooling or running off, the heads could be incorrectly positioned, or the soil may be too compacted to absorb water properly. Aerating the soil and re-aligning the heads can help fix these issues.
Repairing Leaks and Blockages
Leaks along the pipes or at the sprinkler heads often show as soggy spots or water pooling when the system is off. To fix this, tighten any loose couplings or replace damaged pipe sections. If you spot blockages, flush the pipes and heads with clean water to clear out any dirt or debris that may be causing the obstruction.
Resolving Electrical Problems
If certain zones are not activating at all, you could be facing electrical issues. Before touching any wires, disconnect the power to the controller. Check for any loose, disconnected, or corroded wiring at both the controller and the valves. Repair or replace faulty connections as needed, and securely reconnect all components. For timers that do not function or are inconsistent, make sure the programming is correct and the backup battery is in good condition.
Troubleshooting Low Water Pressure
Persistent low pressure can indicate a blockage or leak somewhere in the line. Walk your system’s layout to look for visibly damaged piping or areas where the pressure drops off dramatically. Repair leaks promptly and clear blockages as needed by flushing pipes or replacing faulty sections.
Conduct Regular Maintenance
To prevent issues and prolong the life of your system, create a routine maintenance checklist. Regularly clean sprinkler heads and clear away soil or grass growing too close to pop-up heads. Adjust heads and schedules with the changing seasons—typically watering less in spring and fall, more in peak summer.
Inspect for leaks or kinks in pipes after mowing, construction, or hard freezes. Lubricate valve seals and check the controller’s battery backup, replacing batteries annually if applicable. A few preventative steps each month can safeguard your investment and support a healthier lawn.
When to Call a Professional
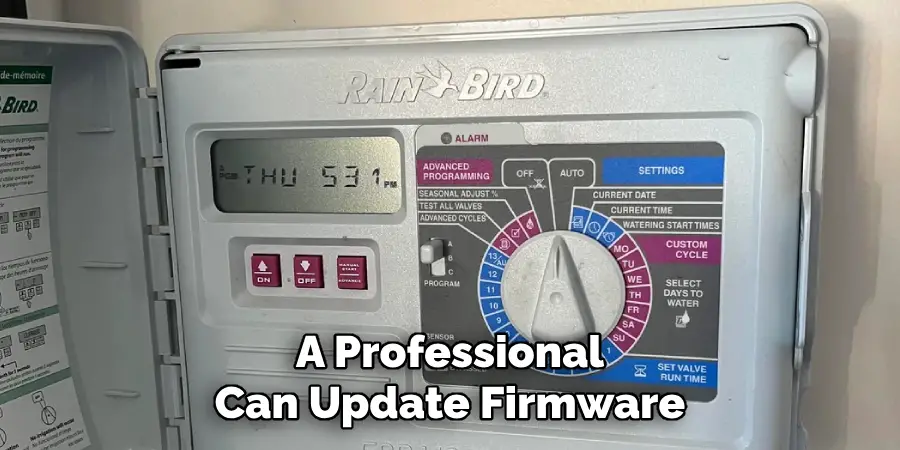
While most homeowners can handle routine checks and simple repairs, some sprinkler issues require a professional’s help. Persistent pressure problems, wiring faults, large underground leaks, or repeated valve failures may indicate complex issues best handled by a licensed irrigation technician. Likewise, if your Rain Bird system uses advanced smart technology or central controls, a professional can update firmware, troubleshoot software, and provide a comprehensive inspection. Scheduling a professional checkup annually not only addresses hidden issues but also gives you peace of mind that your system is ready for peak performance.
Conclusion
Regularly testing your Rain Bird sprinkler system is vital to keeping your landscape healthy, your water usage efficient, and your system’s life as long as possible. By following this comprehensive approach—understanding your system, preparing properly, inspecting components, and troubleshooting common problems—you’ll ensure your sprinklers perform at their best through every season. As you’ve learned, testing your Rain Bird sprinkler system is a straightforward way to ensure top-notch performance year-round. Take the first step today, and enjoy a lush, vibrant yard with confidence. Thanks for reading our post about how to test rain bird sprinkler system.
About
Outdoor Fixes is a distinguished figure in the world of Diy design, with a decade of expertise creating innovative and sustainable Diy solutions.
His professional focus lies in merging traditional craftsmanship with modern manufacturing techniques,
fostering designs that are both practical and environmentally conscious. As the author of diy,
outdoorfixes delves into the art and science of outdoorfixes-making, inspiring artisans and industry professionals alike.
Education RMIT University
(Melbourne, Australia) Associate Degree in Design (Outdoor Fixes) Focus on sustainable design, industry-driven projects,
and practical craftsmanship. Gained hands-on experience with traditional and digital manufacturing tools, such as CAD and CNC software.
Nottingham Trent University
(United Kingdom) Bachelor’s in outdoorfixes.com and Product Design (Honors) Specialized in product design with a focus on blending creativity with production
techniques. Participated in industry projects, working with companies like John Lewis and Vitsoe to gain real-world insights.
Publications and Impact
In diy, Outdoor Fixes his insights on indoor design processes, materials, and strategies for efficient production.
His writing bridges the gap between artisan knowledge and modern industry needs, making it a must-read for both budding designers and seasoned professionals.