
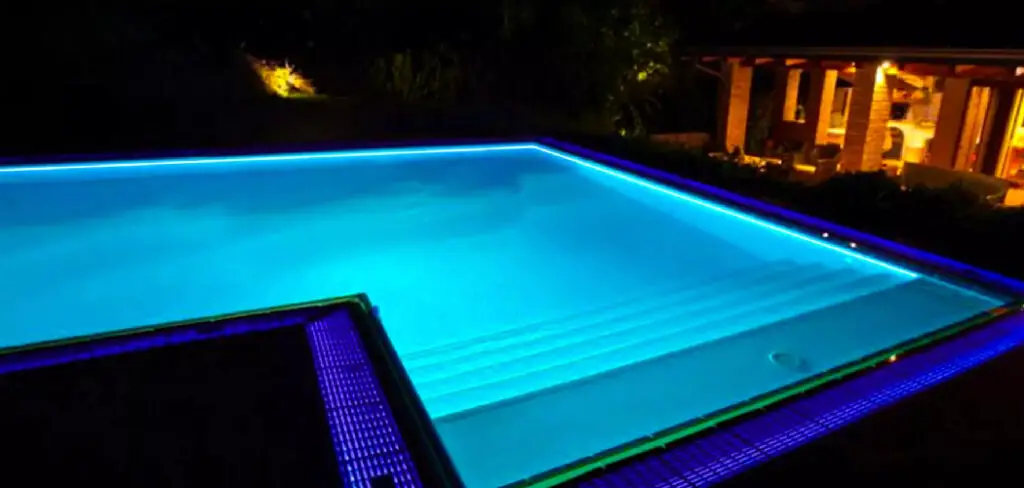
Are you looking to enhance the ambiance of your pool at night? A great way to do this is by turning on your pool light. Not only does it add a beautiful touch to your backyard, but it also provides safety for those swimming in the dark.
How to turn on pool light is an essential step to enhance the ambiance and safety of your pool during nighttime or low-light conditions. Whether you’re hosting an evening gathering or enjoying a quiet swim, proper pool lighting not only illuminates the water but also highlights the beauty of your pool area.
The process of turning on the pool light can vary depending on the type of lighting system installed, and it’s important to understand the specific controls or steps involved.
This guide will walk you through the key steps to ensure your pool light operates effectively and safely.
What Are the Benefits of Pool Lighting?
Pool lighting offers both practical and aesthetic benefits for pool owners. Some of the advantages include:
- Safety: With proper lighting, swimmers can see where they are going and avoid accidents or injuries.
- Extended Usage: Pool lights allow you to enjoy your pool at night, extending the time you can use it.
- Enhanced Aesthetics: Quality pool lighting brings a beautiful ambiance to your outdoor space, making it more inviting and enjoyable for gatherings or quiet evenings.
- Security: Adequate lighting around the pool area can deter intruders or unwanted guests.
What Will You Need?
- Pool Lighting System: This can include a combination of underwater, surface, and landscape lights to fully illuminate your pool area.
- Power Source: Ensure that you have access to an outdoor power source for the pool lighting system. This could be an existing outlet or one that needs to be installed by a licensed electrician.
- Lighting Controls: Depending on your personal preference, you may want to have manual controls, remote controls, or even a Wi-Fi-enabled system for controlling your pool lights.
- Waterproofing Equipment: To protect against water damage, it is important to use waterproof equipment such as sealed transformers and weatherproof covers for outlets.
10 Easy Steps on How to Turn on Pool Light
Step 1. Locate the Control Panel or Switch
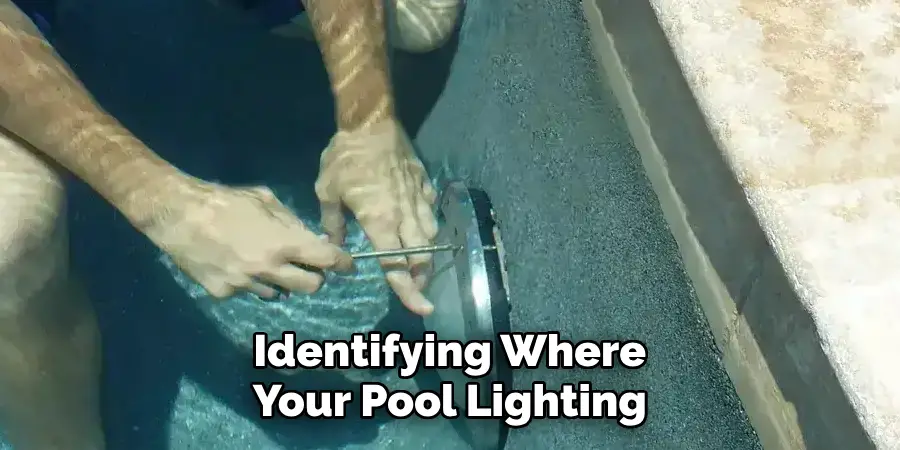
Begin by identifying where your pool lighting system’s control panel or switch is located. This is typically installed near the pool area, within the pump house, or integrated into a broader home automation system.
Look for labels that indicate “Pool Lights” or similar terms. If you’re unsure of its location, refer to the user manual provided during the installation or consult with the electrician who set up the system.
Step 2. Check the Power Supply
Ensure that the power supply to your pool lighting system is active and functioning correctly. Locate the circuit breaker or fuse box associated with the pool lights and verify that the corresponding breaker is not tripped or the fuse is not blown. If the breaker has tripped, reset it by switching it off and then back on.
For systems running on a timer or connected to an automation hub, confirm that the timer settings or automation schedules are enabling the lights to operate. If you detect any issues with the power supply, it may be necessary to consult a professional electrician for further assessment and repair.
Step 3. Inspect the Light Fixture
Inspect the light fixture carefully for any visible signs of damage or wear. Check for loose or corroded connections, as these can prevent the light from functioning properly. Examine the bulb to ensure it is securely fastened and not burned out or broken. If the fixture has a cover or lens, remove it to check for dirt, debris, or moisture that might be interfering with the light’s performance.
Clean the fixture as needed, ensuring all components are dry and free of obstructions. If any parts of the fixture appear damaged or faulty, consider replacing them or contacting a qualified technician for repairs.
Step 4. Activate the Switch or Control
Ensure that the power supply to the light fixture is turned on. Then, activate the switch or control associated with the fixture. This could be a standard wall switch, a dimmer, a remote control, or a smart device interface, depending on the type of lighting system.
Observe the light to confirm that it powers on and functions as expected. If the light does not activate, double-check the power connections and ensure the control device is working correctly. For smart systems, verify network connectivity and settings to rule out technical issues.
Step 5. Adjust Brightness or Colors
Adjust the brightness or colors of the light according to your preferences or the requirements of the space. For dimmable lights, use the dimmer switch, app, or control interface to fine-tune the brightness level. If the lighting system supports color adjustments, select from the available spectrum to create the desired ambiance.
For smart lighting systems, you can often customize settings through a mobile app, voice commands, or preset scenes. Ensure the adjustments suit the mood or functionality of the room, whether it’s a warm tone for relaxation or a bright white light for tasks.
Step 6. Test for Functionality
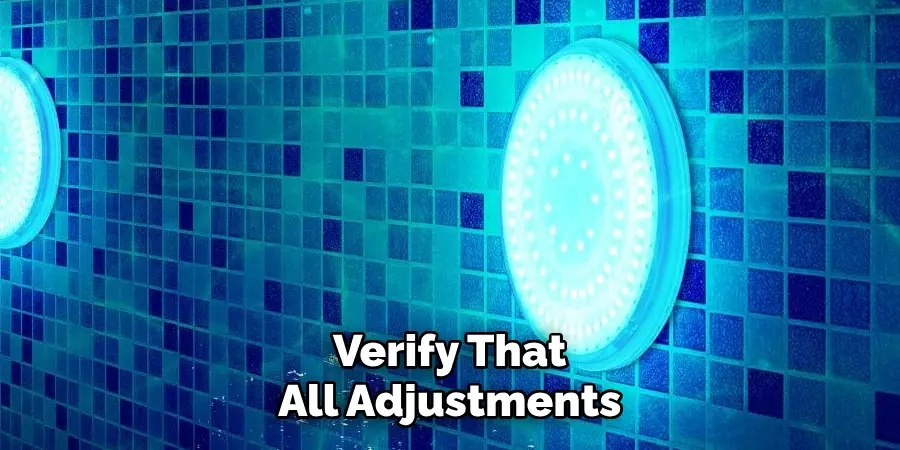
Turn on the lighting system and verify that all adjustments have been properly implemented. Check each feature, such as dimming, color changes, or preset scenes, to ensure they function as expected. If using a smart lighting system, confirm that the app or voice controls respond accurately to commands.
Address any issues, such as non-responsive lights or incorrect settings, by consulting the user manual or troubleshooting guide. Testing ensures the lighting system operates seamlessly and meets your expectations.
Step 7. Turn Off When Not in Use
Turning off lights when they are not in use is a simple yet effective way to conserve energy and extend the lifespan of your lighting system. This practice not only reduces electricity bills but also minimizes your overall environmental impact.
If you’re using a smart lighting system, consider setting up schedules or motion sensors to automate this process. By making a habit of turning off unnecessary lights, you contribute to a more sustainable and cost-efficient household.
Step 8. Regular Maintenance
Regular maintenance is essential to ensure the longevity and efficiency of your lighting system. Begin by routinely checking for any burnt-out bulbs or flickering lights, as these may indicate underlying issues. Clean your light fixtures and bulbs to prevent dust buildup, which can reduce brightness and efficiency over time.
If you’re using LED lights, verify that their heat sinks are clear and functioning properly to avoid overheating. Additionally, inspect wiring and connections periodically to ensure safety and optimal performance. Implementing a regular maintenance schedule not only enhances the functionality of your lighting system but also helps identify potential problems before they escalate.
Step 9. Upgrade to LED
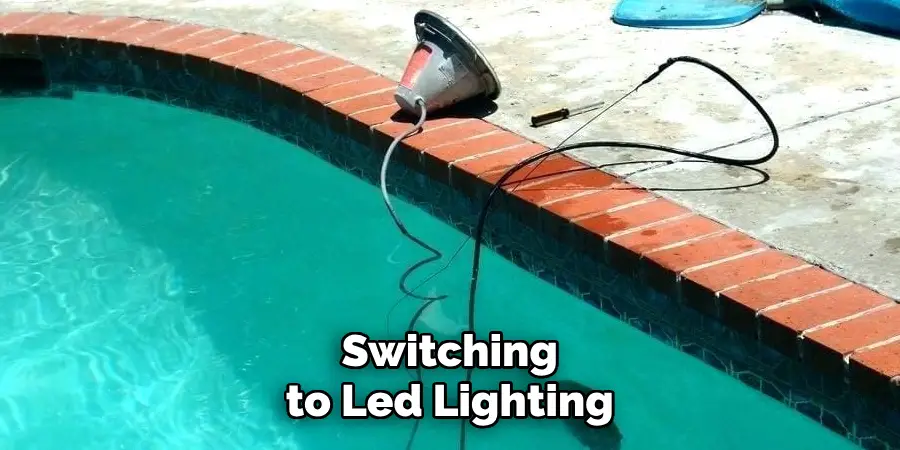
Switching to LED lighting is a smart and energy-efficient choice for modern lighting systems. LEDs consume significantly less energy than traditional incandescent or fluorescent bulbs, helping to reduce electricity bills and environmental impact. They also have a much longer lifespan, which minimizes the need for frequent replacements.
Furthermore, LED lights offer better brightness, color options, and dimming capabilities, allowing for greater flexibility in lighting design. When upgrading to LED, choose high-quality bulbs with the appropriate wattage and color temperature to suit your space. This investment not only enhances illumination but also contributes to a more sustainable and cost-effective setup.
By following these lighting tips and using energy-efficient technologies, you can create a more sustainable workplace that benefits both the environment and your bottom line.
5 Things You Should Avoid
- Ignoring the Manufacturer’s Instructions
Always read the manufacturer’s manual before attempting to turn on the pool light. Ignoring these instructions can lead to improper usage, which may damage the light or void its warranty.
- Turning on the Light Without Ensuring It’s Fully Submerged
Pool lights are designed to operate underwater to stay cool. Turning on a pool light without it being properly submerged can cause it to overheat, potentially resulting in damage or safety hazards.
- Using a Damaged or Faulty Light Fixture
Never attempt to turn on a light if you notice cracks, exposed wires, or any other signs of damage. Doing so can pose a significant risk of electrical shock or further damage the fixture.
- Operating the Light with Improper Voltage
Using a power source with incorrect voltage can harm your pool light and the associated electrical circuit. Always ensure the voltage matches the light’s specifications.
- Skipping Regular Maintenance and Inspections
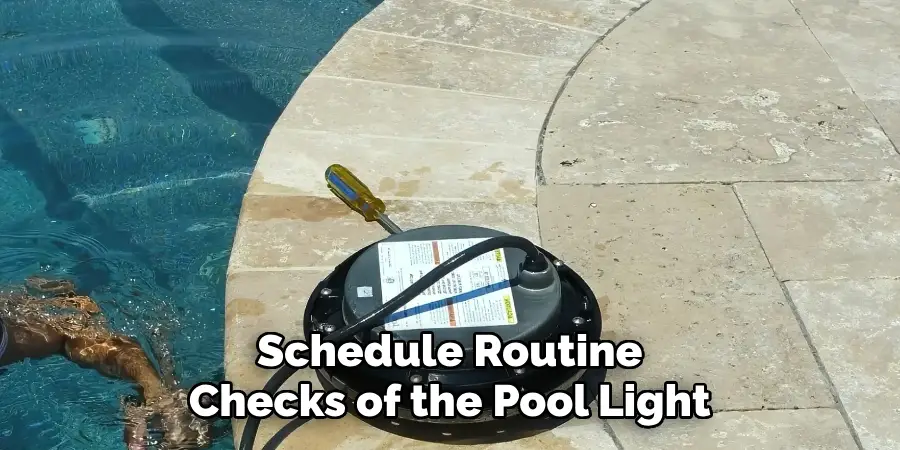
Failing to schedule routine checks of the pool light and its electrical components can result in issues going unnoticed. This can lead to malfunctioning lights or unsafe conditions when attempting to turn them on.
Conclusion
To safely and effectively turn on your pool light, ensure that its electrical components are properly installed and maintained.
Begin by verifying that the power source matches the light’s voltage requirements. Always inspect the wiring and connections for any signs of wear or damage before use. Regular maintenance and periodic checks are crucial to avoid potential malfunctions and safety hazards.
By following these steps on how to turn on pool light, you can enjoy a well-lit and inviting pool environment with peace of mind.
About
Outdoor Fixes is a distinguished figure in the world of Diy design, with a decade of expertise creating innovative and sustainable Diy solutions.
His professional focus lies in merging traditional craftsmanship with modern manufacturing techniques,
fostering designs that are both practical and environmentally conscious. As the author of diy,
outdoorfixes delves into the art and science of outdoorfixes-making, inspiring artisans and industry professionals alike.
Education RMIT University
(Melbourne, Australia) Associate Degree in Design (Outdoor Fixes) Focus on sustainable design, industry-driven projects,
and practical craftsmanship. Gained hands-on experience with traditional and digital manufacturing tools, such as CAD and CNC software.
Nottingham Trent University
(United Kingdom) Bachelor’s in outdoorfixes.com and Product Design (Honors) Specialized in product design with a focus on blending creativity with production
techniques. Participated in industry projects, working with companies like John Lewis and Vitsoe to gain real-world insights.
Publications and Impact
In diy, Outdoor Fixes his insights on indoor design processes, materials, and strategies for efficient production.
His writing bridges the gap between artisan knowledge and modern industry needs, making it a must-read for both budding designers and seasoned professionals.