
The arrival of spring flowers like tulips, daffodils, and hyacinths is a joyful sight, but the work to get them there can feel daunting. Planting dozens, or even hundreds, of bulbs in the fall often involves hours of back-breaking work with a small hand trowel. Digging hole after hole to the perfect depth can be tedious and tough on the knees and wrists.
Fortunately, there is a specialized tool designed to make this job dramatically faster and more efficient: the bulb planter. This simple device is engineered to quickly remove a perfect plug of soil, creating a uniform hole ready for your bulb. For many new gardeners, however, this tool can seem a bit strange. This guide is designed to show you exactly How to Use a Bulb Planter tools correctly, turning a laborious task into a quick and satisfying gardening project.
A bulb planter is a must-have tool for any gardener looking to plant bulbs efficiently and accurately. This specialized device takes the back-breaking work out of creating planting holes and ensures that your bulbs are placed at the correct depth for optimum growth.
Step-by-Step Guide on How to Use a Bulb Planter
Step 1: Prepare the Planting Area
Before you start digging, it is crucial to prepare the ground. A bulb planter works best in soil that is moist but not waterlogged. If the ground is rock-hard and dry, the tool will be difficult to push into the earth. Water your garden bed a day or two before you plan to plant to soften the soil. It is also important to clear the area of any weeds, large rocks, or thick turf that could obstruct the tool. If your soil is heavily compacted or lacks nutrients, consider tilling the area and mixing in some compost or bulb fertilizer. This initial preparation ensures the tool can glide into the ground smoothly and provides your bulbs with a healthy environment to establish their roots.
Step 2: Choose the Right Bulb Planter for the Job
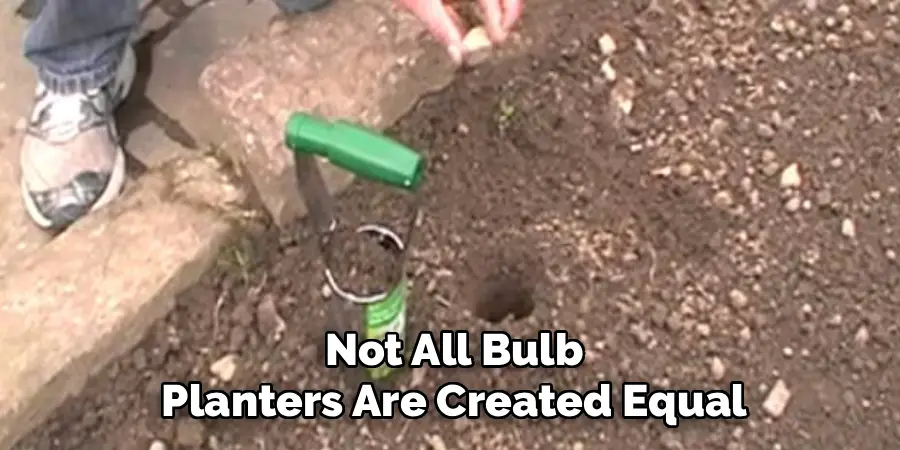
Not all bulb planters are created equal. They come in two main styles: short-handled and long-handled. A short-handled, trowel-style planter is perfect for working in raised beds or for planting smaller bulbs like crocuses and grape hyacinths. A long-handled or stand-up model is a back-saver, ideal for planting a large number of bigger bulbs like tulips and daffodils directly into a lawn or large garden bed. Long-handled versions often have a foot pedal that allows you to use your body weight to drive the tool into the soil, requiring much less arm strength. Selecting the right tool for your specific project is the key to an efficient and comfortable planting experience.
Step 3: Position the Tool and Create the Hole
Once you have your planter and your bulbs ready, it is time to start digging. Position the bulb planter on the spot where you want to plant a bulb. For a short-handled tool, grip it firmly and push it straight down into the soil, twisting it slightly as you go to help cut through roots and dirt. For a long-handled model, place your foot on the step pedal and apply steady downward pressure. Push the tool into the ground to the desired planting depth. Most bulb planters have measurement markings on the side, taking the guesswork out of achieving the correct depth for your specific type of bulb.
Step 4: Extract the Soil Plug
With the tool pushed to the correct depth, pull it straight back up out of the ground. The planter’s cylindrical shape is designed to cleanly remove and hold a plug of soil, leaving behind a perfectly shaped hole. On some short-handled models, you may need to give a slight twist or wiggle as you pull up to ensure the soil plug stays inside the tool. You now have an ideal cavity for your bulb, and the soil you removed is conveniently held within the planter, ready to be used to backfill the hole. This efficient, two-in-one action is the core of how to use bulb planter tools effectively.
Step 5: Place the Bulb and Add Nutrients
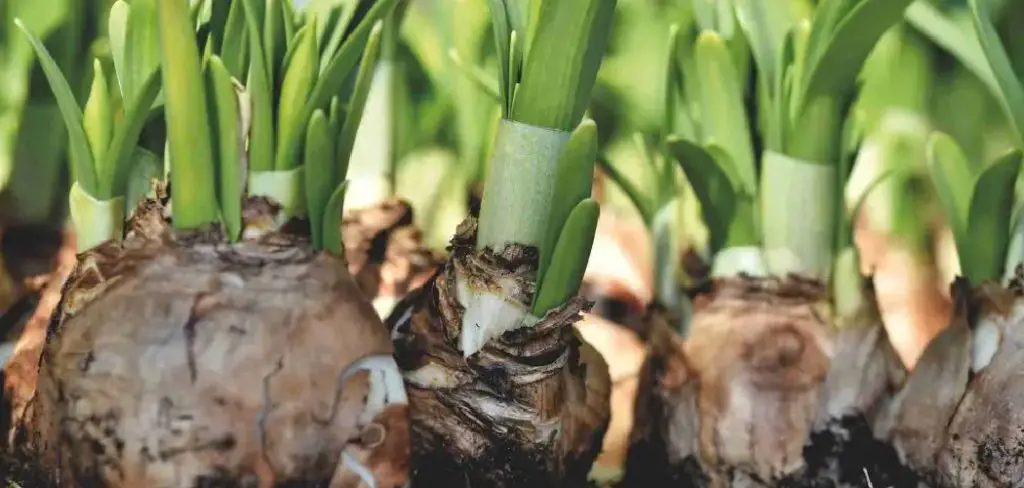
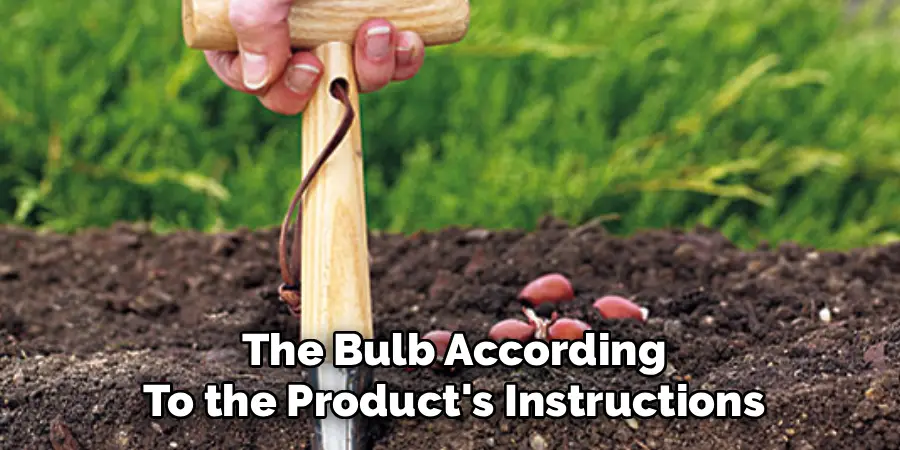
Now that you have a perfect hole, it is time to plant. Take one of your bulbs and place it at the bottom of the hole. It is crucial to position the bulb with the pointed end facing up and the flat, root-side facing down. Planting a bulb upside down forces it to expend a great deal of extra energy to grow, which can result in weaker stems and fewer flowers. If you are using a bulb fertilizer or bone meal to give your plants a good start, now is the time to sprinkle a small amount into the hole around the bulb according to the product’s instructions.
Step 6: Backfill the Hole with the Soil Plug
This is where the magic of the bulb planter comes in. The soil plug you removed is still held inside the tool. Simply position the planter over the hole you just filled and press the release mechanism. On short-handled planters, this is typically a spring-loaded trigger in the handle that you squeeze. On long-handled versions, it might be a release lever near the top. Squeezing the release ejects the soil plug neatly back into the hole, covering the bulb perfectly. There is no need to scoop loose dirt or get your hands dirty. Gently tamp down the replaced soil with your foot or hand to eliminate any large air pockets.
Step 7: Repeat the Process and Water Thoroughly
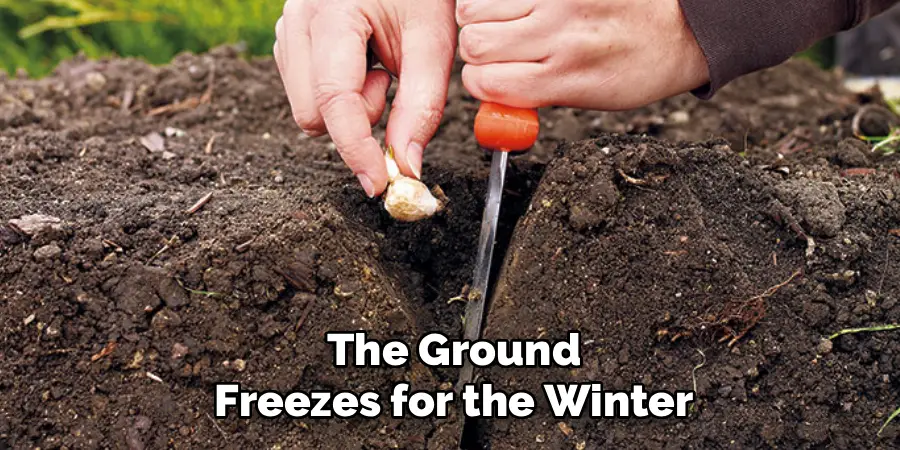
Now you simply repeat the process for all your remaining bulbs, moving across your lawn or garden bed with surprising speed. The uniform holes and quick backfilling make planting dozens of bulbs a fast and almost assembly-line process. Once all your bulbs are in the ground, give the entire area a thorough watering. This helps to settle the soil around the bulbs, remove air pockets, and provide the initial moisture needed to encourage root development before the ground freezes for the winter. This final watering is a critical step to ensure your bulbs get established and are ready for their spectacular spring display.
Frequently Asked Questions
What Is the Best Time of Year to Plant Bulbs?
Most spring-blooming bulbs like tulips, daffodils, and crocuses should be planted in the fall, about six to eight weeks before the ground freezes. This gives them enough time to develop a strong root system. In most climates, this means planting between September and November. Summer-blooming bulbs like gladiolus and dahlias are planted in the spring after the last frost.
How Deep Should I Plant My Bulbs?
A general rule of thumb is to plant a bulb two to three times as deep as the bulb is tall.
- Large Bulbs (Tulips, Daffodils): Plant about 6-8 inches deep.
- Small Bulbs (Crocuses, Grape Hyacinths): Plant about 3-4 inches deep.
Most bulb planters have depth markings etched on the side to make this easy to measure.
My Soil Is Too Hard for the Bulb Planter. What Should I Do?
Hard, compacted soil is the biggest challenge for any bulb planter. The best solution is to water the area deeply a day or two before you plan to plant. This will soften the ground significantly. If you have heavy clay soil, you may need to use a garden fork to loosen the area first. For extremely rocky soil, a bulb planter may not be the right tool, and a sturdy trowel or digging bar might be necessary.
Can I Use a Bulb Planter to Plant in My Lawn?
Yes, a bulb planter is the perfect tool for naturalizing bulbs in a lawn. A long-handled model with a foot pedal is especially effective for cutting through turf. It cleanly removes a plug of grass and soil, allowing you to drop in a bulb (like a crocus or snowdrop) and then replace the plug. The grass will grow back over the spot, and in the spring, you will have flowers popping up beautifully through the lawn.
How Do I Clean and Care for My Bulb Planter?
After use, it is important to clean your tool to prevent rust and ensure it works smoothly next season.
- Hose off any dirt and mud.
- Use a stiff brush to remove any caked-on soil.
- Dry the tool completely with a rag.
- Wipe the metal parts with a lightly oiled cloth to prevent rust.
- Store it in a dry place like a shed or garage.

Conclusion
The joy of a spring garden bursting with color is a reward worth planning for, and the right tool can make all the difference in the effort it takes to get there. A bulb planter transforms a potentially back-breaking task into a simple, efficient, and even enjoyable activity. By preparing your soil, using the tool correctly to create and fill holes, and watering well, you set the stage for a spectacular display. Do not let the thought of digging hundreds of holes deter you from creating the garden of your dreams. Now that you know how to use bulb planter tools, you are equipped to plant with speed and precision, ensuring your garden will be the envy of the neighborhood when spring arrives.
About
Outdoor Fixes is a distinguished figure in the world of Diy design, with a decade of expertise creating innovative and sustainable Diy solutions.
His professional focus lies in merging traditional craftsmanship with modern manufacturing techniques,
fostering designs that are both practical and environmentally conscious. As the author of diy,
outdoorfixes delves into the art and science of outdoorfixes-making, inspiring artisans and industry professionals alike.
Education RMIT University
(Melbourne, Australia) Associate Degree in Design (Outdoor Fixes) Focus on sustainable design, industry-driven projects,
and practical craftsmanship. Gained hands-on experience with traditional and digital manufacturing tools, such as CAD and CNC software.
Nottingham Trent University
(United Kingdom) Bachelor’s in outdoorfixes.com and Product Design (Honors) Specialized in product design with a focus on blending creativity with production
techniques. Participated in industry projects, working with companies like John Lewis and Vitsoe to gain real-world insights.
Publications and Impact
In diy, Outdoor Fixes his insights on indoor design processes, materials, and strategies for efficient production.
His writing bridges the gap between artisan knowledge and modern industry needs, making it a must-read for both budding designers and seasoned professionals.