Dandelions are the uninvited guests of the gardening world. One day, you have a pristine green lawn, and the next, it is dotted with bright yellow heads that quickly turn into thousands of airborne seeds. While some see them as charming wildflowers, for many homeowners, they are persistent pests that steal nutrients and water from the grass. The real challenge with dandelions lies beneath the soil; their long, stubborn taproots can reach deep into the earth, meaning simply pulling the leaves off often results in the weed growing back within days. Chemical herbicides are an option, but many gardeners prefer a safer, more eco-friendly approach.

This is where manual tools come to the rescue. A specialized weeding tool is designed to extract the entire plant, root and all, without damaging the surrounding turf. By learning how to use a dandelion weeder correctly, you can maintain a beautiful, chemical-free lawn and stop the cycle of regrowth permanently.
When using a dandelion weeder, timing is crucial for the best results. The ideal time to tackle weeds is after a light rain, as the soil is softer and makes it easier to extract the roots completely. Early morning or late afternoon are also great times to work, as temperatures are cooler, and weeds are often more visible. Consistency is key; regularly inspecting your lawn and addressing weeds as they appear can prevent them from spreading and taking over your yard.
7 Step-by-Step Guide on How to Use a Dandelion Weeder
Step 1: Identify and Water the Target Area
Before you even grab your tool, success depends on preparation. Trying to pull deep roots from bone-dry, hard-packed clay is a recipe for frustration and broken tools. The ideal time to weed is when the soil is moist and pliable. If it has not rained recently, you should water your lawn thoroughly a day or two before you plan to work.
This moisture loosens the soil structure, allowing the long taproot to slide out with significantly less resistance. Walk your garden and identify the mature dandelions you want to target. Look for the large, flat rosettes of leaves that indicate a well-established plant. Preparing the ground properly is the secret to ensuring that when you pull, the whole root comes with it rather than snapping off halfway down.
Step 2: Position the Tool for Maximum Leverage
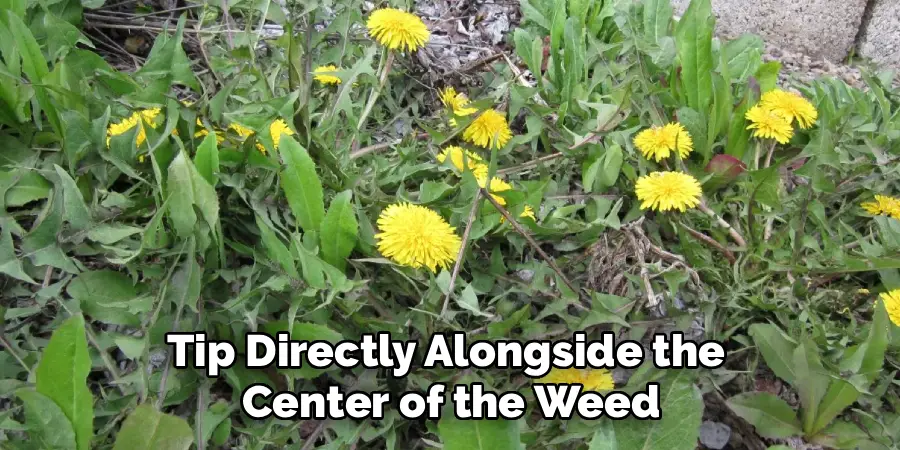
Approach the weed and crouch down to get a clear view of the base of the plant. The goal is to attack the central growing point where all the leaves emerge from the ground. Take your weeding tool—whether it is a classic forked stick or a modern ergonomic hand weeder—and position the metal tip directly alongside the center of the weed.
You do not want to place it on the leaves themselves, but rather just outside the central crown. Align the shaft of the tool so it is vertical, aiming straight down towards the core of the earth. Proper placement is crucial because if you are off-center, you might only sever side roots or miss the main taproot entirely, leaving the plant alive to fight another day.
Step 3: Insert the Tool Deeply into the Soil
With your tool perfectly aligned next to the base of the dandelion, apply steady downward pressure. You want to drive the forked tip or blade deep into the ground, running parallel to the taproot. If you are using a hand tool, push firmly with the palm of your hand.
If you are using a long-handled stand-up weeder, use your foot on the step plate to drive the tines into the turf. The objective here is to get the working end of the tool below the root system. Dandelion taproots can easily be six to ten inches long, so shallow insertion will result in a broken root. Don’t be afraid to push the tool all the way in until the hilt or step plate touches the soil surface.
Step 4: Leverage and Loosen
Once the tool is fully inserted, the real work begins. You need to break the grip the soil has on the root. If you are using a traditional hand tool with a curved fulcrum, rock the handle back towards the ground. This action uses the curve as a pivot point to lift the tip upwards, prying the root out of the earth like a lever.
For straight tools, wiggle the handle back and forth slightly to widen the hole and loosen the dirt around the taproot. This gentle agitation disrupts the fine root hairs that anchor the plant. Be careful not to be too aggressive, as jerking the tool can snap the root. Instead, focus on smooth, firm movements to separate the plant from its underground home.
Step 5: Extract the Weed and Root Entirely
With the soil loosened and the tool providing leverage, you should see the dandelion base start to lift above the soil line. Reach down with your free hand and grasp the cluster of leaves firmly at the very base, as close to the dirt as possible. Gently pull upwards while simultaneously continuing to leverage the tool.
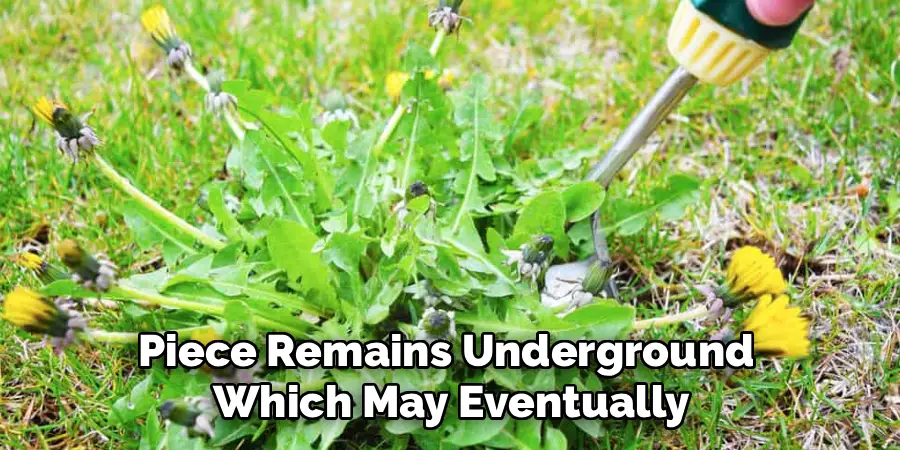
The combination of pulling from the top and pushing from the bottom ensures the highest chance of retrieving the entire taproot. You will feel a satisfying release as the long, white root slides free. Inspect the root immediately; if it tapers off to a fine point, you got it all. If it ends in a blunt, snapped edge, a piece remains underground which may eventually regrow.
Step 6: Fill the Void
After successfully extracting a large dandelion, you will likely be left with a small divot or hole in your lawn where the root used to be. Leaving this hole open is an invitation for new weed seeds to blow in and take root, or for pests to lay eggs. It also creates an uneven surface in your yard. Take a small handful of compost or topsoil and pack it into the hole.
Press it down firmly to level it with the surrounding ground. If the bare spot is larger than a quarter, sprinkle a pinch of grass seed on top of the soil patch. This proactive repair step heals the scar in your lawn and encourages healthy grass to fill the space, naturally crowning out future weeds.
Benefits of Natural Methods
Using natural methods in your gardening routine offers a host of benefits for both the environment and your plants. By avoiding synthetic chemicals, you promote healthier soil that supports beneficial microorganisms and earthworms, which are essential for nutrient cycling. This leads to more robust plant growth and better yields over time.
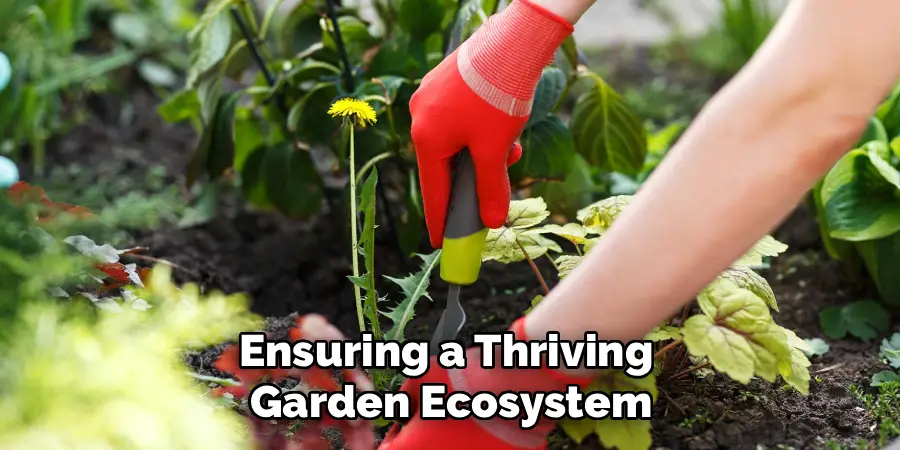
Natural methods, such as composting, mulching, and using organic pest control, also reduce the risk of harmful residues contaminating your produce, making it safer for you and your family. Additionally, these eco-friendly practices help preserve biodiversity and protect pollinators like bees and butterflies, ensuring a thriving garden ecosystem.
Frequently Asked Questions
What Is the Best Type of Dandelion Weeder?
The “best” tool depends on your physical ability and the size of the job.
- Hand Fork/Fishtail Weeder: Best for precision and getting deep roots, but requires kneeling. Excellent for raised beds or small lawns.
- Stand-Up Weeder: Ideal for those with back or knee pain. These tools have a long handle and a foot pedal mechanism to grab and pull the weed while you remain standing.
- CobraHead Weeder: A versatile, curved blade that acts like a steel fingernail, great for tight spaces and precision weeding.
Does the Root Grow Back If It Snaps Off?
Unfortunately, yes. Dandelions are incredibly resilient survivors. If a significant portion of the taproot (usually just 2-3 inches is enough) remains in the soil, the plant has the energy reserves to regenerate a new crown and leaves. This is why using the proper leverage technique to remove the entire root is so critical compared to just pulling the tops by hand.
When Is the Best Time to Weed Dandelions?
Timing matters significantly for ease of removal.
- Spring: Tackle them early in the spring before they flower and release seeds. Young plants have smaller root systems.
- After Rain: As mentioned, weeding after a good rainfall or irrigation makes the soil softer, allowing roots to slide out intact rather than snapping.
- Before Mowing: Weed before you mow so the leaves are tall enough to grab easily.
Can I Put Dandelions in My Compost Pile?
It is generally safer not to compost dandelions, especially if they have gone to seed (the white fluffy stage). Home compost piles rarely get hot enough to kill weed seeds, meaning you might just spread them back over your garden later. Even roots can sometimes survive and regrow in a cool compost pile. It is safer to dispose of them in your municipal green waste bin or the trash.
How Do I Prevent Dandelions from Coming Back?
The best defense against weeds is a thick, healthy lawn.
- Mow High: Keep your grass taller (3 inches) to shade the soil, preventing weed seeds from germinating.
- Overseed: Fill in bare spots with grass seed so weeds have no room to establish.
- Corn Gluten Meal: Apply this natural pre-emergent herbicide in early spring to prevent seeds from sprouting.
Conclusion
Battling dandelions does not require harsh chemicals or an expensive landscaping crew. It simply requires patience, the right technique, and a little bit of manual effort. By understanding the biology of the plant—specifically its tenacious taproot—you can use mechanical advantage to defeat it. The key is to prepare your soil, leverage the tool correctly, and ensure you are removing the problem at its source.
While it may seem labor-intensive at first, manual weeding is a meditative and highly effective way to care for your green space. Plus, every root you pull is one less plant spreading seeds for next year. Now that you have mastered how to use a dandelion weeder, you can look out at your lawn with confidence, knowing you have the skills to keep it pristine, healthy, and weed-free naturally.
About
Outdoor Fixes is a distinguished figure in the world of Diy design, with a decade of expertise creating innovative and sustainable Diy solutions.
His professional focus lies in merging traditional craftsmanship with modern manufacturing techniques,
fostering designs that are both practical and environmentally conscious. As the author of diy,
outdoorfixes delves into the art and science of outdoorfixes-making, inspiring artisans and industry professionals alike.
Education RMIT University
(Melbourne, Australia) Associate Degree in Design (Outdoor Fixes) Focus on sustainable design, industry-driven projects,
and practical craftsmanship. Gained hands-on experience with traditional and digital manufacturing tools, such as CAD and CNC software.
Nottingham Trent University
(United Kingdom) Bachelor’s in outdoorfixes.com and Product Design (Honors) Specialized in product design with a focus on blending creativity with production
techniques. Participated in industry projects, working with companies like John Lewis and Vitsoe to gain real-world insights.
Publications and Impact
In diy, Outdoor Fixes his insights on indoor design processes, materials, and strategies for efficient production.
His writing bridges the gap between artisan knowledge and modern industry needs, making it a must-read for both budding designers and seasoned professionals.