
Every gardener knows the sinking feeling of spotting a fresh crop of dandelions or crabgrass sprouting in a perfectly manicured flower bed. Weeds are the uninvited guests of the gardening world, stealing vital nutrients, water, and sunlight from your prized plants. While chemical herbicides are an option, they often harm beneficial insects and damage soil health. This is where the humble hand weeder becomes your most valuable ally.

This simple, precision tool allows you to surgically remove invasive species without disturbing the surrounding soil or harming your favorite blooms. It is an eco-friendly, quiet, and surprisingly satisfying way to maintain your landscape. However, using the tool incorrectly can lead to wrist strain and snapped roots that simply grow back next week. By learning how to use a hand weeder with the proper technique, you can turn a tedious chore into a meditative practice, ensuring that when you pull a weed, it stays gone for good.
Hand weeders are simple yet effective tools for removing weeds from your garden or lawn. They consist of a long handle and a sharp, fork-like end that helps you dig out weeds by their roots. While they may seem straightforward to use, it is important to learn the proper technique in order to avoid any potential injury and ensure successful weed removal.
6 Step-by-Step Guide on How to Use a Hand Weeder
Step 1: Identify the Target and Assess Soil Conditions
Before you plunge your tool into the earth, take a moment to understand what you are up against. Not all weeds are created equal. Some have shallow, fibrous roots that spread horizontally, while others, like dandelions or thistles, possess deep taproots that anchor them firmly into the subsoil. Knowing the root structure helps you decide the angle of attack. Additionally, check the soil moisture levels.
Trying to weed in bone-dry, baked earth is a recipe for frustration; the roots will likely snap off, leaving the regenerative parts underground. Ideally, wait until after a good rain or water the area thoroughly a few hours beforehand. Moist soil is softer and more pliable, allowing the roots to slide out intact with significantly less resistance.
Step 2: Position Your Body for Leverage and Comfort
Gardening is a physical activity, and protecting your body is just as important as protecting your plants. Instead of bending over at the waist, which puts immense strain on your lower back, get down on the ground. Use a kneeling pad or knee pads to cushion your joints. Position yourself close to the weed you intend to remove so you are not overreaching. Your arm should be bent slightly to utilize your bicep and shoulder strength rather than relying solely on your wrist.
Establish a stable base with your knees or feet. Good ergonomics will allow you to work longer without fatigue and give you better control over the tool, preventing accidental damage to nearby desirable plants.
Step 3: Insert the Tool at the Correct Angle
The most critical moment in the process is the initial insertion. Hold the hand weeder firmly by the handle. Locate the base of the weed where the stem meets the soil—this is the crown. You want to insert the metal forked tip or blade directly next to this crown.

Do not go in horizontally; instead, aim the tip downward at a 45-degree angle towards the center of the root mass. The goal is to get the leverage point of the tool underneath the crown or alongside the taproot. If you are learning how to use a hand weeder effectively, visualizing the root structure underground helps you place the metal tip exactly where it needs to be to sever the hold the plant has on the soil.
Step 4: Leverage the Tool to Loosen the Soil
Once the tool is inserted deeply into the soil, do not just yank the weed out immediately. First, you need to break the suction and compaction of the dirt around the roots. Using the curved neck or fulcrum of the weeder against the soil surface, gently rock the handle back and forth or push down to lever the tip upwards.
This motion lifts the soil slightly and loosens the grip on the root system. If you feel significant resistance, do not force it, as you might snap the handle or the root. Instead, remove the tool and re-insert it from a different angle—perhaps 90 degrees from your first insertion point—to loosen the soil from multiple sides. This preparation ensures the entire root comes out smoothly.
Step 5: Grip and Pull
With the soil loosened and the tool still in position underneath the root crown, it is time to extract the invader. Reach down with your free hand and grasp the base of the weed as close to the soil line as possible. Do not pull from the top leaves, as they will likely tear off. Coordinate your movements: as you push down on the weeder handle to lever the root upward, simultaneously pull up gently but firmly with your hand.
The mechanical advantage of the tool pushing the root up from below, combined with your pulling force from above, creates the perfect extraction. You should feel the root release from the earth. Move slowly to ensure the long taproot slides out completely rather than breaking in half.

Step 6: Inspect the Hole and Shake Off Soil
After the weed is out, take a second to look at what you have removed. Does the root look complete, tapering down to a fine tip? If it looks snapped or blunt, a piece remains underground and may regrow. If a significant portion is left behind, you may need to dig a little deeper with the weeder to retrieve the remnant.
Once satisfied you have the whole plant, gently tap the root ball against your tool or the ground to shake off valuable garden soil. You want to discard the weed, not your dirt. Keeping the topsoil in the garden bed maintains the grade and fertility of your planting area.
Common Weeding Mistakes
While weeding is a fundamental part of garden maintenance, there are several common mistakes that can hinder your efforts or even make the problem worse. One frequent error is pulling weeds without removing the roots. Many weeds, such as dandelions or thistles, are notorious for regrowing from even small pieces of root left behind in the soil.
Use tools like a hand weeder or trowel to ensure you extract the entire root system.
Another mistake is waiting too long to tackle weeds; allowing them to grow larger makes them harder to remove and gives them a chance to go to seed, spreading their progeny throughout your garden.
Additionally, some gardeners unknowingly compost invasive weed species, which can result in the weeds re-emerging when the compost is used. Finally, failing to mulch after removing weeds leaves the soil vulnerable to new infestations. By avoiding these common pitfalls, you can significantly mitigate weed problems and maintain a healthier, more beautiful garden.

Frequently Asked Questions
What Is the Difference Between a Dandelion Digger and a CobraHead Weeder?
Different weeders serve different purposes. A dandelion digger typically has a long, narrow shaft with a notched, forked tip designed specifically for popping out deep taproots like dandelions or thistles. A CobraHead (or similar hook-style weeder) has a curved, single-tine blade shaped like a steel fingernail. It is more versatile, excellent for slicing through tough clay, cultivating soil, and weeding in tight spaces between plants, but it operates more like a plow than a lever.
Can I Use a Hand Weeder on All Types of Weeds?
While versatile, hand weeders work best on taproot weeds (like dandelions, dock, and plantain) and rosette-forming weeds. They are less effective against spreading, rhizomatous weeds like creeping Charlie or bindweed, where leaving even a tiny piece of root causes regrowth. For those invasive spreaders, a hand fork or a tool designed to rake out root systems might be more effective than a standard fulcrum weeder.
Does Hand Weeding Really Work Better Than Spraying?
For long-term garden health, absolutely. Herbicides can drift onto desirable plants, harm pollinators, and disrupt the soil microbiome. Furthermore, some weeds develop resistance to chemicals.
Hand weeding physically removes the plant and its root system instantly. It is 100% effective on the specific weed you pull, safe for pets and children immediately after use, and allows you to aerate the soil simultaneously.
How Do I Maintain My Hand Weeder?
To keep your tool effective, clean it after every use.
- Remove Dirt: Wipe off mud with a rag or stiff brush.
- Prevent Rust: Dry the metal thoroughly and wipe it with a thin coat of oil (like linseed or vegetable oil).
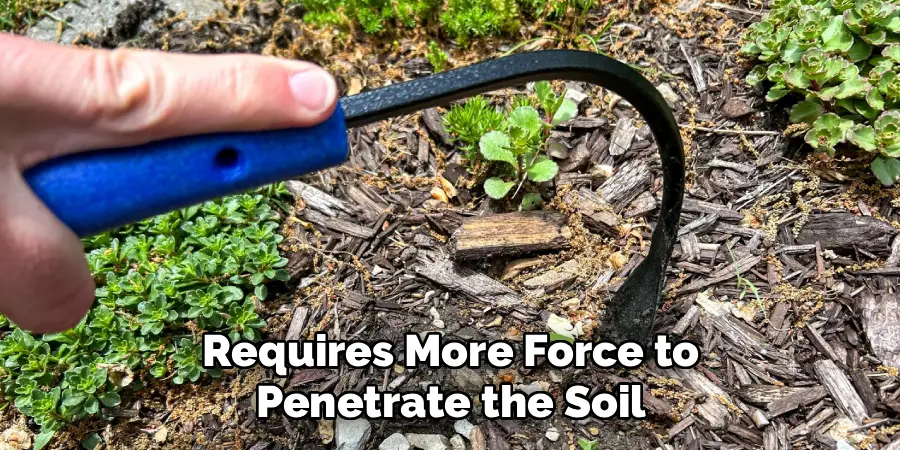
- Sharpening: Use a metal file to keep the tip or blade edges sharp. A dull weeder requires more force to penetrate the soil, increasing your fatigue.
Is Hand Weeding Bad for My Back?
It can be if done with poor posture, but it doesn’t have to be. To protect your back:
- Get Low: Always kneel or sit on a gardening stool rather than bending over from the waist.
- Switch Hands: Learn to weed with both your dominant and non-dominant hands to balance muscle use.
- Take Breaks: Stand up and stretch every 15-20 minutes to relieve tension in your spine and hips.
Conclusion
Mastering the use of manual weeding tools is a rite of passage for any serious gardener. It shifts the perspective of weeding from a hated chore to a precise, tactical operation that directly benefits the health of your soil and plants. By understanding the importance of soil moisture, leveraging proper body mechanics, and executing the “lever and pull” technique, you can clear a bed efficiently without the physical strain or chemical fallout of other methods.
Remember that consistency is key; spending ten minutes with your weeder once a week is far easier than battling an overgrown jungle once a month. Now that you understand how to use a hand weeder correctly, you can head out to your garden with confidence, ready to defend your botanical sanctuary one taproot at a time.
About
Outdoor Fixes is a distinguished figure in the world of Diy design, with a decade of expertise creating innovative and sustainable Diy solutions.
His professional focus lies in merging traditional craftsmanship with modern manufacturing techniques,
fostering designs that are both practical and environmentally conscious. As the author of diy,
outdoorfixes delves into the art and science of outdoorfixes-making, inspiring artisans and industry professionals alike.
Education RMIT University
(Melbourne, Australia) Associate Degree in Design (Outdoor Fixes) Focus on sustainable design, industry-driven projects,
and practical craftsmanship. Gained hands-on experience with traditional and digital manufacturing tools, such as CAD and CNC software.
Nottingham Trent University
(United Kingdom) Bachelor’s in outdoorfixes.com and Product Design (Honors) Specialized in product design with a focus on blending creativity with production
techniques. Participated in industry projects, working with companies like John Lewis and Vitsoe to gain real-world insights.
Publications and Impact
In diy, Outdoor Fixes his insights on indoor design processes, materials, and strategies for efficient production.
His writing bridges the gap between artisan knowledge and modern industry needs, making it a must-read for both budding designers and seasoned professionals.