
Gardening is a labor of love, but nothing tests a gardener’s patience quite like an invasion of weeds. Just when you think you have your plot perfectly prepped, those unwanted green intruders seem to spring up overnight, stealing nutrients and water from your prized plants. While hand-pulling is fine for a small flower box, it becomes back-breaking work for larger vegetable patches or new garden beds.
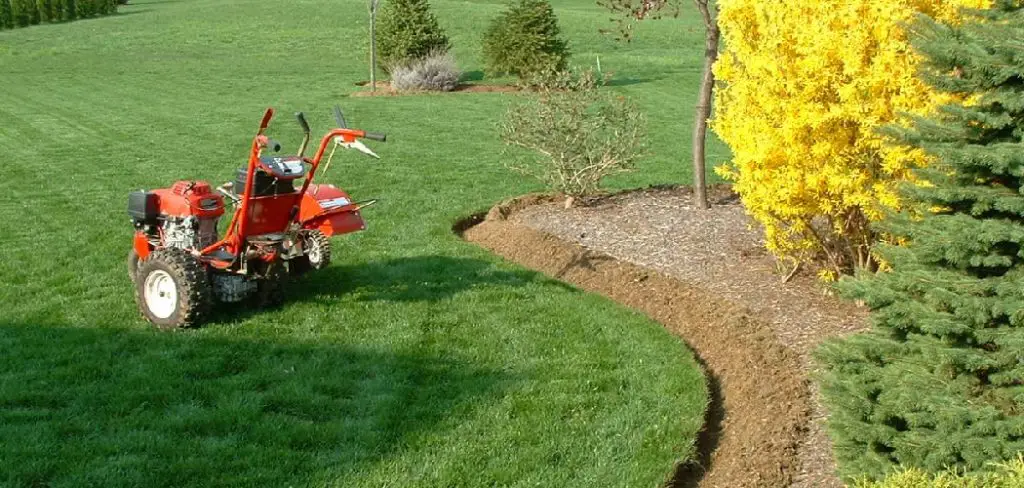
Enter the garden tiller. Often viewed primarily as a tool for breaking new ground or mixing in compost, a tiller is actually a powerful ally in the war on weeds. Using a tiller can transform days of manual labor into a manageable afternoon project. It churns the soil, uproots established growth, and disrupts the lifecycle of annual weeds.
This guide on how to use a tiller to remove weeds will walk you through exactly how to harness the power of this machine to reclaim your garden efficiently and safely.
What are the Benefits?
Using a tiller for weed control offers advantages that go far beyond just saving your lower back. Here is why you should consider firing up the machine instead of grabbing the hoe:
- Massive Time Savings: What would take you an entire weekend to clear by hand can often be accomplished in an hour or two with a tiller. This efficiency allows you to focus on planting and harvesting rather than just maintenance.
- Soil Aeration: While you are removing weeds, you are simultaneously aerating the soil. The tines break up compacted earth, allowing oxygen, water, and nutrients to penetrate deeper to the root level of your future plants.
- Organic Matter Incorporation: As the tiller chops up small annual weeds, it mixes them back into the soil where they decompose. This acts as a “green manure,” returning nitrogen and other nutrients to the earth.
- Physical Preservation: Weeding by hand involves repetitive bending, kneeling, and pulling, which can lead to strain and injury. Tilling requires guidance and control but removes the repetitive strain of manual extraction.
What Will You Need?
Before you head out to the garden, you need to gather the right equipment. Safety and preparation are just as important as the actual tilling process.
- A Garden Tiller: A front-tine tiller works well for established beds with softer soil, while a rear-tine tiller is better for heavy clay or breaking new ground.
- Personal Protective Equipment (PPE): Safety glasses are non-negotiable to protect against flying debris. Wear sturdy work boots (steel-toed are best), thick gloves, and hearing protection.
- String Trimmer or Mower: If the weeds are tall, you will need to cut them down before tilling.
- Garden Rake: Essential for clearing the area before tilling and leveling it afterward.
- Fuel and Oil: If you are using a gas-powered model, ensure you have fresh fuel and the correct oil levels.
- Trash Bags or Wheelbarrow: For collecting rocks, sticks, and persistent weed roots that shouldn’t be tilled back in.

10 Easy Steps on How to Use a Tiller to Remove Weeds
Step 1: Mow or Trim Tall Weeds
Never take a tiller directly into a jungle of tall, overgrown weeds. Long stems and vines will wrap tightly around the tiller’s tines, jamming the machine and potentially damaging the seals. Use a lawnmower on its lowest setting or a string trimmer (“weed whacker”) to cut the vegetation down as close to the ground as possible. The goal is to leave only the root systems and short stubble for the tiller to tackle.
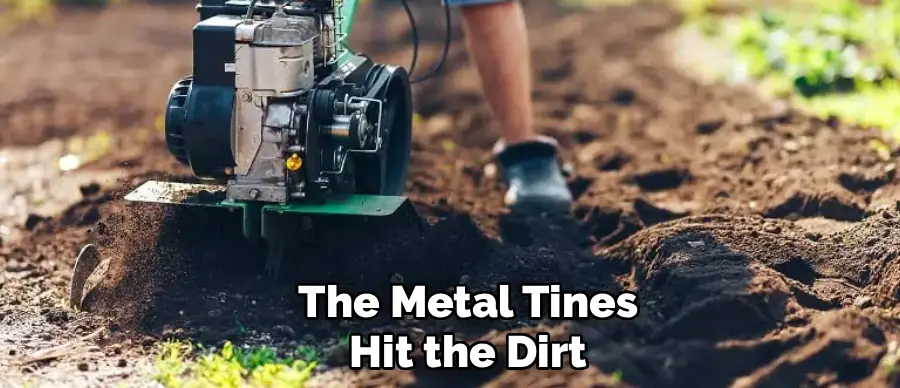
Step 2: Clear the Surface Debris
Before the metal tines hit the dirt, you must clear the area of obstacles. Walk through your garden plot and remove large rocks, sticks, thick roots from nearby trees, or old garden stakes. These items can become dangerous projectiles if hit by a spinning tine, or they can break the shear pins on your machine. A quick cleanup now prevents costly repairs later.
Step 3: Check Soil Moisture
Tilling requires the “Goldilocks” zone of soil moisture. If the ground is too wet, the tiller will create hard, brick-like clumps that ruin soil structure. If it is bone dry, you will create a dust bowl and the machine will bounce off the surface. Grab a handful of soil and squeeze it. It should crumble apart easily when poked. If it stays in a wet ball, wait for it to dry; if it turns to dust, water the area lightly a day before tilling.
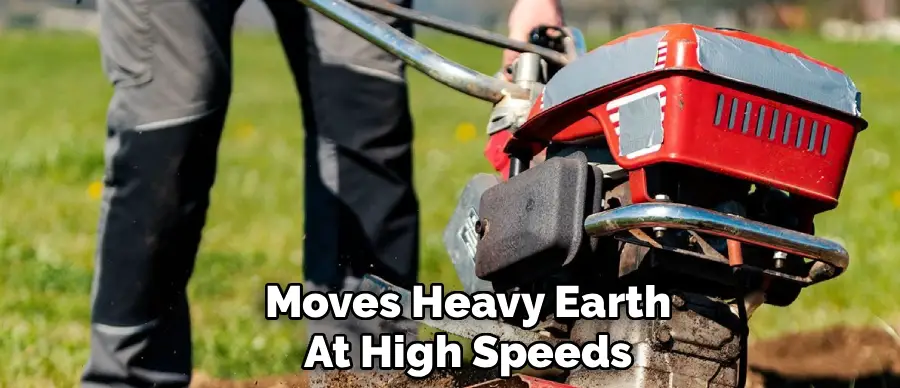
Step 4: Put on Safety Gear
This machine is powerful and moves heavy earth at high speeds. Before starting the engine, suit up. Put on your safety glasses to protect your eyes from flying pebbles. Wear long pants and heavy boots to protect your legs and feet. Earplugs or earmuffs are highly recommended for gas-powered models, as prolonged exposure to engine noise can damage hearing.
Step 5: Adjust Tilling Depth
Start shallow. Do not attempt to dig to the maximum depth on your first pass. Set the tiller’s depth regulator lever so that the tines will penetrate only the top 1 to 2 inches of soil. This initial shallow pass is crucial for slicing off the weed crowns and chopping up the surface roots without bogging down the engine.
Step 6: Position and Start the Tiller
Move the tiller to a corner of the garden plot. Make sure the tines are disengaged (not spinning) before you start the engine. Follow the manufacturer’s starting instructions—usually involving priming the bulb, setting the choke, and pulling the cord. Once the engine is purring, grip the handles firmly. This is a machine that wants to move, and you need to be ready to guide it.
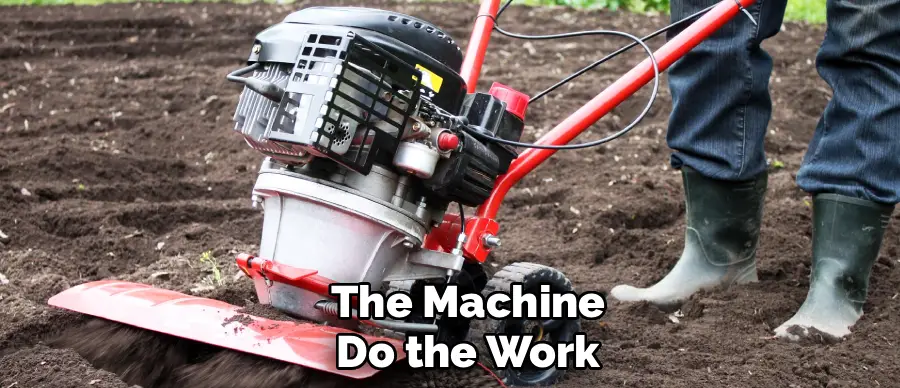
Step 7: The First Pass (Breaking the Surface)
Engage the tines and slowly walk the tiller forward in a straight line. Let the machine do the work; you shouldn’t have to push hard. Your job is to guide it and keep it steady. As you move forward, the spinning tines will chop through the weed roots and flip the soil. Complete one row, turn around, and do the adjacent row, slightly overlapping your path to ensure no strip of ground is missed.
Step 8: Remove Perennial Roots
After the first shallow pass, stop the machine. You will likely see long white roots or thick root balls sitting on top of the loose soil. It is vital to manually remove these now. Weeds like bindweed, quackgrass, or thistle can regenerate from tiny pieces of chopped root. If you simply till them deeper, you are actually planting them. Rake these specific roots out and discard them in the trash—do not compost them.
Step 9: The Second Pass (Cross-Tilling)
Adjust your depth regulator to go deeper—about 4 to 6 inches. For this pass, move perpendicular to your first set of rows (cross-tilling). If you went North-South the first time, go East-West now. This “checkerboard” pattern ensures that the soil is thoroughly pulverized and any remaining weed roots are dislodged. This deep tilling disrupts the seed bank and leaves a fine texture for planting.
Step 10: Final Raking and Cleanup
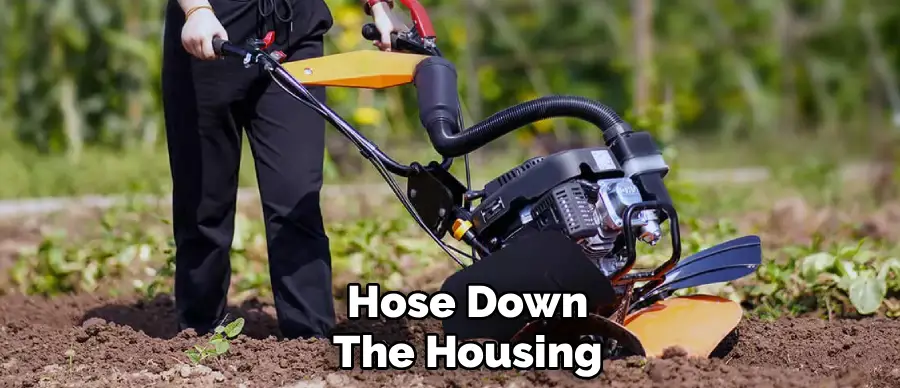
Once you have finished tilling, shut off the machine. Use your garden rake to smooth out the soil surface. This is your final chance to spot any remaining root fragments or rocks that were unearthed during the deep pass. Clean the tines of your tiller immediately. If plant matter dries and hardens on the tines, it becomes like concrete and is difficult to remove later. Hose down the housing and let it dry before storing.
5 Things You Should Avoid
To get the best results and protect your equipment, steer clear of these common errors:
- Tilling Wet Soil: As mentioned in step 3, this destroys soil structure. It compacts the earth and creates hard clods that roots cannot penetrate. Always wait for the soil to dry out.
- Tilling Perennial Weeds Too Much: Chopping up weeds that spread by rhizomes (like Bermuda grass or Bindweed) into tiny pieces just multiplies the problem. Rake these out after the first pass rather than tilling them repeatedly.
- Forcing the Machine: If the tiller hits a hard spot or a large root, don’t force it or hold it down to grind through. Lift the handles slightly to let the tines walk over the obstruction, or stop and remove it manually.
- Tilling Too Often: Frequent tilling can disrupt the beneficial network of fungal hyphae and earthworms in your soil. Only till when necessary for weed removal or amending soil, not as a weekly routine.
- Ignoring the Wind: If you are tilling dry soil on a windy day, you will lose valuable topsoil to the breeze. Try to till on calm days to keep your garden’s nutrients where they belong.
Frequently Asked Questions
- Can I Till Weeds Directly Into the Soil to Compost Them?
Yes, but only for young annual weeds. If the weeds have not gone to seed and do not spread by root runners, tilling them in adds organic matter. However, never till in weeds that have seed heads or aggressive perennial roots, as they will simply regrow. - Will Tilling Bring Up More Weed Seeds?
Unfortunately, yes. Soil contains a “seed bank” of dormant weed seeds deep underground. Tilling brings these seeds to the surface where light and moisture help them germinate. You may see a flush of new weeds a week after tilling; simply hoe these shallowly to kill them. - Is a Front-tine or Rear-tine Tiller Better for Weeding?
For weeding established garden beds, a front-tine tiller is usually sufficient and easier to maneuver in tight spaces. However, if you are reclaiming a plot that has been completely taken over by thick vegetation and hard soil, a rear-tine tiller provides the necessary power and traction.
Conclusion
How to use a tiller to remove weeds is a game-changer for gardeners managing medium to large plots. It turns a physically exhausting chore into a streamlined process, leaving you with a clean slate and aerated soil ready for planting.
By following the steps outlined above—especially the importance of clearing debris and removing perennial roots manually—you can ensure your garden remains healthy and productive.
Remember to respect the machine, wear your safety gear, and enjoy the satisfaction of seeing fresh, dark earth where weeds once stood. Happy gardening
About
Outdoor Fixes is a distinguished figure in the world of Diy design, with a decade of expertise creating innovative and sustainable Diy solutions.
His professional focus lies in merging traditional craftsmanship with modern manufacturing techniques,
fostering designs that are both practical and environmentally conscious. As the author of diy,
outdoorfixes delves into the art and science of outdoorfixes-making, inspiring artisans and industry professionals alike.
Education RMIT University
(Melbourne, Australia) Associate Degree in Design (Outdoor Fixes) Focus on sustainable design, industry-driven projects,
and practical craftsmanship. Gained hands-on experience with traditional and digital manufacturing tools, such as CAD and CNC software.
Nottingham Trent University
(United Kingdom) Bachelor’s in outdoorfixes.com and Product Design (Honors) Specialized in product design with a focus on blending creativity with production
techniques. Participated in industry projects, working with companies like John Lewis and Vitsoe to gain real-world insights.
Publications and Impact
In diy, Outdoor Fixes his insights on indoor design processes, materials, and strategies for efficient production.
His writing bridges the gap between artisan knowledge and modern industry needs, making it a must-read for both budding designers and seasoned professionals.