
Keeping houseplants alive and thriving can feel like a delicate balancing act. Under-watering leads to sad, wilted leaves, while over-watering can cause deadly root rot. This challenge becomes even more stressful when you are planning a vacation or have a busy schedule. Enter the watering globe: a simple yet brilliant device that promises to take the guesswork out of plant care.

These decorative glass or plastic bulbs provide a steady, slow release of water directly to the plant’s roots, ensuring it gets a drink precisely when it needs one. While they may seem straightforward, a few key techniques can make the difference between a happy plant and a soggy mess. This guide is designed for plant lovers of all levels, showing you exactly how to use watering globes to achieve consistent hydration and peace of mind.
Alternative Plant Watering Methods
While watering globes are a convenient choice, there are several other methods to keep your plants properly hydrated. One popular technique is the use of self-watering pots, which feature built-in reservoirs that allow plants to draw water as needed. These are great for individuals with busy schedules or those who frequently travel. For those who prefer a more hands-on approach, drip irrigation systems can provide precise watering by slowly delivering water directly to the soil.
Another low-cost method involves using recycled plastic bottles—simply perforate the sides, fill with water, and plant them into the soil to create a DIY slow release system. Lastly, traditional top watering with a watering can remains a tried-and-true method, but care must be taken to avoid overwatering by ensuring proper drainage in plant pots. Each method caters to different lifestyles and plant needs, offering flexibility for every gardener.
7 Step-by-Step Guide on How to Use Watering Globes
Step 1: Choose the Right Size Globe
Watering globes are not a one-size-fits-all solution. The size of your globe should correspond directly to the size of your plant and its pot. A small globe in a large pot will empty too quickly to be effective, while an oversized globe in a tiny pot can release too much water and drown the roots.
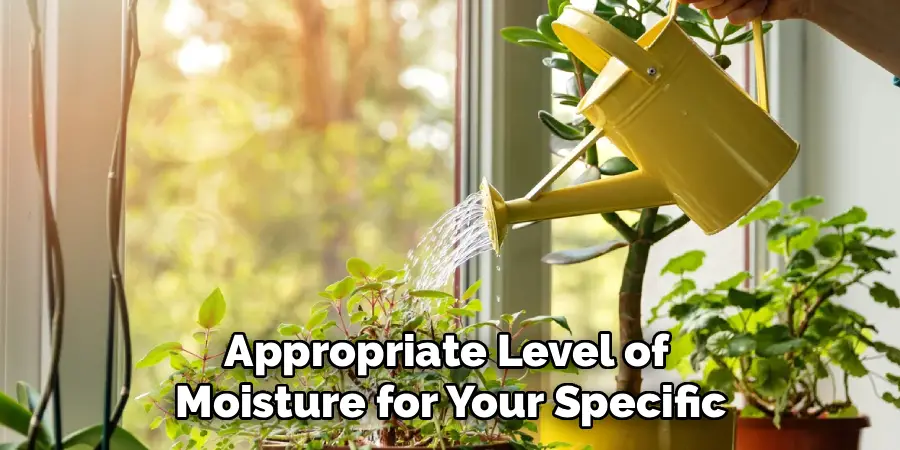
As a general rule, a small 4- to 6-inch pot will benefit from a mini globe, while larger pots (10 inches or more) require a large or jumbo-sized bulb. Choosing the correct proportion ensures the water supply lasts for a reasonable period—typically one to two weeks—and provides a consistent, appropriate level of moisture for your specific plant.
Step 2: Prepare the Soil
Before you insert the watering globe, you must properly prepare the soil. Sticking the globe into dry, compacted earth will cause the water to rush out all at once, defeating the purpose of a slow-release system. Give your plant a thorough, deep watering first and allow the excess water to drain completely.
This ensures the soil is already moist, which slows down the wicking action and allows the globe to work as intended. After watering, use a pencil, chopstick, or your finger to poke a hole in the soil where you plan to insert the globe. This pre-made tunnel prevents the stem from getting clogged with dirt on its way down and reduces the risk of damaging delicate roots.
Step 3: Fill the Watering Globe Completely
Filling the globe can be tricky due to the narrow stem, but it is a simple process once you get the hang of it. Hold the globe at a slight angle under a gently running faucet. This allows air to escape from the stem as water flows into the bulb, preventing it from bubbling back out. Fill it completely until water reaches the very tip of the stem.
If you find this difficult, using a small funnel can make the process much easier. Some people like to place a piece of cotton or a small piece of mesh over the opening before filling to act as an extra filter, but this is usually not necessary if you are creating a pilot hole in the soil first.
Step 4: Insert the Globe into the Soil
Now that the soil is prepared and the globe is full, it is time to place it in the pot. Hold your finger or thumb securely over the opening of the stem to prevent water from spilling out as you turn it upside down. Aim for the pilot hole you created earlier. Insert the stem into the soil at a slight angle, not straight up and down.
This angle helps prevent clogging and ensures a more stable placement. Push the stem down firmly until the bulb feels secure and the stem is deep enough to reach the plant’s root zone, which is typically about two-thirds of the way down the pot. Release your finger from the opening only after the globe is securely in the soil.

Step 5: Check for Air Bubbles and Initial Flow
Once the globe is in place, you should see a few air bubbles rise from the stem into the bulb. This is a positive sign! It indicates that the system is working correctly. As the soil begins to dry, it allows air to enter the stem, which in turn displaces a small amount of water to rehydrate the soil. This creates a self-regulating vacuum system.
If you do not see any bubbles, the stem may be clogged with soil. If water drains out in a matter of minutes, the soil may have been too dry to begin with, or the globe is not inserted deeply enough. The goal is a slow, occasional bubble, which signifies a perfect balance.
Step 6: Monitor Your Plant and Refill as Needed
A watering globe is a helpful tool, not a “set it and forget it” miracle. The rate at which the water is used will depend on the plant type, pot size, and environmental conditions like sunlight and humidity. For the first few weeks, monitor your plant and the globe’s water level closely. This will give you a clear idea of how thirsty your plant is and how long one globe full of water typically lasts.
Most globes will need to be refilled every one to two weeks. When the bulb is empty, simply pull it out, rinse the stem if it looks clogged, and repeat the filling and insertion process. This monitoring phase is a crucial part of learning how to use watering globes for your specific plants.
Step 7: Clean the Globe Periodically
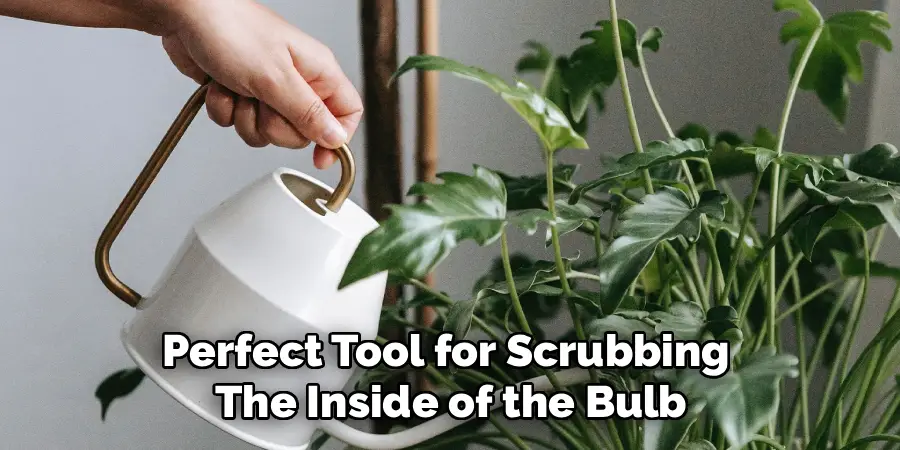
Over time, algae, mold, or mineral deposits can build up inside the glass bulb and stem, which can look unsightly and potentially clog the device. To keep your globes functioning properly and looking beautiful, you should clean them every few months or whenever you notice buildup. A bottle brush is the perfect tool for scrubbing the inside of the bulb.
To clean the narrow stem, you can use a pipe cleaner. A simple solution of warm water and a little bit of dish soap is usually sufficient. For stubborn mineral deposits, a swirl of vinegar and rice can act as a gentle abrasive to scrub the interior clean. Regular cleaning ensures your globes remain a clear and effective part of your plant care routine.
Frequently Asked Questions
Do Watering Globes Cause Root Rot?
They can if used incorrectly. Root rot is caused by overwatering, which happens when the soil is constantly saturated. If you insert a globe into soil that is already waterlogged or if the globe drains too quickly, it can contribute to root rot. However, when used correctly in properly moistened soil, the globe only releases water when the soil dries out, maintaining a healthy moisture level and actually helping to prevent both over and under-watering.

How Long Does the Water in a Globe Last?
This varies greatly depending on several factors:
- Globe Size: Larger globes hold more water and last longer.
- Plant Type: A thirsty fern will drain a globe much faster than a succulent.
- Pot Size: A small globe in a big pot will empty quickly.
- Environment: Plants in direct, hot sun will use water faster than those in low light.
On average, a properly sized globe will last between 1 and 2 weeks.
Can I Use Watering Globes for All My Plants?
Watering globes are best suited for plants that prefer consistently moist soil, such as ferns, calatheas, and peace lilies. They are not ideal for plants that need to dry out completely between waterings, like succulents, cacti, or snake plants. For these drought-tolerant species, a watering globe could easily lead to overwatering and root rot. Always consider the specific needs of your plant first.
What If My Watering Globe Clogs with Dirt?
Clogging is the most common issue. The best way to prevent it is by creating a deep pilot hole in the soil with a stick or pencil before inserting the globe. If it still clogs, you can try wrapping a small piece of cotton, cheesecloth, or a piece of a coffee filter around the tip of the stem with a rubber band. This acts as a filter to keep soil out while still allowing water to seep through.
Can I Put Fertilizer in My Watering Globe?
It is generally not recommended. Liquid fertilizers contain salts that can build up inside the globe and clog the narrow stem over time. It can also lead to an uneven distribution of nutrients in the soil. It is better to fertilize your plants separately during a normal watering session and use the globes for plain water only.
Conclusion
Watering globes are more than just a beautiful decorative accessory; they are a practical tool that can help simplify your plant care routine and give you the freedom to travel without worry. By selecting the right size, preparing the soil correctly, and monitoring your plant’s needs, you can create a reliable, self-regulating irrigation system.
This simple device fosters a healthier root environment by preventing the stressful cycles of drought and flood that many houseplants endure. Do not let the fear of inconsistent watering hold you back from growing your indoor jungle.
About
Outdoor Fixes is a distinguished figure in the world of Diy design, with a decade of expertise creating innovative and sustainable Diy solutions.
His professional focus lies in merging traditional craftsmanship with modern manufacturing techniques,
fostering designs that are both practical and environmentally conscious. As the author of diy,
outdoorfixes delves into the art and science of outdoorfixes-making, inspiring artisans and industry professionals alike.
Education RMIT University
(Melbourne, Australia) Associate Degree in Design (Outdoor Fixes) Focus on sustainable design, industry-driven projects,
and practical craftsmanship. Gained hands-on experience with traditional and digital manufacturing tools, such as CAD and CNC software.
Nottingham Trent University
(United Kingdom) Bachelor’s in outdoorfixes.com and Product Design (Honors) Specialized in product design with a focus on blending creativity with production
techniques. Participated in industry projects, working with companies like John Lewis and Vitsoe to gain real-world insights.
Publications and Impact
In diy, Outdoor Fixes his insights on indoor design processes, materials, and strategies for efficient production.
His writing bridges the gap between artisan knowledge and modern industry needs, making it a must-read for both budding designers and seasoned professionals.