Keeping plants alive can sometimes feel like a delicate balancing act. You worry about letting the soil get too dry, causing your leafy friends to wilt, but you also fear drowning them with too much love, leading to dreaded root rot.

Whether you are a busy professional, a frequent traveler, or simply someone who occasionally forgets to check the soil moisture, there is a simple tool designed to take the guesswork out of gardening.
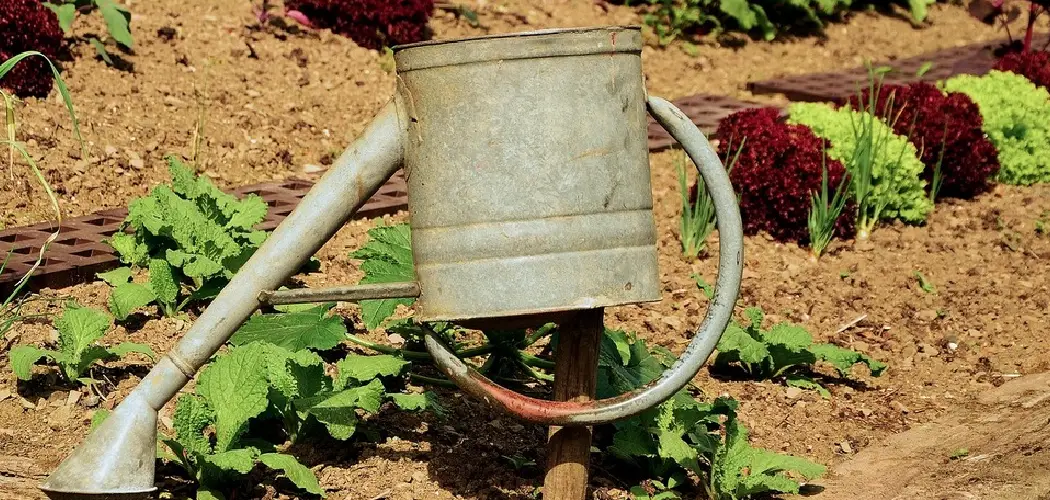
Watering stakes, often made of terracotta or ceramic, act as an ingenious irrigation system that delivers moisture directly to where it is needed most: the roots.
These devices rely on physics rather than electronics to regulate water flow, ensuring your plants drink exactly what they need, when they need it. By learning how to use watering stakes, you can transform your plant care routine from a daily chore into an efficient, automated system.
This guide will walk you through the process of setting up these hydration helpers, ensuring your indoor jungle or outdoor container garden thrives with minimal effort on your part.
6 Step-by-Step Guide on How to Use Watering Stakes
Step 1: Select the Appropriate Stake Size and Material
The journey to better plant hydration begins with choosing the right equipment for your specific green friends. Watering stakes come in various sizes, shapes, and materials, typically unglazed terracotta or porous ceramic. For small indoor pots, a slender, delicate stake is sufficient, as it releases water slowly and won’t displace too much soil.
However, for large outdoor planters or thirsty vegetable crops like tomatoes, you will need larger, more robust spikes that can hold a standard wine bottle or a large plastic liter bottle. The porosity of the material dictates how fast the water seeps into the soil.
Unglazed terracotta is excellent for most houseplants because it naturally regulates moisture release based on the soil’s dryness. Selecting the correct size ensures that the water reservoir lasts long enough to be effective without overwhelming the plant’s root system with excess moisture.
Step 2: Pre-Soak the Stakes to Prepare the Clay
Before you plunge your new tools into the dirt, there is a critical preparation step that many beginners skip. Terracotta is extremely porous and dry when you first buy it. If you insert a dry stake directly into the soil and fill it with water, the clay itself will instantly absorb a significant portion of that moisture, draining the reservoir much faster than intended.
To prevent this, submerge your watering stakes in a bowl or bucket of water for at least 15 to 30 minutes. You will likely see bubbles rising to the surface as the air is pushed out of the pores and replaced with water. This saturation process “primes” the material, ensuring that once installed, the water flows gradually into the soil rather than being sucked up by the thirsty ceramic itself.
Step 3: Moistening the Soil Before Installation
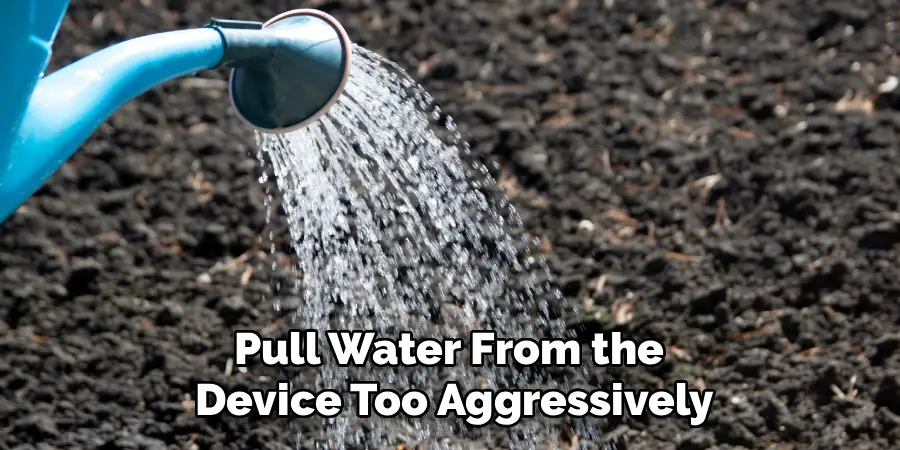
It might seem counterintuitive to water your plant before installing a device meant to do the watering for you, but starting with moist soil is essential for the system to work correctly. Watering stakes operate on the principle of capillary action and hydraulic conductivity. If the soil surrounding the stake is bone dry, it will pull water from the device too aggressively, emptying your bottle in a matter of hours instead of days.
By giving your plant a thorough traditional watering first, you create a baseline of moisture. This allows the stake to act as a maintenance system, slowly releasing water only as the soil begins to dry out, rather than trying to rehydrate a drought-stricken pot all at once. This initial step sets the stage for a steady, long-term release cycle.
Step 4: Dig a Pilot Hole
While most spikes have a pointed end, jamming them forcefully into the soil can be disastrous. Potting mix can be surprisingly dense, and terracotta is relatively brittle. Pushing too hard can snap the stake or, worse, severely damage the plant’s delicate root structure. Instead of forcing it, use a trowel, a dibber, or even a sturdy spoon to dig a pilot hole. Position this hole halfway between the main stem of the plant and the edge of the pot.
This placement ensures water reaches the feeder roots without rotting the main stem. The hole should be deep enough to bury the ceramic cone almost completely, leaving just the opening exposed. Creating this space gently ensures your equipment remains intact and your plant’s underground network remains undisturbed.
Step 5: Insert the Stake and Backfill Securely
Once your pilot hole is ready, carefully lower the pre-soaked stake into the soil. It should sit vertically and feel stable. If it wobbles or leans, the water bottle you add later will likely tip over, potentially cracking the device or damaging the plant. After positioning the stake, backfill the empty space around it with soil.
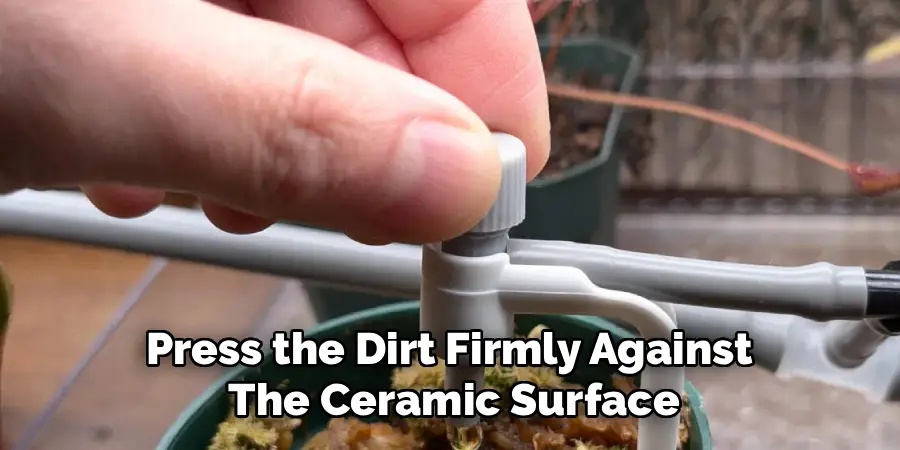
Press the dirt firmly against the ceramic surface. This contact between the soil and the stake is the crucial link that allows the water to transfer. If there are air pockets, the capillary action will be broken, and the water will not wick into the soil effectively. Ensuring a snug fit creates a continuous path for moisture to travel from the reservoir, through the porous wall, and into the thirsty root zone.
Step 6: Prepare and Invert Your Water Reservoir
Now comes the moment of truth where you connect the water source. Most stakes are designed to work with long-necked glass bottles (like wine or beer bottles) or plastic soda bottles. Fill your chosen bottle with water. For an extra boost, you can add liquid fertilizer to the water at a diluted rate, feeding your plants while they drink.
To invert the bottle without making a mess, place your thumb over the opening and flip it quickly upside down. Ideally, you want to perform this swift motion right over the stake. Some gardeners prefer to fill the stake itself with water first to create a vacuum seal. Carefully insert the neck of the bottle into the opening of the stake. You don’t need to jam it in with excessive force; gravity will do the work of holding it in place.
Frequently Asked Questions
Can Watering Stakes Cause Root Rot?
While less likely than traditional overwatering, it is still possible. If the soil is extremely dense or lacks drainage, the constant moisture from the stake can keep roots too wet.
- Check Soil: Ensure you are using well-draining potting mix.
- Monitor: If the bottle drains constantly and the soil feels soggy, remove the stake for a few days.
- Plant Type: Avoid using them on plants that prefer to dry out completely, like succulents or cacti.
How Long Will a Wine Bottle Last in a Watering Stake?
The duration depends heavily on the plant’s thirst, the temperature, and the soil type.
- Average Duration: typically, a standard 750ml wine bottle will last between 7 to 14 days.
- Hot Weather: In peak summer heat, outdoor plants may drain a bottle in 3-4 days.
- Indoor Use: In a cool indoor room, it could last up to three weeks.
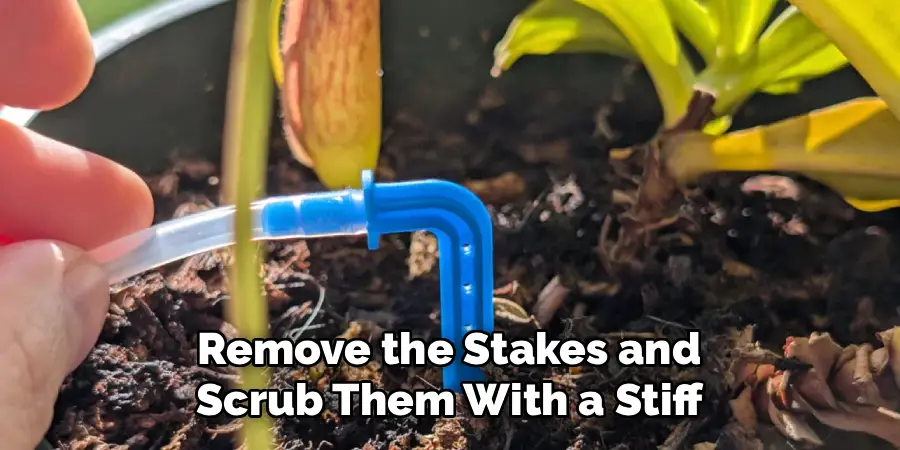
Do I Need to Clean My Watering Stakes?
Yes, maintenance is key for longevity. Over time, mineral deposits from tap water, algae, or soil particles can clog the porous clay.
- Scrub: Every few months, remove the stakes and scrub them with a stiff brush and warm water.
- Vinegar Soak: If they seem clogged, soak them in a 1:1 mixture of water and white vinegar for an hour to dissolve calcium buildup.
- Bleach: A mild bleach solution can kill algae growth.
Can I Use Plastic Bottles Instead of Glass?
Absolutely. Many stakes are designed to fit widely available plastic soda or water bottles.
- Advantages: Plastic is lighter, unbreakable, and safer if the pot tips over.
- Modification: Some plastic bottles might need a small hole poked in the bottom (which is now the top) to allow air to enter and prevent a vacuum lock, ensuring water flows freely.
Are Watering Stakes Good for Vacation?
They are one of the best low-tech solutions for vacation plant care.
- Reliability: Unlike electronic timers that can fail or run out of batteries, gravity and physics are reliable.
- Preparation: Install them a week before you leave to ensure they are working correctly and to gauge how fast they drain.
- Backup: For very long trips, ask a friend to check, but the stakes will significantly reduce the frequency of visits needed.
Conclusion
Embracing the simplicity of watering stakes is a game-changer for any gardener looking to maintain consistent moisture levels without the daily hassle. These humble clay devices bridge the gap between human forgetfulness and plant biological needs, providing a steady, gentle supply of water that mimics nature’s ideal conditions.
By following the steps outlined—soaking the terracotta, prepping the soil, and ensuring a snug fit—you create a self-regulating system that promotes deep, healthy root growth. Whether you are heading out on a summer vacation or simply want to take a break from the watering can, you can now rest easy. You have mastered how to use watering stakes, giving you the freedom to enjoy your lush, hydrated greenery with peace of mind and minimal effort.
About
Outdoor Fixes is a distinguished figure in the world of Diy design, with a decade of expertise creating innovative and sustainable Diy solutions.
His professional focus lies in merging traditional craftsmanship with modern manufacturing techniques,
fostering designs that are both practical and environmentally conscious. As the author of diy,
outdoorfixes delves into the art and science of outdoorfixes-making, inspiring artisans and industry professionals alike.
Education RMIT University
(Melbourne, Australia) Associate Degree in Design (Outdoor Fixes) Focus on sustainable design, industry-driven projects,
and practical craftsmanship. Gained hands-on experience with traditional and digital manufacturing tools, such as CAD and CNC software.
Nottingham Trent University
(United Kingdom) Bachelor’s in outdoorfixes.com and Product Design (Honors) Specialized in product design with a focus on blending creativity with production
techniques. Participated in industry projects, working with companies like John Lewis and Vitsoe to gain real-world insights.
Publications and Impact
In diy, Outdoor Fixes his insights on indoor design processes, materials, and strategies for efficient production.
His writing bridges the gap between artisan knowledge and modern industry needs, making it a must-read for both budding designers and seasoned professionals.