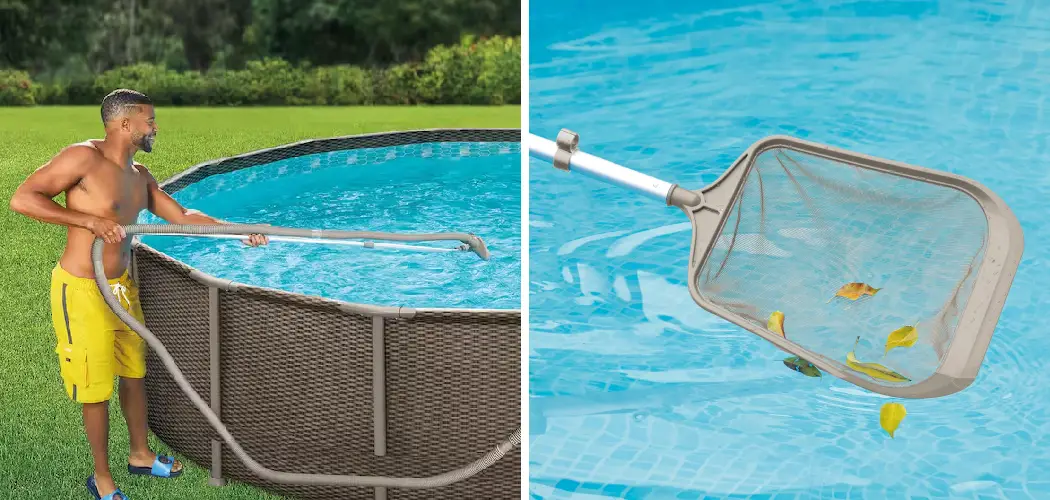
Are you tired of spending hours manually cleaning your pool? Look no further, because vacuuming a FunSicle pool is easy and efficient! Follow these steps to have a sparkling clean pool in no time.

Keeping your FunSicle pool clean is essential for maintaining clear and safe water for swimming. Vacuuming the pool is a crucial part of regular maintenance, as it helps remove debris, dirt, and algae that accumulate over time.
Whether you’re a new pool owner or looking to improve your cleaning routine, understanding the correct steps to vacuum your Funsicle pool will ensure it remains a refreshing and enjoyable space.
This guide on how to vacuum a funsicle pool will walk you through the process, providing simple and effective tips for a spotless pool.
What are the Benefits of Vacuuming Your FunSicle Pool?
Vacuuming your FunSicle pool has numerous benefits, including:
- Clean and Clear Water: Regular vacuuming removes dirt, leaves, and other debris from the pool’s floor, walls, and corners, ensuring the water remains crystal clear.
- Prevents Algae Growth: Algae can quickly grow in a neglected pool, leading to unsightly green or yellow water. Vacuuming not only removes algae spores but also helps prevent their growth by maintaining proper circulation and filtration.
- Saves Money: By regularly vacuuming your FunSicle pool, you reduce the need for costly chemicals or repairs caused by neglect or lack of maintenance.
- Enhances Aesthetic Appeal: A sparkling clean pool is not only inviting but also adds to the overall aesthetic appeal of your backyard. Regular vacuuming helps keep your FunSicle pool looking its best, making it a focal point for social gatherings and family fun.
- Improves Health and Safety: Standing water can quickly become a breeding ground for bacteria and insects, posing potential health risks for swimmers. Vacuuming removes any debris and contaminants that may have entered the pool, helping to maintain a safe and healthy swimming environment.
What Will You Need?
To properly vacuum your FunSicle pool, you will need the following equipment:
- A pool vacuum head
- A telescopic pole
- A pool skimmer net
- A pool hose (length may vary depending on the size of your pool)
- A vacuum plate or skimmer adapter (if necessary)
10 Easy Steps on How to Vacuum a Funsicle Pool
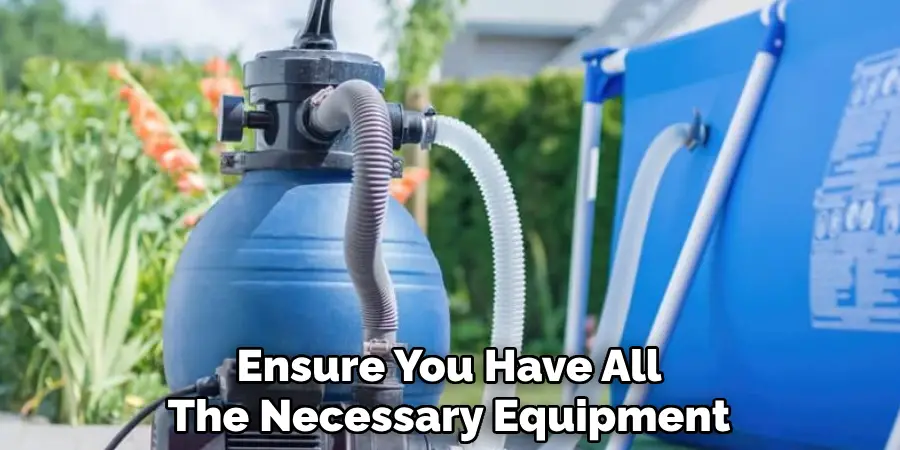
1. Assemble Your Equipment
Ensure you have all the necessary equipment readily available and in good working condition before starting. Attach the pool vacuum head to the telescopic pole, ensuring it is securely connected to allow ease of movement. Next, attach one end of the pool hose to the vacuum head, ensuring a snug fit to prevent air from entering the system.
If you’re using a vacuum plate or skimmer adapter, set it aside for now, as it will be needed later in the process. Taking the time to properly assemble your equipment is crucial to ensuring efficient and thorough cleaning of your pool. Double-check each connection and verify that the pole and hose are untangled and free of damage, making your setup ready for use.
2. Prime the Pool Hose
To prime the pool hose, submerge it completely in the water, starting from the vacuum head end. Feed the hose into the pool gradually, ensuring that no air remains trapped inside.
You may notice bubbles escaping as the hose fills with water—this is a good sign that air is being expelled. Once the entire hose is underwater and fully primed, hold the open end of the hose under the water’s surface to prevent air from re-entering.
3. Attach the Hose to the Skimmer
Once the vacuum hose is fully primed, connect it to your pool’s skimmer system. Begin by removing the skimmer basket to ensure a clear and unobstructed connection. Insert the open end of the vacuum hose into the suction port located at the bottom of the skimmer.
Make sure the hose is securely attached to create a strong seal, as this will maximize suction power. At this point, your pool vacuum is ready to start removing debris effectively.
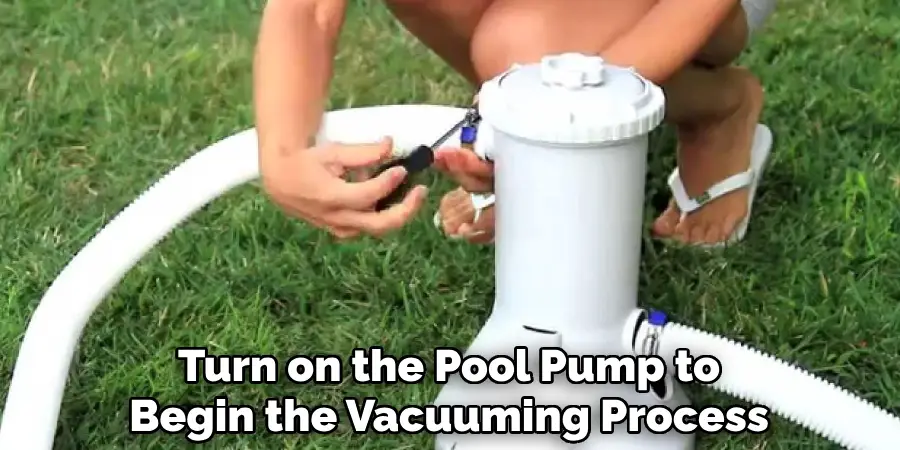
4. Start the Pool Pump
Turn on the pool pump to begin the vacuuming process. Once the pump is running, verify that the vacuum head is moving smoothly along the pool floor and that suction is consistent. Keep an eye on the pump’s pressure gauge to ensure it remains within the manufacturer’s recommended range.
If the pressure drops or fluctuates significantly, stop the pump and check for clogs or obstructions in the vacuum hose or skimmer. Proper pump operation is essential for efficient cleaning, so take time to monitor the system throughout the vacuuming process.
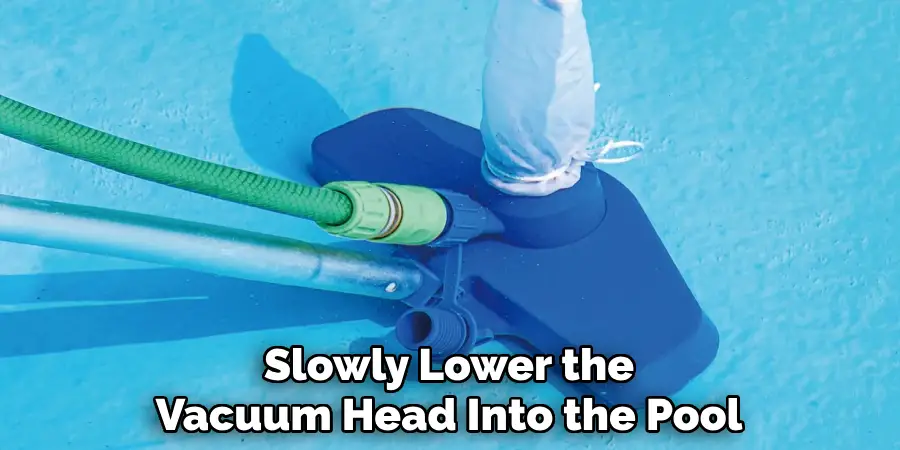
5. Begin Vacuuming
Once the pump and vacuum system are running correctly, slowly lower the vacuum head into the pool, guiding it along the floor in smooth, overlapping strokes. Start at the shallow end and work your way toward the deep end, ensuring you cover the entire pool surface.
Move at a steady pace to allow the vacuum to effectively pick up debris without stirring up sediment. If visibility becomes an issue, pause and allow the water to settle before continuing. Be thorough but careful to avoid lifting the vacuum head out of the water, as this can introduce air into the hose and disrupt suction.
6. Monitor the Filter Pressure
Regularly check the filter pressure gauge throughout the vacuuming process. A rising pressure reading indicates that the filter is accumulating debris and may require backwashing or cleaning. If the pressure exceeds the recommended level for your specific filtration system, stop vacuuming and address the filter to restore optimal performance.
Maintaining proper filter pressure ensures consistent suction and helps protect your pool equipment from unnecessary strain. Once the filter pressure is back within the normal range, you can resume vacuuming.
7. Address Stubborn Debris
For debris that is difficult to remove, such as algae or fine particles that settle on the pool floor, consider using a pool brush or specialized vacuum attachments. Begin by brushing the affected areas to loosen the debris, making it easier to vacuum.
If certain contaminants persist, you may need a vacuum head designed for stubborn debris or consider adjusting the suction settings. Additionally, using a flocculant or pool clarifier can help clump fine particles together, making them easier to remove.
8. Clear the Pool Hose
To maintain optimal suction and ensure your pool cleaning process runs smoothly, it is essential to keep the pool hose clear of any blockages. Begin by detaching the hose from the vacuum head and the skimmer or pump. Inspect the entire length of the hose for debris, dirt, or obstructions.
If you find any blockages, use a hose cleaner or gently flush water through the hose to dislodge the material. Pay close attention to bends or connections where blockages are more likely to occur. Once the hose is clean, reconnect it securely and check for proper suction before resuming your pool cleaning routine.
9. Finish Vacuuming and Clean Equipment
Once you have vacuumed the entire pool, carefully remove the vacuum head from the hose and pole. Make sure to allow any water in the hose to drain back into the pool to prevent spills. Rinse off the vacuum head, pole, and hose with fresh water to remove any accumulated debris or chemicals. Inspect the equipment for any signs of damage or wear, such as cracks in the hose or loose parts.
Properly store the vacuum and its components in a clean, dry area to prevent damage and ensure they are ready for the next use. Cleaning and maintaining the equipment after each use will extend its lifespan and keep your pool cleaning routine efficient.
10. Check the Pool’s Water Levels
Ensure the pool’s water level is maintained within the recommended range, typically around the midpoint of the skimmer opening. If the water level is too low, it can cause the pump to run dry, leading to potential damage. Conversely, if the water level is too high, it may affect the skimmer’s ability to remove debris effectively. Use a garden hose to fill the pool if needed or a submersible pump to remove excess water after heavy rainfall. Regularly monitoring and adjusting the water levels will help your pool’s system function optimally.
By following these 10 simple steps, you can keep your Funsicle pool clean and ready for use, ensuring a healthier and more enjoyable swimming experience!
5 Things You Should Avoid
- Using the Wrong Vacuum Type
Always ensure you are using a vacuum designed specifically for your FunSicle pool. Using an incompatible vacuum can damage the pool liner or fail to properly clean the debris.
- Skipping Pre-Cleaning Steps
Before vacuuming, make sure to skim the surface of the pool for larger debris like leaves or branches. Skipping this step can clog your vacuum and reduce its efficiency.
- Vacuuming Without Checking the Filter
A dirty or clogged filter can hinder the vacuum’s performance. Always check and clean the pool’s filter before starting the vacuuming process to ensure proper functionality.
- Moving the Vacuum Too Quickly
Avoid rushing while vacuuming. Moving the vacuum too quickly can stir up debris, making it harder to remove dirt and leaving your pool cloudy.
- Neglecting to Monitor Water Levels
Excess water loss can occur during vacuuming if you accidentally siphon water out of the pool. Be careful to maintain the correct water level to prevent damage to your pool system.
Conclusion
How to vacuum a funsicle pool is an essential maintenance step to ensure a clean and enjoyable swimming environment.
By following the proper setup process, avoiding common mistakes like moving the vacuum too quickly or neglecting water levels, and taking the time to meticulously clean every area, you can maintain your pool’s clarity and extend its lifespan.
Regular care will not only keep your pool hygienic but also enhance the overall swimming experience for everyone.
About
Outdoor Fixes is a distinguished figure in the world of Diy design, with a decade of expertise creating innovative and sustainable Diy solutions.
His professional focus lies in merging traditional craftsmanship with modern manufacturing techniques,
fostering designs that are both practical and environmentally conscious. As the author of diy,
outdoorfixes delves into the art and science of outdoorfixes-making, inspiring artisans and industry professionals alike.
Education RMIT University
(Melbourne, Australia) Associate Degree in Design (Outdoor Fixes) Focus on sustainable design, industry-driven projects,
and practical craftsmanship. Gained hands-on experience with traditional and digital manufacturing tools, such as CAD and CNC software.
Nottingham Trent University
(United Kingdom) Bachelor’s in outdoorfixes.com and Product Design (Honors) Specialized in product design with a focus on blending creativity with production
techniques. Participated in industry projects, working with companies like John Lewis and Vitsoe to gain real-world insights.
Publications and Impact
In diy, Outdoor Fixes his insights on indoor design processes, materials, and strategies for efficient production.
His writing bridges the gap between artisan knowledge and modern industry needs, making it a must-read for both budding designers and seasoned professionals.