
As the boating season draws to a close and the temperatures begin to drop, every boat owner faces the crucial task of preparing their vessel for the cold months ahead. Ignoring this process can lead to catastrophic damage, including cracked engine blocks, corroded internal components, and costly repairs that could keep you off the water next spring. While the process might seem intimidating to a new boat owner, taking the time to learn how to winterize inboard outboard motor systems is an invaluable skill that saves money and ensures longevity.
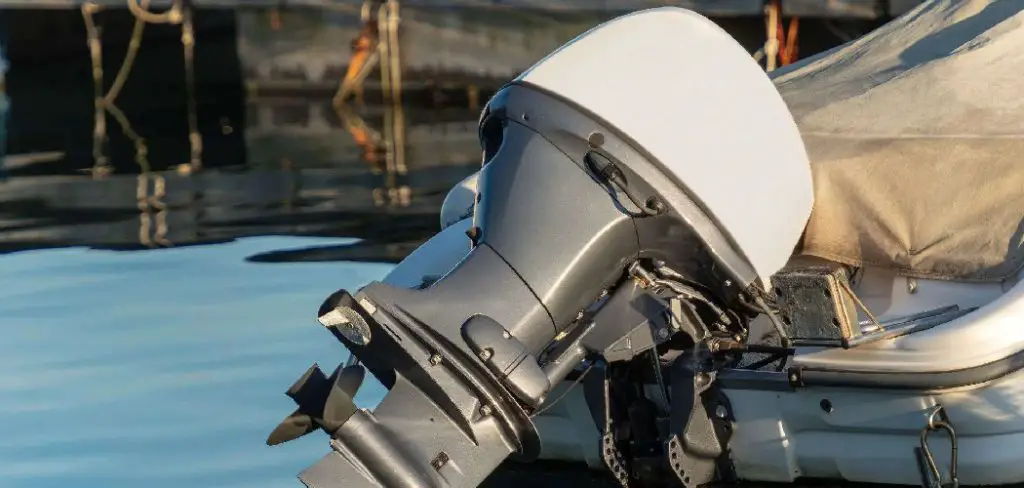
An inboard outboard, also known as a sterndrive, combines the power of an inboard engine with the maneuverability of an outboard drive unit, and it requires specific attention to prevent freezing and corrosion. This comprehensive guide is designed to demystify the winterization process, breaking it down into manageable actions. By following these instructions carefully, you will protect your investment and ensure that your engine roars back to life as soon as the warm weather returns.
Winterizing your inboard outboard engine is a crucial step in maintaining its performance and extending its lifespan. Proper winterization safeguards your engine from the detrimental effects of freezing temperatures, moisture buildup, and corrosion, all of which can cause significant damage if ignored. Whether you’re preparing your boat for storage in freezing climates or simply ensuring its long-term reliability, following a thorough winterization process is essential. With a few basic tools and a methodical approach, you can confidently protect your engine and enjoy peace of mind throughout the off-season.
How to Winterize Inboard Outboard Motor: A Step-by-Step Guide
Step 1: Add Fuel Stabilizer and Run the Engine
The first critical action in your winterization routine involves treating the fuel system to prevent degradation over the long storage period. Modern ethanol-blended fuels can separate and absorb moisture in as little as a few weeks, leading to gum and varnish buildup that clogs carburetors and fuel injectors. Begin by filling your fuel tank to near capacity, which minimizes the air space inside the tank and reduces the potential for condensation to form on the tank walls.
Once full, pour a high-quality marine fuel stabilizer directly into the tank according to the manufacturer’s recommended dosage. After adding the treatment, you must run the engine for approximately ten to fifteen minutes. This operation ensures that the stabilized fuel circulates thoroughly through the entire fuel system, from the tank lines to the engine itself, protecting every component from corrosion and varnish during the idle winter months.
Step 2: Change the Oil and Filter
Changing the engine oil and filter is a vital maintenance step that should happen before the boat sits for the season, not after. Old, used engine oil contains acids, moisture, and combustion byproducts that can cause internal corrosion if left sitting in the crankcase all winter. To perform this step, warm up the engine slightly to help the oil flow more freely, then shut it off. Use an oil extraction pump or drain plug to remove the dirty oil completely. Replace the oil filter with a new, high-quality marine-grade filter, applying a thin film of clean oil to the gasket before installation. Refill the engine with the manufacturer-specified fresh oil. This process ensures that your engine’s internal components are bathed in clean, protective lubrication rather than corrosive sludge while it remains inactive for several months.
Step 3: Flush the Cooling System with Freshwater
Before you can introduce antifreeze, you must thoroughly flush the raw water cooling system to remove salt, sand, silt, and other contaminants that have accumulated during the boating season. Attach a set of motor flushers, commonly known as “earmuffs,” to the water intake vents on the lower unit of the sterndrive. Connect a garden hose to the earmuffs and turn on the water supply to full pressure before starting the engine. Allow the engine to idle in neutral for several minutes, watching the temperature gauge to ensure it does not overheat.
This freshwater flush pushes out potentially corrosive saltwater and debris from the cooling passages, water pump, and thermostat housing. It is a cleaning phase that prepares the internal water jackets for the protective antifreeze that will be added in the subsequent steps, ensuring no harmful deposits are trapped inside.
Step 4: Drain the Engine Block and Manifolds
Once the system is flushed and the engine has cooled down, you must remove all water from the engine block and exhaust manifolds. Water left inside can freeze, expand, and crack the heavy cast iron or aluminum components, effectively destroying the engine. Locate the drain plugs on the engine block, typically found on both sides near the oil pan rail, and the plugs on the bottom of the exhaust manifolds. Remove these plugs and use a small piece of stiff wire or a screwdriver to poke into the holes, ensuring that rust or sediment isn’t blocking the drainage. Allow every drop of water to drain out completely. Also, disconnect the large water circulating hoses at their lowest points to ensure no pockets of water remain trapped in the bends. This is the most physically demanding part of learning how to winterize inboard outboard motor units, but it is absolutely non-negotiable for freeze protection.
Step 5: Fill the Block with Non-Toxic Antifreeze

With the water drained, the next objective is to fill the cooling system with a high-quality marine antifreeze. Unlike automotive antifreeze, marine antifreeze is non-toxic and typically propylene glycol-based, which is safer for the environment if spilled. Reinstall all drain plugs and reconnect all hoses you removed in the previous step. There are several methods to introduce the antifreeze, but the most common for DIYers is using a winterizing kit tank connected to the earmuffs. Fill the tank with the antifreeze solution (typically -50 or -100 degree rating). Start the engine and let it suck the antifreeze through the cooling system until you see the distinct pink or blue liquid exiting the exhaust or propeller hub. This confirms that the water in the engine block, water pump, and manifolds has been replaced with freeze-protecting fluid, ensuring the block won’t crack even in sub-zero temperatures.
Step 6: Fog the Engine Cylinders
Fogging the engine coats the internal cylinder walls, pistons, and rings with a protective layer of oil to prevent rust and corrosion caused by condensation during storage. While the engine is running and drawing in the antifreeze (or immediately after if using a different method), spray a specialized fogging oil directly into the carburetor air intake or throttle body. Continue spraying until the engine begins to stumble or emit white smoke, indicating the cylinders are coated. If your engine is fuel-injected, you may need to follow a specific procedure or use a fuel mixture in a remote tank, as spraying directly into the intake can damage sensors. Alternatively, remove the spark plugs and spray fogging oil directly into each cylinder for a few seconds. This oil barrier is essential because even a tiny amount of surface rust on cylinder walls can cause significant engine wear upon startup in the spring.
Step 7: Change the Gear Lube in the Sterndrive
The lower unit, or sterndrive, contains gears that are lubricated by gear oil, and this fluid needs attention just like the engine oil. Position a drain pan under the lower unit and remove the bottom drain screw and the top vent screw. Allow the old gear lube to drain completely. Inspect the drained fluid carefully; if it looks milky or creamy, it indicates water intrusion, meaning you have a leaking seal that must be repaired before winter. Once drained, pump fresh marine gear lube into the bottom drain hole using a specialized pump until the fluid starts to weep out of the top vent hole. Install the top vent screw first to create a vacuum, then quickly install the bottom drain screw. Changing this fluid removes moisture and ensures the gears are sitting in clean lubricant, preventing corrosion and freezing damage to the drive unit.
Step 8: Grease All Fittings and Lubricate Linkages
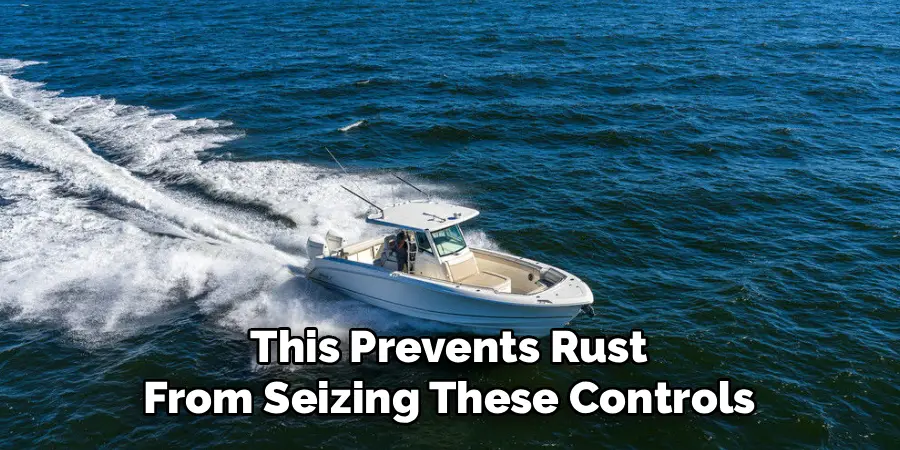
A boat is a harsh environment for moving metal parts, and winter storage provides ample time for seized mechanisms if they aren’t protected. Locate all the grease fittings, also known as Zerk fittings, on the engine and sterndrive. These are commonly found on the gimbal bearing, steering linkage, tilt and trim pivots, and propeller shaft. Use a grease gun loaded with marine-grade grease to pump fresh lubricant into each fitting until you see a small amount of new grease squeezing out, pushing out old grease and water. additionally, apply a light coat of moisture-displacing lubricant or silicone spray to the shift cables, throttle linkages, and any exposed electrical connections. This prevents rust from seizing these controls and ensures smooth operation when you take the boat out for its first run of the new season.
Step 9: Remove and Inspect the Propeller
Removing the propeller is a step often overlooked by beginners, but it serves two important purposes for winter storage. First, it allows you to inspect the propeller shaft for fishing line, which can wrap around the shaft and damage the rear seal, allowing water to enter the gearcase. Remove the cotter pin or locking tab, unscrew the prop nut, and slide the propeller off. Check carefully for any debris or line wrapped near the seal. Second, this is the perfect time to inspect the propeller blades for dings, cracks, or bends that could cause vibration. If the prop is damaged, you have the entire winter to get it repaired or replaced. Before reinstalling or storing the prop, apply a generous amount of waterproof grease to the propeller shaft splines to prevent the prop from seizing to the shaft over the winter.
Step 10: Protect the Exterior and Battery
The final step in the winterization process addresses the boat’s exterior and electrical system. Disconnect the battery cables, removing the negative cable first, and clean the terminals with a wire brush to remove corrosion. Ideally, remove the battery from the boat and store it in a cool, dry place on a trickle charger or maintainer to keep it from freezing or sulfating. Clean the exterior of the engine and the bilge area to remove oil or grime. Finally, spray the entire engine block and exterior metal surfaces with a corrosion inhibitor or metal protector. This forms a thin, waxy barrier that repels moisture and prevents surface rust from forming on the engine block, pulleys, and brackets while the boat sits in damp winter conditions. Cover the boat securely to prevent water accumulation, and you are done.
Common Winterizing Mistakes
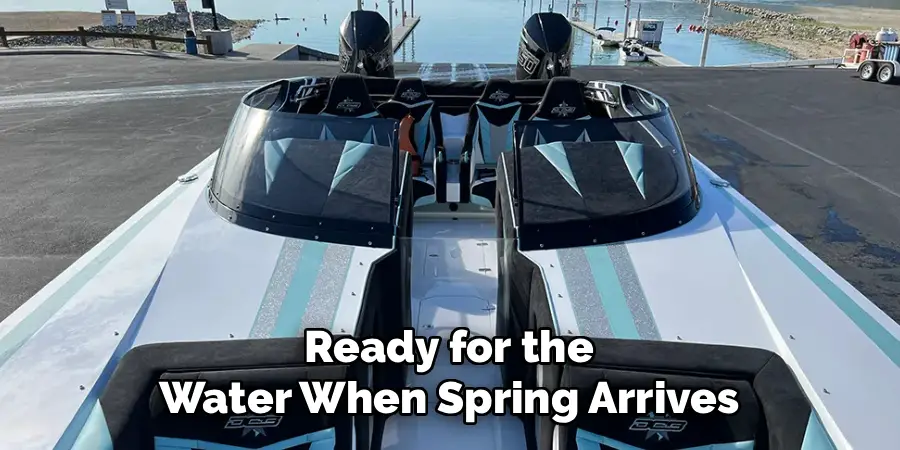
While winterizing your boat is essential for protecting it during the off-season, there are several common mistakes that can lead to costly repairs or damages. One frequent error is failing to properly drain all water from the engine, plumbing, or bilge system. Leftover water can freeze and expand in cold temperatures, causing cracks or damage to the engine block or plumbing lines. Another mistake is neglecting to stabilize the fuel or leaving the fuel tank partially empty. This can lead to condensation forming in the tank, introducing moisture that may result in corrosion or fuel degradation. Additionally, some boat owners overlook the importance of cleaning the boat thoroughly before storage. Dirt, grime, and salt residue can accelerate corrosion and create unpleasant odors over the winter months. Finally, failing to inspect and replace worn-out seals, hoses, or belts can result in leaks or mechanical issues when the boat is back in use. Avoiding these common pitfalls ensures your boat remains in excellent condition and ready for the water when spring arrives.
Frequently Asked Questions
Do I Really Need to Use Marine Antifreeze?
Yes, using marine-specific antifreeze is highly recommended over standard automotive coolants. Marine antifreeze is typically formulated with propylene glycol, which is non-toxic and environmentally safe, unlike the ethylene glycol found in car antifreeze, which is highly toxic to aquatic life and animals. Furthermore, marine antifreeze is designed to protect engines that use raw water cooling systems, offering specific corrosion inhibitors for the mix of metals found in boat engines. Using the correct fluid ensures you are compliant with environmental regulations and provides the specific protection your marine engine requires.
Can I Just Drain the Water and Not Use Antifreeze?
While theoretically, draining all the water should prevent freezing damage, simply draining the block is risky. Rust flakes, sediment, or scale inside the engine’s cooling passages can block drain holes, trapping pockets of water inside the block or manifolds. If these trapped pockets freeze, they can still crack the engine block. Filling the system with antifreeze pushes out any remaining water and ensures that any fluid left in the nooks and crannies is freeze-resistant. It also provides vital corrosion protection for the internal water jackets that air alone cannot provide.
How Do I Know If My Fuel Stabilizer Is Working?
You cannot visibly see fuel stabilizer working, but its effects are evident in the spring. If you added the correct amount of stabilizer to fresh fuel and ran the engine long enough to circulate it, the chemicals are active. They work by preventing the oxidation of gasoline and the phase separation of ethanol-blended fuels. If your engine starts easily in the spring without a rough idle or gummed-up carburetor, the stabilizer did its job. Always use a reputable marine-grade brand and follow the dosage instructions on the bottle precisely.
What Happens If I Forget to Fog the Engine?
If you skip fogging the engine, you risk corrosion forming on the internal cylinder walls, piston rings, and valves. During winter, temperature fluctuations cause condensation to form inside the engine. Without the protective oil coating provided by fogging, this moisture reacts with the iron and steel components to create rust. When you start the engine in the spring, this rust acts like sandpaper, scouring the cylinder walls and potentially causing loss of compression, increased oil consumption, and premature engine failure. Fogging is a small step that prevents significant internal damage.
Is It Better to Store the Battery in the Boat or Remove It?
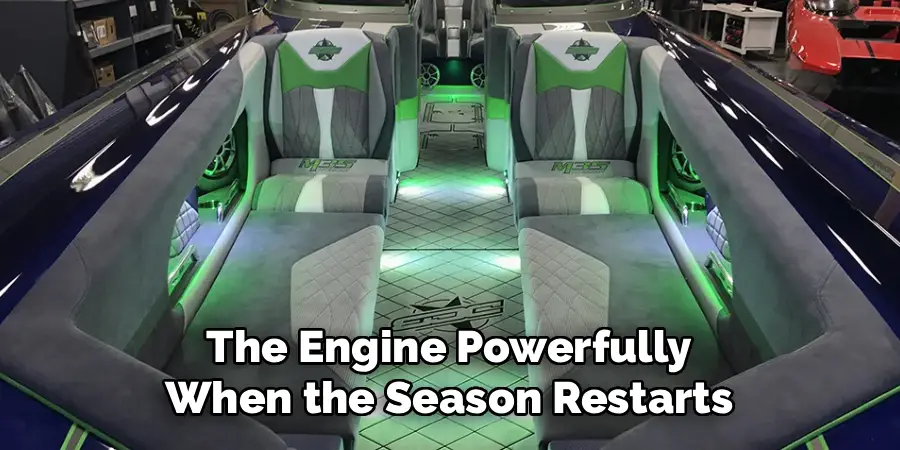
It is far better to remove the battery from the boat for winter storage. When left in the boat, batteries are subject to freezing temperatures, which can crack the case if the charge drops too low. They are also prone to parasitic drains from onboard electronics that can kill the battery completely. By removing the battery, storing it in a cool (but not freezing), dry location, and keeping it connected to a smart maintenance charger, you ensure it remains fully charged and healthy, ready to crank the engine powerfully when the season restarts.
Conclusion
Winterizing your vessel is more than just a chore; it is a fundamental responsibility of boat ownership that directly impacts the lifespan and performance of your watercraft. By methodically addressing the fuel system, lubrication, cooling passages, and electrical components, you create a robust defense against the harsh realities of winter storage. The time and effort invested in learning how to winterize inboard outboard motor systems pay dividends in the form of avoided repair bills and the peace of mind that comes from knowing your boat is safe. As the snow melts and the waters warm, you will be ready to launch with confidence, knowing
About
Outdoor Fixes is a distinguished figure in the world of Diy design, with a decade of expertise creating innovative and sustainable Diy solutions.
His professional focus lies in merging traditional craftsmanship with modern manufacturing techniques,
fostering designs that are both practical and environmentally conscious. As the author of diy,
outdoorfixes delves into the art and science of outdoorfixes-making, inspiring artisans and industry professionals alike.
Education RMIT University
(Melbourne, Australia) Associate Degree in Design (Outdoor Fixes) Focus on sustainable design, industry-driven projects,
and practical craftsmanship. Gained hands-on experience with traditional and digital manufacturing tools, such as CAD and CNC software.
Nottingham Trent University
(United Kingdom) Bachelor’s in outdoorfixes.com and Product Design (Honors) Specialized in product design with a focus on blending creativity with production
techniques. Participated in industry projects, working with companies like John Lewis and Vitsoe to gain real-world insights.
Publications and Impact
In diy, Outdoor Fixes his insights on indoor design processes, materials, and strategies for efficient production.
His writing bridges the gap between artisan knowledge and modern industry needs, making it a must-read for both budding designers and seasoned professionals.