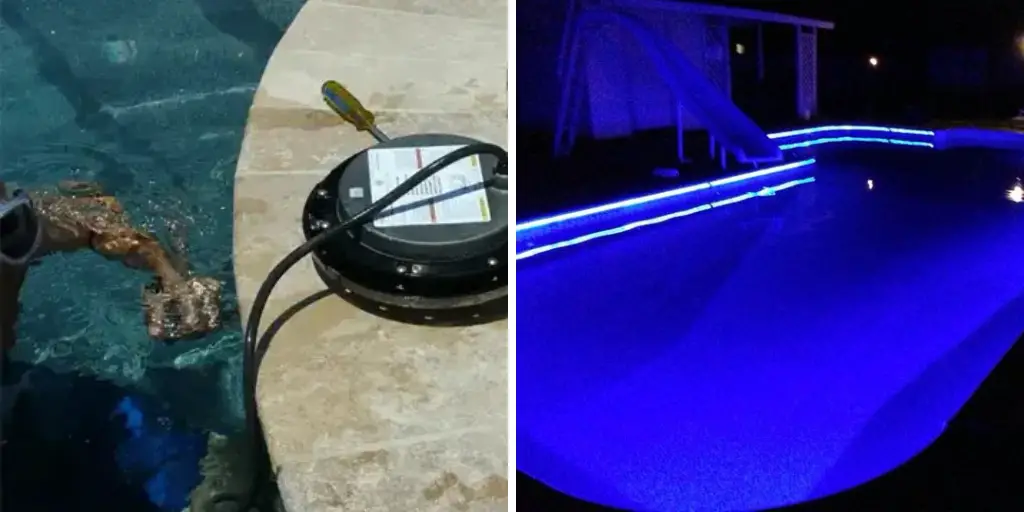
Illuminating a pool with the warm glow of underwater lights can enhance its beauty and create a captivating ambiance. A crucial aspect of this process involves understanding how to wire a pool light effectively.
This article serves as a comprehensive guide for pool owners and DIY enthusiasts, providing step-by-step instructions on the intricacies of wiring a pool light. From selecting the appropriate fixtures to navigating the electrical connections and ensuring compliance with safety standards, this guide addresses essential considerations.

Whether you’re a seasoned electrician or a first-time pool lighting enthusiast, mastering the art of wiring a pool light ensures a safe and visually appealing aquatic environment. Dive into this comprehensive resource to gain the knowledge and confidence needed to illuminate your pool with precision, creating a mesmerizing and inviting atmosphere for both daytime and nighttime enjoyment.
Importance of Pool Lighting for Safety and Aesthetics
Pool lighting significantly contributes to both safety and aesthetics of a swimming pool. From a safety perspective, well-illuminated pools encourage safer swimming experiences, especially during night time.
The lights guide the swimmers through the water, highlighting any potential hazards, and also make it easy for others to see if a swimmer is in difficulty.
On the aesthetic front, pool lighting enhances the overall ambiance, transforming the pool into an enchanting oasis when the sun sets. It provides a spectacular color display, contributing to a visually pleasing environment that accentuates the overall design and architecture of the pool.
10 Methods How to Wire a Pool Light
1. Gather Necessary Tools and Materials
Before beginning the wiring process, it’s important to gather all necessary tools and materials. This includes a pool light fixture, junction box, wire strippers, electrical tape, waterproof wire connectors, and a screwdriver. It’s also important to have a GFCI (Ground Fault Circuit Interrupter) outlet nearby for safety purposes.
2. Turn Off Power
Before starting any electrical work, make sure to turn off the power to the pool area at the circuit breaker. This will ensure your safety while working with electricity. However, it is always recommended to have a professional electrician handle any complex wiring tasks.
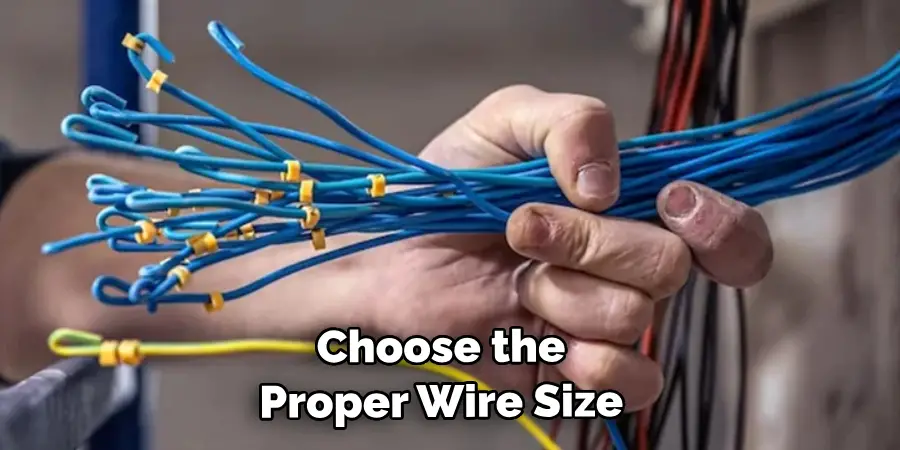
3. Choose Proper Wire Size
When wiring a pool light, it’s important to choose the proper wire size for the voltage of your light fixture. A 12-gauge wire is typically used for 120-volt lights, while a 14-gauge wire is suitable for 12-volt lights. It’s important to consult the manufacturer’s instructions for the specific voltage of your pool light.
Wire connectors should also be used to secure connections between wires. These connectors come in different sizes to accommodate different wire gauges. It’s important to use the correct size connector for your chosen wire size to ensure a safe and secure connection.
4. Install Junction Box
The junction box will serve as a connection point for the wires from the pool light and the power source. It should be installed in a dry location near the pool but not directly above or below water level. While the location may vary depending on your specific pool design, a common placement is on the deck near the pool equipment.
5. Strip Wires
Using wire strippers, carefully strip about half an inch of insulation from each end of the wires that will be connected in the junction box. Once the wires are stripped, twist together the exposed copper strands to create a secure connection. To make the connection even more secure, you can also use wire nuts or electrical tape to cover the exposed copper.
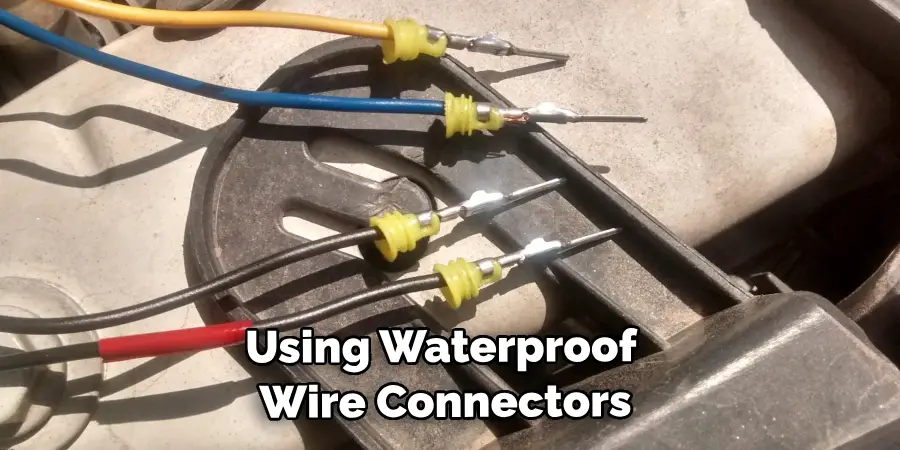
6. Connect Wires
Connect the black (hot) wire from the power source to the black (hot) wire from the pool light using waterproof wire connectors.
Repeat this process with the white (neutral) wires and green or bare copper (ground) wires. Additionally, you may need to connect a bonding wire from the pool light to the bonding grid in your pool. This is necessary for safety and preventing electrical shock.
7. Secure Junction Box Cover
Once all wires are connected and secured with waterproof connectors, place the cover on top of the junction box and tighten any screws or bolts to ensure it is secure. This is an important step as it helps protect the wires and connections from exposure to water or other elements. It also helps prevent any accidental contact with the wiring.
8. Mount Pool Light Fixture
Carefully mount the pool light fixture onto its designated spot on your pool wall according to manufacturer instructions. Ensure that the wiring and junction box are properly aligned with the pool light fixture before tightening any screws or bolts. Though most pool light fixtures are installed above the water line, some may be designed for underwater installation. Make sure to follow manufacturer instructions carefully.
9. Connect Light Fixture Wires
Using waterproof connectors, connect each color-coded wire from your pool light fixture to its corresponding color-coded wire from inside of your junction box. Ensure that the connections are tight and secure.
After connecting the wires, it is important to test the pool light to make sure everything is working properly. Turn on the power at your circuit breaker and flip the switch on your pool light control panel. If the light does not turn on, double check all of your connections to make sure they are correct and secure.
10. Test Light

Once all wires are connected, turn the power back on and test your pool light to ensure it works properly. If not, double check all connections and make any necessary adjustments. Additionally, you can use a voltage tester to confirm that the power is reaching the light fixture.
Things to Consider When Wiring a Pool Light
If you have a swimming pool, having proper lighting is crucial for safety and for creating an inviting atmosphere. One way to achieve this is by installing a pool light. However, wiring a pool light can seem like a daunting task if you don’t have prior experience. In this guide, we’ll walk you through the steps of how to wire a pool light and the things you should consider before doing so.
Safety First
Before embarking on any electrical work, it’s essential to prioritize safety. Make sure to turn off the power at your main circuit breaker before starting this project. Additionally, it’s advisable to wear protective gear such as gloves and goggles to avoid any accidents.
Choosing the Right Pool Light
There are various pool lights available in the market, so it’s essential to choose one that fits your needs. Some factors to consider when selecting a pool light include the type of bulb, power source, and energy efficiency. LED lights are popular for their brightness and energy-saving capabilities.
Understanding Pool Light Wiring
Pool lights typically operate on 12 volts of electricity instead of the standard 120 volts used in household appliances. This is because the pool’s wet environment can be dangerous if higher voltage were to come into contact with water. It’s also crucial to note that pool lights require a GFCI (Ground Fault Circuit Interrupter) for added safety.
Emphasizing the Importance of Safety Gear
When undertaking the task of wiring a pool light, it is of paramount importance to prioritize safety. This process involves dealing with electricity near water, a combination that can be extremely hazardous without the proper precautions.

Therefore, safety gear, including insulated gloves and safety glasses, should be considered non-negotiable. Insulated gloves protect your hands from potential electric shock, while safety glasses safeguard your eyes from sparks or debris. We highly recommend you to not skip this critical step in the process – the use of safety gear. It can make a significant difference in preventing accidents and ensuring a safe and successful wiring process.
Proper Cable and Conduit Selection
When it comes to wiring a pool light, using the right cables and conduit is crucial. The cable used must be suitable for underwater use and capable of handling 12 volts of electricity.
It should also be long enough to reach from the power source to the light’s location without exposing any splices or connections. A flexible PVC conduit is usually used to protect the cable and provide a waterproof seal. However, rigid metal conduit can also be used as long as it’s appropriately grounded.
Conclusion
Now that you have all the necessary information on how to wire a pool light, it’s time to take the plunge! By following the steps outlined in this post, you can confidently and safely install your own pool light and add a beautiful touch to your swimming pool.
Whether you’re looking to upgrade your current lighting system or are installing a brand new one, this process may seem daunting at first, but with careful attention and proper tools, it can be done successfully. Remember to always put safety first and consult with an electrician if needed. Don’t be afraid to ask for help or clarification along the way. With a little bit of patience and determination, you will soon be enjoying a well-lit pool that will enhance your outdoor space and create lasting memories.
About
Outdoor Fixes is a distinguished figure in the world of Diy design, with a decade of expertise creating innovative and sustainable Diy solutions.
His professional focus lies in merging traditional craftsmanship with modern manufacturing techniques,
fostering designs that are both practical and environmentally conscious. As the author of diy,
outdoorfixes delves into the art and science of outdoorfixes-making, inspiring artisans and industry professionals alike.
Education RMIT University
(Melbourne, Australia) Associate Degree in Design (Outdoor Fixes) Focus on sustainable design, industry-driven projects,
and practical craftsmanship. Gained hands-on experience with traditional and digital manufacturing tools, such as CAD and CNC software.
Nottingham Trent University
(United Kingdom) Bachelor’s in outdoorfixes.com and Product Design (Honors) Specialized in product design with a focus on blending creativity with production
techniques. Participated in industry projects, working with companies like John Lewis and Vitsoe to gain real-world insights.
Publications and Impact
In diy, Outdoor Fixes his insights on indoor design processes, materials, and strategies for efficient production.
His writing bridges the gap between artisan knowledge and modern industry needs, making it a must-read for both budding designers and seasoned professionals.