
Have you ever tried to give someone a garden tool as a gift? It’s a fantastic, practical present for the green thumb in your life, but it presents a unique challenge: the shape. Unlike a book or a box of chocolates, a shovel is long, awkward, and distinctly un-box-like. You can’t just toss it in a standard gift bag and call it a day.
Whether you are gifting a sturdy spade for a housewarming, storing your tools for the winter, or simply want to protect the blade during a move, knowing how to wrap a shovel properly is a surprisingly useful skill.
It might seem daunting at first glance—that long handle and wide blade don’t exactly scream “easy to wrap.” However, with a little creativity and the right technique, you can turn this awkward object into a beautifully presented package. Let’s dive into
What are the Benefits?
Taking the time to wrap a shovel offers several distinct advantages beyond just aesthetics.
- Surprise Factor: A shovel is instantly recognizable by its shape. Proper wrapping can disguise the contents just enough to maintain the element of surprise until the very last moment.
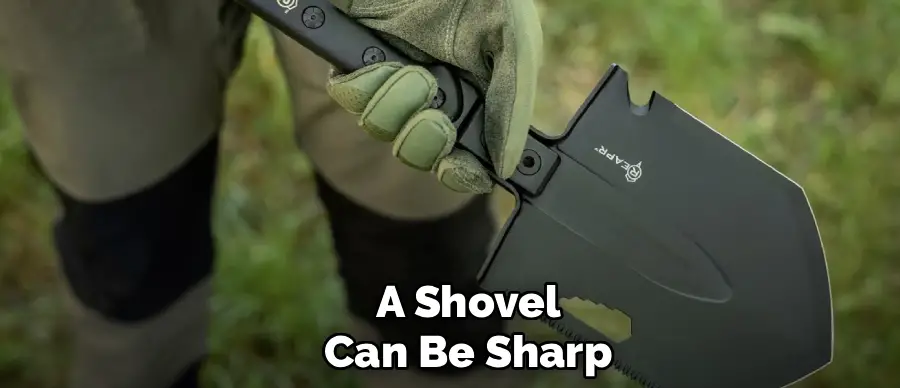
- Safety and Protection: Wrapping the blade (the sharp metal part) protects the recipient from accidental cuts while handling the gift. It also protects the shovel itself from scratches or dings during transport.
- Enhanced Presentation: A raw tool leans against a wall, looking like a chore. A wrapped tool looks like a thoughtful gift. It elevates a utilitarian object into something special and exciting.
- Prevents Rust: If you are wrapping for long-term storage rather than gifting, using materials like burlap or oiled paper can actually help wick away moisture and prevent the metal from rusting over the winter months.
What Will You Need?
Before you begin wrestling with the garden tool, gather these supplies to ensure the process goes smoothly.
- Heavy-Duty Wrapping Paper or Kraft Paper: Standard thin birthday paper will tear instantly on the metal edges. Opt for thick Kraft paper, butcher paper, or even multiple layers of sturdy wrapping paper.
- Bubble Wrap or Cardboard: Essential for covering the sharp edges of the blade.
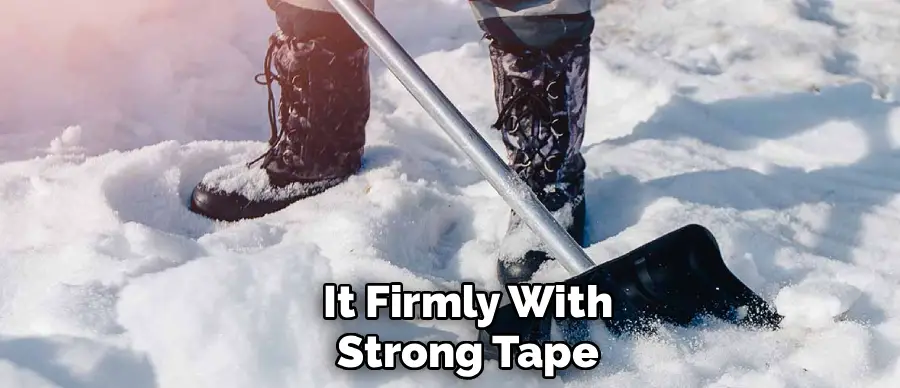
- Clear Packing Tape and Scotch Tape: You need strong tape to hold the structure and invisible tape for the final aesthetic touches.
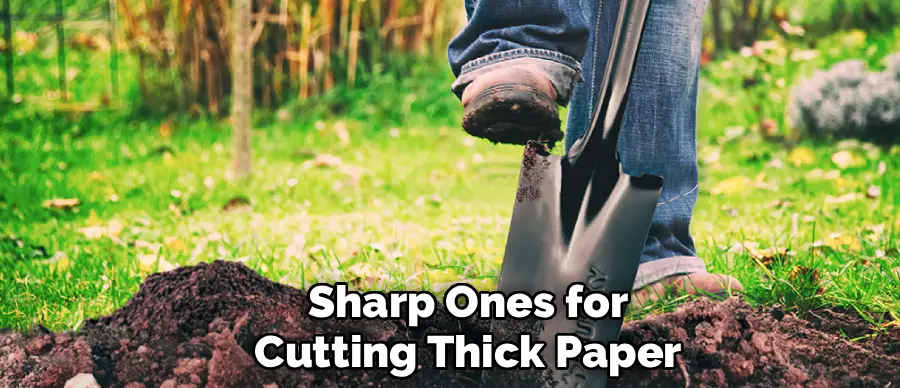
- Scissors: Sharp ones for cutting thick paper.
- Ribbon or Twine: For the decorative finish.
- A Rubber Band: Helpful for securing the paper around the handle.
- The Shovel: Clean and dry!
10 Easy Steps on How to Wrap a Shovel
Step 1: Clean and Prep the Shovel
This is the most crucial step that is often overlooked. If the shovel is used, scrub it thoroughly to remove dirt and rust. Even if it is brand new, wipe it down to remove any store dust or sticky residue from price tags. Ensure the tool is completely dry before you start wrapping. Trapping moisture inside the paper can lead to rust spots on the metal blade, which is definitely not the gift you want to give.
Step 2: Protect the Blade Edges
The metal blade of a shovel can be sharp or jagged, which will rip right through your beautiful paper. Take a piece of cardboard or a few layers of bubble wrap and fold it over the cutting edge of the shovel blade. Secure this safety layer with packing tape. This not only keeps your wrapping paper intact but also prevents the recipient (or you) from getting nicked by the metal while handling the package.
Step 3: Measure and Cut Your Paper
Roll out your heavy-duty wrapping paper or Kraft paper on a large, flat surface like a dining table or the floor. Place the shovel on top of the paper to estimate how much you need. You will likely need two separate sections: one large piece for the blade (the head of the shovel) and a long, narrow strip for the handle. Cut generously; it is always easier to trim excess paper later than to patch up a gap.
Step 4: Wrap the Blade First
Place the shovel blade in the center of your first piece of paper. Fold the bottom edge of the paper up over the blade, then fold the top edge down. Think of it like wrapping a very flat, oddly shaped sandwich. Fold the sides in tightly against the curve of the blade. Because the blade is curved, you may need to make small creases or pleats in the paper to get it to lay flat. Secure everything generously with tape.
Step 5: Secure the Neck
The transition point where the blade meets the handle (the neck) is the trickiest part. The paper from the blade section will naturally bunch up here. Gather this excess paper tightly around the neck of the shovel and secure it firmly with strong tape. You want the blade wrapping to be independent and secure so it doesn’t slide off when the shovel is held upright.
Step 6: Wrap the Handle
Now, take your long, narrow strip of paper for the handle. You have two options here. You can spiral-wrap it like a candy cane, starting from the neck and working your way up to the grip. Alternatively, you can lay the handle on the paper and roll it into a tube shape. The spiral method usually looks tighter and neater. Secure the paper at the bottom (near the neck) with tape before you start winding it up the shaft.
Step 7: Handle the Handle Grip
When you reach the top of the shovel (the D-grip or T-grip), you will have another awkward shape to cover. If you used the tube method, you might have excess paper sticking up. Fold this down neatly over the grip, tucking the corners in like you are wrapping the end of a box. If the shape is too complex, you can wrap the grip separately with a smaller square of paper and tape it to the handle wrapping for a seamless look.
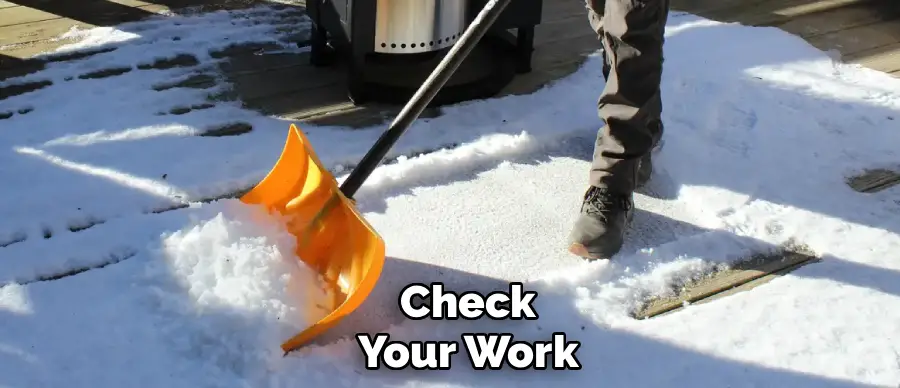
Step 8: Reinforce the Weak Points
Check your work. Are there any points where the metal is poking through? Are the seams tight? Run your hand along the handle and the blade edges. If you find any weak spots or tears, apply a patch of paper or a strip of clear packing tape. Pay special attention to the tip of the shovel blade, as this is the point most likely to puncture the paper during transport.
Step 9: Add Decorative Elements
Now that the “structure” is wrapped, it’s time to make it look nice. Because the shape is undeniable, lean into it! Tie a large, rustic bow around the neck of the shovel using twine or thick ribbon. You could also tie a bow around the handle grip. Since a shovel is a garden tool, natural elements work best—consider tucking a sprig of faux holly, a pinecone, or a packet of seeds into the ribbon for an extra thematic touch.
Step 10: Attach the Tag
Don’t stick the gift tag directly onto the wrapping paper, where it might fall off the curved surface. Instead, punch a hole in your card or tag and tie it onto the ribbon or twine you added in Step 9. This ensures the tag stays visible and secure. Write a “Digging it!” or “I really dig you” pun if you’re feeling humorous—shovel gifts practically beg for dad jokes.
5 Things You Should Avoid
- Using Thin Paper: Avoid cheap, thin tissue or standard birthday wrap. The weight and hard edges of a shovel will shred it immediately. Always go for Kraft paper, burlap, or heavy-duty foil.
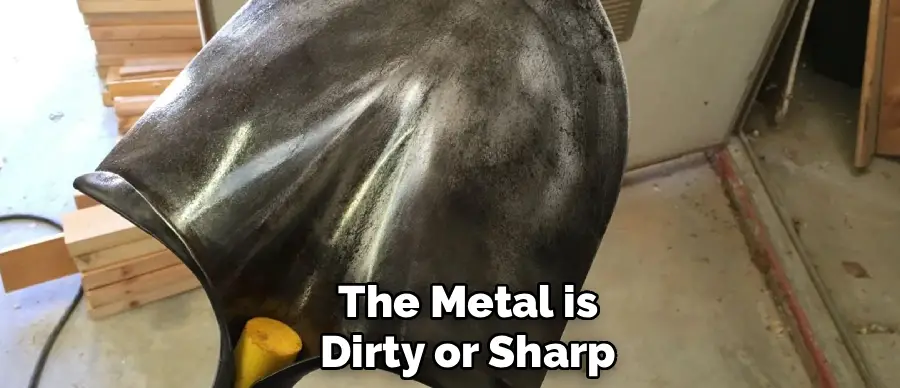
- Leaving the Blade Exposed: Never wrap just the handle and leave the blade bare. It looks unfinished and can cause damage to car interiors or other gifts if the metal is dirty or sharp.
- Using Duct Tape on the Shovel: Avoid putting tape directly onto the metal or wood of the shovel. The adhesive residue can be incredibly difficult to remove and can ruin the finish of the handle. Always tape paper to paper.
- Ignoring the Weight: Don’t try to hold the wrapping together with just a tiny piece of scotch tape. Shovels are heavy; gravity will pull the paper apart. Use packing tape for the structural parts and hide it with decorative paper.
- Forgetting to Dry the Tool: Never wrap a wet shovel. This creates a humid microclimate inside the paper that promotes rust on the metal and rot on wooden handles.
Frequently Asked Questions
- Can I Use Fabric Instead of Wrapping Paper?
Yes, fabric is actually an excellent alternative! Using a burlap sack or a large piece of canvas is easier than paper because it molds around the awkward curves without tearing. You can tie it off with twine for a rustic, farmhouse look that suits a garden tool perfectly. - How Do I Wrap a Shovel With an Irregular Shape?
If the shovel has a very deep scoop or odd angles, stop trying to make the paper tight. Instead, create a “gift bag” effect. Place the blade in the center of a large sheet, gather all the corners up around the neck, and tie them off loosely, leaving the handle exposed or wrapped separately. - What is the Best Way to Disguise a Shovel Gift?
If you truly want to hide what it is, you need a large box. Often, appliance boxes (like those for a vacuum cleaner or tall fan) work well. If you can’t find a box, wrap the shovel in bubble wrap first to distort the shape, making the blade look like a square or circle before adding the final paper.
Conclusion
How to wrap a shovel doesn’t have to be a frustrating battle with paper and tape.
By breaking the process down—focusing on the blade first, protecting the sharp edges, and handling the long shaft separately—you can create a secure and attractive package. Whether you use sturdy Kraft paper for a clean look or rustic burlap for a gardener’s vibe, the effort shows you care.
So grab your supplies, watch out for those sharp edges, and get wrapping. The recipient will be delighted not just by the useful tool, but by the creativity you put into presenting it.
About
Outdoor Fixes is a distinguished figure in the world of Diy design, with a decade of expertise creating innovative and sustainable Diy solutions.
His professional focus lies in merging traditional craftsmanship with modern manufacturing techniques,
fostering designs that are both practical and environmentally conscious. As the author of diy,
outdoorfixes delves into the art and science of outdoorfixes-making, inspiring artisans and industry professionals alike.
Education RMIT University
(Melbourne, Australia) Associate Degree in Design (Outdoor Fixes) Focus on sustainable design, industry-driven projects,
and practical craftsmanship. Gained hands-on experience with traditional and digital manufacturing tools, such as CAD and CNC software.
Nottingham Trent University
(United Kingdom) Bachelor’s in outdoorfixes.com and Product Design (Honors) Specialized in product design with a focus on blending creativity with production
techniques. Participated in industry projects, working with companies like John Lewis and Vitsoe to gain real-world insights.
Publications and Impact
In diy, Outdoor Fixes his insights on indoor design processes, materials, and strategies for efficient production.
His writing bridges the gap between artisan knowledge and modern industry needs, making it a must-read for both budding designers and seasoned professionals.