
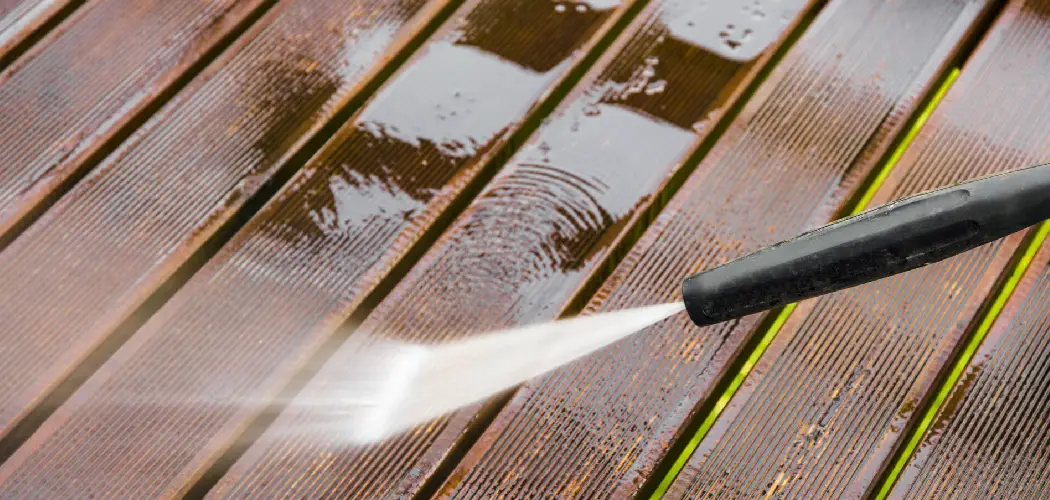
There is a particular sinking feeling you get when you step onto your deck after a long winter and really look at it. The rich color you loved has gone dull and grayish in patches. A film of grime clings to the boards, and something green is creeping along the shady edge near the railing.
I felt exactly that last spring, coffee in hand, frowning at a deck I had stained with real care two years earlier.
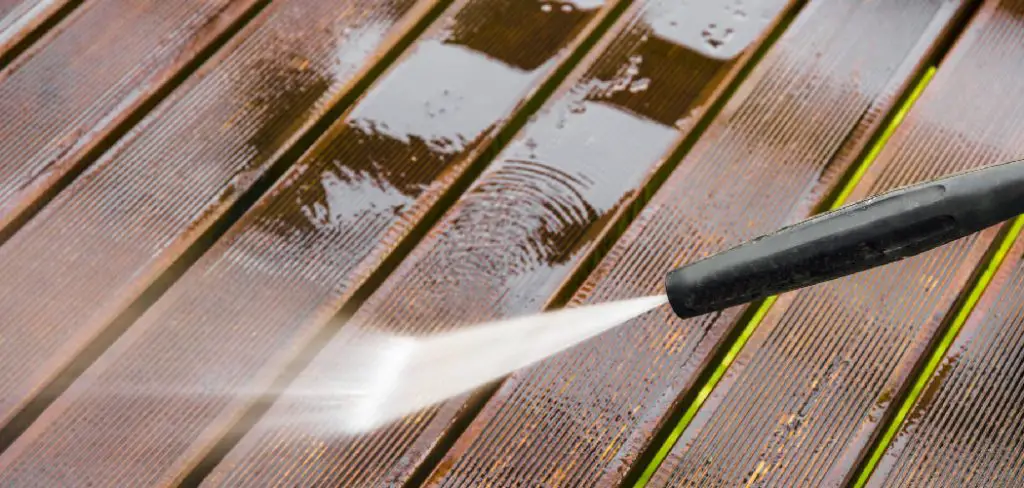
If you have been wondering how to clean stained wood deck boards without stripping away all that effort, take a breath. The job is gentler and more manageable than it looks, even if you have never tackled it before.
This guide walks you through the whole thing. What stained wood actually needs, how to pick the right cleaner, prepping the space, and scrubbing safely without harming the finish.
What Stained Wood Decks Really Need
Stained wood asks for a softer touch than bare or painted lumber. The stain forms a protective layer over the boards, and your goal is to refresh that layer rather than wear it down.
Think of cleaning here as preservation, not demolition. You want to lift away the grime while leaving the finish more or less intact.
That shift in mindset changes everything. Once you stop attacking the deck and start tending it, the whole task feels calmer and far less risky.
How Stain Protects the Wood
Stain seeps down into the grain, guarding the wood against moisture, sun, and slow rot. It is doing quiet, important work every day, even when you forget it is there.
Harsh scrubbing or strong chemicals can wear that protection thin, which rather defeats the point. You may clean the surface, but weaken the very thing keeping your boards sound.
So, gentle methods are not just kinder. They tend to deliver the longest-lasting results, extending the life of both the wood and the finish you worked to apply.
Reading the Signs Your Deck Needs Cleaning
The clues are usually easy to spot once you know them. Dull, faded color is the first. Slippery green patches in the shade are another, and those can turn genuinely hazardous underfoot.
Trapped dirt and a rough, gritty feel round out the picture. Run your hand across a board, and if it feels like fine sandpaper, grime has settled in.
Catching these early keeps the job quick. Wait too long, and what could have been an afternoon’s work hardens into a much bigger chore.
Types of Stains and Cleaners to Know
Before you grab a bottle of anything, it helps to understand what you are actually fighting and what tools suit each kind of mess. A little knowledge here saves a lot of wasted scrubbing later.
This part is less complicated than it sounds. Mostly, it comes down to matching the cleaner to the grime.
Common Types of Grime and Buildup
Every day, dirt and pollen make up the bulk of it, settling over the boards in a dull layer. Then there is mildew and algae, the green or black growth that loves damp, shaded corners.
Tannin marks are sneakier. Fallen leaves can leave dark stains where they sat through a wet spell, and those need a slightly different approach than plain dirt.
Knowing which enemy you face makes choosing a cleaner far simpler. It also stops you from blasting a light dusting of pollen with something built for stubborn black mold.
Choosing a Deck-Safe Cleaner
For stained wood, reach for gentle, oxygen-based or wood-specific cleaners. These lift grime without tearing into the finish, which is precisely what you want.
I would steer clear of harsh bleach or strong acids. They can fade the color and damage the stain, and the results may look worse than the grime you started with.
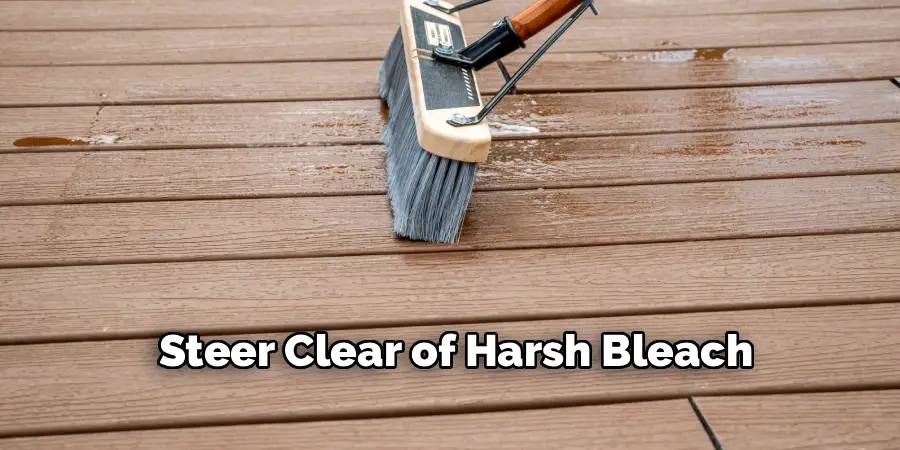
Many effective options are mild, and some are even homemade. Whatever you choose, test it on a small, hidden spot first, just to be sure the finish reacts well before you commit to the whole deck.
Gathering Your Supplies
You do not need much to begin, which is half the relief of this job. A bucket, a brush, some cleaner, and a hose will carry you through most of it.
There is a small satisfaction in lining everything up beforehand, the kit ready and waiting before the first scrub. It makes the work feel organized rather than improvised.
Resist the urge to overbuy. A modest set of supplies handles a stained deck perfectly well, and patience matters far more than fancy equipment.
Essential Cleaning Tools
A soft-bristle deck brush is the heart of the kit. It lifts dirt while staying gentle on the stain, which a stiff wire brush most certainly would not.
You will also want a bucket, a garden hose or a low-pressure washer, and a sturdy broom for clearing debris first. Nothing here is exotic.
Choose tools that are kind to the surface. The right brush protects your finish while still doing the real work, and that balance is what you are after.
Protective Gear and Extras
A pair of gloves and some eye protection make the job more comfortable, especially once the cleaner and water start flying. Old clothes are wise too, since splashes are inevitable.
A tarp earns its place here as well. Draped over nearby plants or furniture, it shields them from cleaner and runoff.
These small, low-cost additions keep both you and your surroundings safe. A few minutes of prep saves a good deal of worry once the scrubbing begins.
Prepping Your Deck for Cleaning
The preparation stage quietly decides how smoothly everything else goes. Rush it, and you will find yourself working around obstacles and mess that you could have cleared in five minutes.
Picture the deck swept bare and waiting, every chair and planter moved aside. That clean slate is what you are aiming for before a drop of cleaner touches the wood.
Clearing and Sweeping the Space
Start by removing the furniture, planters, rugs, and grill. Anything that lives on the deck needs to come off so the cleaner can reach the wood evenly.
Then sweep thoroughly, clearing away loose dirt, leaves, and debris. A clean starting surface lets the cleaner do its job without grinding grit into the grain.
This quick first step makes the scrubbing faster and tidier. It feels almost too simple to matter, yet it sets up everything that follows.
Protecting Plants and the Surroundings
Greenery near the deck deserves a little care before you start. Wetting the plants beforehand helps, and covering the most delicate ones with a tarp adds another layer of protection.
Siding and fixtures benefit from the same caution. A bit of cleaner splashing onto a painted wall or a light fitting is easy to avoid with some forethought.
Take the few minutes here. Knowing nothing precious is at risk lets you clean with confidence rather than constantly glancing over your shoulder.
How to Clean Stained Wood Deck: Your Step-by-Step Guide
This is the heart of it. I will walk you through each step like a friend crouched beside you with a brush, offering the occasional nudge. Go slowly, work safely, and trust that steady effort brings the color back.
Step 1: Choose a Cool, Dry Day
Timing matters more than people expect. Pick a mild, overcast day when the wood is cool and out of direct sun, since shade keeps the wood cleaner from drying too fast.
A cleaner that dries before you can rinse it tends to streak, which is a frustrating way to undo your own work. A cooler day simply gives you more room to work calmly.
Get the timing right and everything downstream gets easier. The cleaner does its job properly, and the deck has the best shot at an even finish.
Step 2: Mix and Test Your Cleaner
Prepare your deck-safe cleaner according to the label, resisting any urge to make it stronger than directed. More is rarely better with these products.
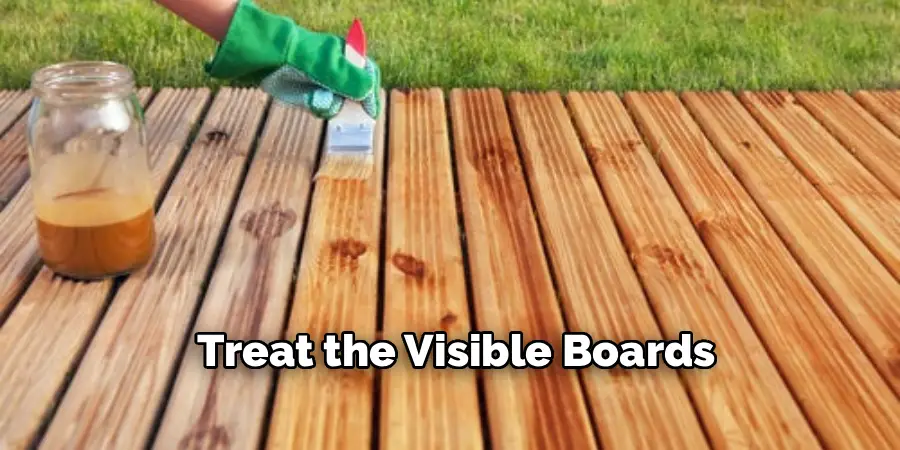
Then test it on a small, hidden patch first, watching for any color change or damage to the stain. A spot beneath the grill or behind a planter works well.
This little test takes only minutes and protects the whole deck. It gives you genuine confidence before you treat the visible boards that everyone will see.
Step 3: Apply the Cleaner Evenly
Spread the cleaner across the wood in manageable sections, always working with the grain. Even coverage is what prevents that patchy, blotchy look later.
Keep the surface wet as you go, and do not let the cleaner dry between applications and rinsing. Letting it sit just long enough to work, without drying, is the sweet spot.
Section-by-section work keeps the whole thing controlled and tidy. You move from one set of boards to the next without ever feeling overwhelmed by the scale of it.
Step 4: Scrub Gently With the Grain
Now the soft-bristle brush earns its keep. Scrub gently, always following the wood grain, using light and even pressure rather than leaning into it.
This loosens the grime, mildew, and buildup without harming the finish underneath. Hard scrubbing might feel productive, but it is exactly what fades a good stain.
Patience here protects the very thing you are trying to preserve. Let the cleaner and the brush do the work, and resist the temptation to bear down.
Step 5: Rinse Thoroughly
Rinse each section with a hose or a low-pressure setting, washing away all the cleaner and the dirt it has lifted. Leftover residue can dull the stain, so be thorough.
Work section by section here, too, rinsing completely before moving on. Half-rinsed boards tend to dry with streaks that are annoying to fix afterward.
A careful rinse reveals the freshly cleaned wood beneath. This is often the moment the color returns and the whole project starts to feel worth it.
Step 6: Let the Deck Dry Completely
Patience makes its final appearance. Allow the deck to air-dry fully before you replace any furniture or apply a sealer.
Proper drying protects the wood and readies it for whatever care comes next. Rushing this step can trap moisture, which is the opposite of what you want after all that effort.
This last, quiet step locks in your work. Step back, let it dry, and enjoy the sight of a deck that suddenly looks cared for again.
Tips for the Best Cleaning Results
A few small habits separate a tidy, even clean from a streaky, patchy one. None of them is difficult. They mostly come down to attention and a willingness to slow down.
There is real pleasure in watching the wood’s rich color surface again from beneath the grime. These tips help you get there with less fuss.
Working in Small, Manageable Sections
Divide the deck into sections and clean one at a time, keeping each area wet while you work it. This rhythm prevents the cleaner from drying and leaving streaks behind.

A steady, section-by-section pace keeps the job feeling calm rather than frantic. You always know exactly where you are and what comes next.
The result tends to be more even, too. Tackling the whole deck at once almost guarantees you miss spots or let some areas dry too soon.
Avoiding High-Pressure Damage
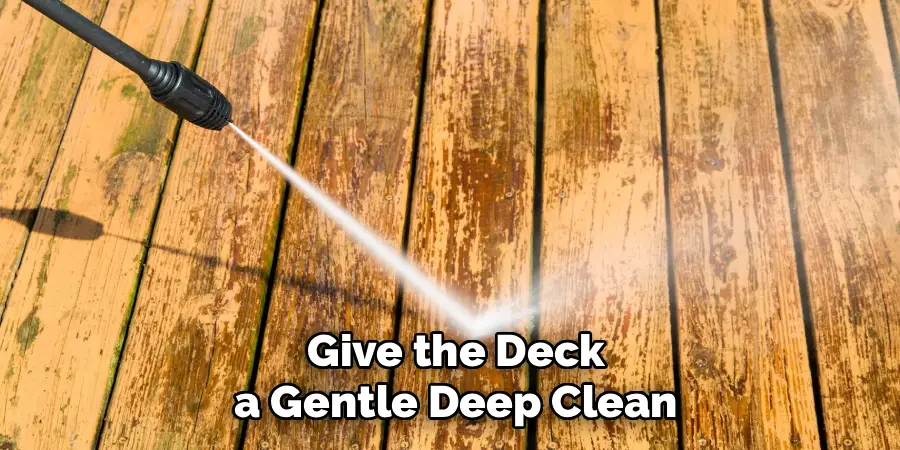
If you reach for a power washer, treat it with respect. Use gentle water pressure or a low setting, since strong blasts can gouge the wood and strip the stain right off.
A careful touch protects both the surface and the finish. I have seen a deck permanently scarred by an over-eager pressure washer, and it is not a quick fix.
Patience and lower pressure win every time. The deck ends up clean and intact, rather than clean but stripped of the color you loved.
Common Mistakes and Easy Fixes
Nearly everyone hits a snag or two on their first attempt. Harsh chemicals, scrubbing too hard, streaks left behind. These are normal, and each has a simple fix.
A mistake here is just information about what to adjust next. Try not to read it as failure, because it rarely is.
When Cleaning Strips or Fades the Stain
Fading usually traces back to harsh products or aggressive scrubbing that wore the finish thin. The board looks washed out where you worked hardest.
The fix is calmer than the panic suggests. Switch to a gentler cleaner, ease off the pressure, and if needed, touch up the affected area with a little fresh stain afterward.
Even a faded spot is easily restored. And honestly, learning from it makes your next cleaning smoother and far kinder to the wood.
Fixing Streaks and Uneven Spots
Streaks tend to come from cleaner drying too quickly or uneven rinsing. They look discouraging, but they are usually only skin-deep.
Re-wet the affected area and rinse it again thoroughly. That second pass often clears the streaks entirely and restores a smooth, even finish.
Do not over-worry about these. A quick correction across the trouble spots usually leaves no lasting trace at all.
Maintaining Your Deck After Cleaning
A little ongoing attention keeps your freshly cleaned deck looking that way far longer. None of this is demanding. It mostly comes down to noticing.
Think of it as light upkeep rather than another big project. A few small habits spare you from ever facing a heavy, grimy cleanup again.
Resealing and Protecting the Wood
Once the deck is fully dry, consider whether it needs a fresh coat of sealer or stain. The answer depends on its condition, so look closely at how the water beads, or fails to.
A protective layer guards against moisture and sun, which are the slow culprits behind most deck wear. Resealing every few seasons keeps the wood strong and the color vivid.
This step also makes future cleanings easier. A well-sealed deck sheds grime more readily, asking less of both you and the wood next time around.
Building a Simple Cleaning Routine
Sweep regularly, rinse off spills when they happen, and give the deck a gentle deep clean once or twice a year. Small, consistent habits stop grime from ever building up the way it did before.
This light routine takes minimal effort yet keeps the deck looking close to its best. The contrast with a long-neglected deck is striking.
A little now genuinely saves a lot later. You trade five-minute habits for the hours you would otherwise spend rescuing a badly weathered surface.
Conclusion
Look how far you have come. You now understand how to clean stained wood deck boards, from grasping what the finish needs to choosing the right cleaner, prepping the space, and scrubbing safely with the grain.
The real takeaway is a simple one. Anyone, with a bit of patience and gentle care, can bring a tired, grimy deck back to life without harming the stain they worked hard to protect.
There is a quiet satisfaction in relaxing on a clean, glowing deck that feels almost new again. It changes how the whole backyard feels in a way that store-bought solutions rarely match.
So gather your supplies, wait for a cool and dry day, and simply begin. That dull, gray deck you have been frowning at may soon become your favorite place to sit.

About
Outdoor Fixes is a distinguished figure in the world of Diy design, with a decade of expertise creating innovative and sustainable Diy solutions.
His professional focus lies in merging traditional craftsmanship with modern manufacturing techniques,
fostering designs that are both practical and environmentally conscious. As the author of diy,
outdoorfixes delves into the art and science of outdoorfixes-making, inspiring artisans and industry professionals alike.
Education RMIT University
(Melbourne, Australia) Associate Degree in Design (Outdoor Fixes) Focus on sustainable design, industry-driven projects,
and practical craftsmanship. Gained hands-on experience with traditional and digital manufacturing tools, such as CAD and CNC software.
Nottingham Trent University
(United Kingdom) Bachelor’s in outdoorfixes.com and Product Design (Honors) Specialized in product design with a focus on blending creativity with production
techniques. Participated in industry projects, working with companies like John Lewis and Vitsoe to gain real-world insights.
Publications and Impact
In diy, Outdoor Fixes his insights on indoor design processes, materials, and strategies for efficient production.
His writing bridges the gap between artisan knowledge and modern industry needs, making it a must-read for both budding designers and seasoned professionals.