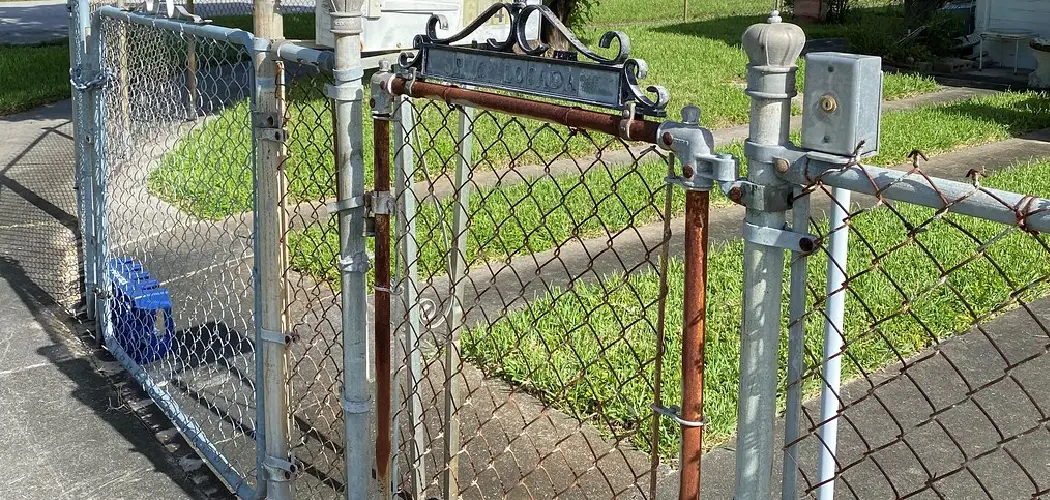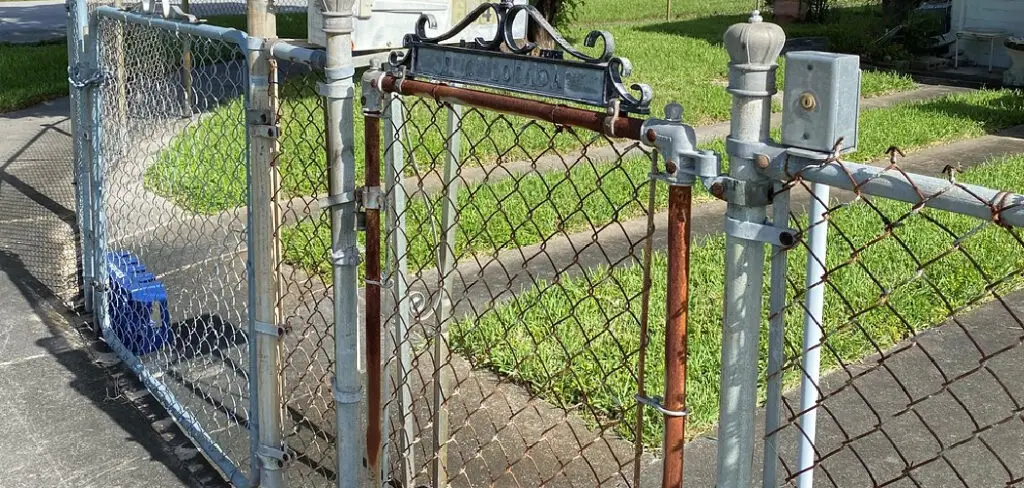
Chain-link fences are one of the most popular fences used in residential areas, commercial establishments, and even parks. They are durable, affordable, and require minimal maintenance. One of the most significant benefits of chain-link fences is that they are easily customized.
You can add gates, privacy slats, and other accessories easily. If you want to add a gate to your chain-link fence, this blog post is for you. We will review the steps you must follow to add a gate to your chain-link fence. So, keep reading to learn more about how to add a gate to a chain link fence.
Can You Add a Gate to A Chain Link Fence
The answer is yes if you want to add a gate to your chain link fence! Installing a gate on a chain link fence can provide easy access to your property while keeping it secure. There are various gate sizes, styles, and materials options, so you can choose one that matches your fence’s existing look.
In addition, you can install a lock or latch for added security. Whether you need a gate for a driveway, backyard, or garden, adding one to your chain link fence is a great way to make your property more accessible and secure.
Why Should You Add a Gate to A Chain Link Fence
Adding a gate is one simple addition that can take your chain link fence from basic to beautiful. A gate not only enhances the look of your fence but also makes it more functional. No longer will you need to climb over the fence or search for an alternative entrance.
A gate allows for easy access to your yard, pool, or garden without the hassle. Plus, it adds an extra layer of security for your property. You can choose from various gate styles and materials to match your vision and budget. So why not upgrade your fence with the addition of a gate? You’ll be amazed at how much it can improve the look and convenience of your outdoor space.
A Guide on How to Add a Gate to a Chain Link Fence
Step 1: Plan Your Gate
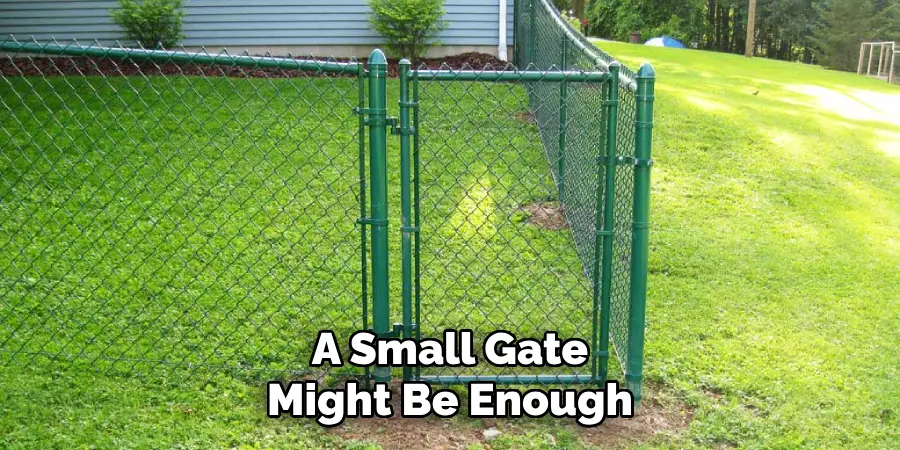
The first step in adding a gate to your chain-link fence is to plan your gate. Determine the size of the gate you want to add. A small gate might be enough for foot traffic, but you might need a larger gate if you have a garage or need to bring in larger equipment. Once you have determined the size of your gate, purchase a gate kit that fits your measurements. A gate kit will include all the materials you need to build your gate, including hinges, latch, and gate frame.
Step 2: Gather Your Tools
Before you start building your gate, you need to gather your tools. You will need a drill, screwdriver, saw, level, pliers, wrenches, and measuring tape.
Step 3: Install Gate Posts
Once you have your tools, you can start installing your gate posts. Gate posts are vertical posts that support your gate. You can use metal or wooden posts. Use a level to ensure your posts are level. After securing the posts in place, you need to fill the holes with concrete to keep the posts in place.
Step 4: Install Your Gate
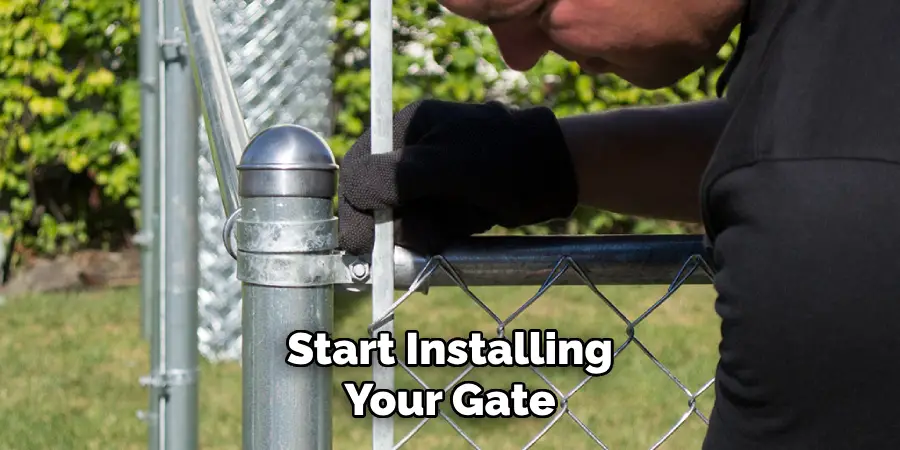
After your gate posts are set, you can start installing your gate. Follow the instructions on your gate kit to assemble the gate frame, hinge, and latch. After you have assembled the gate, attach the hinges to one of the gate posts. Make sure the gate is level and swings freely. Finally, attach the latch to the opposite gate post.
Step 5: Add Tension Wire
Adding tension wire to your gate will help prevent sagging and keep the gate in place. Measure and cut the wire to fit the width of your gate. Then, thread it through the top and bottom of the fence fabric, pulling it tight with pliers.
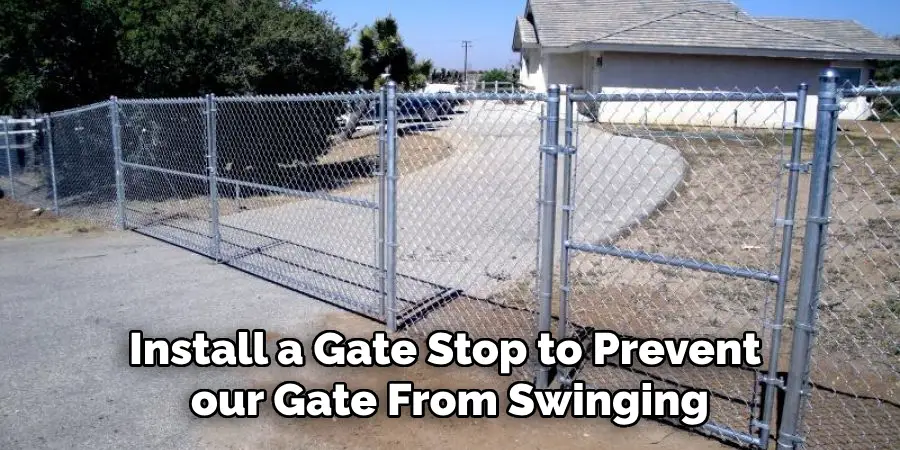
Step 6: Install a Gate Stop
Install a gate stop to prevent your gate from swinging too far and damaging the fence. A gate stop is a metal or wooden post that attaches to one of the gate posts and stops the gate from opening past a certain point. Follow the instructions on your gate kit to install the gate stop.
Step 7: Finishing Touches
After completing all the steps above, you can add additional finishing touches to your gate. This could include adding decorative elements or painting the gate to match your fence. With these final touches, your new gate will be a functional and visually appealing addition to your chain-link fence.
That’s it! You’ve now learned how to add a gate to your chain-link fence in just seven easy steps. Remember to always plan your gate, gather your tools, install gate posts, assemble and attach the gate, add tension wire and a gate stop, and finish with decorative touches. By following these steps, you’ll have a new gate that adds both convenience and style to your chain-link fence.
5 Considerations Things When You Need to Add a Gate to A Chain Link Fence
1. Type of Gate
The first consideration when adding a gate to a chain link fence is the type of gate you need. There are several types of gates available, including single-swing gates, double-swing gates, sliding gates, and cantilever gates. Each type of gate has its own set of advantages and disadvantages, so it is important to research each option before making a decision.
2. Size of Gate
The gate size is another important factor to consider when adding a gate to a chain link fence. Make sure that the gate size will be sufficient for your needs, as too small or too large a gate may not be practical. Additionally, make sure that the height and width measurements are correct so that the gate can open and close properly without any issues.
3. Security Features

When adding a gate to a chain link fence, it is also important to consider security features such as locks and latches. Depending on your needs, you may want to install additional locks or latches on your gate to provide added security for your property. Additionally, you may want to consider installing motion sensors or CCTV cameras to deter potential intruders from entering your property through the gate.
4. Durability
Durability is another key factor when selecting a gate for your chain link fence. You will want to choose materials such as aluminum or steel that can withstand wear and tear over time while still providing adequate security for your property. Additionally, ensure that all hardware used in constructing the gate is high-quality and rust-resistant to ensure maximum durability over time.
5. Cost
Cost should also be considered when adding a gate to a chain link fence, as there are many different types available at various price points depending on quality and size requirements. Ensure you have an accurate budget before beginning your search to narrow down options quickly without worrying about going over budget later on.
Benefits of Add a Gate to A Chain Link Fence
If you want to add an extra level of security and privacy to your home, adding a gate to your chain link fence can have countless benefits. Not only can a gate deter unwanted guests and intruders from entering your property, but it also allows you to control who has access to it. Whether you are worried about keeping pets and children safely contained or simply want to keep nosy neighbors at bay, a gate on your chain link fence can provide an added layer of protection and peace of mind.
A gate can also enhance the appearance of your property and add value to your overall investment. So why settle for a basic fence design when you can upgrade and elevate it with the simple addition of a gate?
Some Common Mistakes People Make When Trying to Add a Gate to A Chain Link Fence
Adding a gate to a chain link fence may seem like a straightforward task, but there are common mistakes that people often make in attempting to do so. One frequent error is choosing the wrong type of gate for the fence. It is important to consider the size and weight of the gate as well as the height and design of the fence.
Another common issue is improperly installing the gate hardware. Measuring and aligning the hinges and latch before installation is important to ensure that the gate works correctly. Additionally, people often underestimate the importance of privacy and security when adding a gate to a fence. Make sure to consider factors such as lock mechanisms and the gate height when making these additions. Avoiding these mistakes will help ensure that the gate is functional and aesthetically pleasing.
Conclusion
Adding a gate to your chain-link fence can be straightforward if you follow these steps. You can easily customize your chain-link fence with the right tools and a gate kit that fits your measurements. Remember to plan your gate, gather your tools, install your gate posts, assemble your gate, and finally, test your gate.
A gate can significantly increase the functionality of your chain-link fence and also provide increased safety and security. Thanks for reading our post about how to add a gate to a chain link fence.
About
Outdoor Fixes is a distinguished figure in the world of Diy design, with a decade of expertise creating innovative and sustainable Diy solutions.
His professional focus lies in merging traditional craftsmanship with modern manufacturing techniques,
fostering designs that are both practical and environmentally conscious. As the author of diy,
outdoorfixes delves into the art and science of outdoorfixes-making, inspiring artisans and industry professionals alike.
Education RMIT University
(Melbourne, Australia) Associate Degree in Design (Outdoor Fixes) Focus on sustainable design, industry-driven projects,
and practical craftsmanship. Gained hands-on experience with traditional and digital manufacturing tools, such as CAD and CNC software.
Nottingham Trent University
(United Kingdom) Bachelor’s in outdoorfixes.com and Product Design (Honors) Specialized in product design with a focus on blending creativity with production
techniques. Participated in industry projects, working with companies like John Lewis and Vitsoe to gain real-world insights.
Publications and Impact
In diy, Outdoor Fixes his insights on indoor design processes, materials, and strategies for efficient production.
His writing bridges the gap between artisan knowledge and modern industry needs, making it a must-read for both budding designers and seasoned professionals.

