Feeling inspired to spruce up your outdoor space? Why not give an old vinyl fence a new lease of life by giving it a fresh paint job?

Painting a Vinyl Fence can be a great way to transform the look of your backyard and it is actually pretty easy with the right preparation and materials.
In this blog post, we’ll walk you through how to paint vinyl fence step-by-step so you can get started on this do-it-yourself project in no time!
What Kind of Paint Will Stick to Vinyl?
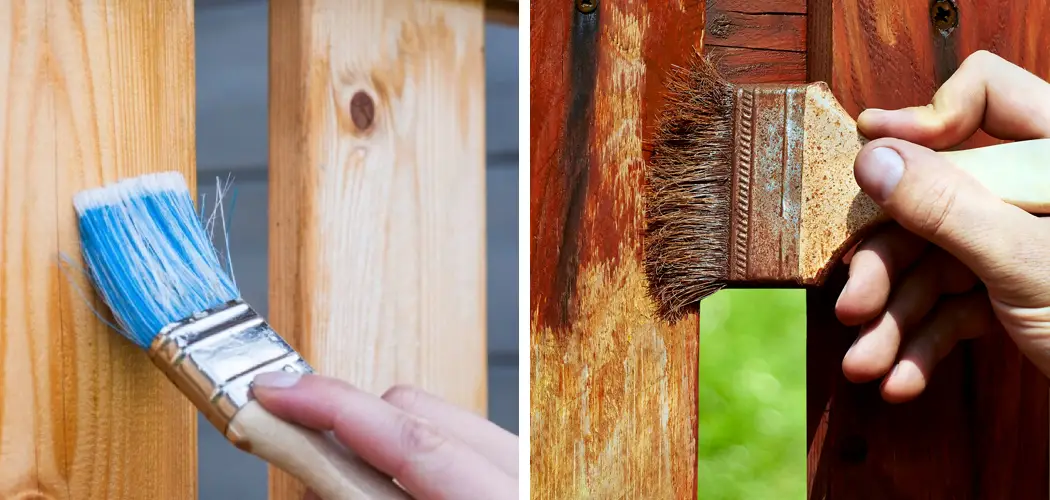
When selecting the paint to use on a vinyl fence, be sure to choose an acrylic latex paint specifically designed for outdoor surfaces. These paints have been formulated to resist weathering, mildew, and fading due to ultraviolet rays from the sun.
Oil-based paints can also work on vinyl, but they usually require more maintenance down the road. They tend to fade more quickly than acrylic latex paints and may require more frequent reapplication.
When painting a vinyl fence, it is important to use paint designed for exterior surfaces and not interior wall paint. Interior wall paint will not adhere well to the vinyl surface and can actually damage the fence if used. Paints designed for outdoor surfaces are more durable, have higher levels of UV protection, and provide better performance in wet conditions.
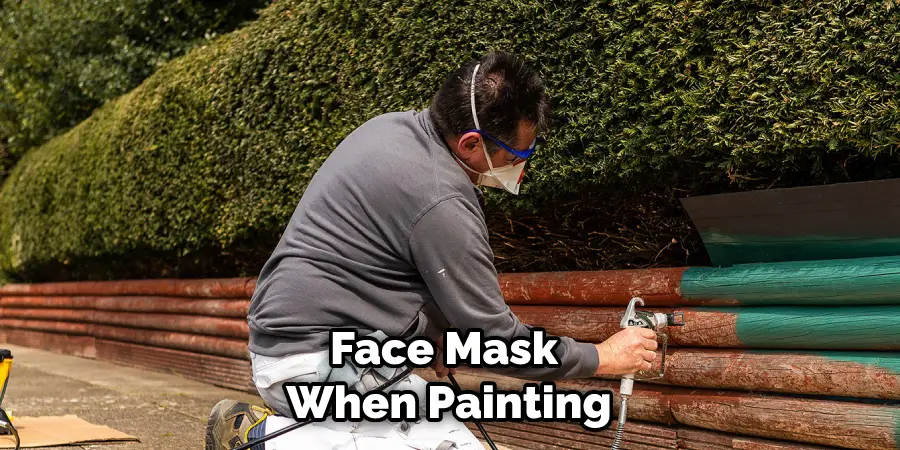
Whichever type of paint you choose, be sure to follow the manufacturer’s instructions for proper application and wear protective gear such as gloves and a face mask when painting.
Additionally, do multiple coats so that the final result is even-looking and consistent. This will ensure a longer-lasting finish that looks great for years to come.
In addition to paint, using a primer prior to painting can help enhance the longevity of the finish and ensure that the paint sticks well to the vinyl surface. Primers are formulated for use on particular surfaces, so be sure to choose one specifically designed for vinyl fences.
Applying a primer will also reduce the amount of paint you need to use as it acts as a base coat that helps the paint stick better and also provides extra protection against UV rays, moisture, and other elements.
10 Steps on How to Paint Vinyl Fence
Step: 1. Choose the Right Paint
The first step in painting a vinyl fence is to choose the right paint. You’ll want to use a paint that is specifically designed for use on vinyl, as regular paint will not adhere well to the surface. You’ll also want to choose a paint that is weatherproof and UV-resistant, as this will help to keep your fence looking new for longer.
Once you’ve chosen the right paint, make sure to read and follow the instructions on the package for proper application. However, generally speaking, you’ll want to use exterior-grade paint and use two coats for the best results.
Step: 2. Prepare the Fence
Once you’ve chosen the right paint, you’ll need to prepare the fence for painting. This involves cleaning the fence with soapy water and a stiff brush to remove any dirt or debris. Once the fence is clean, you’ll need to sand it down with medium-grit sandpaper in order to rough up the surface and help the paint adhere better.
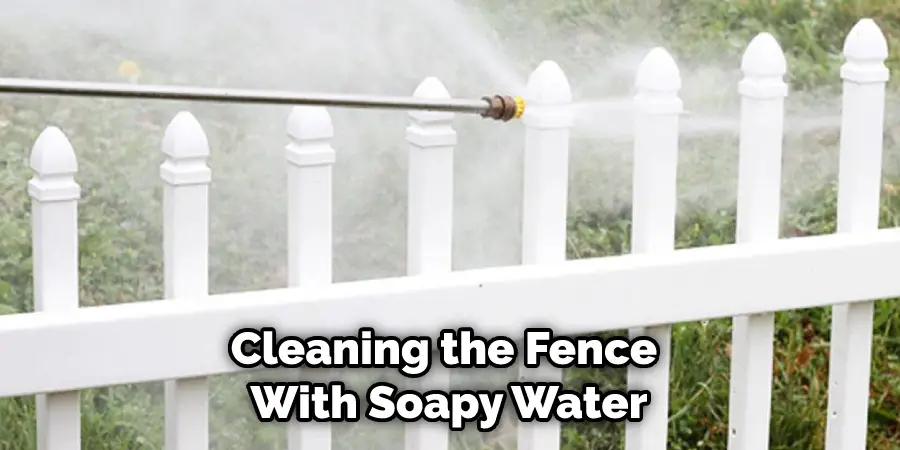
Be sure to wear a dust mask and protective eyewear to avoid inhaling any particles or getting dirt in your eyes. After sanding, you’ll need to clean the fence one more time with a damp cloth in order to remove any remaining dust and debris. Now your fence is ready for painting.
Step: 3. Prime the Fence
After you’ve prepared the fence, you’ll need to apply a primer. This will help the paint to adhere better and will also provide a barrier between the paint and the vinyl. When choosing a primer, be sure to select one that is compatible with your chosen paint.
Apply the primer in thin, even coats and let it dry completely between coats. When all the primer is applied, let it sit for at least 24 hours before beginning the painting process.
This will ensure that the primer is fully dry and ready to accept your paint. Now you’re ready to start painting your vinyl fence. Additionally, if you want to add a touch of color and style, you may spruce up the fence by adding designs or stencils. This step is completely optional, but it will help your vinyl fence stand out and look unique.
Step: 4. Paint the Fence
Once you’ve primed the fence, you’re ready to start painting! Begin by painting the rails and then move on to the pickets. Be sure to use even strokes and pay special attention to corners and edges. If you’re using more than one can of paint, be sure to mix them together before beginning so that colors don’t vary from section to section.
When you’ve finished painting the fence, allow it to dry completely before moving on to the next step. It’s important that you give the paint plenty of time to set before you move on. Depending on the weather, paint could take anywhere from a few hours to a few days to dry completely.
Step: 5. Let the Paint Dry
After you’ve finished painting, it’s important to let the paint dry completely before moving on to the next step. This usually takes about 24 hours. Once the paint is dry, you can add a second coat if desired. However, two coats are usually not necessary unless you’re trying to achieve a very specific color or effect.
If you do choose to add a second coat, make sure that it’s completely dry before proceeding with the next step. This is especially true if you’re using water-based paint, as it can take longer to dry. Once both coats are completely dry, your vinyl fence will be ready for the final step.
Step: 6. Apply a Sealer (Optional)
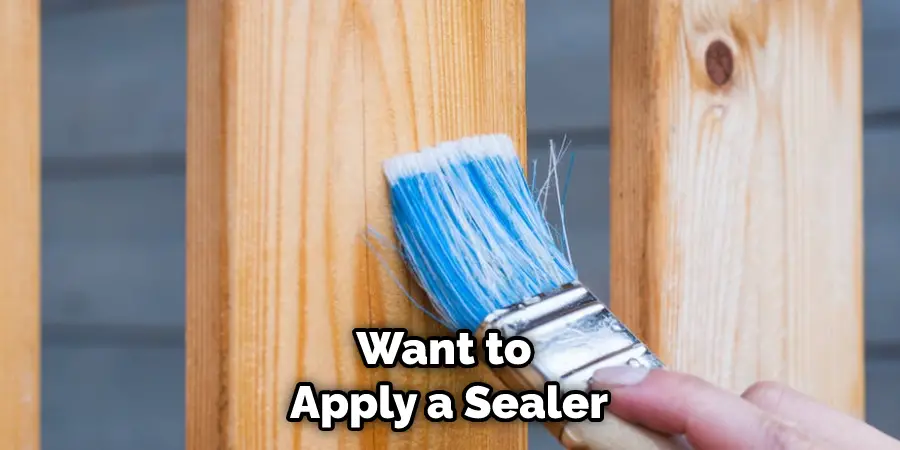
Once your fence is painted and dry, you may want to apply a sealer. This isn’t necessary, but it can help extend the life of your paint job by protecting it from weathering and UV damage. If you decide to seal your fence, be sure to choose a product that is compatible with both your primer and your paint.
Apply your sealer using a paint roller, just as you did with the primer and the paint. Allow it to dry completely before moving on to the next step. However, if you decide not to seal your fence, skip to the next step.
Step: 7. Clean Up
Once your fence is painted, sealed, and dry, it’s time to do a bit of cleaning up. This involves removing any tape or drop cloths that you used while painting and disposing of them in an appropriate manner.
You’ll also want to clean any brushes or rollers that you used with soapy water before storing them away for the next project. Finally, it’s a good idea to store the leftover paint in a safe location for later use. Keeping your workspace clean and tidy will help ensure that future painting projects go as smoothly as this one!
Step: 8. Let the Fence Cure
Once all of the cleanups are done, you should let your fence cure for at least two weeks before using it. During this period, it’s important to avoid putting too much pressure on the fence, as this can cause the paint to crack or chip off prematurely.
After two weeks have passed, you can begin using your fence as normal. Though it may take a while, the waiting period is worth it; your fence will look better and last longer if you let it cure before using it.
Step: 9. Touch Up (Optional)
Once the curing period has passed, you may want to touch up any areas of the fence that have been damaged or otherwise need attention. If this is necessary, simply repeat steps four through six until your fence looks perfect once again. If you have chosen a solid color paint, matching the exact hue may prove difficult.
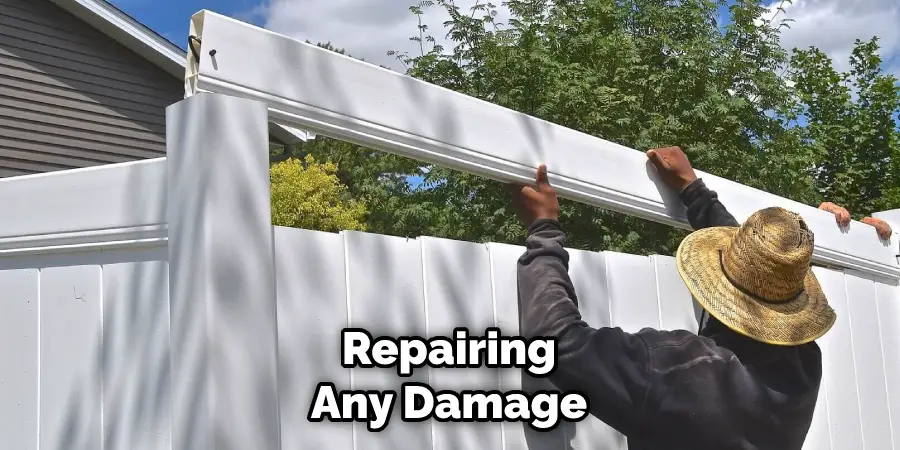
Step: 10. Maintain Regularly
Finally, it’s important to remember that painting a vinyl fence is only half the battle. In order to keep your paint job looking great for years to come, you’ll need to regularly maintain the fence by cleaning it regularly and repairing any damage that may occur over time.
This will help ensure that your painted vinyl fence looks its best well into the future!
Conclusion
Painting your fence is an easy way to spruce up your home’s curb appeal. Plus, it’s a relatively inexpensive do-it-yourself project that most people can accomplish in a day or two. Use these tips and instructions to successfully paint your vinyl fence.
We hope this guide on how to paint vinyl fence was helpful. Please share it with your friends on social media if you find it useful. And be sure to check back here soon for more informative guides like this one.
You Can Check It Out to Paint Patio Cushions
About
Outdoor Fixes is a distinguished figure in the world of Diy design, with a decade of expertise creating innovative and sustainable Diy solutions.
His professional focus lies in merging traditional craftsmanship with modern manufacturing techniques,
fostering designs that are both practical and environmentally conscious. As the author of diy,
outdoorfixes delves into the art and science of outdoorfixes-making, inspiring artisans and industry professionals alike.
Education RMIT University
(Melbourne, Australia) Associate Degree in Design (Outdoor Fixes) Focus on sustainable design, industry-driven projects,
and practical craftsmanship. Gained hands-on experience with traditional and digital manufacturing tools, such as CAD and CNC software.
Nottingham Trent University
(United Kingdom) Bachelor’s in outdoorfixes.com and Product Design (Honors) Specialized in product design with a focus on blending creativity with production
techniques. Participated in industry projects, working with companies like John Lewis and Vitsoe to gain real-world insights.
Publications and Impact
In diy, Outdoor Fixes his insights on indoor design processes, materials, and strategies for efficient production.
His writing bridges the gap between artisan knowledge and modern industry needs, making it a must-read for both budding designers and seasoned professionals.