
Do you want to spruce up your outdoor space with an array of vibrant garden pots? Planting colorful flowers, succulents, and herbs in decorative planters can be a great way to enliven any area.
By understanding the basics of arranging garden pots, such as following the “thriller-filler-spiller” concept and considering size and location, you can create an attractive display that adds interest to your home or business. Read on to learn more about how to arrange garden pots for the best results!
11 Step-by-step Guidelines on How to Arrange Garden Pots
Step 1: Gather All the Necessary Materials
You’ll need:
- Planters
- Soil
- Plants
- Other Decorations of Your Choosing.
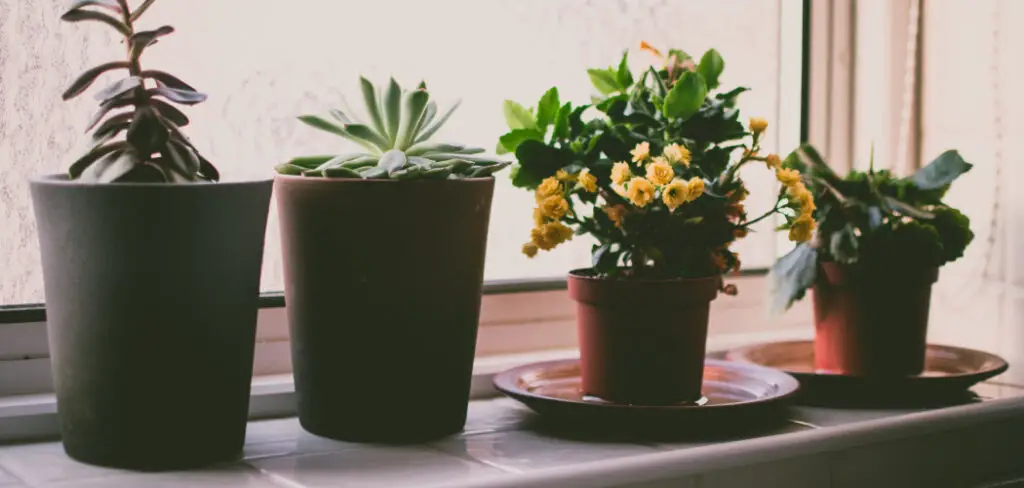
Step 2: Consider the Location
Where are you planning to display your garden pots? You’ll want to consider the amount of direct sunlight and space restrictions when deciding where to place them. It’s also important to consider the level of maintenance that the area requires. But if you’re ever in doubt, a safe option is to place your garden pots near entryways for maximum curb appeal.
It’s also important to remember that you should never place garden pots directly on the ground, as that can cause waterlogging. This can lead to root rot and other problems.
Step 3: Choose a Theme
Do you want to create a contemporary, minimalist look with matching planters? Or maybe you’re going for something more whimsical and unique with an eclectic mix of pots and decorations. Deciding on a theme beforehand will make the process much easier as you shop for materials.
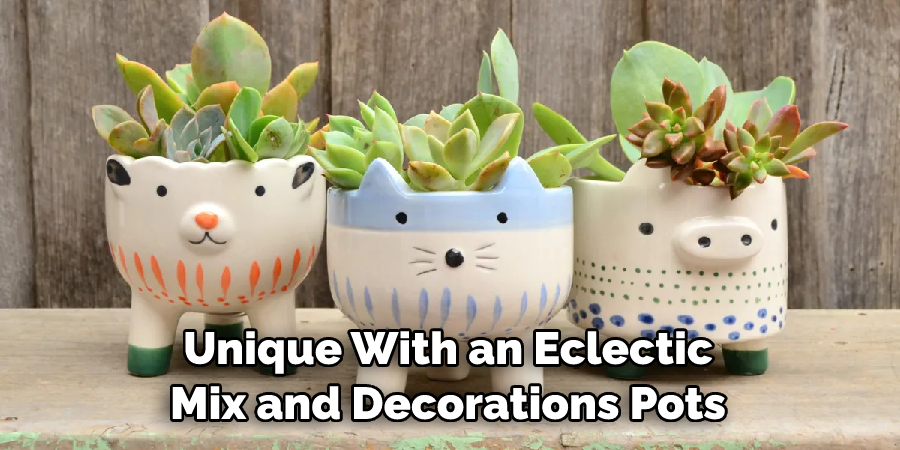
It may even help you determine the most appropriate size and shape of pots for your display. But remember, it’s okay if the theme changes as you go! If you find a pot or decoration that speaks to you, don’t be afraid to add it to your collection.
Step 4: Choose Your Planters
Select planters that match your chosen theme and fit the space where they’ll be placed. You may also want to consider size when choosing planters, as different plants require different amounts of depth and width. But don’t forget that bigger isn’t always better. A large planter can be overwhelming in a small area, so make sure to choose containers that are proportional to the surrounding space.
Step 5: Pick Your Plants
Take into account how much sun each plant needs in order to thrive in its new home. If you’re looking for a variety of plants, consider the “thriller-filler-spiller” concept.
This means picking one tall plant (thriller), several short plants that will cascade over the sides of the pot (filler) and a trailing or climbing plant (spiller). This combination creates a visually appealing and truly unique display. It’s also important to remember that some plants can’t be placed together, as they require different soil and light conditions.
Step 6: Fill Your Pots With Soil
Once you’ve selected your planters and plants, it’s time to fill them with soil. Make sure to purchase the right type of soil for each of your plants; some may require specific types such as cacti or succulent mix.
It’s also important to make sure your soil is not too wet or dry. This could affect the growth of your plants. But if you’re ever in doubt, it’s best to err on the side of caution and use a soil mix that is slightly on the dry side.
Step 7: Plant Your Plants
Carefully transfer your plants from their original pots into the new ones, making sure to evenly distribute the soil around the root ball. But be careful not to over-water or over-pack the soil, as this can lead to root rot and other issues. However, if you’re finding it difficult to fit all of the plants in one pot, feel free to use multiple planters. This will create an even more dynamic display.
Step 8: Add Fertilizer and Water
You’ll want to fertilize your plants every few weeks during their growing season in order to promote healthy growth and blooming. Additionally, make sure to water your plants regularly according to their needs; some may require more frequent watering than others.
But be aware that too much water can cause root rot, so make sure to check the soil every few days and adjust your watering schedule accordingly. This will help keep your plants healthy and thriving. But remember, each type of plant has different needs when it comes to water and fertilizer, so make sure to do your research before adding either one.
Step 9: Consider Other Decorations
If you want, you can add other decorations such as stones or statues for a more personalized look. Make sure these items are appropriate for outdoor placement and won’t interfere with the growth of your plants. This is also a great way to add a bit of whimsy to your display.
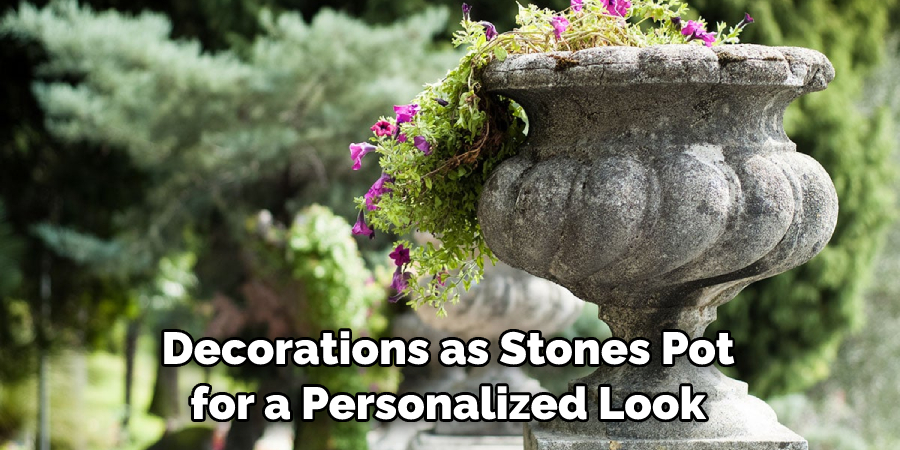
Although, it’s important to note that these items should still fit within the overall theme of your garden pots. It’s best to pick decorations that won’t overpower the vibrant colors of your flowers and greenery. Remember, you want your planters to be the star of the show!
Step 10: Arrange Your Planters
Once all of your plants and decorations are in place, arrange your planters to create the look you want. Play around with different combinations until you find something that pleases your eye. But don’t overcrowd the space. Keeping a little bit of negative space can help create a more pleasing aesthetic.
This is also a good time to consider the order and pattern of your display. You can use alternating heights, colors, and textures for greater visual interest. It’s also important to pay attention to the lighting in the area. You may want to move things around if you find that some plants are not getting enough sunlight.
Step 11: Enjoy Your Garden Pots!
Sit back and enjoy your newly arranged garden pots. It’s a great way to bring color, life, and beauty into any outdoor area. With a bit of creativity and patience, you can easily transform an ordinary space into something extraordinary! Always remember to monitor your plants and adjust their care as necessary.
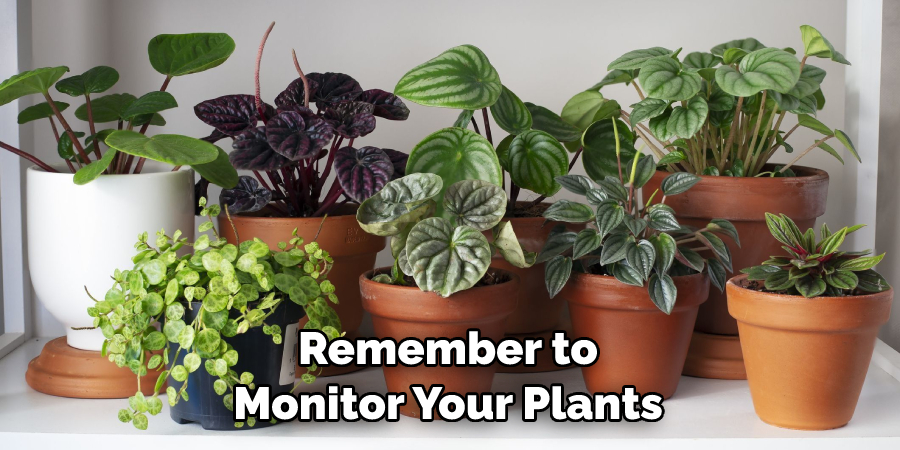
That way, you can ensure that your garden pots remain healthy and thriving for years to come. Happy gardening!
Following the 11 step-by-step guidelines outlined above can help you create an attractive and functional display of garden pots. Whether you want to add a splash of color to your backyard or create an inviting atmosphere for customers, learning how to arrange garden pots is the perfect way to give any outdoor area a fresh new look!
Do You Need to Hire a Professional?
Although the steps outlined above are relatively simple, there may be some situations where you need a professional’s help. For instance, if you’re working with a large number of garden pots, it may be best to have an experienced landscaper come in and handle the arrangements.
Similarly, if you’re having trouble deciding on the right plants for your display, a professional can help take some of the guesswork out of the process.
Frequently Asked Questions
Q: What is the “thriller-filler-spiller” Concept?
A: The thriller-filler-spiller concept is a way to create interesting arrangements of plants in garden pots. It involves selecting one tall plant (thriller), several short plants that will cascade over the sides of the pot (filler) and a trailing or climbing plant (spiller). This combination can help to make your display look more dynamic and vibrant.
Q: Do I Need Special Soil for Garden Pots?
A: Yes, you may need special soil depending on the type of plants you’re using. Cacti and succulents, for example, require different types of soil than other plants. Make sure to purchase the right type of soil for each individual plant in order to ensure its health and growth.
Q: What Are Some Other Decorations I Can Use?
A: You can use any type of outdoor decorations to add a unique touch to your garden pots. Popular choices include stones, statuary, ornaments, and even lights! Get creative and have fun with it!
Q: How Often Should I Fertilize My Plants?
A: You should fertilize your plants every few weeks during their growing season in order to promote healthy growth and blooming. Additionally, make sure to water your plants regularly according to their needs; some may require more frequent watering than others.
Q: How Often Should I Water My Plants?
A: The frequency of watering will depend on the type of plant and how much sunlight it receives. Generally, plants should be watered when the top inch of soil is dry. Overwatering can lead to root rot and other problems, so make sure to check the soil regularly for moisture.
Conclusion
Arranging garden pots is an excellent way to spruce up your outdoor space. There are so many different designs and techniques that you can use to create a unique look for your garden area. Whether you opt for a freestanding pot, a hanging basket, or even a window box, we’ve given you lots of ideas that will make it easier and more enjoyable to arrange your garden pots in style.
Now that you’ve learned how to arrange garden pots, why not give making a rain gutter planter a try? It’s an easy and affordable project that will increase the beauty and value of your outdoor space. You can plant herbs, succulents, or coloring plants to create rapid color and texture in any section of your property.
Plus, this type of container gardening allows those with limited backyard space to express their love for gardening in the tiniest places. Don’t miss this great opportunity–start researching and find out how to make a rain gutter planter right now!
About
Outdoor Fixes is a distinguished figure in the world of Diy design, with a decade of expertise creating innovative and sustainable Diy solutions.
His professional focus lies in merging traditional craftsmanship with modern manufacturing techniques,
fostering designs that are both practical and environmentally conscious. As the author of diy,
outdoorfixes delves into the art and science of outdoorfixes-making, inspiring artisans and industry professionals alike.
Education RMIT University
(Melbourne, Australia) Associate Degree in Design (Outdoor Fixes) Focus on sustainable design, industry-driven projects,
and practical craftsmanship. Gained hands-on experience with traditional and digital manufacturing tools, such as CAD and CNC software.
Nottingham Trent University
(United Kingdom) Bachelor’s in outdoorfixes.com and Product Design (Honors) Specialized in product design with a focus on blending creativity with production
techniques. Participated in industry projects, working with companies like John Lewis and Vitsoe to gain real-world insights.
Publications and Impact
In diy, Outdoor Fixes his insights on indoor design processes, materials, and strategies for efficient production.
His writing bridges the gap between artisan knowledge and modern industry needs, making it a must-read for both budding designers and seasoned professionals.