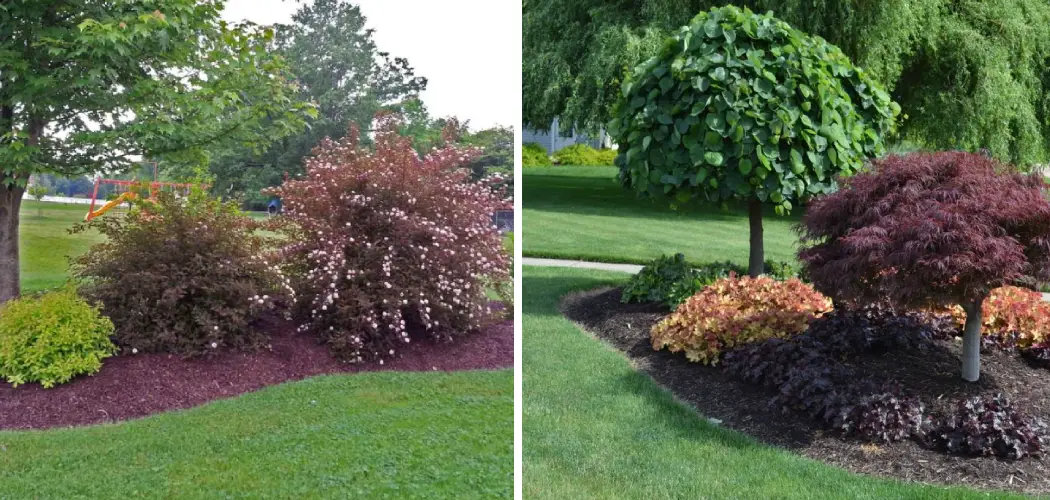
Have you ever looked at a landscape design and noticed that dramatic sloped edges that frame planting beds and direct water flow? Those carefully shaped slopes are called berms, and they are a versatile landscaping element that can greatly enhance the contours and dynamics of your yard.
Berms allow you to sculpt the lay of the land and establish a sense of definition, privacy and flow within an outdoor space.
In this post on how to build a berm for landscaping, I will walk you through the simple steps to design and construct your own berms. From planning the placement to packing in layers of soil, you’ll be amazed at how a few mounds of dirt can elevate a dull, flat yard into a striking, sculpted landscape.
By the end, you’ll have the skills and confidence to create natural-looking swells and dips that draw the eye around your property in graceful, organic forms. Let’s get started!
What is a Berm?
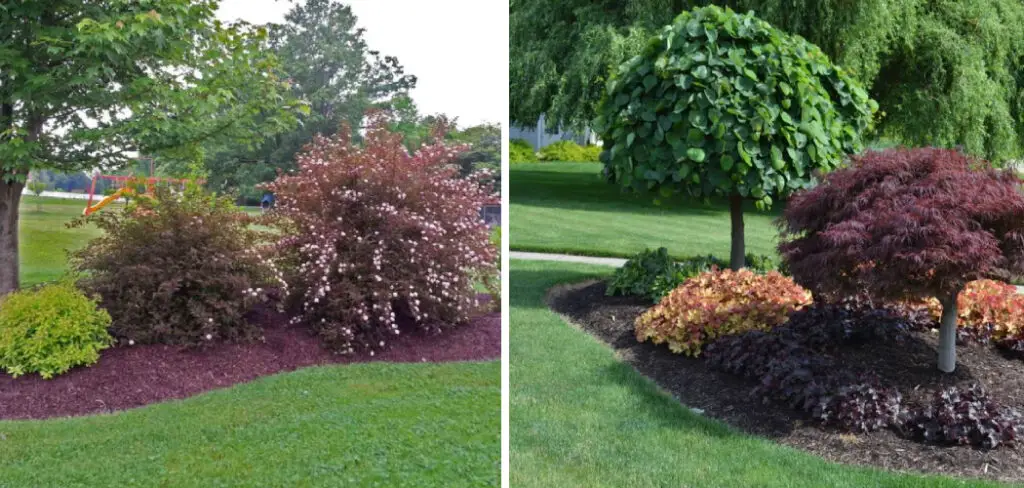
Before we dive into the how-to of berm building, let’s define exactly what a berm is. A berm is a raised area of soil that is typically long and narrow, with gentle slopes on either side.
It can be used to create visual interest in an otherwise flat landscape or to help control water flow and drainage. Berms are often used in landscape design to add height and contours, making a space feel more dynamic and interesting.
Needed Materials
- Shovel
- Wheelbarrow
- Landscape Fabric
- Compost or Topsoil
- Rake
11 Step-by-step Guidelines on How to Build a Berm for Landscaping
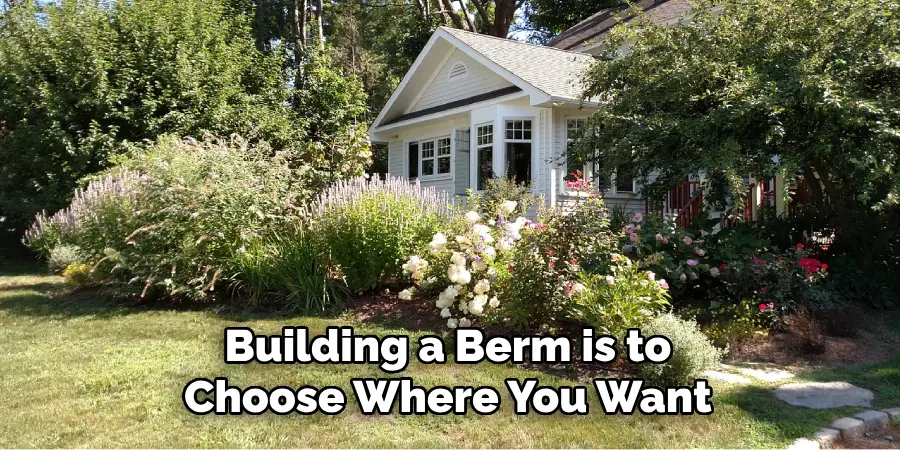
Step 1: Choose the Location for Your Berm
The first step in building a berm is to choose where you want it to go. Consider the natural lay of your land, as well as any existing features like trees or shrubs. You want to create a natural-looking berm that will blend in seamlessly with your existing landscape.
But also keep practicality in mind – avoid building a berm in an area that will impede water flow or create drainage issues. It’s also a good idea to mark the outline of your berm with spray paint or string so you have a clear visual guide.
Step 2: Mark the Boundaries of Your Berm
Using stakes and string, mark out the boundaries of your desired berm shape. This will help you visualize the size and location before you begin digging. It’s important to remember that berms should have gentle slopes on both sides, so avoid making them too steep.
Although the exact dimensions will vary based on your space, a standard berm usually has a width of 6-10 feet and a height of 1-2 feet.
Step 3: Remove Existing Vegetation
Once you have your boundaries marked, it’s time to clear away any existing grass or plants within the designated area. Use a shovel to remove the top layer of grass and vegetation, making sure to get rid of any large roots or debris.
You may also want to lay down a layer of landscape fabric to prevent weeds from growing through your berm later on. It’s not necessary, but it can help with maintenance in the long run.
Step 4: Dig Out the Base
Using your shovel, begin digging out the base of your berm. You’ll want to create a gradual slope on both sides – typically between 3-6 inches per foot. This will ensure that water can easily flow down the berm and prevent erosion. As you dig, periodically check the slope with a level or rake to make sure it is even and gradual. You want your berm to look natural and blend in with the surrounding area.
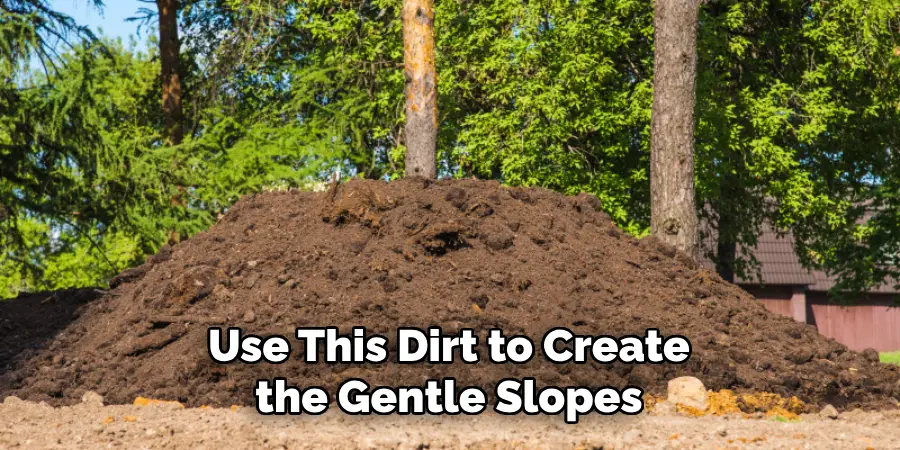
Step 5: Use Excess Dirt to Create Slopes
As you dig out the base of your berm, you will accumulate a lot of excess dirt. Use this dirt to create the gentle slopes on either side of your berm. You can also use additional soil from other areas of your yard if needed. Make sure to pack down the soil as you go to create a firm base. Otherwise, the berm may settle and lose its shape over time.
Step 6: Add Layers of Compost or Topsoil
Once you have the basic shape of your berm in place, it’s time to add layers of compost or topsoil. This will help give your berm a natural look and promote healthy plant growth. Start by adding a layer of compost or topsoil on top of the existing soil base and slopes that you created. Use a rake to distribute it evenly and smooth out any bumps or indentations.
Step 7: Shape and Pack the Soil
As you add layers of compost or topsoil, shape and pack the soil to create a natural-looking berm. You can use your hands or feet to gently compress the soil, making sure it is firmly in place. This will also help to eliminate any air pockets that could cause settling in the future. You may also want to periodically wet the soil as you pack it down, which can help with compaction.
Step 8: Add More Layers and Repeat
Continue adding layers of compost or topsoil, shaping and packing as you go. You may need to add several layers before achieving your desired berm height. It’s important to take your time and make sure the soil is compacted evenly, as this will help prevent erosion and maintain the shape of your berm. It may also help to periodically step back and look at the berm from different angles to make sure it looks natural and blends in with the surrounding landscape.
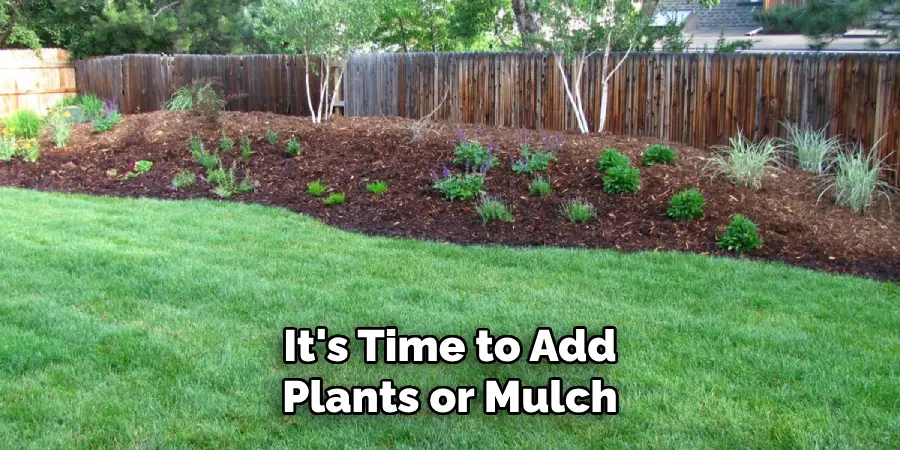
Step 9: Add Plants or Mulch
Once you have reached your desired berm height, it’s time to add plants or mulch to further enhance the look. You can choose a variety of plants, such as shrubs, flowers, or grasses, depending on your personal preference and the overall landscape design. You can also use mulch to cover the soil and help retain moisture for your plants.
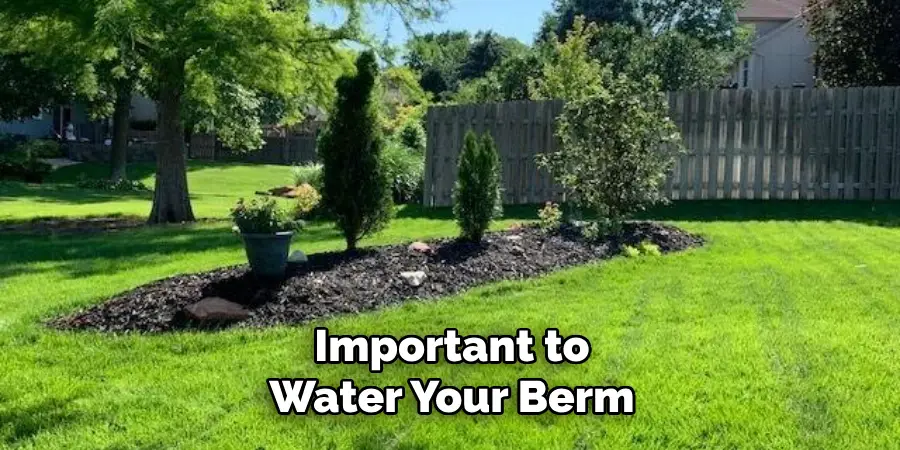
Step 10: Water and Maintain
After you have completed all the steps in building your berm, water it thoroughly to help settle the soil and promote plant growth. You may also want to add a layer of mulch to help keep weeds at bay and retain moisture in the soil. Regularly watering and maintaining your berm will ensure that it stays healthy and attractive for years to come. However, be careful not to over-water as this can cause erosion.
Step 11: Admire Your Finished Berm
Congratulations – you have successfully built your very own berm for landscaping! Take a step back and admire your hard work. Not only does it add visual interest to your landscape, but it also serves a practical purpose in controlling water flow and drainage.
With proper maintenance and care, your berm will continue to be a beautiful addition to your outdoor space for years to come. Always remember to take the necessary precautions when working with heavy machinery or tools, and seek professional help if needed. Happy landscaping!
Following these steps and tips on how to build a berm for landscaping, you should now be able to build a berm that enhances the look of your yard while also serving a functional purpose. Be creative with your design and experiment with different plants and materials to make your berm unique. With proper planning and execution, you can transform your landscape into a beautiful oasis that will be the envy of your neighbors.
Frequently Asked Questions
Q1: Can I Build a Berm in Any Shape or Size?
A1: Yes, you can build a berm in any shape or size that fits your landscape and personal preference. Just make sure to follow the guidelines for gentle slopes and proper compaction to ensure its stability.
Q2: Do I Need to Use Landscape Fabric?
A2: Using landscape fabric is not necessary, but it can help with weed control and maintenance in the long run. If you choose not to use it, make sure to regularly remove any weeds that may grow in your berm.
Q3: How Often Should I Water My Berm?
A3: It’s important to water your berm thoroughly after completing the construction process. After that, it’s best to water it as needed based on your climate and the plants you have chosen. Be careful not to over-water, as this can lead to erosion.
Conclusion
Knowing how to build a berm is essential for maintaining your home’s landscaping. With just a few simple tools and materials, you can construct an aesthetically pleasing berm that will make your yard look great. The process isn’t complicated and it won’t take much time, so why not give it a try? It’s sure to make your yard stand out from the rest!
All you need to do now is break out the shovel and get started. Who knows what lovely surprises await once you see the transformation your lawn has undergone? Get going today and witness the impressive results first-hand for yourself. Thanks for reading this article on how to build a berm for landscaping.
About
Outdoor Fixes is a distinguished figure in the world of Diy design, with a decade of expertise creating innovative and sustainable Diy solutions.
His professional focus lies in merging traditional craftsmanship with modern manufacturing techniques,
fostering designs that are both practical and environmentally conscious. As the author of diy,
outdoorfixes delves into the art and science of outdoorfixes-making, inspiring artisans and industry professionals alike.
Education RMIT University
(Melbourne, Australia) Associate Degree in Design (Outdoor Fixes) Focus on sustainable design, industry-driven projects,
and practical craftsmanship. Gained hands-on experience with traditional and digital manufacturing tools, such as CAD and CNC software.
Nottingham Trent University
(United Kingdom) Bachelor’s in outdoorfixes.com and Product Design (Honors) Specialized in product design with a focus on blending creativity with production
techniques. Participated in industry projects, working with companies like John Lewis and Vitsoe to gain real-world insights.
Publications and Impact
In diy, Outdoor Fixes his insights on indoor design processes, materials, and strategies for efficient production.
His writing bridges the gap between artisan knowledge and modern industry needs, making it a must-read for both budding designers and seasoned professionals.