
Having a healthy garden can be an incredibly rewarding experience for any homeowner, but it often requires more than just sprinkling some seeds in the dirt and giving them a little water.
One of the most important factors in keeping your plants happy and healthy is making sure that their soil has the right composition – specifically, ensuring it’s not too densely packed or compacted.
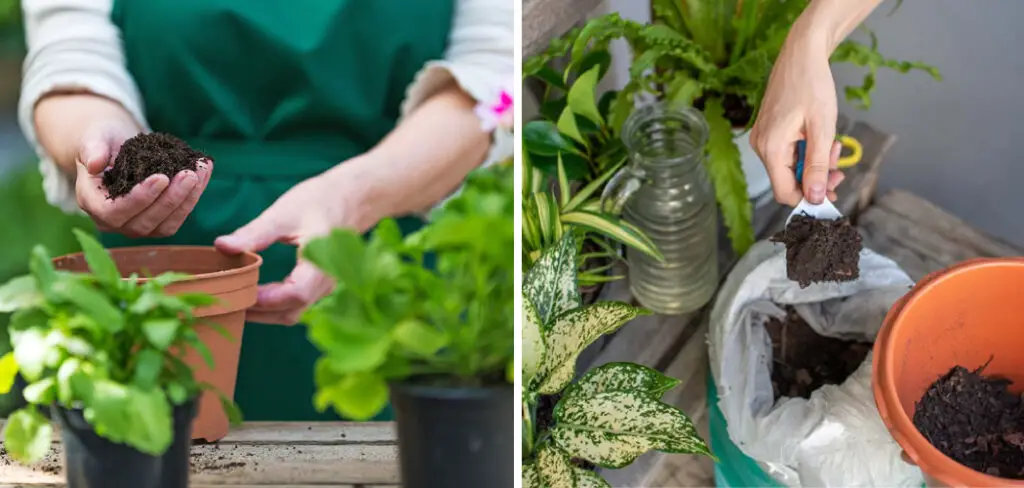
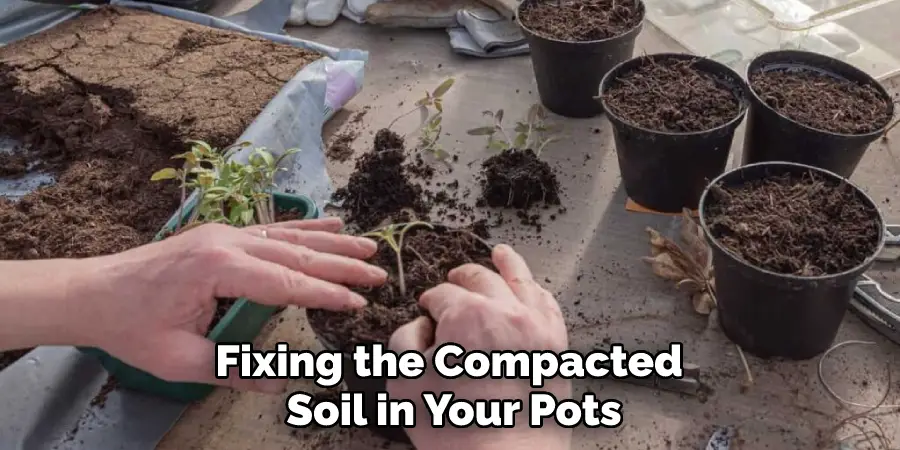
Fortunately, if you have potted plants with soil that needs help, there are ways to fix compacted soil so you can enjoy thriving blooms without fail! In this blog post, we’ll explain exactly how to fix compacted soil in pots and give them everything they need to reach their fullest potential. Read on to learn more!
Why Fixing Compacted Soil Important?
Compacted soil can cause a number of issues for your potted plants and should be addressed as soon as you notice it. The most obvious problem is that roots won’t have room to spread out and find the nutrients they need, which can stunt the growth of your plant overall.
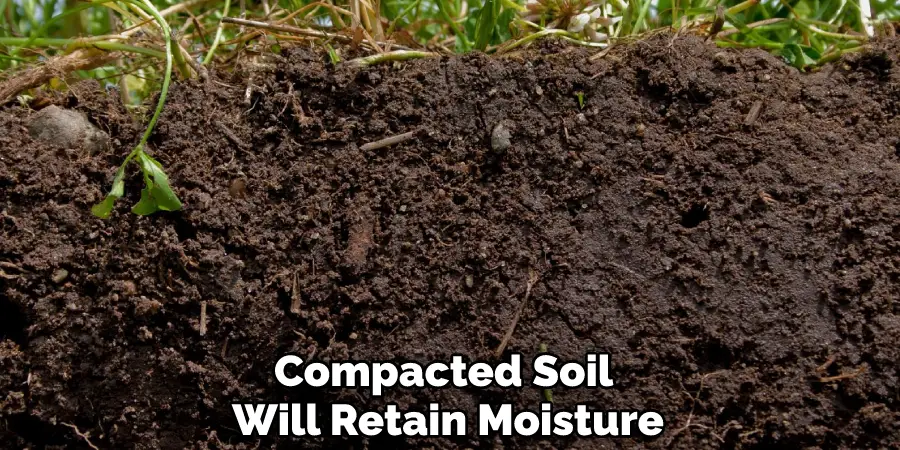
Additionally, overly compacted soil will retain moisture more than it should, leading to waterlogging and root rot. Finally, tightly packed soil can cause nutrient deficiencies because the roots won’t be able to reach what’s needed for healthy plant growth.
Thankfully, it is possible to revitalize compacted soil without having to buy new potting soil or start from scratch!
Needed Tools
- Garden fork
- Trowel
- Compost or peat moss
10 Tips on How to Fix Compacted Soil in Pots
1. Loosen the Soil
Start by loosening the soil in your pot. A garden fork is a great tool for this, as it can penetrate deep into the soil and break apart any large clumps. The clumps should be broken down until it looks like damp sand.
2. Mix in Organic Matter
Next, mix some organic matter into the soil to help aerate it and give your plants’ roots more room to spread out. Compost or peat moss are both great options for this, as they add nutrients and fluff up the soil.
3. Add Sand
You can also add some sand to the soil to help with drainage, as well as further aerate it and make it less dense. Make sure to use fine-grained sand for best results. If you don’t add sand, you may end up with overly wet soil that doesn’t drain properly.
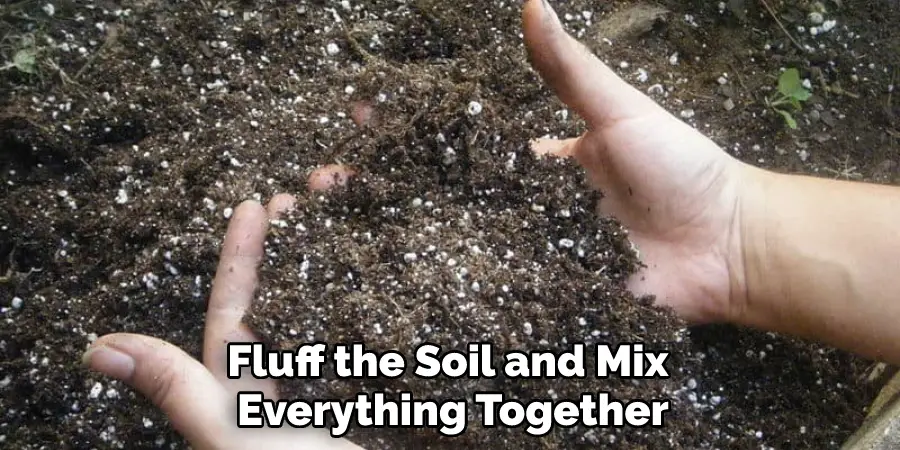
4. Fluff the Soil
Once you’ve added compost and sand, use a trowel to fluff the soil and mix everything together. This will help break apart any remaining clumps and make sure that the organic matter and sand are distributed evenly.
5. Add Water
Once you’ve got everything mixed together, give the soil a good watering until it’s damp but not soggy. The water will help break apart any remaining clumps and further aerate the soil. Water is an important part of revitalizing compacted soil and should be done regularly.
6. Re-pot Your Plants
Once the soil has been aerated, it’s time to re-pot your plants. Make sure to use a pot with drainage holes so that it doesn’t become waterlogged. If you don’t have any drainage holes, you can add some stones or gravel to the bottom of the pot before adding soil.
7. Don’t Overwater
It’s important not to overwater your plants after re-potting them. Soil that is too wet will compact again and cause problems for plant roots. Instead, water lightly and make sure that the soil is damp but not soggy.
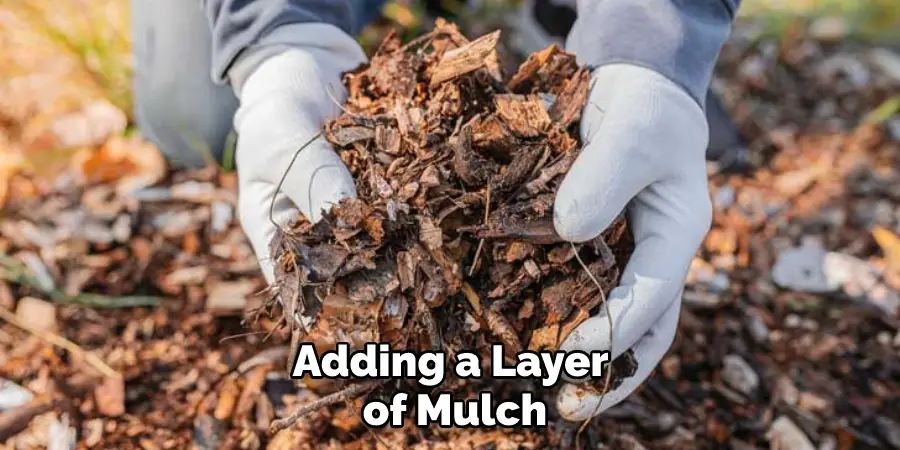
8. Add Mulch
Adding a layer of mulch to the top of your soil can help keep it aerated and prevent compaction in the future. The mulch will also provide additional nutrients for your plants and help retain moisture, so you don’t have to water as often.
9. Check Soil Regularly
It’s important to check the soil regularly and make sure it isn’t becoming too tightly packed again. If you notice that the soil is getting too dense, use a trowel or garden fork to break apart any clumps and fluff the soil up again.
10. Feed Your Plants
Finally, make sure you’re feeding your plants regularly to give them the nutrients they need for healthy growth. Compost tea, worm castings, and fish emulsion are all great options for fertilizing potted plants.
Fixing compacted soil in pots is an important part of keeping your plants healthy and happy.
With proper aeration, organic matter, and regular feeding, your potted plants will have the best chance of thriving!
The Benefits of Fixing Compacted Soil
Here are some benefits of fixing compacted soil:
1. Improved Drainage
Compacted soil tends to retain water and can lead to root rot. By loosening up the soil, you’ll be able to ensure better drainage for your plants. The drainage process also prevents water from pooling and stagnating, which can lead to unhealthy roots and other problems.
2. More Air Circulation
The loosening of compacted soil allows for better air circulation in the pot. Better air circulation is essential for plant growth as it provides them with the oxygen they need to survive. It also helps reduce root rot, fungus, and mold.
3. Easier Access to Nutrients
With compacted soil, the roots of plants won’t be able to access essential nutrients as easily. By fixing the compacted soil in your pots, you’ll give your plants easier access to important nutrients like nitrogen and potassium that are needed for healthy growth.
4. Improved Soil Structure
The soil structure will also improve when the compacted soil is fixed. This allows for better water and nutrient absorption, which is essential for plant health. Soil that is more loosely packed also helps to improve the overall structure of the pot, making it easier for your plants to continue growing.
5. Ensures Plant Growth
By fixing compacted soil in your pots, you’ll be able to ensure that your plants have the best environment for growth. Healthy and thriving plants rely on good drainage, air circulation, nutrient access, and a strong soil structure – all of which can be improved by fixing compacted soil.
Fixing compacted soil can help ensure that your plants get the best environment for growth.
Fixing compacted soil can be beneficial for both you and your plants as it improves drainage, air circulation, nutrient availability, and soil structure. Doing this will ensure that your plants receive all of the necessary elements for healthy growth and development.
With a few simple steps, you can easily fix compacted soil in your pots and give your plants the best possible chance of thriving.
Frequently Asked Questions
How Often Should You Fix Compacted Soil?
It’s a good idea to fix compacted soil in your pots at least once a year. This will help ensure that the soil remains loose and provides adequate drainage and air circulation for your plants. Remember to be gentle when loosening the soil so that you don’t damage any of the roots. Do it too often, and you may damage the soil structure and reduce the available nutrients.
Can Compacted Soil Cause Plant Death?
Yes, compacted soil can cause plant death if it is not corrected. The lack of drainage, air circulation, nutrient availability, and soil structure can all lead to unhealthy plants and even plant death if not addressed. Fixing the compacted soil in your pots will help ensure that your plants are provided with the best environment for growth and development.
What Are Some Signs of Compacted Soil?
Some signs of compacted soil include puddles forming on top after watering, slower than normal growth, waterlogged roots, and a lack of air pockets in the soil. If you notice any of these signs, it’s important to fix the problem as soon as possible to ensure that your plants stay healthy and thrive.
What Causes Compacted Soil?
Compacted soil is caused by over-watering, overcrowding of roots, or too much foot traffic. It’s important to be aware of these potential causes and take the necessary precautions to prevent them from happening. Proper watering, spacing, and avoiding walking around potted plants can all help reduce the risk of compacted soil in your pots.
Conclusion
In conclusion, making sure the soil in a pot is not too compacted is an important part of caring for plants in containers. One of the best methods to avoid this issue is to choose a potting mix that drains water well and mixes it with perlite or other materials that help ensure proper aeration.
To fix existing compaction issues, repotting the plant into fresh soil can be just what it needs. If that’s not an option, introduce earthworm castings or composted manure.
Doing this will be beneficial in improving the porosity of the soil and making sure your potted plants are healthy and able to reach their full potential in plenty of sunshine and well-drained soils. In addition, periodically monitoring pots to make sure they’re free from compaction is essential, as this problem can easily arise again if left unnoticed for too long.
Finally, when trying to fix compacted soil, try experimenting with different combinations of potting mixtures until you find one that works for your particular setup at home. Follow the guide on how to fix compacted soil in pots, It may take some trial and error, but the satisfaction when growing flourishing plants is priceless!
About
Outdoor Fixes is a distinguished figure in the world of Diy design, with a decade of expertise creating innovative and sustainable Diy solutions.
His professional focus lies in merging traditional craftsmanship with modern manufacturing techniques,
fostering designs that are both practical and environmentally conscious. As the author of diy,
outdoorfixes delves into the art and science of outdoorfixes-making, inspiring artisans and industry professionals alike.
Education RMIT University
(Melbourne, Australia) Associate Degree in Design (Outdoor Fixes) Focus on sustainable design, industry-driven projects,
and practical craftsmanship. Gained hands-on experience with traditional and digital manufacturing tools, such as CAD and CNC software.
Nottingham Trent University
(United Kingdom) Bachelor’s in outdoorfixes.com and Product Design (Honors) Specialized in product design with a focus on blending creativity with production
techniques. Participated in industry projects, working with companies like John Lewis and Vitsoe to gain real-world insights.
Publications and Impact
In diy, Outdoor Fixes his insights on indoor design processes, materials, and strategies for efficient production.
His writing bridges the gap between artisan knowledge and modern industry needs, making it a must-read for both budding designers and seasoned professionals.