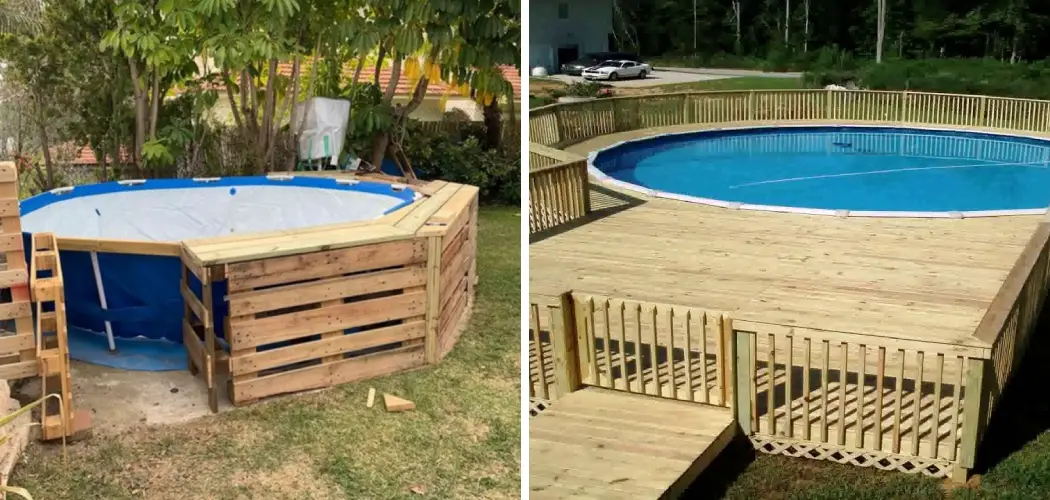
Do you have a swimming pool in your backyard, but no deck to go with it? Are you looking for an economical way to build the perfect poolside paradise without breaking the bank? Look no further than this creative and easy DIY project: building your own pool deck out of pallets! With our step-by-step guide on how to build a pool deck out of pallets, creating a gorgeous outdoor retreat is simpler than ever before.
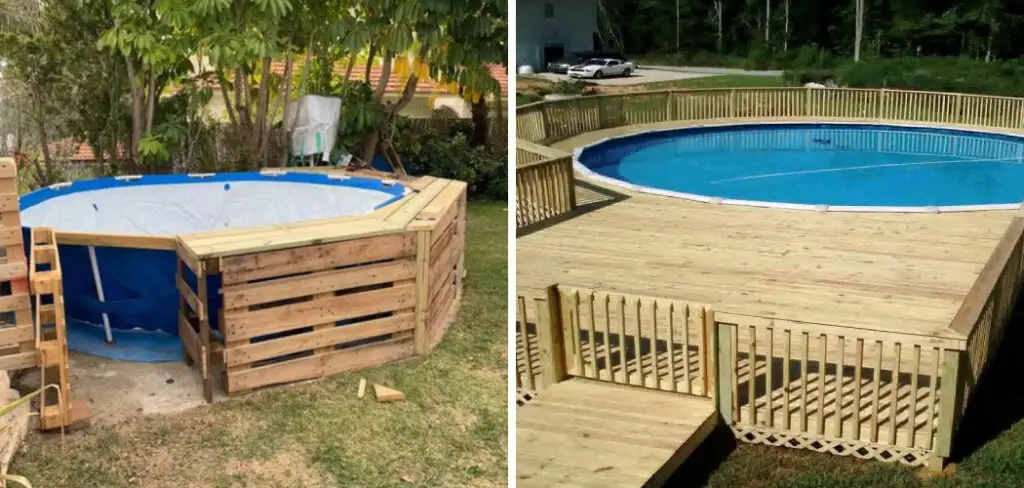
Just imagine all of the summer days spent lounging on your newly crafted pallet deck while taking a refreshing dip in the cool waters below – blissful! So what are you waiting for? Let’s start crafting today!
Why Pallets?
Before we dive into the building process, you may be wondering why pallets are the perfect material for a pool deck. Firstly, they are easily accessible and inexpensive. You can often find them for free or at a low cost from local businesses or online marketplaces. Secondly, pallets are sturdy and durable, making them ideal for outdoor use. And lastly, they can be easily customized and repurposed to create a unique and rustic look for your deck.
Needed Materials
Given below is a list of essential materials you will need to get started on building your very own pool deck out of pallets:
- Wooden Pallets (at Least 60)
- Waterproof Sealant
- Nails and Screws
- Hammer and Screwdriver
- Measuring Tape
- Saw
- Sandpaper (for Smoothing Rough Edges)
- Level
- Paint or Stain (Optional)
12 Step-by-step Guidelines on How to Build a Pool Deck Out of Pallets
Step 1: Measure the Area
Before you start collecting pallets, measure the area where you want to build your deck. This will help determine how many pallets you need and how big your deck can be. It’s also important to check the ground for levelness and make adjustments if needed. But don’t worry – pallets are great for building on uneven terrain!
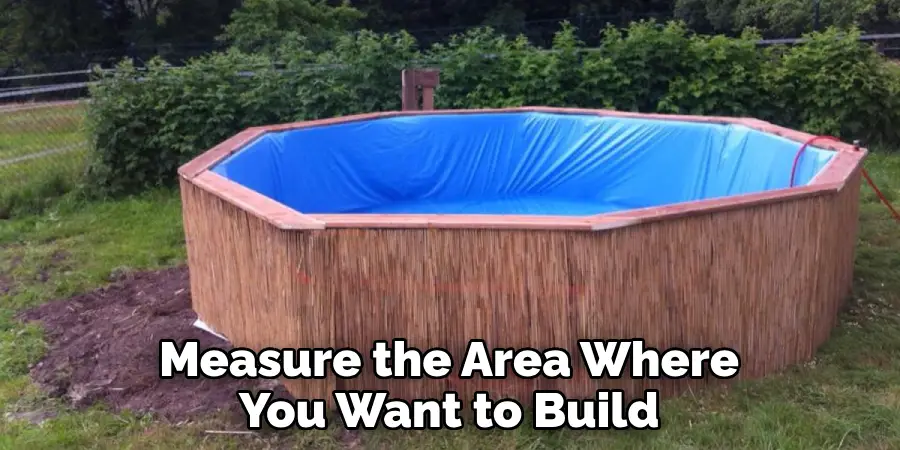
You can even use them to create steps. It’s all part of the rustic charm. You can also use this opportunity to mark off the area with stakes and string to help visualize the final product.
Step 2: Gather Pallets
Once you have your measurements, it’s time to gather the pallets. You may need around 60 pallets depending on the size of your deck. Make sure to choose sturdy ones without any broken or missing pieces. This will ensure the stability of your deck. Otherwise, it’s just a disaster waiting to happen. It’s also a good idea to get a few extra pallets in case of any mistakes or accidents. But the more, the merrier!
Step 3: Clean and Prepare Pallets
Before you start building, it’s essential to clean and prepare the pallets. Remove any unnecessary nails or screws and sand down rough edges to avoid splinters. If desired, you can also paint or stain the pallets for a more polished look.
You can even mix and match different colors for a fun and eclectic style. But if you prefer the natural look, just leave them as is. It’s also a good idea to seal the pallets with waterproof sealant to protect them from the elements.
Step 4: Lay Out the Pallets
Now it’s time to start laying out the pallets in your desired deck shape and size. Use a level to ensure that they are all even and flat on the ground. This is crucial for the structure of your deck. You may need to trim or adjust some pallets to fit perfectly and fill in any gaps. It’s like a giant puzzle – just keep playing around until you find the perfect solution. You can also use a saw to cut pallets into smaller pieces if needed.
Step 5: Secure the Pallets Together
Once you have your pallet layout, start securing them together with nails and screws. Use galvanized or coated ones for outdoor use to prevent rusting. You may also want to add some extra support with wooden beams or blocks between the pallets. This will provide additional stability and prevent any sinking in the middle. You can even use a drill to make the process faster and more efficient.
Step 6: Build the Steps
If your deck is elevated, you’ll need to build steps for easy access. The same principle applies – use pallets as the base and secure them together. You can also add railings for safety if desired. Again, make sure everything is level and sturdy before proceeding to the next step. If you prefer not to have steps, you can simply create a ramp with pallets instead. Easy peasy! This is also a great option for wheelchair access.
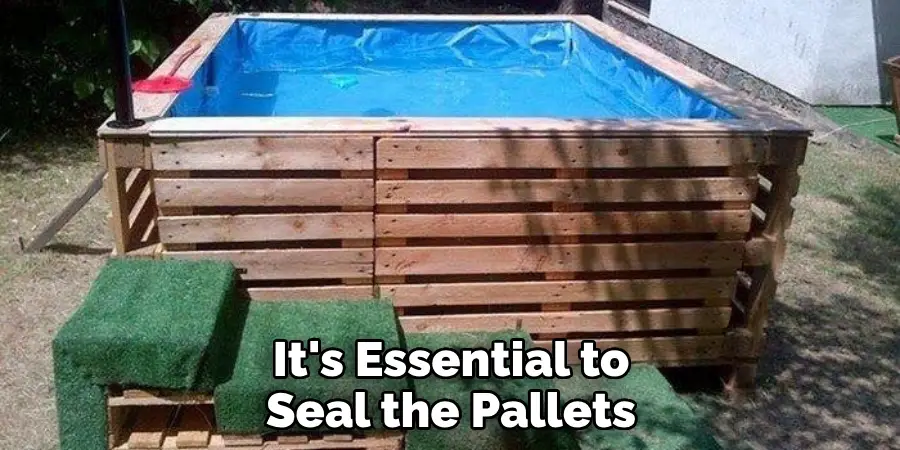
Step 7: Seal the Pallets
To protect your deck from water damage, it’s essential to seal the pallets. Use a waterproof sealant and apply at least two coats, allowing time to dry in between. This will ensure that your deck lasts for years to come. Although pallets are durable, they are still wood and can rot over time without proper protection. It’s better to be safe than sorry!
Step 8: Add Finishing Touches
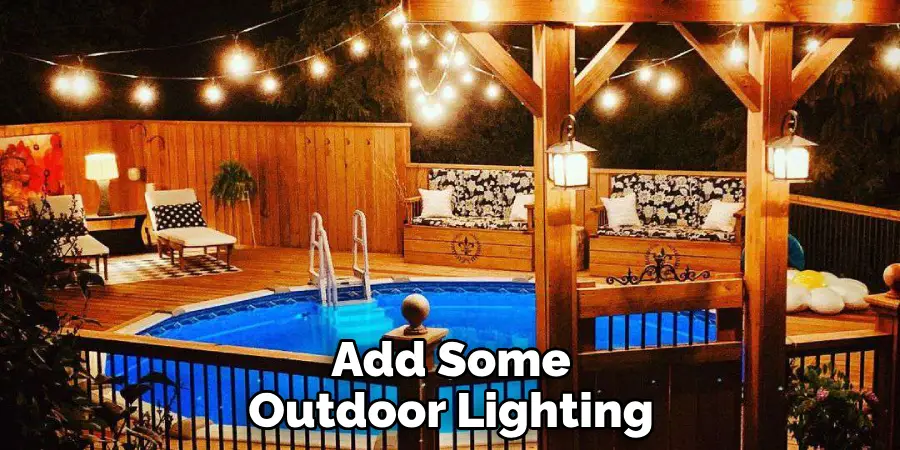
Once the sealant is dry, it’s time for the fun part – adding finishing touches! You can paint or stain your deck in your desired color or leave it natural. You can also add outdoor furniture, plants, and decor to create a cozy and inviting space. Don’t be afraid to get creative and let your personal style shine. It’s your deck, after all! It’s also a good idea to add some outdoor lighting for those warm summer nights.
Step 9: Create a Pool Access Point
If you want direct access to the pool from your deck, you can create an opening using pallets. Simply remove some of the pallets in one section and secure them with hinges so that they can be easily lifted up or down. Make sure to seal around the edges to prevent any water from seeping in. Otherwise, you’ll have a soggy mess on your hands. It’s all about the details! It’s also a good idea to add a nonslip surface in this area for safety.
Step 10: Build Pool Equipment Storage
Let’s face it – pool equipment can be an eyesore. But fear no more! You can build storage using pallets to hide all your pool supplies and keep them organized. Simply create a box-like structure with pallets and secure them together. You can also add a lid for easy access and extra seating space. This is a great way to make use of the space under your deck. You can thank us later! But first, let’s move on to the next step.
Step 11: Add Lighting
To extend the use of your deck into the evening, add some outdoor lighting. You can hang string lights around the perimeter or install solar-powered fixtures along the edges for a more eco-friendly option. This will not only make your deck look magical but also provide safety and visibility at night. You can even add some citronella candles to keep the bugs away. It’s all about creating a relaxing and enjoyable atmosphere.
Step 12: Enjoy Your New Pool Deck!
Congratulations – you have successfully built a pool deck out of pallets! Time to kick back, relax, and enjoy your new outdoor oasis. Invite some friends over for a pool party or simply bask in the sun with a good book. The possibilities are endless. And the best part? You did it all yourself – how impressive is that? So go ahead and pat yourself on the back. You deserve it! It’s time to make a splash and enjoy your new pool deck.
Following these simple steps on how to build a pool deck out of pallets, you can easily build a pool deck out of pallets in no time. Not only is it a budget-friendly option, but it also adds a unique and rustic touch to your backyard. You’ll have the envy of all your neighbors with your one-of-a-kind deck. So grab some pallets and get building! Your dream pool deck awaits. Happy crafting!
Do You Need to Use Professionals?
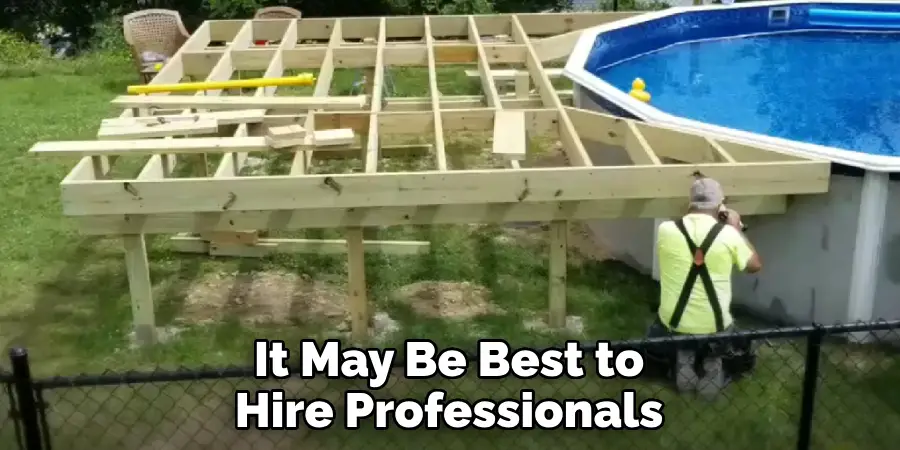
Building a pool deck out of pallets is a relatively simple and straightforward process. However, if you are not confident in your DIY skills or do not have the necessary tools, it may be best to hire professionals. They will ensure that your deck is built safely and correctly, avoiding any potential hazards or issues down the line. Plus, they can offer their expertise and advice on design and layout. Ultimately, the decision is up to you and your capabilities.
Whatever route you choose, we hope this guide has been helpful in creating your dream pool deck! So go ahead, grab some pallets, and start building – your backyard paradise awaits! Keep the fun going with these easy DIY projects for your backyard. Happy crafting!
How Much Could It Cost?
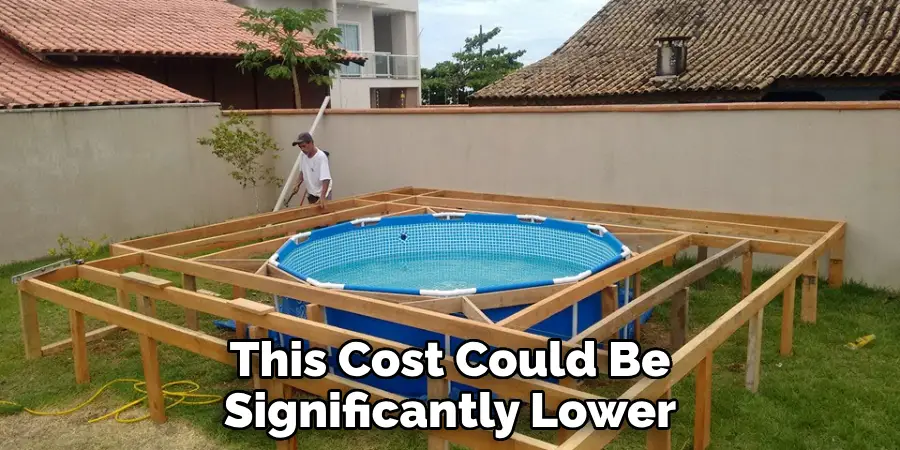
One of the main reasons why building a pool deck out of pallets is so popular is because it is incredibly affordable. Depending on the size and complexity, you can expect to spend anywhere from $200-$500 for materials. Plus, if you are able to source free pallets or have some lying around, this cost could be significantly lower.
Compare that to the thousands of dollars it could cost to hire a professional company, and you’ve got yourself a great deal. Plus, the satisfaction of building something with your own two hands is priceless. So why not give it a try? You have nothing to lose and a beautiful pool deck to gain! Happy crafting!
Frequently Asked Questions
Q1: Can I Use Any Type of Pallets for My Pool Deck?
A1: It is recommended to use sturdy and durable pallets, such as those made from hardwood or pressure-treated lumber. Avoid using chemically treated pallets, as they may contain harmful substances. It’s always best to do your research and choose the most suitable pallets for your project.
Q2: Do I Need to Use a Ladder or Steps with My Pool Deck?
A2: It is not necessary, but it can make accessing the pool easier and safer. If you choose not to have steps, consider creating a ramp with pallets instead. This can also double as a seating area when not in use.
Q3: How Do I Clean and Maintain My Pallet Pool Deck?
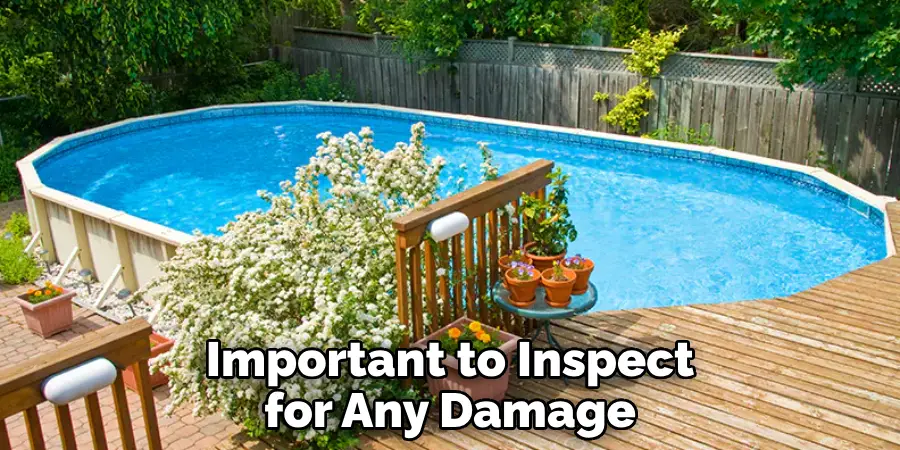
A3: Regular maintenance is crucial to extending the life of your deck. Sweep or hose off any debris regularly, and reapply sealant every 1-2 years. It’s also important to inspect for any damage or rot and make repairs as needed. With proper care, your pallet pool deck can last for many years to come.
Q4: Can I Use Pallets to Build an Above-Ground Pool Deck?
A4: Absolutely! The same principles apply – just make sure the pallets are sturdy enough to support the weight of the pool and its occupants. You can also use pallets to create a surrounding deck for an in-ground pool as well. Get creative and customize it to your liking! Happy crafting!
Conclusion
Taking on the challenge of building a pool deck out of pallets has many people, but with a little confidence and some hard work, it can be done. You just need to make sure that you have all the right tools and materials before getting started. With the help of this article, your tear-down, prep work, measurements and delivery will all be successful in helping you build your own pool deck from pallets. Now get to work! After following these steps of construction, you will soon have your own stylish pool deck created from up-cycled pallets.
So dive in (no pun intended) and create something special for your backyard oasis. Now is the time to get your creative juices flowing and show off a stunning DIY pool deck made from pallets – the perfect way to add modern style to any outdoor space. Thanks for reading this article on how to build a pool deck out of pallets.
About
Outdoor Fixes is a distinguished figure in the world of Diy design, with a decade of expertise creating innovative and sustainable Diy solutions.
His professional focus lies in merging traditional craftsmanship with modern manufacturing techniques,
fostering designs that are both practical and environmentally conscious. As the author of diy,
outdoorfixes delves into the art and science of outdoorfixes-making, inspiring artisans and industry professionals alike.
Education RMIT University
(Melbourne, Australia) Associate Degree in Design (Outdoor Fixes) Focus on sustainable design, industry-driven projects,
and practical craftsmanship. Gained hands-on experience with traditional and digital manufacturing tools, such as CAD and CNC software.
Nottingham Trent University
(United Kingdom) Bachelor’s in outdoorfixes.com and Product Design (Honors) Specialized in product design with a focus on blending creativity with production
techniques. Participated in industry projects, working with companies like John Lewis and Vitsoe to gain real-world insights.
Publications and Impact
In diy, Outdoor Fixes his insights on indoor design processes, materials, and strategies for efficient production.
His writing bridges the gap between artisan knowledge and modern industry needs, making it a must-read for both budding designers and seasoned professionals.

