Are you a golf enthusiast who wants to practice your putting skills all year round without leaving the comfort of your home? Building a synthetic putting green in your backyard is an excellent solution for this. Although it may seem overwhelming, building a putting green is relatively easy if you follow the right steps.

In this blog post, we will provide a complete guide on how to build a synthetic putting green, from planning to installation. You’ll learn the best materials to use, how to prepare your surface, and other important tips to ensure that your putting green is smooth and level.
Can You Build a Synthetic Putting Green?
Suppose you’re someone who loves to golf but can’t always make it to the course; building a synthetic putting green may be just it. It’s not only a fun project for those who enjoy DIY activities, but it’s also a great way to practice your putting skills from the comfort of your own home.
Plus, with synthetic turf, you won’t have to worry about maintenance, watering, or mowing the lawn. The best part is that you can customize the size, shape, and contour of your putting green to mimic your favorite golf course or challenge yourself with different angles and breaks. So, grab your tools and get ready to perfect your putting game!
Why Should You Build a Synthetic Putting Green?
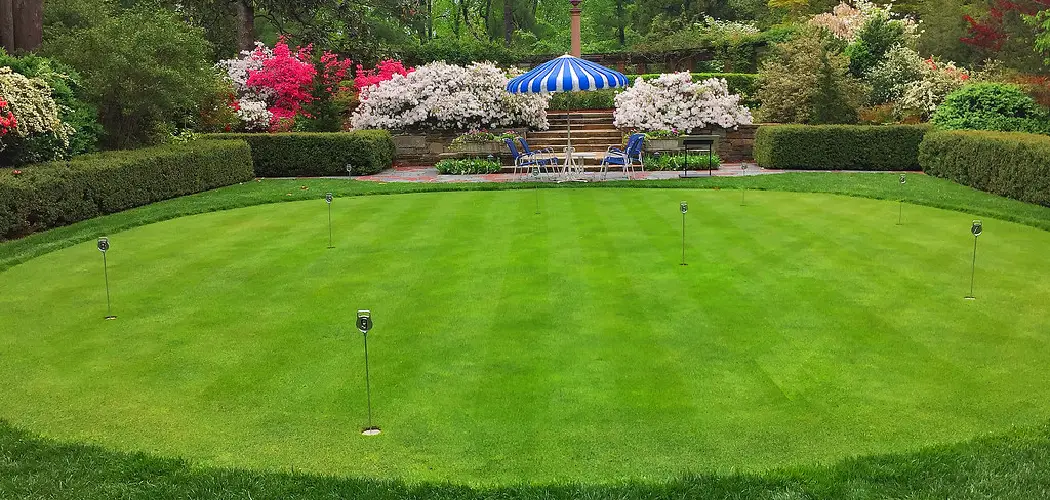
A synthetic putting green can transform your backyard into a haven for golf enthusiasts. Whether you’re a seasoned golfer or a beginner, having a putting green in the comfort of your own home can greatly improve your game. With its low maintenance requirements, it is an ideal choice for anyone who wants to spend more time playing and less time maintaining their yard.
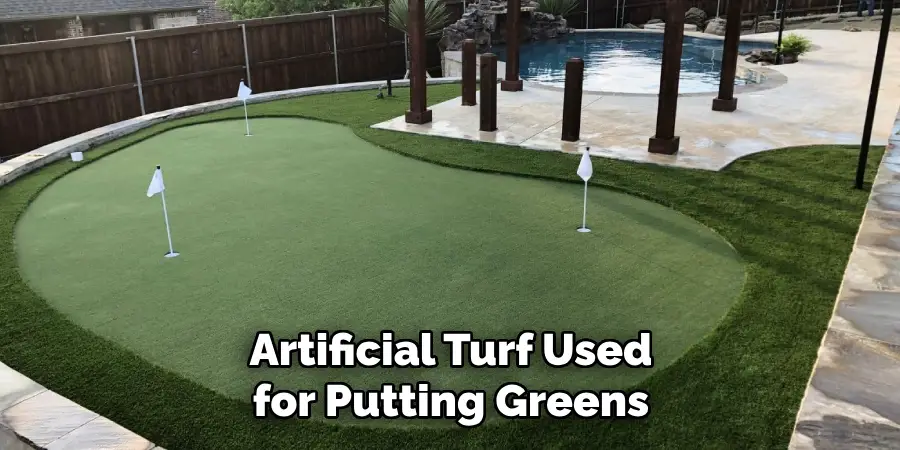
Synthetic putting greens also provide a lush and realistic look and feel and are environmentally friendly. With the advancements in technology, the artificial turf used for putting greens is now more durable and highly functional, making it a popular choice for homeowners nationwide. Building a synthetic putting green is an investment that pays off in years of enjoyment and improved play.
How to Build a Synthetic Putting Green – A Complete Guide
Step 1: Planning and Measuring
Planning and measuring your space is the first step in building a synthetic putting green. You will need to determine the size of your putting green and where it will be located. Choose a flat and level location that will offer enough space for different putting angles.
Once you’ve measured the area, the next step is to decide on the shape of your putting green. Depending on your preference, you can choose rectangular, square, or even circular shapes. You can also add a fringe or rough if you want to practice your chipping and pitching.
Step 2: Excavation and Ground Preparation
After planning and measuring, the next step is to excavate and prepare the ground. You must dig out the current topsoil and about five inches of dirt underneath. After removing all the dirt and rocks, you must tamper the ground thoroughly until it is leveled. You should also add some good-quality base rock and compact it once more for the foundation.
Step 3: Choose Synthetic Turf
The quality of the synthetic turf you choose will play a vital role in the quality of your putting green. When selecting the turf, you must consider factors like density, height, and durability. Choosing a high-density turf and shorter pile height ensures the ball rolls true with minimal bouncing.
Be sure to ask experienced professionals for advice on which turf will best suit your needs and budget. Some turfs are more expensive than others, but they offer long-lasting durability, which is a worthwhile investment for passionate golfers.
Step 4: Installation
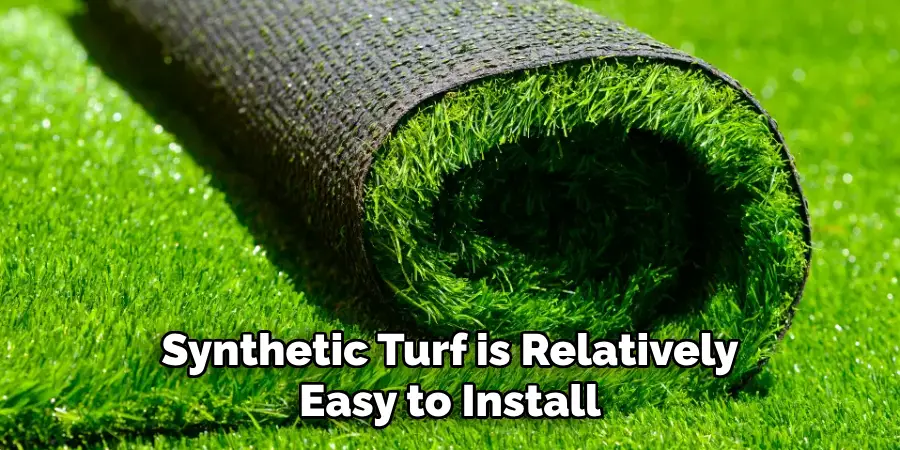
After selecting the appropriate synthetic turf, the next step is installation. Synthetic turf is relatively easy to install, so you can save a lot of money by doing it yourself. However, hiring professional help is best to ensure proper installation and long-lasting results.
During installation, it is important to pay attention to seam placement because it can affect the ball’s rolling speed and direction. You should ensure all seams are appropriately placed and the turf is laid in good-quality adhesive.
Step 5: Maintenance
Once you have completed your putting green, ongoing maintenance is essential to enjoy its use for extended periods. It would be best to clean your synthetic, putting green regularly using some water to remove debris like leaves and twigs.
You can also invest in a motorized brush that clears debris in your putting green without disturbing the turf’s infill or sand. Turf infill helps to maintain the ball’s rolling speed, while the sand helps to weigh down the turf and prevent it from shifting. Regular brushing will ensure the turf remains in good condition and provide an optimal playing surface.
Step 6: Add Accessories
You can add various accessories to your synthetic putting green, such as flags, cups, and even sand traps. These accessories not only add to the visual appeal of your putting green but also make it more challenging and enjoyable to practice on.
You can also add lighting features to your putting green, allowing you to play at night and extend your practice time.
Step 7: Practice
The final step in building a synthetic putting green is to practice! With your own personal putting green, you can improve your skills anytime without leaving the comfort of your home. Whether it’s for fun or serious training, practicing regularly on your synthetic putting green will undoubtedly improve your golf game. So get out there and practice!
Now you know how to build a synthetic putting green, so what are you waiting for? Start planning and get ready to enjoy endless hours of improving your putting skills on your own personalized green.
Some Considerations Things When You Need to Build a Synthetic Putting Green
When it comes to building your own synthetic putting green, there are a few key things to consider. First and foremost, you’ll need to consider the size and shape of the area you want to turn into a putting green. This will impact how much material you need and also determine what type of design and layout you can create.
Additionally, you’ll want to consider the type of material you’ll use for the putting surface, along with any other important features such as fringe or undulation. You may also want to think about the drainage and irrigation systems needed to maintain your synthetic putting green over time. With careful consideration of these factors, you can create a top-quality putting green that will be the envy of the neighborhood.

5 Benefits of Building a Synthetic Putting Green
1. Improved Putting Skills
Building a synthetic putting green in your backyard is a great way to improve your putting skills. Synthetic turf is designed to replicate the feel and speed of a real golf course, so you can practice your putting stroke in the comfort of your own home. With regular practice, you can develop a consistent stroke and develop better accuracy with your putts.
2. Cost Savings
Having a synthetic putting green installed in your backyard is much more cost-effective than joining an expensive golf club or traveling to the golf course every time you want to practice.
You can save money on costly greens fees and still get the same quality of practice as if you were at the course. Plus, you don’t have to worry about getting stuck in traffic or spending too much time away from home.
3. Low Maintenance
Synthetic turf requires very little maintenance compared to traditional grass greens. You won’t have to worry about mowing or fertilizing, and you won’t have to worry about weeds or other pests taking over your green either. All you need is some occasional brushing and raking and maybe an occasional hose down if it gets too dusty or muddy.
4. Year-Round Practice
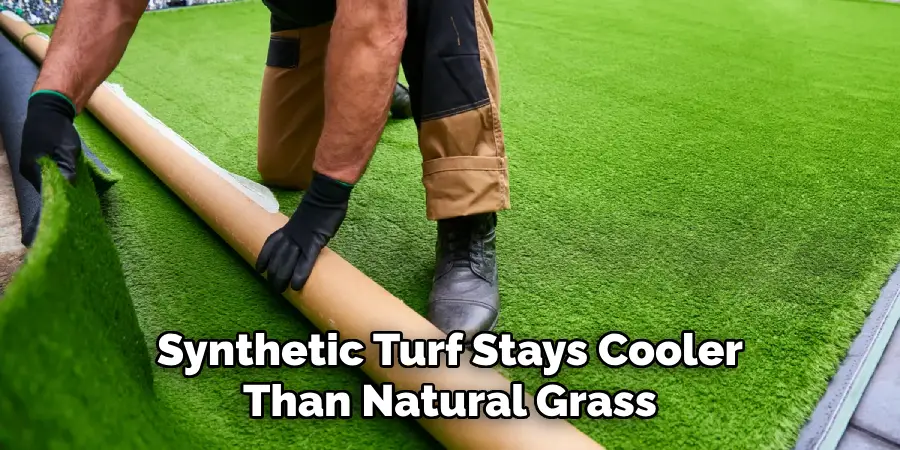
With a synthetic putting green in your backyard, you can practice any time of year, regardless of weather conditions. Rainy days won’t be an issue since synthetic turf drains quickly, and hot summer days won’t keep you from practicing either since synthetic turf stays cooler than natural grass surfaces do. This means that no matter what the weather is like outside, you’ll always have access to a perfectly manicured green for practicing your game!
5. Increased Property Value
Having a synthetic putting green installed in your backyard will also increase its value when it comes time to sell it down the road. Potential buyers will love having access to their own personal golf course right in their own backyard! Plus, they’ll appreciate all the money they’ll save by not having to join an expensive country club or pay for expensive greens fees each time they want to play some golf!
Conclusion
Building a synthetic putting green in your backyard is an excellent hobby and a way to improve your golf skills. It is an easy process as long as you follow the right steps: plan, measure, prepare the ground, choose the right turf, and install it properly.
Your putting green will be perfect for all the practice sessions you need. A well-maintained putting green will serve you for a long time, so prioritize maintenance as well. Thanks for reading our post about how to build a synthetic putting green.
About
Outdoor Fixes is a distinguished figure in the world of Diy design, with a decade of expertise creating innovative and sustainable Diy solutions.
His professional focus lies in merging traditional craftsmanship with modern manufacturing techniques,
fostering designs that are both practical and environmentally conscious. As the author of diy,
outdoorfixes delves into the art and science of outdoorfixes-making, inspiring artisans and industry professionals alike.
Education RMIT University
(Melbourne, Australia) Associate Degree in Design (Outdoor Fixes) Focus on sustainable design, industry-driven projects,
and practical craftsmanship. Gained hands-on experience with traditional and digital manufacturing tools, such as CAD and CNC software.
Nottingham Trent University
(United Kingdom) Bachelor’s in outdoorfixes.com and Product Design (Honors) Specialized in product design with a focus on blending creativity with production
techniques. Participated in industry projects, working with companies like John Lewis and Vitsoe to gain real-world insights.
Publications and Impact
In diy, Outdoor Fixes his insights on indoor design processes, materials, and strategies for efficient production.
His writing bridges the gap between artisan knowledge and modern industry needs, making it a must-read for both budding designers and seasoned professionals.