Are you looking for a fun and easy way to bring your backyard to life? Installing putting green turf is the perfect solution. Not only does it provide hours of entertainment, but it also adds an aesthetically pleasing element to any outdoor space. With some basic tools and supplies, anyone can install their own putting green turf in just a few simple steps.

In this guide on how to install putting green turf, we’ll walk you through the process of installing putting green turf so that you can make the most out of your outdoor living area! We’ll cover everything from selecting materials and preparing the surface to lay down the turf and caring for it once installation is complete. So let’s get started on creating your dream backyard oasis!
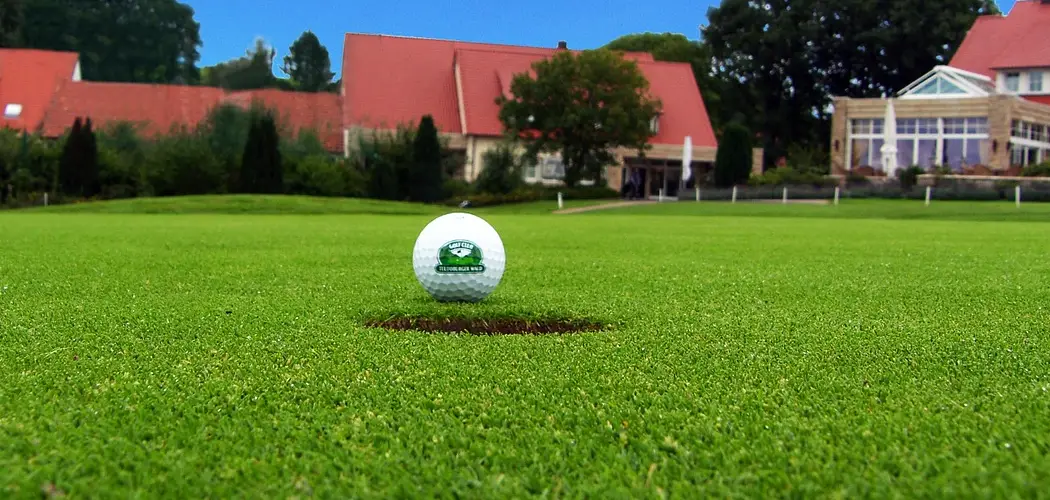
What is Putting Green Turf?
Green turf is an artificial grass surface that mimics natural grass. It is often used for golf courses and other outdoor surfaces where a high-quality, low-maintenance surface is desired. Green turf has become increasingly popular in residential yards as well, as it provides a lush green lawn without the hassle and cost of traditional landscaping.
Materials Needed
Before you can begin the installation process, you’ll need to gather the necessary materials. This includes:
- Putting green turf (enough to cover the entire area)
- Sand or gravel
- Weed fabric barrier
- Landscape edging
- Spike aerator tool
10 Steps on How to Install Putting Green Turf
Step 1: Clear the Area
Clear any existing vegetation and debris from the area where you plan to install your putting green turf. This will help ensure that the turf has a firm, stable base on which to rest. The area should also be level, so check for any dips or bumps and fill in with topsoil if necessary.
Step 2: Install Weed Fabric Barrier
Lay down a weed fabric barrier over the entire area to help prevent weeds from growing through the turf. Make sure that the edges of the barrier are tucked securely under landscape edging to hold it in place.
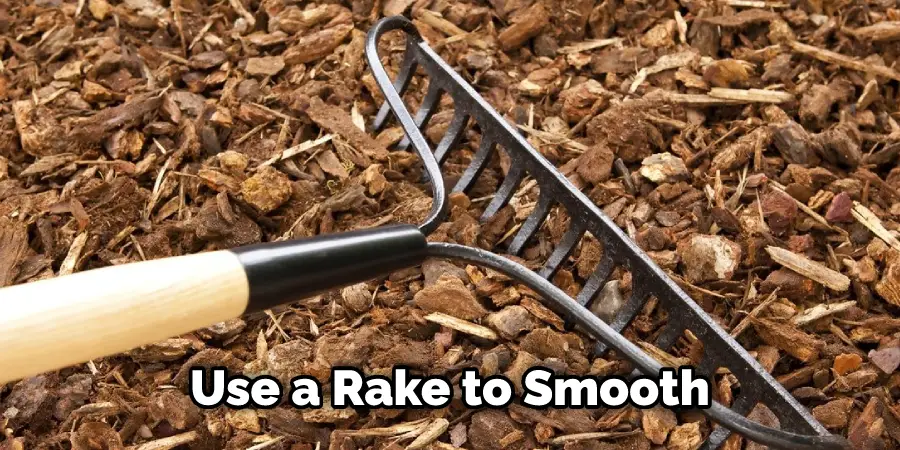
Step 3: Spread and Level Sand or Gravel
Once the weed fabric barrier is installed, spread a layer of sand or gravel over the entire area. This will provide a base for the turf to rest on and help ensure that it is level. Use a rake to smooth out any bumps or dips and level off the surface.
Step 4: Install Landscape Edging
If desired, install landscape edging around the perimeter of the area to give it a neat, finished look. This will also help keep the turf in place and prevent it from shifting or sliding over time. Installing landscape edging is a simple process and can be done with basic tools.
Step 5: Install the Putting Green Turf
Roll out the turf over the prepared area and trim it to fit. Make sure that all edges are laid flat and secured in place with landscape pins or staples. Once you’ve finished laying down the turf, use a heavy roller to press it firmly into the ground.
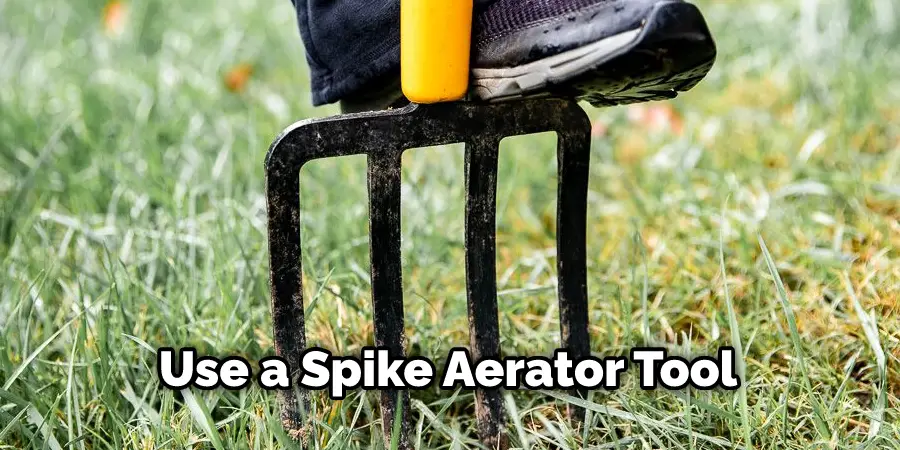
Step 6: Aerate the Turf
Aerating your putting green turf helps ensure that it receives adequate water and nutrients. Use a spike aerator tool to puncture small holes throughout the turf. This will help increase airflow and reduce the compaction of the soil beneath the turf.
Step 7: Water and Fertilize
Once your putting green turf is installed, give it a thorough watering to help the roots settle in. You can also add a slow-release fertilizer to help promote healthy growth. Be sure to follow the instructions on the fertilizer package for proper application and dosage rates.
Step 8: Mowing and Maintenance
Mowing your putting green turf should be done on a regular basis to keep it looking its best. Use a sharp mower blade and set the height to the desired level. Be sure not to cut too low, as this can damage the turf and cause it to thin out over time.
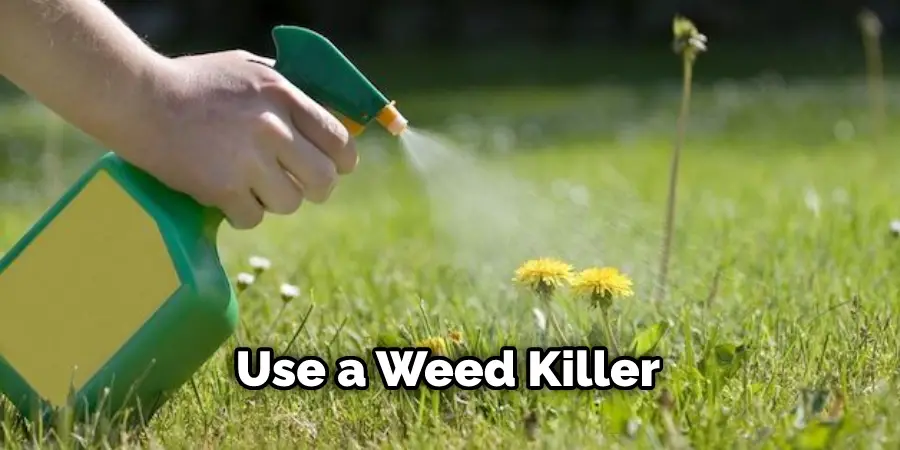
Step 9: Weed Control
Weeds can quickly take over your putting green turf, so it’s important to keep them in check. Use a weed killer specifically designed for use on artificial grass and follow the instructions carefully. This will help ensure that the turf remains free from weeds and other pests.
Step 10: Cleaning and Maintenance
Regularly brushing and cleaning your putting green turf will help keep it looking its best. Use a soft brush to remove any dirt or debris, and occasionally use a garden hose to rinse off the surface. This will help maintain the turf’s vibrant color and protect it from staining over time.
By following these steps, you can easily install putting green turf and create a beautiful outdoor area for entertaining, practice, or relaxation. With proper care and maintenance, your putting green turf will remain lush and attractive for years to come.
8 Maintenance Tips
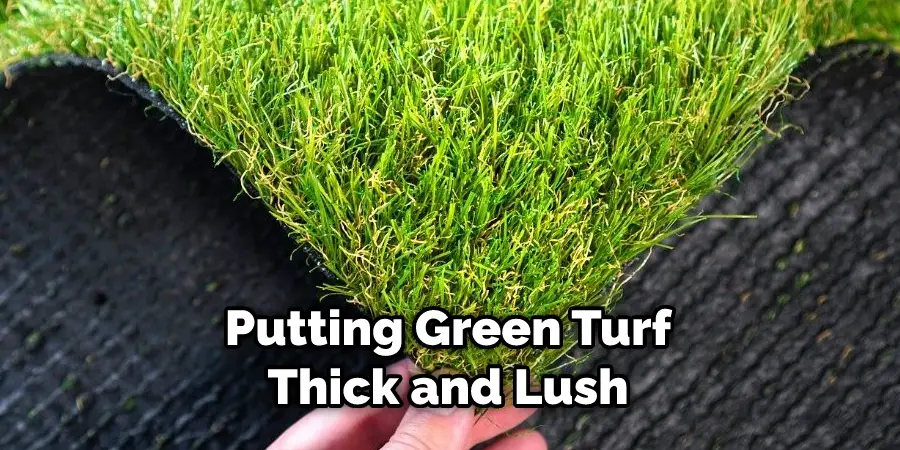
- Leave your putting green turf thick and lush. Properly maintained grass should be 1-1/2 inches in thickness. While shortening or thinning the grass can help control grain, this should only be done in small increments and with sharp blades to ensure a clean cut.
- Mow the turf regularly, preferably every five days or so. This will help the grass remain healthy and vibrant and keep the turf looking its best for years to come. Mowing should be done with sharp blades and in the same direction each time.
- Remove debris regularly to prevent potential diseases or weeds from invading your turf. You can do this manually or invest in a power blower to make the job easier. Dirt may also collect over time and should be brushed away to ensure the turf is evenly spread.
- Water your turf regularly, but not too much. Too little brown water can make the grass dry out and become brown, while too much can cause it to drown and promote disease growth. Additionally, avoid saturating the soil below after a rainstorm or during watering.
- Fertilize your turf three to four times a year with a slow-release fertilizer, following the directions on the label. This will help keep the grass healthy and strong throughout the season.
- Trim around the edges of your green every few weeks to eradicate overgrown grass that could be a tripping hazard or detract from the appearance of your green.
- Aerate your turf a couple of times each year to allow air, water, and nutrients to reach the soil below, promoting healthy grass growth. You can do this manually with a garden fork or aerator or rent an aerator machine for the job.
- Inspect the turf regularly for any signs of damage or disease, and address any issues as soon as they are spotted. This could include patching up damaged areas, removing weeds, caring for diseased spots, or getting rid of pests. Promptly addressing such problems will ensure your putting green turf stays healthy and looks great for years to come.
Following these tips will help you keep your putting green turf in excellent condition for years to come. Enjoy the beauty and performance of a well-maintained backyard putting green!
Frequently Asked Questions
What Do You Put Under Putting Green Turf
The base underneath your putting green turf should be made of a mixture of topsoil and the builder’s sand. This combination offers the right level of water drainage, resilience, and support for artificial grass fibers. It also helps to level out any bumps or dips in the surface. You can purchase ready-made sand/topsoil mixes from most garden centers or make your own blend.
How Should You Prepare the Ground for Putting Green Turf?
Before you install the turf, it is important to prepare the ground properly. Before laying down any turf, it is essential that you remove any existing vegetation and weeds from the surface. The area should be cleared of stones and other debris, and the ground should be leveled with a rake or spade.
How Long Will It Take to Finish the Project?
The time it takes to complete your putting green turf project largely depends on the size of the affected area. Smaller projects can usually be completed within a day, while larger areas may require multiple days to finish. It is important to properly plan and budget for the installation so that you have enough time to get the job done correctly.
Conclusion
Installing putting green turf is a great way to enhance your outdoor space and create an authentic golf experience in your own backyard. With the right preparation, you can ensure that your artificial grass looks good for years to come. Start by clearing any existing vegetation from the surface and leveling it with a rake or spade.
Then measure out your required area before laying down the turf. Make sure it remains level throughout its length, then secure each piece using nails or staples around the edges of the area. Finally, add sand/topsoil mix beneath the turf to make sure there’s enough drainage and support for it over time. With these steps on how to install putting green turf in mind, you’ll be able to install putting green turf quickly and easily!
About
Outdoor Fixes is a distinguished figure in the world of Diy design, with a decade of expertise creating innovative and sustainable Diy solutions.
His professional focus lies in merging traditional craftsmanship with modern manufacturing techniques,
fostering designs that are both practical and environmentally conscious. As the author of diy,
outdoorfixes delves into the art and science of outdoorfixes-making, inspiring artisans and industry professionals alike.
Education RMIT University
(Melbourne, Australia) Associate Degree in Design (Outdoor Fixes) Focus on sustainable design, industry-driven projects,
and practical craftsmanship. Gained hands-on experience with traditional and digital manufacturing tools, such as CAD and CNC software.
Nottingham Trent University
(United Kingdom) Bachelor’s in outdoorfixes.com and Product Design (Honors) Specialized in product design with a focus on blending creativity with production
techniques. Participated in industry projects, working with companies like John Lewis and Vitsoe to gain real-world insights.
Publications and Impact
In diy, Outdoor Fixes his insights on indoor design processes, materials, and strategies for efficient production.
His writing bridges the gap between artisan knowledge and modern industry needs, making it a must-read for both budding designers and seasoned professionals.