
Imagine having a picturesque garden surrounded by a beautifully rustic yet functional fence, crafted from natural materials and blending seamlessly with nature. A wattle fence not only adds a touch of charm and character to your outdoor space but also provides privacy and security. If you’re a fan of the timeless and eco-friendly appeal of wattle fences but have no idea where to start, you’ve come to the right place!
In this blog post, we will dive deep into how to build a wattle fence, exploring its history, materials, techniques, and step-by-step instructions to help you create your very own wattle fence masterpiece. o, let’s gather our materials, roll up our sleeves, and embark on this rewarding endeavor together!
Why May You Want to Build a Wattle Fence?
1 . To Create a Natural Barrier
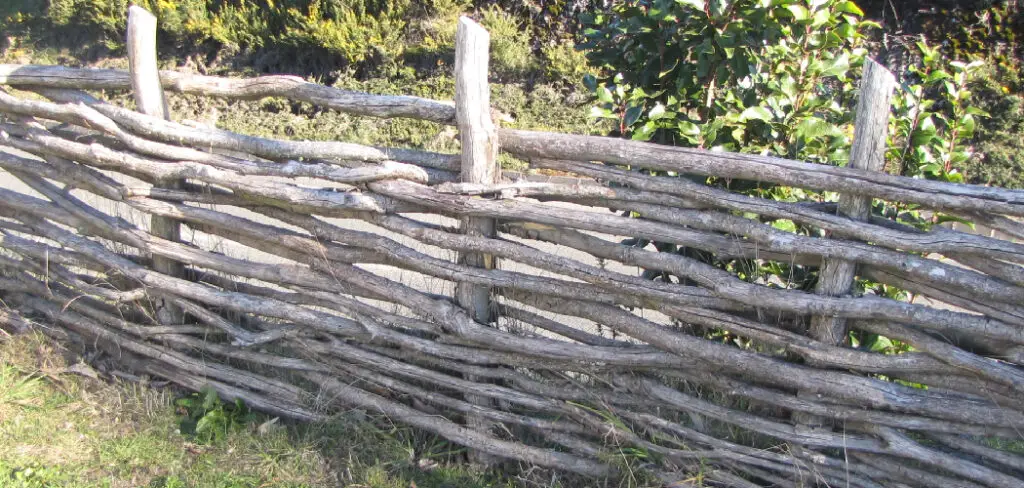
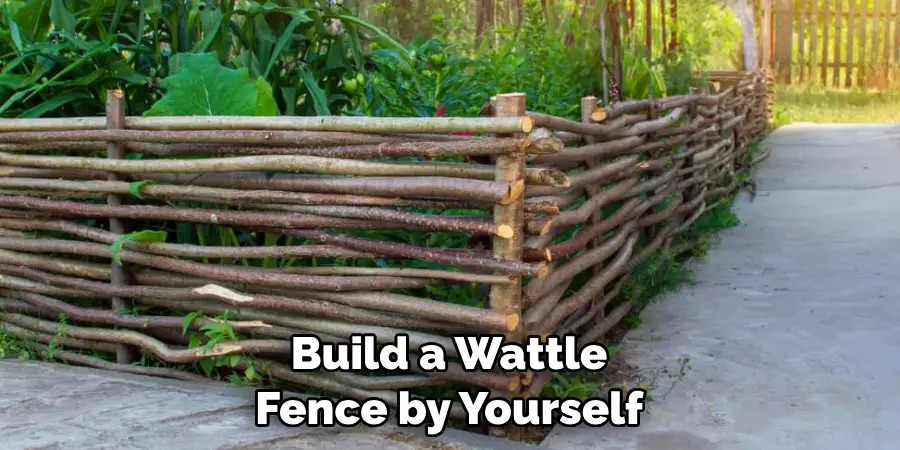
A wattle fence is made up of interwoven upright sticks or branches, and it can be a great way to create a natural barrier around your property. This type of fence provides privacy while still letting in light and air. Additionally, the gaps between the woven branches allow for wildlife to pass through unobstructed.
2 . To Add Aesthetic Appeal
Wattle fences are often considered to be quite attractive, thanks to its rustic and natural look. If you have a garden or backyard where aesthetics matter, then a wattle fence can add a unique touch to your outdoor space. With the right care and maintenance, these fences can last for several years.
3 . To Save Cost
Compared to other types of fences, building a wattle fence can be relatively low-cost. This is because the materials used are often readily available and can even be sourced from your own property. The construction process also does not require any special tools or equipment, making it an accessible DIY project.
4 . To Utilize Sustainable Materials
Wattle fences are typically made using sustainable and biodegradable materials such as branches, twigs, and even bamboo. This makes them an eco-friendly choice for fencing as they do not contribute to environmental waste. Additionally, the construction process is often low-impact on the surrounding environment.
5 . To Experience Traditional Techniques
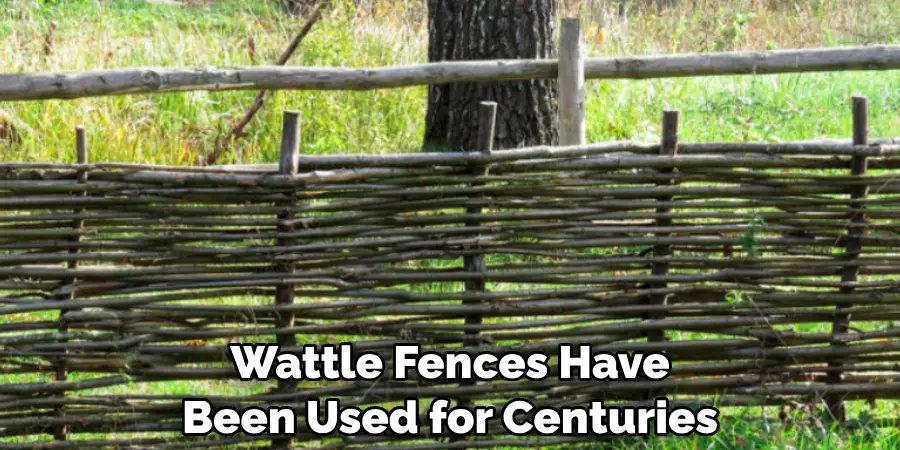
In many cultures around the world, wattle fences have been used for centuries as a means of building structures and boundaries. By building a wattle fence, you can experience traditional building techniques that have been passed down through generations. It’s a great way to connect with history and learn about different cultural practices.
6 . To Learn New Skills
Building a wattle fence requires some basic carpentry skills as well as the ability to work with natural materials. By taking on this project, you can learn more about woodworking and sustainable building techniques. It’s also a great way to develop practical skills that can be applied to other DIY projects in the future.
How to Build a Wattle Fence in 6 Easy Steps
Step 1: Gather Materials
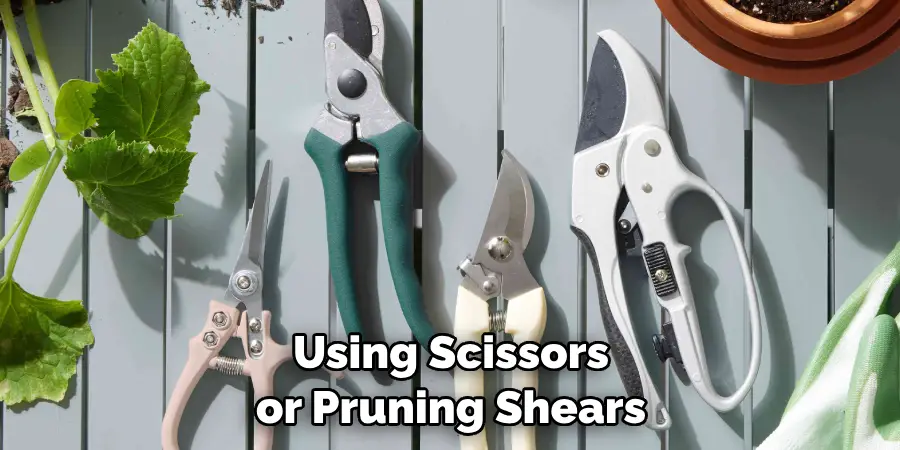
Before you get started, make sure you have all the necessary materials. You will need long, flexible branches or canes (such as willow, hazel, or dogwood), a mallet or hammer, and wire or twine for tying the branches together. It is also helpful to have scissors or pruning shears on hand for trimming the branches.
Step 2: Prepare the Site
Choose a location for your wattle fence that is level and free of obstructions. Mark out the area with stakes and string to ensure straight lines. Remove any rocks, roots, or debris from the site that may make it difficult to weave branches.
Step 3: Set Up Posts
Next, insert wooden posts into the ground at regular intervals along the perimeter of your fence. Make sure they are firmly planted and evenly spaced apart.
Step 4: Weave the Branches
Take one branch and weave it in between two posts, starting at the bottom and working your way up. Continue adding branches until you reach the desired height for your fence.
Step 5: Secure the Branches
Once you have woven all the branches, use wire or twine to tie them securely to the posts. This will ensure that your fence is sturdy and can withstand wind and other elements.
Step 6: Trim Excess Branches
Using scissors or pruning shears, trim any excess branches that may be sticking out from the sides of your fence. This will give it a neater and more uniform appearance. Also, remove any branches that may be sticking out too far at the top of your fence.
Some Additional Tips to Build a Wattle Fence
1 . Do Not Limit Your Imagination
With a wattle fence, you have the flexibility to build whatever shape and size you want. This ancient fencing method can be used to create an aesthetically pleasing boundary for your garden or backyard. Don’t limit yourself to traditional straight lines, instead let your imagination run wild and experiment with curves, angles and unique patterns that will make your fence stand out.
2 . Choose the Right Material
Even though building a wattle fence is an inexpensive method, it’s important to choose the right material to ensure its longevity. Hazel branches are traditionally used for wattle fencing but you can also use other types of wood such as willow or bamboo. Make sure to choose straight and flexible branches that are about 1-2 inches thick for the horizontal weaves and thicker, sturdier branches for the vertical posts.
3 . Prepare the Ground
Before starting construction, it’s important to prepare the ground where your wattle fence will be built. Clear any debris or vegetation from the area and level out the ground if necessary. This will ensure that your fence is stable and also prevent any unwanted growth from disrupting the fence in the future.
4 . Get Creative with Weaving
The weaving technique is what gives a wattle fence its distinctive look. While there are traditional methods of weaving, don’t be afraid to get creative and try out different patterns and techniques such as diagonal weaves or intricate designs. This will not only add character to your fence but also make it more sturdy and durable.
5 . Add Extra Support
To ensure that your wattle fence stays strong and upright, consider adding additional vertical posts for support. This is especially important if you live in an area with strong winds or heavy rainfall. By placing extra posts every few feet, you can prevent your fence from leaning or collapsing under harsh weather conditions.
6 . Maintain and Preserve
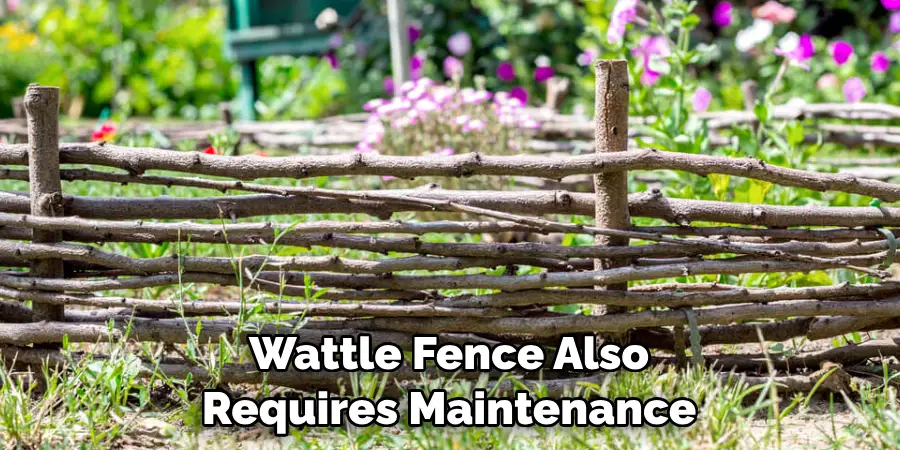
Like any fence, a wattle fence also requires maintenance to ensure its longevity. Keep an eye out for any broken or loose branches and replace them when needed. You can also apply a coat of natural wood preservative or paint to protect the wood from rot and pests. With proper care, your wattle fence can last for many years to come.
Frequently Asked Questions
What Precautions Should I Take Before Building a Wattle Fence?
Before building a wattle fence, there are a few precautions you should take to ensure the process goes smoothly and safely:
- Check With Your Local Authorities: Depending on where you live, there may be regulations or permits required for building fences. It’s important to check with your local authorities before starting any construction project.
- Choose the Right Location: Wattle fences are best built on slightly sloped or level ground. Avoid building on steep slopes or areas with poor drainage.
- Prepare the Area: Make sure to clear any debris, rocks, or vegetation from the area you plan to build your fence. This will ensure a smooth and even surface for your fence.
- Gather Your Materials: You will need stakes, poles, and flexible willow branches to build a wattle fence. Make sure to gather all your materials before starting the construction process.
- Wear Protective Gear: It’s important to wear gloves and eye protection while building a wattle fence as you will be working with sharp tools and potentially irritating plants.
How Long Does it Take to Build a Wattle Fence?
The time it takes to build a wattle fence will depend on its size and complexity. On average, building a 10-foot long wattle fence will take approximately 2-3 hours. However, if you are new to the process or building a larger fence, it may take longer.
Do I Need Any Special Tools to Build a Wattle Fence?
Building a wattle fence does not require any special tools. However, you will need some basic gardening tools such as clippers, pruning shears, and a hammer to construct the fence.
Can I Build a Wattle Fence by Myself?
Yes, it is possible to build a wattle fence by yourself. However, having an extra set of hands can make the process easier and faster. If you are new to building wattle fences, it may be helpful to have someone with experience assist you.
Conclusion
Building a wattle fence is not only a practical way to create a boundary for your property, but also a creative outlet. By following these tips and experimenting with different techniques, you can build a beautiful and durable wattle fence that will add charm to your outdoor space.
Now you know how to build a wattle fence. Remember to choose the right materials, get creative with weaving, add extra support and maintain it regularly to ensure its longevity. With a little bit of effort and imagination, you can create a unique and sustainable fence that will enhance the beauty of your home. So go ahead and try building a wattle fence today! You won’t regret it. Happy fencing!
About
Outdoor Fixes is a distinguished figure in the world of Diy design, with a decade of expertise creating innovative and sustainable Diy solutions.
His professional focus lies in merging traditional craftsmanship with modern manufacturing techniques,
fostering designs that are both practical and environmentally conscious. As the author of diy,
outdoorfixes delves into the art and science of outdoorfixes-making, inspiring artisans and industry professionals alike.
Education RMIT University
(Melbourne, Australia) Associate Degree in Design (Outdoor Fixes) Focus on sustainable design, industry-driven projects,
and practical craftsmanship. Gained hands-on experience with traditional and digital manufacturing tools, such as CAD and CNC software.
Nottingham Trent University
(United Kingdom) Bachelor’s in outdoorfixes.com and Product Design (Honors) Specialized in product design with a focus on blending creativity with production
techniques. Participated in industry projects, working with companies like John Lewis and Vitsoe to gain real-world insights.
Publications and Impact
In diy, Outdoor Fixes his insights on indoor design processes, materials, and strategies for efficient production.
His writing bridges the gap between artisan knowledge and modern industry needs, making it a must-read for both budding designers and seasoned professionals.