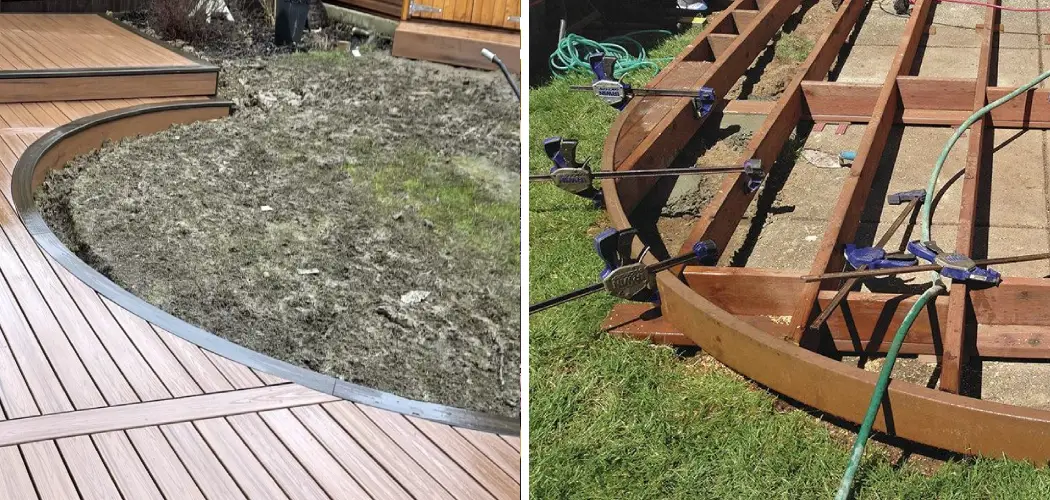
Building a deck is not only a great addition to your outdoor space, but it can also be a fun project to work on. While rectangular decks are common, adding a curve can add a unique touch to your deck.
Curved decking creates a visually appealing effect and can make your outdoor space look larger. But how do you build curved decking? In this post, we will be sharing tips and tricks on how to build curved decking a reality.
Can You Build Curved Decking?
Yes, you can build curved decking! A curved deck can add a unique and eye-catching element to your outdoor space. However, it does require some skill and careful planning.
Curved decking requires specialized tools and techniques, such as steam bending or cutting individual decking boards and filing them to the desired curve. It’s important to work with a professional or experienced builder to ensure that your curved deck is structurally sound and meets safety standards. But with the right approach, curved decking can be a stunning addition to your home.
Why Should You Build Curved Decking?
Building a curved deck may seem unnecessary, but it can create a stunning and unique outdoor space. The flowing curves create a natural and organic feel that can soften harsh angles and lines. Not only do curved decks add aesthetic appeal, but they also provide practical benefits.
The gentle curves can create a more functional and user-friendly space, allowing for better traffic flow and easier seating arrangements. And let’s not forget the added value to your home. A beautifully designed curved deck can increase your home’s curb appeal and ultimately enhance your overall quality of life. So why settle for a traditional rectangular deck when you can create a show-stopping curved oasis in your backyard?

How to Build Curved Decking: Tips and Tricks to Make it Happen
1. Plan It Out
Before building curved decking, you need to have a plan. This includes deciding on the size and shape of the curve you want to achieve. You can use a tape measure, string, and stakes to create your desired curve. You can also use an online deck-building tool to see how the curved deck will look in your yard.
2. Use Flexible Decking Boards
To achieve a curved deck, you need to use flexible decking boards. You can use either composite or PVC boards that can bend without cracking or breaking. They come in various colors and styles that can match your desired look.
4. Create a Frame for Your Deck
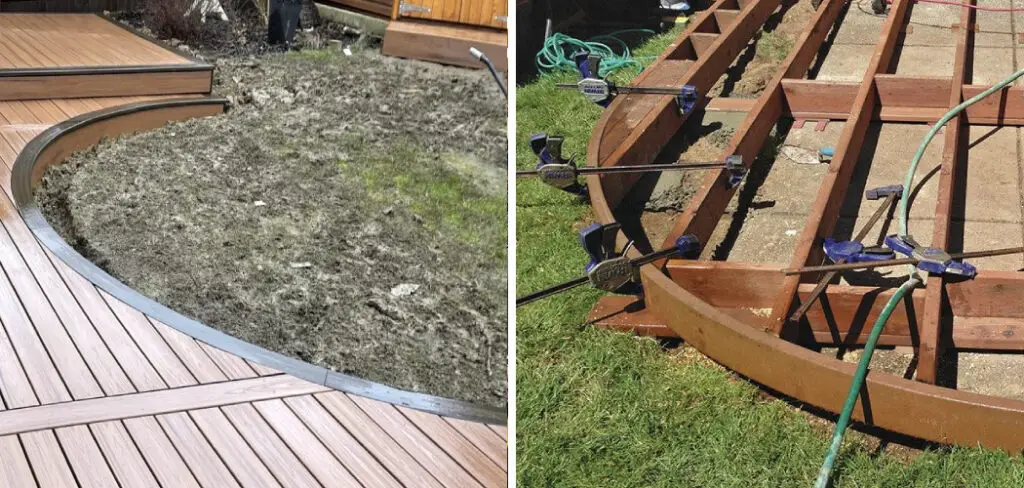
Once you have decided on the size and shape of your curved deck, you need to create a frame. The frame acts as a guide for laying down the decking boards. Use pressure-treated lumber or steel framing to create the curve you want.
5. Rely on a Jig
A jig acts as a guide for holding the decking board in place while you are cutting it. Creating a jig can help you achieve consistent cuts as you curve your decking. You can make a jig using a piece of plywood and a jigsaw.
6. Use Screws Instead of Nails
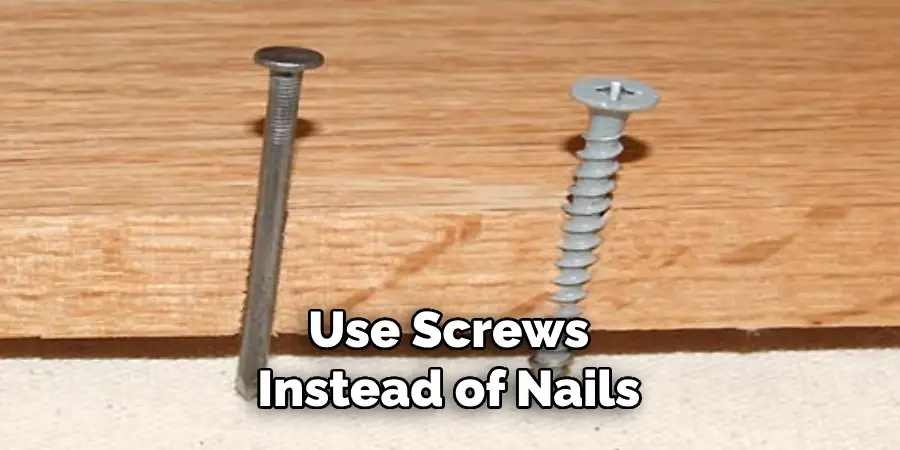
When building a curved deck, it is best to use screws instead of nails. Screws have more holding power and can keep the boards in place better as they follow the curve. They also allow for easier adjustments if needed.
7. Take Your Time
Building a curved deck requires patience and attention to detail. Take your time in laying down each board and make sure they are properly aligned with the curve. This will ensure a seamless and visually appealing curved decking.
That’s it! You’ve now learned the basics of how to build curved decking. With proper planning, the right materials, and a bit of patience, you can achieve a stunning curved deck that will envy your neighbors. So why stick with traditional rectangular decks when you can add a unique touch to your outdoor space with a curved option? Give it a try and see the difference it can make in your home.
5 Considerations Things When You Need to Build Curved Decking
1. Deck Design
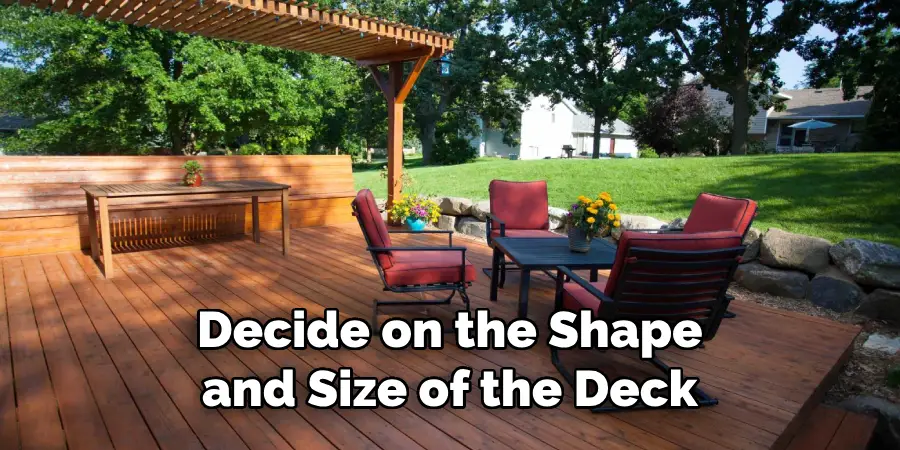
When building a curved deck, the first consideration is the overall design of the deck. You’ll need to decide on the shape and size of the deck, as well as any features such as built-in benches or planters. You’ll also need to determine how many levels you want your deck to have and if you want it to be freestanding or attached to your home. Additionally, consider what type of material you’d like to use for your decking boards and railings.
2. Footings
The next consideration when building a curved deck is footings. Footings are necessary to support your deck and should be installed before any other part of the construction begins. The size and depth of footings will depend on the size and weight of your deck, so make sure to consult with an engineer or contractor before beginning any work.
3. Framing
Once you’ve determined where your footings are going, it’s time to start framing out the curved sections of your deck. This will involve cutting boards into curved shapes that fit together to create a smooth transition from one section of your deck to another. Additionally, you’ll need to install joists along each section to provide additional support for your boards and railings.
4. Deck Boards
The next step in building a curved deck is installing the actual boards along each frame section. You can choose from various materials, such as wood, composite, or PVC, for this step, depending on what look you’re going for and how much maintenance you’re willing to do down the line. Ensure all boards are cut properly so they fit together seamlessly without leaving any gaps between them.
5. Railing System
Finally, once all other components have been installed, it’s time to complete your project by adding a railing system around the perimeter of your deck space. This will provide safety while also giving it an attractive finished look that ties everything together nicely! Consider using materials such as metal or wood for this step, depending on what style best fits with your overall design aesthetic.
5 Benefits of Building Curved Decking
1. Increased Safety
Building curved decking can provide increased safety for your outdoor space. Curved edges help to reduce the risk of trips and falls, making them a great option for families with young children or pets. Additionally, curved decking can be designed with low-level lighting to make it safer and more inviting after dark.
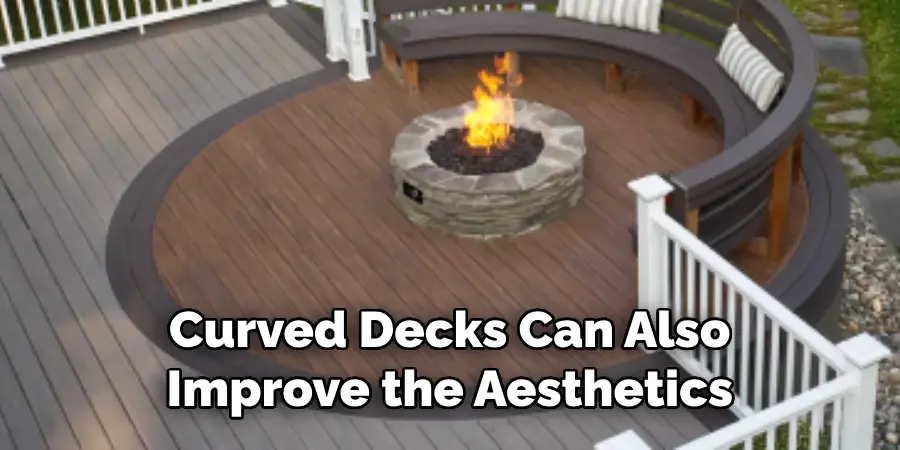
2. Improved Aesthetics
Curved decks can also improve the aesthetics of your outdoor space by creating a softer, more natural look than traditional square or rectangular decks. This type of decking can also be used to create interesting patterns and shapes that will draw the eye and add visual interest to your yard or patio area.
3. More Space for Entertaining
Curved decks are also great for entertaining as they provide more usable space than traditional decks due to their rounded shape. This allows you to fit more people comfortably in your outdoor space, making it perfect for larger gatherings or parties.
4. Easier to Maintain
Curved decks are also easier to maintain than traditional decks as they require less cleaning and staining due to their rounded shape. The curves also help to prevent water from pooling on the surface, which can cause mold and mildew growth over time.
5. Increased Home Value
Finally, building a curved deck can increase the value of your home as it is seen as a desirable feature by potential buyers due to its unique design and added safety features.
4 Common Mistakes People Make When Trying to Build Curved Decking
1. Not Using the Right Tools
One of the most common mistakes people make when building curved decking is not using the right tools. Building curved decking requires special tools and materials, such as a circular saw, drill, jigsaw, and router. Not having the right tools can result in uneven cuts, making it difficult to get a smooth curve. Additionally, the wrong tools can cause damage to the wood or even injure you if used incorrectly.
2. Not Framing Properly
Another mistake people often make when building curved decking is not framing properly. Curved decking requires careful framing to ensure that it is structurally sound and can withstand weather conditions. This means that you need to use pressure-treated lumber for all of your framing components and also pay extra attention to any joints or connections that are being made.
3. Not Measuring Accurately
Accurate measurements are essential when building curved decking because any errors will be magnified as the curve gets larger. This means that you should measure twice before cutting once so you don’t end up with pieces that are too short or too long for your project. It’s also important to use a level and plumb line regularly throughout the process to ensure accuracy.
4. Not Finishing Properly
The final step of building curved decking is finishing it properly for it to look its best and last longer. This includes sanding down any rough edges and applying a sealant or stain to protect against water damage and UV rays from the sun. If this step is skipped, then your deck may start showing signs of wear sooner than expected or even start rotting due to moisture buildup over time.
Conclusion
In conclusion, building a curved deck requires planning, the right tools and materials, and patience. Remember to plan out your curve, use flexible decking boards, create a frame, rely on a jig, and have patience throughout the process. By following these tips and tricks, your dream of a curved deck can become a reality! Thanks for reading our post about how to build curved decking.
About
Outdoor Fixes is a distinguished figure in the world of Diy design, with a decade of expertise creating innovative and sustainable Diy solutions.
His professional focus lies in merging traditional craftsmanship with modern manufacturing techniques,
fostering designs that are both practical and environmentally conscious. As the author of diy,
outdoorfixes delves into the art and science of outdoorfixes-making, inspiring artisans and industry professionals alike.
Education RMIT University
(Melbourne, Australia) Associate Degree in Design (Outdoor Fixes) Focus on sustainable design, industry-driven projects,
and practical craftsmanship. Gained hands-on experience with traditional and digital manufacturing tools, such as CAD and CNC software.
Nottingham Trent University
(United Kingdom) Bachelor’s in outdoorfixes.com and Product Design (Honors) Specialized in product design with a focus on blending creativity with production
techniques. Participated in industry projects, working with companies like John Lewis and Vitsoe to gain real-world insights.
Publications and Impact
In diy, Outdoor Fixes his insights on indoor design processes, materials, and strategies for efficient production.
His writing bridges the gap between artisan knowledge and modern industry needs, making it a must-read for both budding designers and seasoned professionals.

