Building a split rail fence is a timeless and practical way to define property boundaries, add rustic charm to a landscape, and provide a functional yet aesthetically pleasing barrier. Characterized by its simple design featuring horizontally placed wooden rails supported by sturdy posts, a split rail fence offers an open and inviting appearance while maintaining a sense of enclosure.
In this article, we will explore the step-by-step process of how to build split rail fence, from planning and material selection to the construction and installation stages. Whether you’re aiming to delineate a rural property or add a touch of country-style elegance to your home, mastering the art of building a split rail fence allows homeowners and DIY enthusiasts to create a classic and enduring feature for their outdoor spaces.
Benefits of Split Rail Fences
Split rail fences are not just aesthetically appealing; they offer several practical advantages as well. They are cost-effective, using less wood than other types of fencing while still covering a large perimeter. This rustic fencing is also relatively easy to install and can be adjusted to fit the undulating contours of rural land.
Moreover, due to their open design, they do not obstruct views, preserving the natural beauty of the landscape. Additionally, split rail fences are durable and can last for decades with minimal maintenance, making them an ideal choice for property owners looking for a balance between functionality and traditional appeal.
Definition and Characteristics of Split Rail Fences
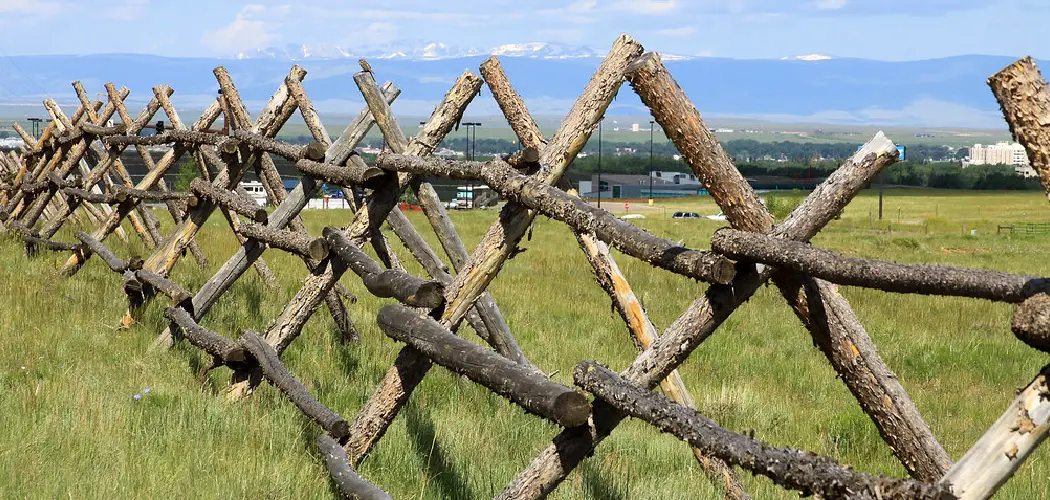
Split rail fences are a type of fence traditionally used in agricultural or rural settings, known for their distinctive design which consists of long, rough-hewn beams, known as rails, inserted into holes in spaced fence posts. These posts are often made from wood like cedar or pine, which resist decay to ensure durability. A key characteristic of split rail fences is their lack of nails or fasteners, as the rails are simply slotted into the posts.
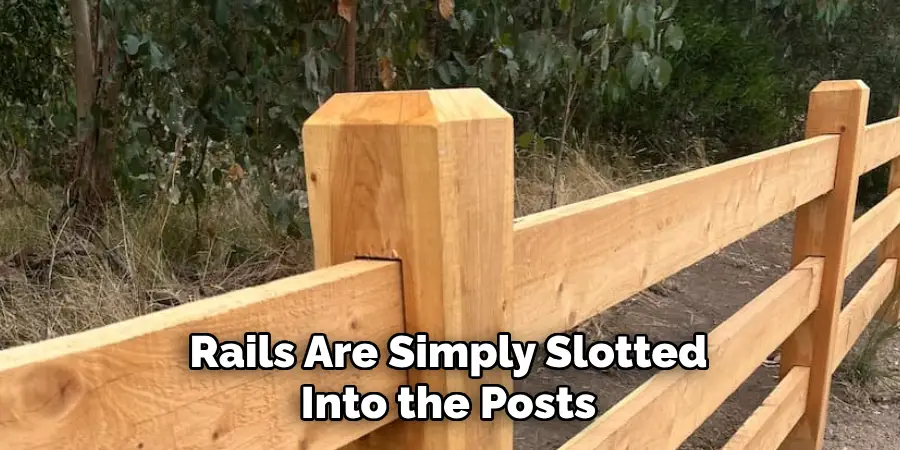
This simplicity is reflective of the rustic aesthetic they are famed for, as well as the ease with which they can be assembled, disassembled, and repaired.
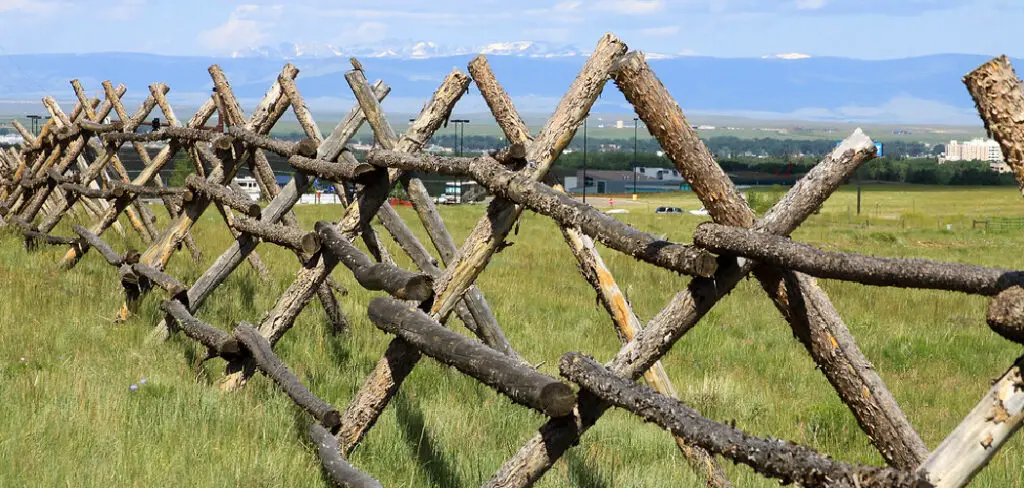
The design typically involves two or three horizontal rails, though this can vary based on specific needs or aesthetic preference. What sets these fences apart is their spaced, open configuration which maintains enclosed areas without creating a visual barrier.
This open design makes split rail fences less ideal for privacy or security but perfect for decorative boundary marking and maintaining an uninterrupted view of the landscape. Furthermore, the natural look of the wood allows the fence to blend seamlessly with the environment, enhancing rather than detracting from the surrounding natural beauty.
Types of Split Rail Fences
Split rail fences come in a variety of designs and materials, each offering its own unique charm and functional benefits to suit different landscaping needs.
Traditional Split Rail
The traditional split rail fence is characterized by its roughly hewn, split wooden rails, which give it a distinctly rugged and natural appearance. This type is commonly made from woods such as cedar, pine, or locust due to their natural rot resistance.
Round Rail
The round rail variation provides a uniform look with its rounded rails and posts. It delivers a smooth finish compared to the traditional style but maintains the simple construction and the timeless appeal of wood.
Vinyl Split Rail
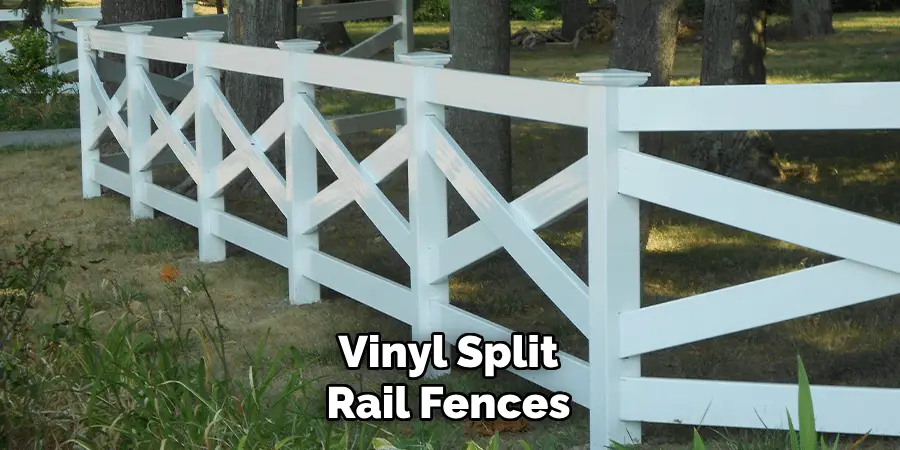
For those looking for less maintenance without compromising the rural aesthetic, vinyl split rail fences are an excellent alternative. They mimic the appearance of wood but do not require staining or sealing and are unaffected by weather and pests.
Locust Post and Hemlock Rail
This combination uses locust for the posts, which is an exceptionally durable wood, and hemlock for the rails, offering a sturdy fence with a distinctive appearance due to the contrasting wood types.
Each type of split rail fence has its own set of benefits and distinct visual appeal, allowing property owners to choose the perfect style to match their landscape and practical requirements.
Whether opting for the timeless beauty of natural wood or the durability of modern materials, split rail fences remain a popular choice for their rustic charm and enduring functionality.
Applications and Suitable Environments for Split Rail Fences
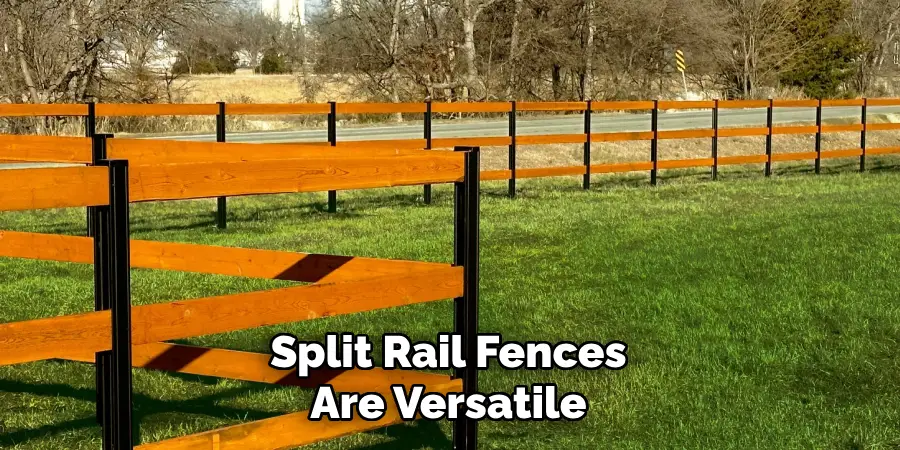
Split rail fences are versatile and can serve a range of applications. They are ideally suited for agricultural properties, where they can contain livestock while allowing people and vehicles to pass through gates easily. Due to their visibility, they also provide a visual barrier for larger animals without obstructing the scenic view. Residential areas benefit from split rail fences by incorporating them as decorative boundary markers that define property lines without creating a fortress-like environment.
The natural and rustic aesthetic of split rail fences works best in rural and semi-rural landscapes, parks, and community spaces where their simple charm does not compete with the scenic backdrop.
They are also commonly found around historical sites and country homes, where they accentuate the property’s historical significance and pastoral beauty. The suitability of split rail fences depends largely on the environment and purpose; hence they are often customized to meet the specific requirements of landscape design and local zoning regulations.
Planning and Preparation
Prior to erecting a split rail fence, careful planning and preparation are crucial to ensure the success and longevity of the structure. This process begins with a clear assessment of the land, taking into account the topography and any obstacles, such as trees or large rocks, which may influence the fence layout. Next, proper measurements of the property lines must be taken to determine the required fence length and to ensure the structure is built within the legal boundaries.
Obtaining the necessary permits should be next on the agenda. Different regions may have specific zoning laws and regulations regarding fence construction, height, and materials used.
Choosing the right materials is another essential step. Decide on the type of split rail fence that will best suit the environmental conditions and aesthetic preferences. For traditional and round rail fences, selecting quality, rot-resistant wood like cedar or locust is vital for endurance against the elements.
Lastly, drafting a detailed plan that includes the number of posts, rails, gates, and other hardware will pave the way for a smooth installation process. Considering whether the work will be DIY or require professional assistance is also an important part of the planning stage. With thoughtful preparation, building a split rail fence can be a rewarding project that enhances the landscape for many years to come.
10 Methods How to Build Split Rail Fence
1. Planning and Design:
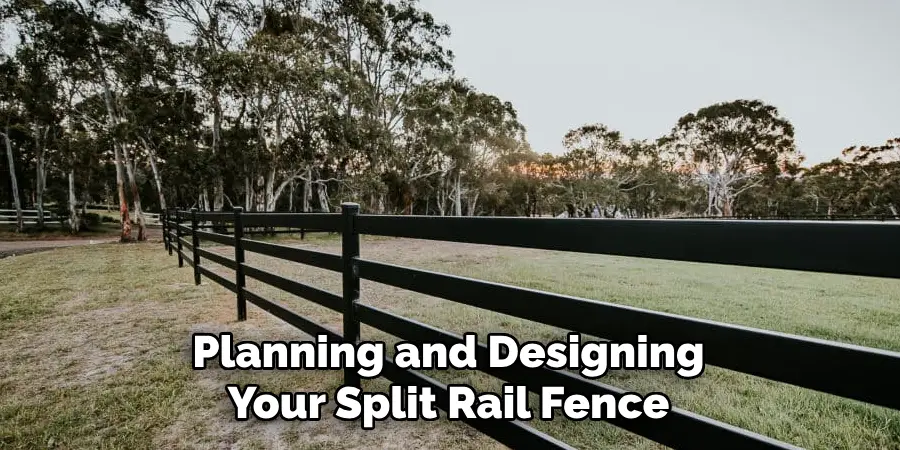
Begin the process by carefully planning and designing your split rail fence. Determine the fence’s purpose, whether it’s for property delineation or decorative purposes. Measure the intended fence line, mark the corners, and consider the number of rails you want. Sketch a design, keeping in mind the landscape and overall aesthetic you wish to achieve.
Additional content related to planning and design could include tips on choosing the right material for your fence. For example, cedar is a popular choice for split rail fences due to its natural resistance to rot and insects. In contrast, pressure-treated wood can be a more cost-effective option but may require regular maintenance.
2. Gathering Materials:
Selecting the right materials is crucial for building a durable split rail fence. Choose high-quality, pressure-treated wood for the rails and posts to withstand weathering and insects. Purchase the necessary tools, including a post hole digger, shovel, level, measuring tape, and a saw.
Ensure that all materials are of the correct dimensions and meet local building code requirements. Though split rail fences are often seen as a rustic option, you can also opt for modern materials such as vinyl or composite wood to achieve the same look with less maintenance.
When gathering materials, it’s important to consider not only durability and functionality but also aesthetics. For a traditional look, choose round rails that are slightly larger at the ends than in the middle, giving them a natural and organic appearance.
If you prefer a more streamlined and modern look, choose square rails that are uniform in size throughout. Additionally, consider the color of your materials to complement the surroundings or match the exterior of your home.
3. Marking and Digging Post Holes:
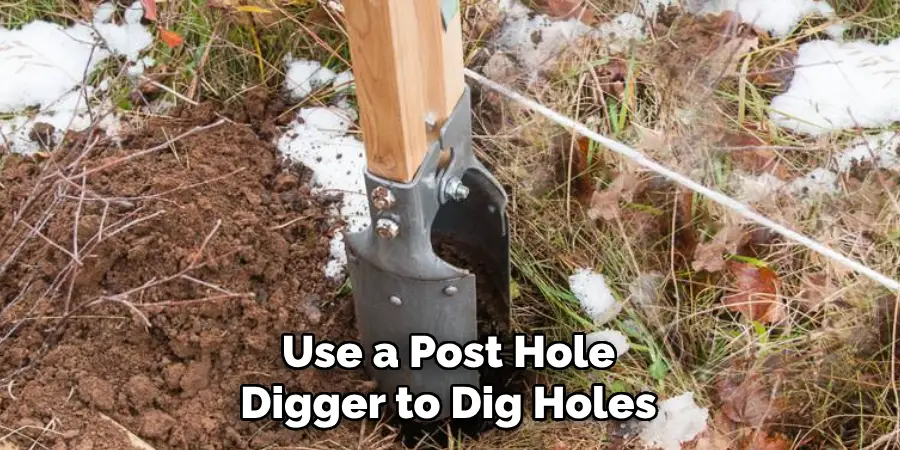
Mark the locations for the fence posts along the fence line, ensuring an equal and consistent spacing. Use a post hole digger to dig holes for the fence posts.
The depth of the holes will depend on factors such as the frost line in your area and the desired height of the fence. Generally, aim for a depth of at least one-third the length of the post.
Once the holes have been dug, use a level to ensure that they are all at the same depth and aligned properly. If necessary, adjust the depth of each hole by adding or removing soil. It is important to have consistent and level post holes to ensure stability and straightness of the fence.
4. Setting the Corner and End Posts:
Start by setting the corner and end posts first. These posts provide structural support and anchoring points for the fence. Place the posts in the center of the holes, ensuring they are level and plumb. Backfill the holes with soil, compacting it as you go to provide stability. Tamp the soil down firmly.
Once the corner and end posts are set, you can move on to installing the remaining posts in between. Depending on the length of your fence, you may need to use additional bracing to support the weight of the posts until they are securely set in place.
5. Installing the Line Posts:
Once the corner and end posts are set, install the line posts between them. Use a string line to ensure the posts are in a straight line and at a consistent height.
Place the line posts in the center of their respective holes, ensuring they are level and plumb. Backfill and tamp the soil as done with the corner and end posts. However, for line posts, it is important to compact the soil in 6-inch layers rather than the usual 12-inch layers. This will help prevent any shifting or settling of the fence in the future.
Next, attach the rails to the line posts using either nails or screws. Make sure to use rust-resistant fasteners as they will be exposed to outdoor elements. To attach the rails, start at one end of the fence and work your way towards the other end. Use a level to ensure the rails are straight and level as you go.
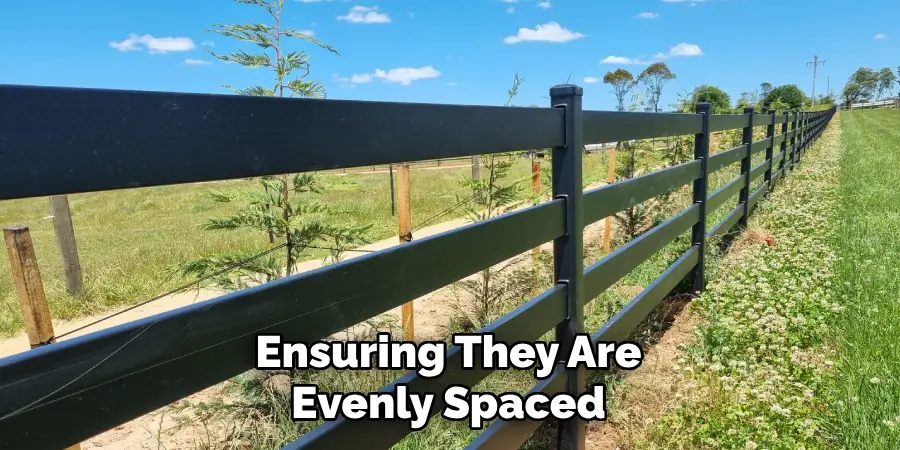
6. Attaching the Rails:
With the posts securely in place, it’s time to attach the rails. Choose the number of rails based on your design and preferences. For a traditional split rail fence, two or three horizontal rails are common. Secure the rails to the posts using galvanized nails or screws, ensuring they are evenly spaced and level. Use a level to check the alignment as you go.
Once the rails are attached, it’s important to add some extra support to prevent them from sagging over time. This can be done by adding angle braces on the corners where two rails meet or by using diagonal support beams between posts. These supports will provide additional stability and durability to your fence, ensuring it stands strong for years to come.
7. Securing the Fence:
To enhance stability, consider adding braces to the corners and ends of the fence. Braces provide additional support and prevent the fence from leaning or sagging over time. Use diagonal braces made of the same material as the rails, attaching them securely to the posts. Also, regularly check and tighten any loose bolts or screws to maintain the fence’s stability.
Furthermore, consider installing a gate with a lock to secure your property. Gates not only provide an entry point but also serve as a deterrent for potential intruders. Ensure that the gate is constructed using sturdy materials and has a reliable locking mechanism.
8. Optional Gate Installation:
If your split rail fence includes a gate, install it according to your design. Measure and construct the gate frame, ensuring it fits the opening properly. Install hinges and latch hardware, and attach the gate securely to the gate posts. Check that the gate swings freely and securely latches.
Once your split rail fence and gate are installed, be sure to regularly maintain them to keep them looking their best. This includes periodically checking for any loose or damaged rails and making repairs as needed. You may also want to consider staining or painting the fence to protect it from the elements.

In addition, if you have pets or livestock, make sure they cannot easily escape through the gaps in the fence. Depending on the size of your animals, you may need to add additional wire mesh or smaller spacing between the rails to prevent any escapes.
9. Sealing or Staining the Wood:
To protect the wood from the elements and enhance its longevity, consider sealing or staining the fence. Choose a product designed for exterior wood and follow the manufacturer’s instructions for application. This step adds a layer of protection against UV rays, moisture, and insects. It can also enhance the appearance of the wood, bringing out its natural color and grain.
If you prefer a clear finish, opt for a sealant. This will protect the wood while allowing its natural beauty to shine through. However, if you want to add some color or tone to your fence, consider using a stain. Stains are available in a variety of colors and opacities, allowing you to customize the look of your fence.
10. Regular Maintenance:
Maintain the split rail fence by periodically inspecting for any loose or damaged rails, posts, or hardware. Tighten or replace any components that show signs of wear or damage.
Regularly applying a protective sealant or stain can prolong the life of the wood and maintain the fence’s appearance. Remove any debris or overgrown vegetation around the fence to prevent moisture buildup and rot.
Additionally, regularly check and adjust the tension of any wire or mesh components in your fence. These can become loose over time and compromise the strength and security of your fence. Keep an eye out for any signs of insect damage, such as termite infestations, and address them promptly to prevent further damage.
Conclusion
In conclusion, building a split rail fence offers a timeless and rustic addition to any property while delineating boundaries and enhancing its aesthetic appeal. By adhering to proper planning, material selection, and installation techniques outlined in this guide, homeowners can embark on a rewarding DIY project that adds charm and character to their landscape.
The durability and affordability of split rail fencing make it an attractive option for those seeking both functionality and visual appeal. Regular maintenance and care, including inspections for damage and application of protective finishes, ensure the longevity and integrity of the fence over time.
Embracing the simplicity and tradition of split rail fencing not only enhances the property’s visual appeal but also reflects a connection to the land and a respect for its natural surroundings. Thanks for reading, and we hope this has given you some inspiration on how to build split rail fence!
About
Outdoor Fixes is a distinguished figure in the world of Diy design, with a decade of expertise creating innovative and sustainable Diy solutions.
His professional focus lies in merging traditional craftsmanship with modern manufacturing techniques,
fostering designs that are both practical and environmentally conscious. As the author of diy,
outdoorfixes delves into the art and science of outdoorfixes-making, inspiring artisans and industry professionals alike.
Education RMIT University
(Melbourne, Australia) Associate Degree in Design (Outdoor Fixes) Focus on sustainable design, industry-driven projects,
and practical craftsmanship. Gained hands-on experience with traditional and digital manufacturing tools, such as CAD and CNC software.
Nottingham Trent University
(United Kingdom) Bachelor’s in outdoorfixes.com and Product Design (Honors) Specialized in product design with a focus on blending creativity with production
techniques. Participated in industry projects, working with companies like John Lewis and Vitsoe to gain real-world insights.
Publications and Impact
In diy, Outdoor Fixes his insights on indoor design processes, materials, and strategies for efficient production.
His writing bridges the gap between artisan knowledge and modern industry needs, making it a must-read for both budding designers and seasoned professionals.