Do you have a long, winding driveway on your property that’s begun to look shabby and lack in appearance due to the broken gate post almost ready to collapse?

No matter the cause – maybe it was from years of use or possibly from an unsuspecting driver running into it – if you’ve been looking for a way to get your gate back in working condition again, then this blog post is just what you need!
Here we discuss how to prepare and brace a gate post before replacing it so that your entranceway will be restored back to its best. Read on for all the instructions and tips on how to brace a gate post needed so that you can quickly put these plans into action.
Why Bracing a Gate Post is Necessary?
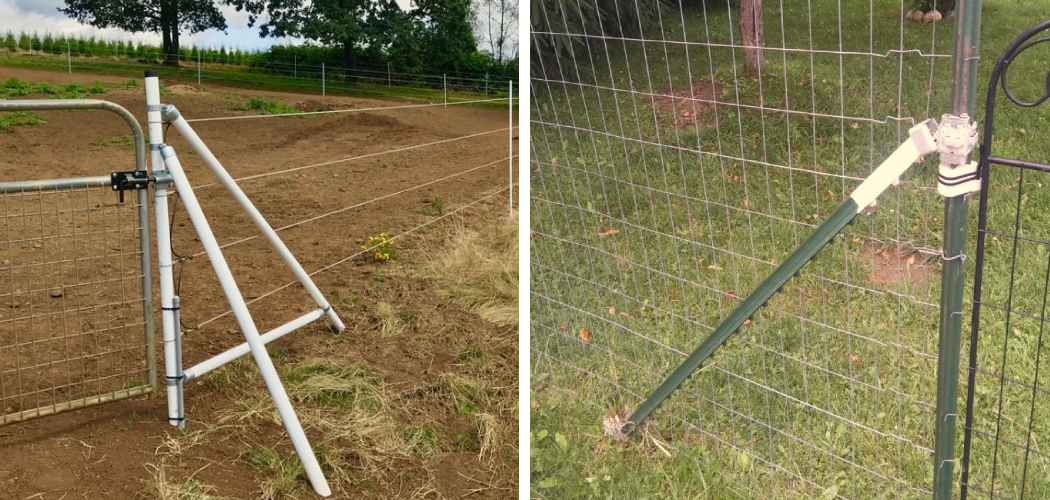
When a gate post has been knocked, dented, or bashed to the point that it can no longer stay upright on its own, bracing is a great way of ensuring that your gate remains safely supported for as long as possible. It’s also important to use this method before replacing the post altogether – in this case, ‘one size fits all’ won’t usually do.
By bracing the gate post, you can measure out the exact dimensions that need to be used for a new post, as well as support it while one is ordered. This will minimize the amount of time needed to have a replacement installed and allow you to start using your driveway again in no time.
When is the Best Time to Brace a Gate Post?
It’s best to brace a gate post as soon as possible after noticing that it’s been damaged. This will help to prevent further damage from occurring and also provide support for the existing gate in the meantime. It will definitely save you time and hassle down the line.
Look at the weather forecast and pick a dry day for when you can brace your gate post so that you have plenty of time to make sure it’s done correctly.
Needed Tools and Equipment
To brace a gate post, you will need the following:
- Hammer
- Nails
- Screws
- Level
- Measuring tape
10 Instructions on How to Brace a Gate Post
Once you have all the tools and equipment prepared, it’s time to get started. Follow these 10 steps to learn how to brace a gate post correctly.
1. Measurement
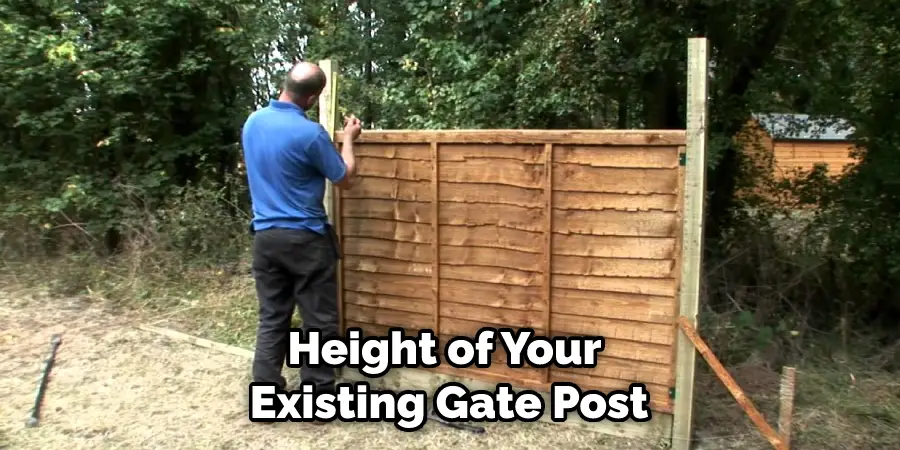
Measure the height of your existing gate post, and make sure that you have enough space around it (at least two feet) so that you can work on it safely. The right measurement will be crucial in determining the size of your new post. So it is important to get the proper measurements.
2. Leveling
Once you have measured the height of your gate post, use a level to check that it’s still straight and not leaning. If needed, make adjustments to re-level the post before continuing with the bracing process so that it will be as secure as possible.
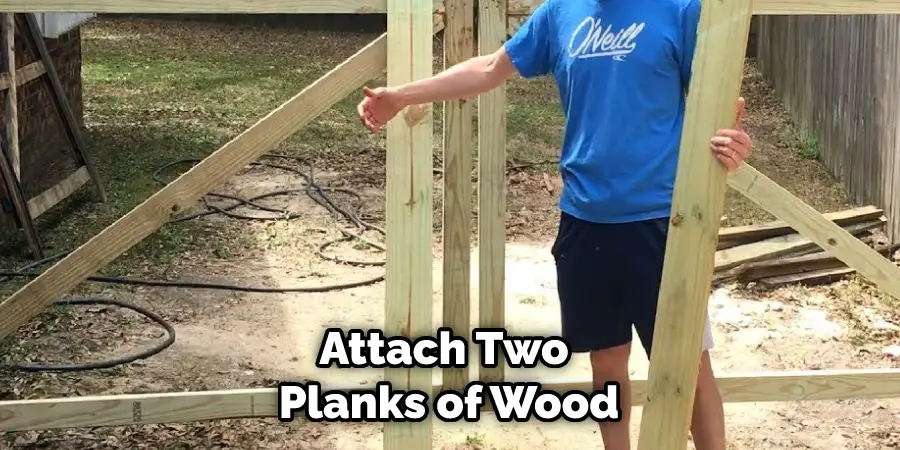
3. Hammer & Nails
Use your hammer and nails to attach two planks of wood along the length of each side of the post, creating a frame that will support it. Ensure that these are securely fixed into place before continuing to the next steps. Hammer in a few extra nails around the post for added stability if needed.
4. Screws & Washers
Once you’ve created the frame, use screws and washers to fix two more planks of wood perpendicular to this frame, creating an ‘X’ shape that will provide additional support. Make sure all screws are tightened securely.
5. Reinforcement
For extra reinforcement, use more screws and washers to attach a third plank of wood along the length of the post, then add another two planks perpendicular to it. This will create an even stronger frame that will be able to hold up against any force applied to the gate post in the future.
6. Brace the Post
Now that the frame is ready, you can begin bracing the gate post itself. Start by nailing four planks of wood along each side of the post, making sure they’re securely fixed in place. This will provide extra strength and stability to your gate posts while it awaits a replacement.
7. Check for Stability
Make sure the post is still level and stable before moving on to the next step. If it’s not, adjust the planks of wood until you are satisfied that it won’t move or fall over when pressure is applied. Stable posts will ensure that the gate remains safely supported.
8. Reinforce with Lattice
For even more reinforcement, you can add a lattice of wood panels along the sides and top of your post. This will provide additional support for the frame and also make it look more attractive when viewed from the outside.
9. Add Caulking

Finally, apply some outdoor caulking around the edges of your post and frame to help protect it from further damage. This will also make sure that any water entering through the gaps won’t cause rot or decay.
10. Check & Enjoy!
Once all these steps have been completed, you can check your work and enjoy the fruits of your labor. Bracing a gate post yourself will help to prevent further damage and keep your gate safe until it can be replaced or repaired properly.
That’s all there is to it! Now you know how to brace a gate post safely and securely. Follow these steps, check that everything is done correctly, and you’ll have a post that can last for years to come.
8 Safety Measures to Take
- Wear safety glasses and gloves to protect yourself from any debris. The protective wear will also shield you from splinters and sharp edges.
- Secure the post in place with a support stand or some other form of stabilization. This will ensure that the post does not move while you work on it and prevents injury to yourself and damage to the post.
- Make sure you are using nails, screws, or bolts that are of the correct length and size for the post. Screws should be long enough to penetrate completely through the post, and nails should be large enough to hold them securely in place.
- Pre-drill holes for any nails or screws that you need to use. This will reduce the risk of splitting the wood when hammering them in, as well as providing a cleaner look overall.
- Use a level to ensure your bracing is straight and even. This will help to create an even weight distribution on the post and makes sure that it stays secure over time.
- Position the bracing boards, so they are not in contact with any sharp edges or protrusions from the post itself. If possible, place them behind the post.
- Secure the bracing boards with nails, screws, or bolts to ensure that they remain in place for years to come.
- Calk between any cracks or gaps in the bracing and post to prevent water from seeping in and rotting the wood over time. This will help preserve your post and keep it looking great for a long time.
Following these safety measures will help ensure that your gate post is properly braced and ready to withstand the elements. With proper installation, your post should last you many years.
5 Maintenance Tips
- Check the bracing every few months to make sure everything is still in place. Look for any signs of wear and tear, rust, or loosened bolts or nails.
- Clean the post with a mild soap and water solution to remove dirt and debris that could accumulate over time.
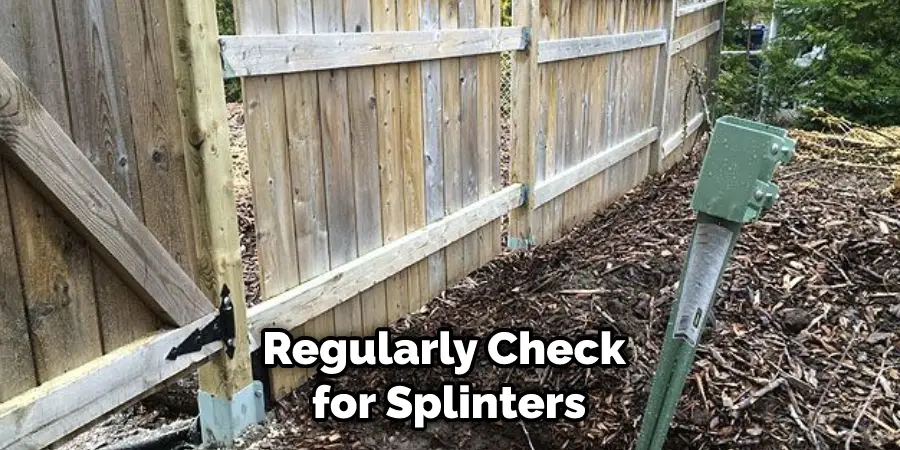
- Inspect the boards periodically to ensure they are not warped or damaged due to the weather. Regularly check for splinters or other sharp edges that could cause harm.
- Apply a coat of sealant, such as wood preservative, to the post and bracing boards every few years to help protect them from the elements.
- If you notice any splitting or cracking in the wood due to age or weathering, replace it as soon as possible to prevent any further damage.
Conclusion
By following the steps on how to brace a gate post outlined in this blog post, you can easily brace a gate post yourself with basic tools and materials. After finishing the post bracing your gate, be sure to check it regularly and make sure all nuts and bolts are still tight.
Give special attention to all connections, as they are what make your fence look neat and give it longevity. If done correctly, your gate should stay in place for many years without needing any attention or maintenance.
Maintenance also includes watching out for any interfering foliage or debris that could damage posts. Preparing your grill properly is a job that needs more than just skill but patience too. The outcome of a well-braced gate will be rewarding for you not only aesthetically but functionally as well.
With regular inspection, maintenance, and periodic repairs, you can guarantee the safety and security of your property!
You Can Check It Out to Enclose a Patio
About
Outdoor Fixes is a distinguished figure in the world of Diy design, with a decade of expertise creating innovative and sustainable Diy solutions.
His professional focus lies in merging traditional craftsmanship with modern manufacturing techniques,
fostering designs that are both practical and environmentally conscious. As the author of diy,
outdoorfixes delves into the art and science of outdoorfixes-making, inspiring artisans and industry professionals alike.
Education RMIT University
(Melbourne, Australia) Associate Degree in Design (Outdoor Fixes) Focus on sustainable design, industry-driven projects,
and practical craftsmanship. Gained hands-on experience with traditional and digital manufacturing tools, such as CAD and CNC software.
Nottingham Trent University
(United Kingdom) Bachelor’s in outdoorfixes.com and Product Design (Honors) Specialized in product design with a focus on blending creativity with production
techniques. Participated in industry projects, working with companies like John Lewis and Vitsoe to gain real-world insights.
Publications and Impact
In diy, Outdoor Fixes his insights on indoor design processes, materials, and strategies for efficient production.
His writing bridges the gap between artisan knowledge and modern industry needs, making it a must-read for both budding designers and seasoned professionals.