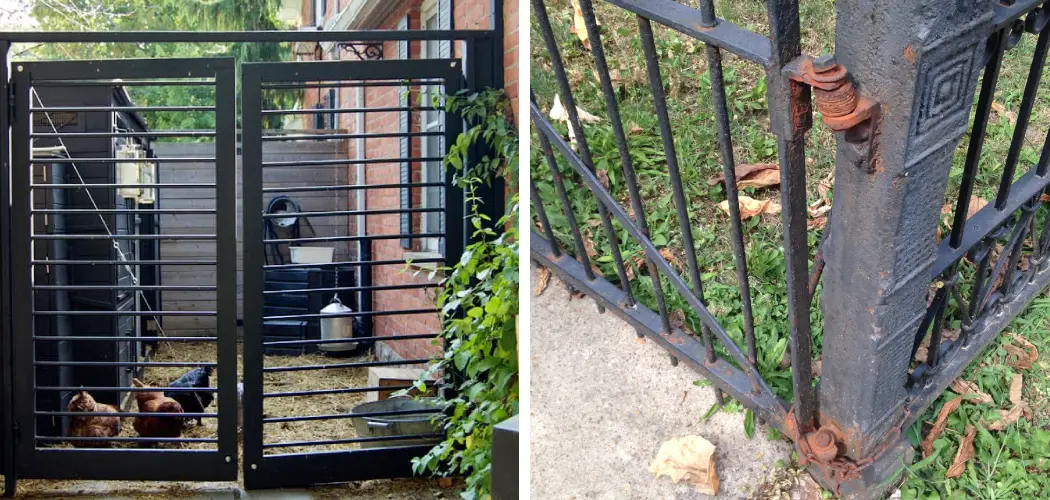
There’s nothing quite as frustrating as a sagging metal gate, especially if it’s the entrance to your home or garden. Not only is it unsightly, but it also affects the function and stability of other parts of the structure.

No one wants their visitors greeted by an unsteady-looking entrance! So what do you do when your metal gate starts to sag? In this blog post, we will discuss how easy (and affordable) it can be to repair that sagging metal gate in a few simple steps.
Read on for helpful tips and tricks on how to fix a sagging metal gate to get back on course with your smooth operation of that trusty old gate!
Why Fixing Sagging Metal Gate Necessary?
A sagging metal gate can not only be unsightly, but it can also pose a safety risk. Loose or bent posts may cause the whole structure to collapse if the repair is not done in time. It’s important to take action right away and address the problem before it gets worse. You need to fix the sagging metal gate before it causes any permanent damage or poses a danger to others.
Required Tools and Materials
The most important thing to have when attempting to repair a sagging metal gate is the right tools. You’ll need the following:
- A wrench
- Drill
- Screws
- Nuts and bolts, and other materials that are necessary for the job
10 Instructions on How to Fix a Sagging Metal Gate
Fixing a sagging metal gate is not too difficult and can be done with some basic tools and supplies, such as concrete mix, wire mesh, and screws. Here’s what you need to do:
1. Look for Damage
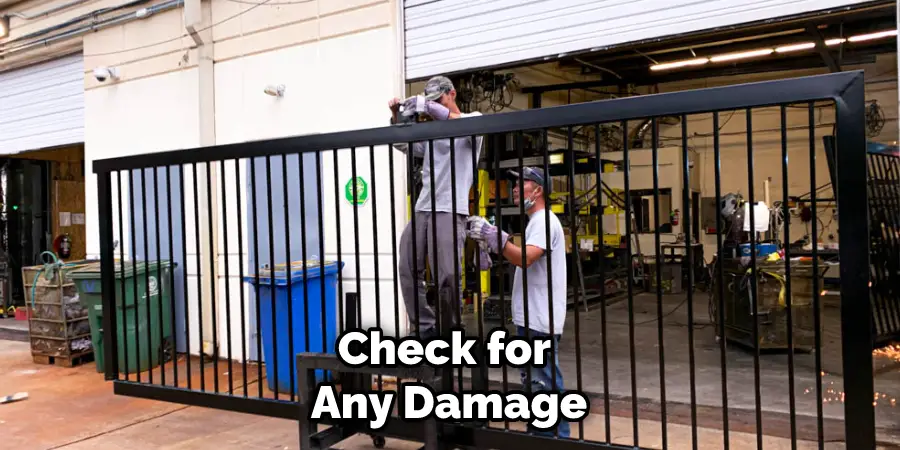
First, take a look at the existing gate posts and check for any damage or wear. If they are not in good condition, then consider replacing them with new ones if possible. Search for any loose or rusted bolts, screws, and nuts, and make sure to tighten them.
2. Add Support Posts
If the existing posts are not enough for supporting the weight of the gate, consider adding support posts. This will help distribute weight more evenly and reduce the risk of sagging. Support posts should be placed every few feet along the length of the gate.
3. Add Concrete Mix
Once you have added support posts, it’s time to add concrete mix around them. This will help anchor the posts into place and prevent movement or shifting due to heavy winds or other weather conditions.
4. Attach Wire Mesh
Next, attach wire mesh to the posts and existing gate frames for added stability. This will help reinforce the structure and keep it from sagging further. The wire mesh should be firmly attached to all the posts and frames.
5. Check for Loose Bolts or Nuts
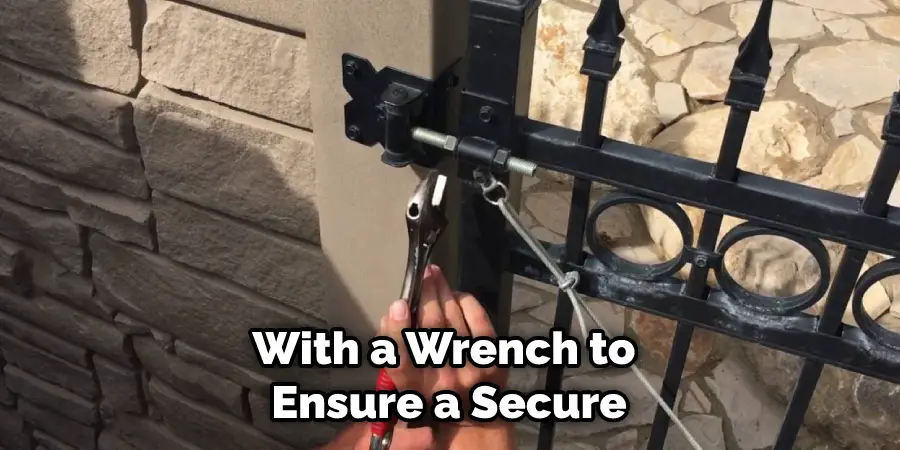
Make sure there are no loose bolts or nuts on the gate, as this can cause further sagging. Tighten any that you find with a wrench to ensure a secure fit. Loose bolts or nuts can also be a safety hazard if someone were to trip over them, so make sure to double-check.
6. Attach Brackets
Brackets are a great way to reinforce the frame of the gate and add extra support. They should be affixed firmly to the posts and existing frames using screws and nuts.
7. Install a Latch
A latch is necessary for keeping the gate secure and in place when closed. Make sure to install one that is appropriate for your type of gate, as you don’t want it to come loose or be easy to open from the outside.
8. Check the Stability
Open and close the gate a few times to check its stability. Make sure that it is not sagging and that it is able to fully open and close without any issues. If it still seems unstable, consider adding additional brackets or supports for added reinforcement.
9. Inspect Regularly
Finally, make sure to inspect the gate regularly. Check for any damage or signs of wear and tear that may need to be addressed right away. Tighten any bolts or nuts that have come loose, and replace any broken parts as soon as possible.
10. Enjoy Your Fixed Gate
Enjoy your fixed gate! With these simple steps, you can have a sagging metal gate repaired in no time. Be sure to inspect your gate periodically in order to ensure that it remains in good condition, and enjoy the peace of mind that comes with a secure, well-maintained metal gate.
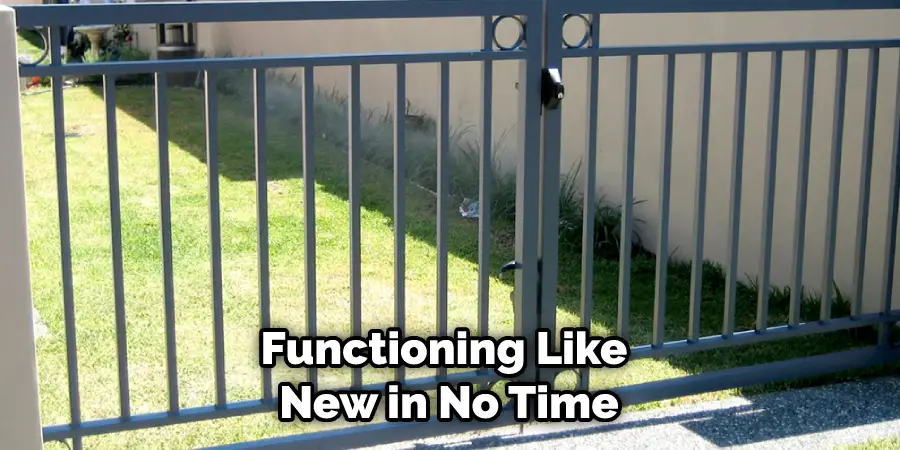
With these instructions, you can have your sagging metal gate repaired quickly and easily. Remember to check for any signs of damage or wear and tear, as well as to tighten any loose bolts or nuts. With a little bit of effort and the right tools, you can have your metal gate looking and functioning like new in no time!
8 Safety Measures to Take
- Wear safety goggles and protective clothing while performing the repair to avoid any debris or paint chips from entering your eyes or skin. Safety wear should also include gloves to protect your hands.
- Make sure the area around the gate is free from any obstacles that can impede your work or cause you harm. Move furniture, toys, and other items away from the repair zone if necessary.
- Carefully examine the gate’s frame and components to ensure they are in good condition before you start. If there are any cracked or broken pieces, replace them first.
- Secure the gate to a solid surface by drilling holes through it and using lag screws. Make sure to use appropriate anchoring devices appropriate for the material of your gate frame and the surface that you are mounting onto.
- Apply silicone caulk to the joints and seams of the gate frame to help prevent further sagging. Siliconized acrylic latex caulk works best. Choose a caulk that is made specifically for metal surfaces.
- Use a level to detect any slopes or warps in the gate frame and adjust them as necessary using clamps, wedges, or shims. Use a hammer or rubber mallet to even out the surface if needed.
- Once the repairs are completed, apply a coat of paint or rust-preventing primer as needed, taking special care to protect yourself from fumes and splatter. If your gate is made of aluminum, use galvanized steel brackets to reinforce weak areas. The new hardware should be at least as strong as the original gate frame.
- After all repairs are complete, apply rust-resistant paint to protect your metal gate from corrosion and wear and tear. Paint also helps keep it looking new for years to come.
By following these steps, you can easily fix a sagging metal gate and extend its life. With proper care and maintenance, your metal gate can look and function like new for many years to come.
Frequently Asked Questions
How Much Will It Cost to Complete the Project?
The cost of the project will depend on the size and complexity of your gate, as well as the materials you use. Be sure to factor in any additional tools or supplies you may need.
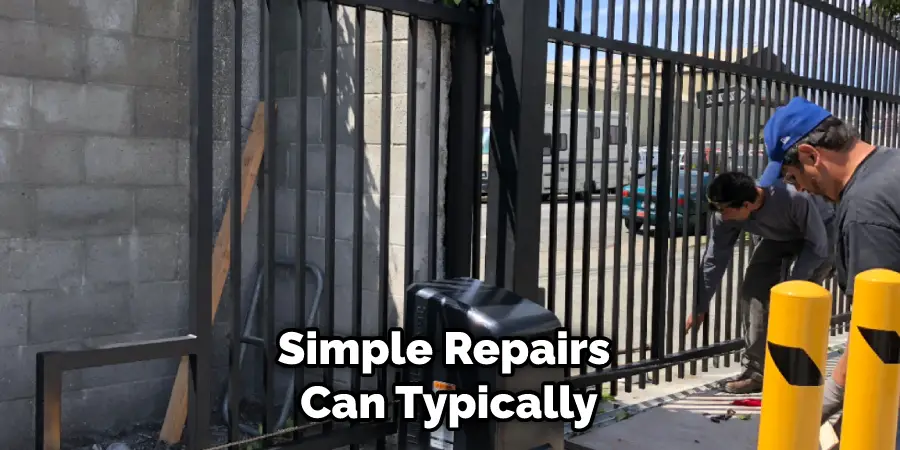
Simple repairs can typically be done with basic tools and supplies, while more complicated repairs may require specialty parts that could drive up costs. It may vary from project to project, so be sure to do your research before starting.
Do I Need Professional Help to Fix a Sagging Metal Gate?
Depending on the size of your gate and the complexity of the repairs needed, you may need professional help. If the sagging is severe or if there are any structural problems, it is best to contact a professional for assistance.
Keep in mind that attempting DIY repairs on a structurally unsound gate can be dangerous and should only be done by an experienced individual or team.
What Are Some Tips for Maintaining My Metal Gate?
Regular maintenance can help extend the life of your metal gate. Inspect it for signs of damage or wear and tear, including rust, dents, and warping. Tighten any loose nuts or bolts. Apply a coat of paint every few years to protect it from corrosion.
Check the anchor points to make sure they are secure. Finally, lubricate hinges and other moving parts with a silicone-based lubricant to keep them working smoothly.
Conclusion
Looking after a sagging metal gate may seem intimidating in the beginning, but now with this guide, you can see that it’s actually quite simple. Taking advantage of the many opportunities for support and reinforcement can make this task much easier than it looks, and you have a greater chance of success.
From measuring correctly to installing the components correctly, it’s not impossible to tackle this project.
This emphasizes that with a little bit of time and focus, anybody can succeed in reinforcing their sagging metal gate back up to its original form—imagine the satisfaction of seeing your shiny new gate looking as good as new!
Ultimately, since you now know how to fix a sagging gate, you won’t need to resort to replacing the entire thing just for one faulty part. Good luck with your project, and happy repairing!
You Can Check It Out to Enclose a Patio
About
Outdoor Fixes is a distinguished figure in the world of Diy design, with a decade of expertise creating innovative and sustainable Diy solutions.
His professional focus lies in merging traditional craftsmanship with modern manufacturing techniques,
fostering designs that are both practical and environmentally conscious. As the author of diy,
outdoorfixes delves into the art and science of outdoorfixes-making, inspiring artisans and industry professionals alike.
Education RMIT University
(Melbourne, Australia) Associate Degree in Design (Outdoor Fixes) Focus on sustainable design, industry-driven projects,
and practical craftsmanship. Gained hands-on experience with traditional and digital manufacturing tools, such as CAD and CNC software.
Nottingham Trent University
(United Kingdom) Bachelor’s in outdoorfixes.com and Product Design (Honors) Specialized in product design with a focus on blending creativity with production
techniques. Participated in industry projects, working with companies like John Lewis and Vitsoe to gain real-world insights.
Publications and Impact
In diy, Outdoor Fixes his insights on indoor design processes, materials, and strategies for efficient production.
His writing bridges the gap between artisan knowledge and modern industry needs, making it a must-read for both budding designers and seasoned professionals.