
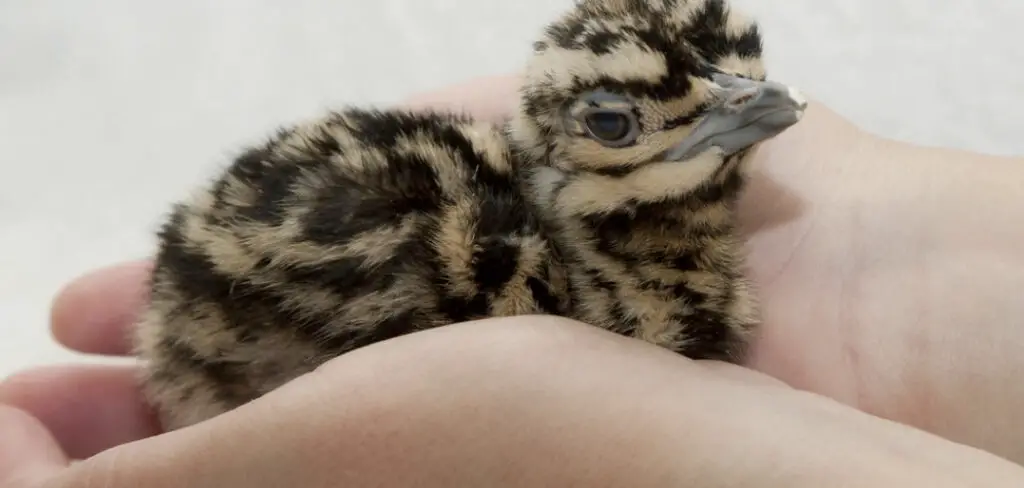
Caring for chicks after they hatch is a critical responsibility for poultry enthusiasts and farmers alike, ensuring the health, vitality, and growth of the newly hatched birds. From providing warmth and proper nutrition to maintaining a clean and safe environment, there are several essential steps to consider in the early stages of chick rearing.
In this comprehensive guide, we will explore the fundamental aspects of how to care for chicks after they hatch, offering practical tips and expert advice to help novice and experienced poultry keepers alike navigate this crucial period successfully.
Whether you’re raising chicks for the first time or refining your existing practices, understanding the needs of young chicks and implementing appropriate care techniques is essential for fostering strong and thriving birds. By empowering caregivers with knowledge and resources, we aim to support the well-being and success of chicks as they embark on their journey from hatchling to adulthood.
Preparing the Brooder Environment
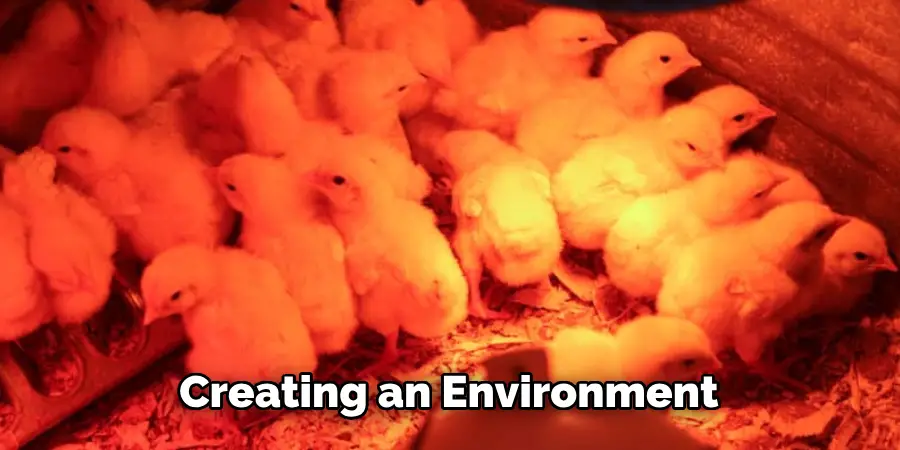
Creating an optimal brooder environment is a critical step in providing care for newly hatched chicks. The brooder, essentially a warm and secure area designed to house chicks until they are ready to live outside, must be prepared before the chicks hatch to ensure a seamless transition post-hatching. Key components of a suitable brooder setup include:
- Heat Source: Chicks require a heat source to maintain their body temperature, as they cannot regulate their own temperature for the first few weeks. A heat lamp positioned to create a warm zone of about 95°F (35°C) during the first week, decreasing by about 5 degrees each week thereafter, is essential. Ensure there’s enough space for chicks to move closer or further away from the heat source, allowing them to self-regulate their comfort.
- Bedding: Line the brooder with a safe, absorbent material such as pine shavings or chopped straw. Avoid using slippery surfaces, as they can lead to leg problems in chicks. The bedding should be kept clean and dry to prevent disease.
- Food and Water: Provide access to fresh water and chick starter feed at all times. Initially, shallow dishes or specialized chick feeders and waterers should be used to prevent drowning or food spillage.
- Space: Ensure there is sufficient space for all chicks to live comfortably without overcrowding. The recommended area is about 0.5 square feet per chick for the first few weeks, gradually increasing as they grow.
- Protection and Safety: The brooder should be enclosed to protect the chicks from drafts and predators while allowing for adequate ventilation to prevent moisture buildup and ammonia from waste accumulating.
Attention to these details will assist in creating an environment that promotes the health, growth, and well-being of the chicks, making it a fundamental step in successful chick rearing.
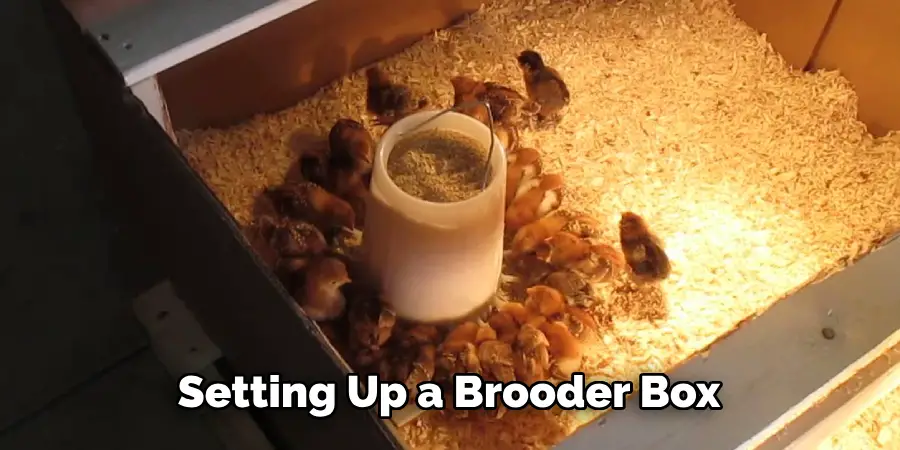
Setting Up a Suitable Brooder Box
To set up an effective brooder box, it is essential to focus on creating a secure, comfortable environment that caters to the chicks’ needs from the moment they hatch. The brooder box serves as the chicks’ first home and plays a pivotal role in their development and well-being. Following these steps will ensure you construct a suitable brooder box:
- Choose the Right Container: The brooder can be anything from a commercially available brooder box to a simple, DIY setup using a large plastic tote, cardboard box, or an old aquarium. It’s crucial the container is spacious enough to accommodate the chicks as they grow, with high sides to prevent escapes and provide insulation.
- Install the Heat Source Carefully: Mount a heat lamp securely above the brooder box, ensuring that there is no risk of it falling or coming into contact with the chicks or bedding material which could lead to burns or fires. Adjustable chains or clamps can help manage the height of the lamp, making it easier to adjust the temperature inside the brooder.
- Create a Temperature Gradient: Position the heat lamp to one side of the brooder rather than the center. This setup allows chicks to self-regulate their body temperature by moving toward or away from the heat source as needed, preventing overheating or chilling.
- Ensure Proper Ventilation: While keeping the brooder box in a draft-free area, it’s critical to ensure there is enough ventilation to avoid stagnant air which could harbor pathogens. If using a solid container like a plastic tote, drilling holes along the sides can provide adequate airflow while maintaining an optimal temperature.
- Prepare the Bedding: Layer the bottom of the brooder box with a generous amount of absorbent bedding material, such as pine shavings, to keep the chicks warm and to absorb moisture. It’s important to choose safe, non-toxic bedding and to avoid cedar shavings, as they can be harmful to chicks.
- Equip with Feeders and Waterers: Place chick feeders and waterers within the brooder, ensuring they are easily accessible but not under the heat lamp to prevent the water from getting too warm or the feed from spoiling. Proper positioning also reduces the risk of the chicks contaminating their food and water with bedding.
- Monitor and Maintain: Regular checks are essential to ensure the brooder remains clean, the temperature is optimal, and the chicks have constant access to fresh food and water. Adjustments may be needed as the chicks grow or as external temperatures fluctuate.
Setting up a brooder box with attention to detail and ongoing maintenance creates a nurturing environment for chicks, supporting their health and growth during these critical early weeks.
Choosing Appropriate Bedding Materials
Selecting the right bedding material is crucial for the well-being and comfort of your chicks in the brooder. The bedding not only serves to keep the brooder clean by absorbing waste but also provides warmth and cushioning for the chicks. Here are key considerations when choosing bedding materials:
- Pine Shavings: Widely recommended for their absorbency and safety, pine shavings are a top choice for chick bedding. They’re soft enough to provide comfort and avoid injuries, and their absorbent nature helps maintain a dry environment.
- Chopped Straw: Another viable option, chopped straw can be used as bedding, offering good insulation and comfort. However, it’s less absorbent than pine shavings, requiring more frequent changes to keep the brooder clean and dry.
- Newspaper: While readily available, newspaper is not ideal as a sole bedding material because it doesn’t absorb well and can become quite slippery when wet. This can lead to a condition known as “splay leg” in chicks. If used, it should be shredded and only layered over more absorbent materials.
- Sand: Some experienced poultry keepers use sand in the brooder for its excellent drainage and ease of cleaning. However, it doesn’t provide as much warmth as other materials and can be heavy to manage, especially in larger brooders.
- Caution Against Cedar Shavings: Cedar and other aromatic woods should be avoided as bedding materials. The oils released by cedar shavings can be toxic to chicks, potentially causing respiratory distress and liver problems.
Regardless of the chosen material, it’s essential that the bedding is kept clean and dry at all times. This involves regular removal of soiled areas and replenishment with fresh bedding, as a damp environment can breed bacteria and fungi, posing health risks to the chicks.
Proper bedding material selection contributes significantly to creating a safe and comfortable brooder environment that supports the health and growth of young chicks.
Providing Adequate Heat and Temperature Regulation
Proper temperature control within the brooder is critical for the survival and healthy growth of chicks. In the absence of their mother, an external heat source mimics the warmth they would naturally receive. Here’s how to ensure the brooder’s temperature is adequately regulated:
- Use a Reliable Heat Lamp: A heat lamp with a red bulb is commonly used to provide warmth. The red light is less disruptive to the chicks’ sleep cycles compared to white light and helps reduce pecking injuries among them.
- Maintain Optimal Temperature: During the first week, maintain the brooder’s temperature at approximately 95°F (35°C). Reduce the temperature by 5°F (3°C) each week until it reaches the ambient temperature or the chicks are fully feathered, typically around 6 to 8 weeks of age.
- Thermometer Monitoring: Place a thermometer at chick level inside the brooder to accurately monitor the temperature. Regular checks will help ensure the environment is neither too hot nor too cold.
- Observe Chick Behavior: Chicks will naturally indicate if the temperature is comfortable. If they are huddled together under the lamp, they may be too cold. Conversely, if they are spread out, especially near the edges of the brooder, they may be too hot. Adjust the heat source accordingly.
- Secure and Safe Placement: Ensure the heat lamp is securely attached and positioned to prevent direct contact with the chicks or the bedding, reducing the risk of burns or fire.
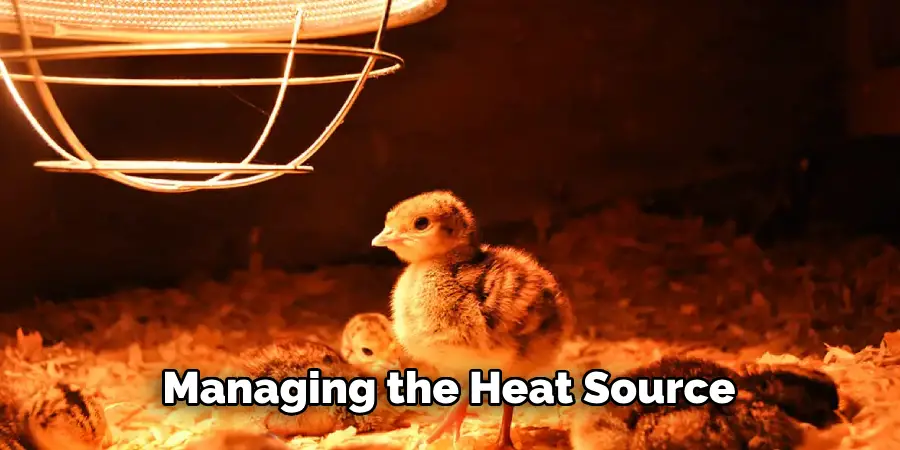
By attentively managing the heat source and carefully observing the chicks’ responses, you can create a warm, safe, and comfortable environment. This attentive care is essential for their development and well-being during these crucial early stages of life.
Providing Proper Nutrition and Hydration
Ensuring chicks receive appropriate nutrition and hydration from the start is vital for their development and health. A balanced diet and constant access to clean water are fundamental components of successful chick rearing. Here’s how to provide proper nutrition and hydration:
- Starter Feed: Begin with a high-quality starter feed formulated specifically for chicks. This feed contains the essential nutrients, vitamins, and minerals needed for rapid growth and development. For the first six weeks, the feed should be a starter formulation, after which you can transition to a grower feed.
- Protein Content: Look for starter feed with a protein content of about 18-20%. Protein is crucial for development, but too high a protein content can cause rapid growth leading to health issues.
- Feed Accessibility: Use a feeder designed for chicks to minimize waste and contamination. Ensure that feed is available at all times, as chicks tend to eat little but often. Regularly check and refill the feeders to maintain a fresh supply.
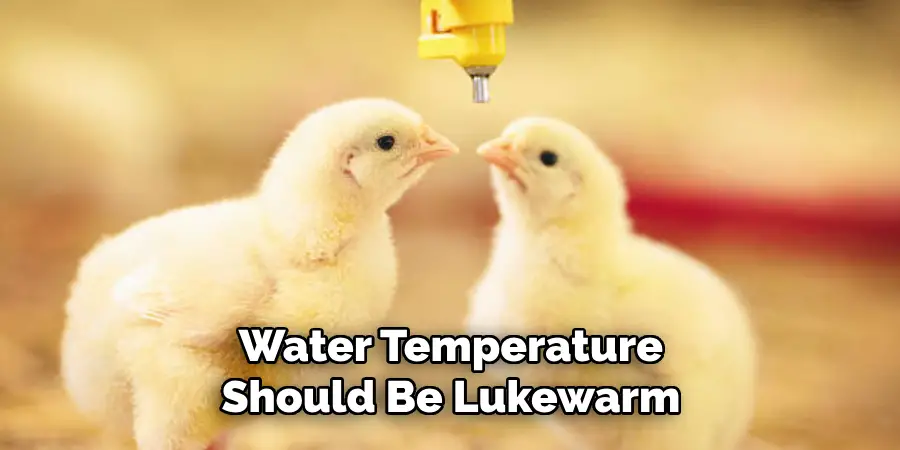
- Clean Water: Provide fresh, clean water at all times. Use a waterer that prevents chicks from getting wet or drowning – shallow trays or waterers with guard rings are ideal. Water temperature should be lukewarm to encourage drinking without causing chill.
- Water and Feed Placement: Position waterers and feeders away from the heat lamp to discourage spoilage but ensure they are still within a comfortable distance for the chicks to access readily.
- Grit: If you’re offering any feed other than commercial chick starter, such as seeds or greens, provide a small amount of grit to aid in digestion. Grit should be size-appropriate for young chicks.
- Avoid Supplements: If you’re using a complete starter feed, additional supplements are generally unnecessary and could upset the nutritional balance intended by the feed formulation.
10 Methods How to Care for Chicks after They Hatch
1. Prepare a Suitable Brooder Environment:
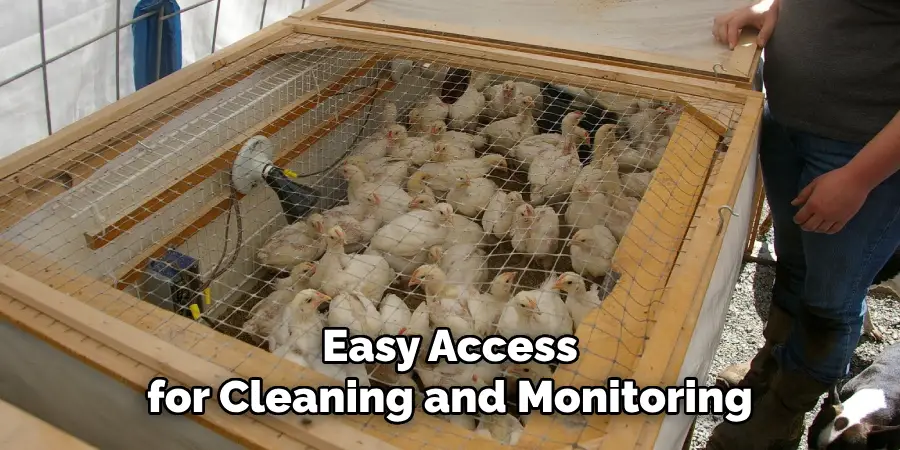
Set up a brooder box or area that provides a warm, safe, and draft-free environment for the chicks. Use a large cardboard box, plastic tub, or wooden enclosure lined with a thick layer of clean bedding material such as pine shavings or straw. Ensure the brooder is spacious enough to accommodate the number of chicks and allows easy access for cleaning and monitoring.
2. Provide Proper Heat and Temperature Regulation:
Newly hatched chicks require consistent warmth to thrive. Use a reliable heat source such as a heat lamp, infrared bulb, or brooder plate to maintain a temperature of around 95-100°F (35-38°C) for the first week of life. Gradually decrease the temperature by 5°F (2-3°C) each week until the chicks are fully feathered and able to regulate their body temperature.
3. Ensure Access to Clean Water:
Hydration is essential for the health and well-being of chicks. Provide clean, fresh water in shallow, chick-sized waterers that are easily accessible and stable to prevent spills and drowning. Dip the chicks’ beaks gently into the water to encourage drinking, especially during the first few hours after hatching when they may be weak and disoriented.
4. Select the Right Feed for Optimal Nutrition:
Choose a high-quality chick starter feed specifically formulated for newly hatched chicks. Starter feed contains the essential nutrients, vitamins, and minerals needed for healthy growth and development. Offer the feed in shallow trays or feeders that are easy for the chicks to access and consume.
5. Establish a Feeding Schedule:
Establish a regular feeding schedule for the chicks, providing fresh feed multiple times throughout the day. Offer small, frequent meals to prevent overeating and ensure all chicks have equal access to food. Monitor their appetite and adjust the feeding frequency or portion size as needed to promote healthy growth.
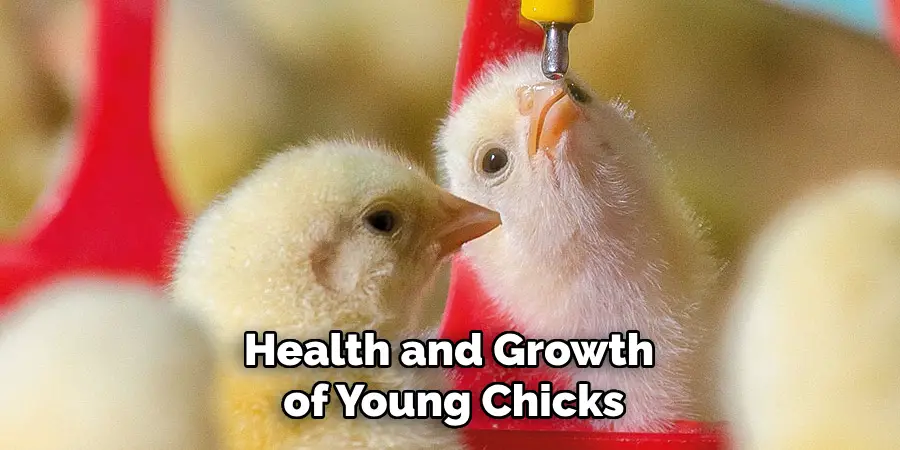
6. Monitor Health and Wellness:
Keep a close eye on the health and behavior of the chicks to detect any signs of illness or distress early. Look for active, alert chicks with bright eyes, smooth feathers, and healthy appetites. Watch for symptoms such as lethargy, diarrhea, respiratory issues, or abnormal behavior, and take appropriate action, such as isolating sick chicks and seeking veterinary advice if necessary.
7. Protect Chicks from Predators:
Even in a controlled environment, chicks are vulnerable to predators such as cats, dogs, rodents, and birds of prey. Keep the brooder securely covered with a tight-fitting lid or wire mesh to prevent entry by predators. Check for any gaps or openings that could allow predators to access the brooder, and reinforce or repair them promptly.
8. Facilitate Natural Behaviors and Socialization:
Provide enrichment activities and opportunities for chicks to exhibit natural behaviors such as scratching, pecking, dust bathing, and perching.
Offer toys, treats, and hanging objects for pecking and exploration, and provide perches or roosting bars for them to perch on. Encourage social interaction among chicks by keeping them together in groups and allowing them to bond and form natural hierarchies.
9. Maintain a Clean and Hygienic Environment:
Keep the brooder clean and dry to prevent the spread of disease and parasites. Remove soiled bedding and droppings regularly and replace with fresh bedding to maintain cleanliness and odor control. Monitor humidity levels and ventilation in the brooder to prevent moisture buildup, which can lead to bacterial growth and respiratory issues.
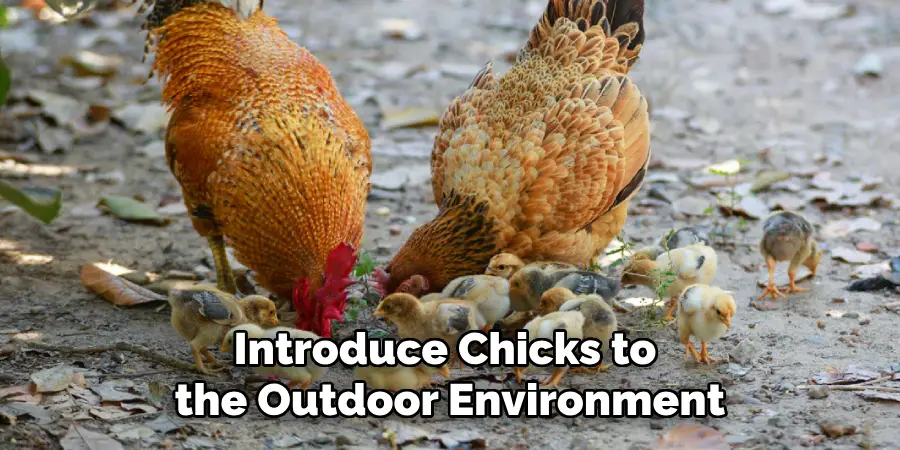
10. Gradually Introduce Chicks to the Outdoor Environment:
As the chicks grow and develop feathers, gradually introduce them to the outdoor environment to acclimate them to the natural elements. Start by allowing supervised outdoor visits in a secure, predator-proof enclosure, gradually increasing the duration and exposure over time. Monitor their behavior and comfort level outdoors, and provide shelter and protection from extreme weather conditions as needed.
Conclusion
In conclusion, caring for chicks after they hatch is a rewarding yet delicate process that requires attention to detail and dedication. By prioritizing warmth, nutrition, cleanliness, and safety, poultry enthusiasts can provide the best possible start for their young chicks.
As the chicks grow, it’s essential to adapt their care accordingly, monitoring their development and adjusting their environment as needed. Additionally, fostering a nurturing relationship with the chicks through gentle handling and regular interaction can contribute to their socialization and well-being. Thanks for reading, and we hope this has given you some inspiration on how to care for chicks after they hatch!
About
Outdoor Fixes is a distinguished figure in the world of Diy design, with a decade of expertise creating innovative and sustainable Diy solutions.
His professional focus lies in merging traditional craftsmanship with modern manufacturing techniques,
fostering designs that are both practical and environmentally conscious. As the author of diy,
outdoorfixes delves into the art and science of outdoorfixes-making, inspiring artisans and industry professionals alike.
Education RMIT University
(Melbourne, Australia) Associate Degree in Design (Outdoor Fixes) Focus on sustainable design, industry-driven projects,
and practical craftsmanship. Gained hands-on experience with traditional and digital manufacturing tools, such as CAD and CNC software.
Nottingham Trent University
(United Kingdom) Bachelor’s in outdoorfixes.com and Product Design (Honors) Specialized in product design with a focus on blending creativity with production
techniques. Participated in industry projects, working with companies like John Lewis and Vitsoe to gain real-world insights.
Publications and Impact
In diy, Outdoor Fixes his insights on indoor design processes, materials, and strategies for efficient production.
His writing bridges the gap between artisan knowledge and modern industry needs, making it a must-read for both budding designers and seasoned professionals.