Have you ever wanted to create a gorgeous potted plant arrangement with terracotta or ceramic pots but weren’t sure about how to make a drainage hole for them? You must know how to drill a drainage hole in a ceramic pot. If so, this blog post will give you step-by-step instructions on drilling drainage holes into your favorite ceramic pot.
In addition, we’ll also provide insight into why having these holes is important as well as some tips and tricks that can be used to achieve the best possible results. So whether you’re just starting or an experienced green thumb, this advice will help perfect your craft. Let’s get started!
Tools You Will Need
- Ceramic pot(s) of your choosing
- Safety glasses
- Drill
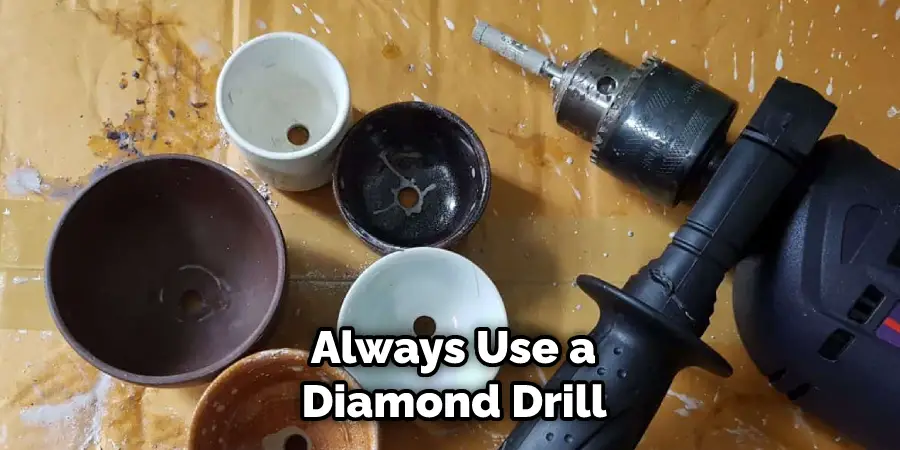
- A diamond drill bit
- Water
- Container to collect debris and water while drilling
5 Easy Steps Guide on How to Drill a Drainage Hole in a Ceramic Pot
1. Create Sharp Pieces of Clay Powder
Drilling a drainage hole in a ceramic pot is a great way to ensure proper drainage while keeping your floral arrangement looking beautiful.
However, it is important to keep safety in mind when drilling ceramic pots as the process creates small pieces of clay dust that can be thrown into the air.
To protect yourself and others, always make sure to wear safety glasses when drilling a ceramic pot. This will help to protect your eyes from the sharp flying bits of powder and keep you safe throughout the drilling process.
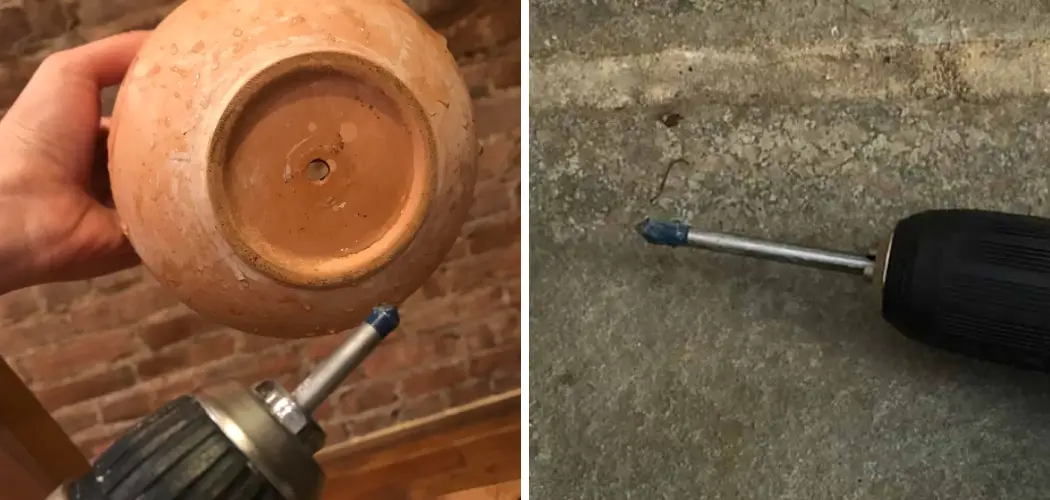
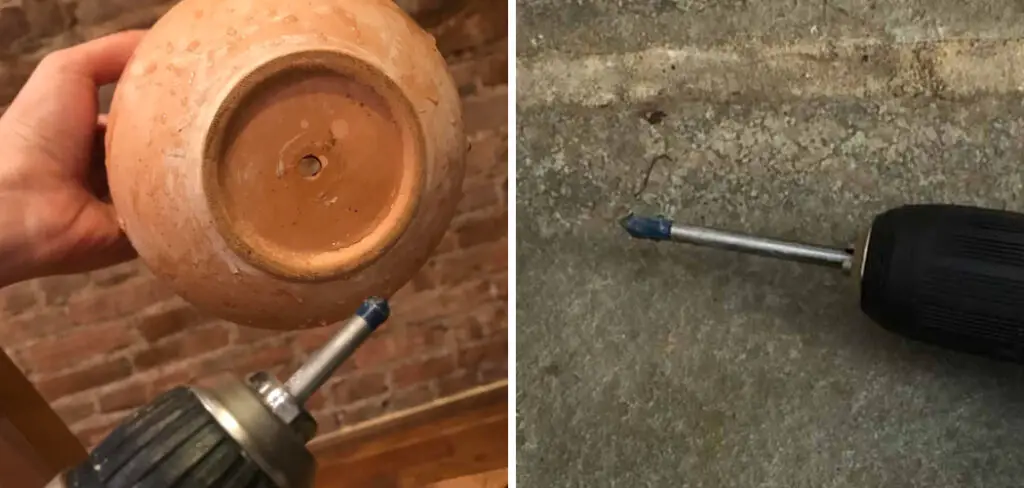
2. Use a Diamond Drill Bit in the Size
Drilling a drainage hole in a ceramic pot is easy, whether you need just one small hole or several big ones. Always use a diamond drill bit as this will give precision cuts and help prevent debris from creating an uneven result. When choosing the size of the bit, it’s important to make sure it corresponds to the width of the drainage hole that you wish to create.
Make sure to secure the pot firmly before attempting to drill and if possible, work on a surface that can absorb vibration for smoother cutting, such as sawdust or wood blocks. Never force the bit; instead, run at a moderate speed and ensure that there is enough lubrication for a clean cut through the material.
Following these steps will ensure that your pot is fitted with any necessary drainage holes effortlessly!
3. Place the Ceramic Pot on a Stable Surface
Before drilling a drainage hole in your ceramic pot, first, make sure to place it on a stable surface. This not only prevents the unwelcome consequence of cracking the pot but also helps keep it balanced and safe while you’re setting up the drill.
Furthermore, wetting the area where you plan to drill allows the bit to move more easily through the ceramic material without pushing too hard.
If your pot is wider than the width of your drill bit, make sure to adjust accordingly so that you can get an even and confident start on your ceramic pot’s drainage hole.
Ultimately, having a stable surface beneath and moisture in front will help ensure that your project is carried out both safely and efficiently.
4. Drill Slowly and Steadily
When it comes to drilling a drainage hole in a ceramic pot, it’s important to take your time and do it carefully to avoid damaging the pot or yourself! It is best to use a masonry bit for drilling into the ceramic material, making sure the bit is sharp and robust. Start slowly at an angle so that you can steady your drill as you go.
Move at a slow, steady pace until you reach your desired depth — or test the pot beforehand with a ruler if you have one handy. As with all tasks involving power tools, always wear the necessary safety gear such as protective glasses and gloves before beginning.
5. Clean Out the Edges of Any Remaining Clay Residue
Drilling a drainage hole in a ceramic pot may seem difficult, but with the right tools and a careful hand, it is surprisingly simple. An essential step in this process is to make sure that you have the correct-sized drill bit to fit the size of your drainage hole. If your chosen drill bit is too large it can cause major stability issues with your pot.

Once you’re confident that your chosen drill bit matches the desired size of your drainage hole, simply begin drilling. When finished, carefully remove any excess residue or shards created during drilling. With just a few simple steps, you can have a perfectly designed drainage hole for your ceramic pot in no time!
Tips to Drill a Drainage Hole in a Ceramic Pot
- Mark the Spot Where You Want to Drill the Hole: Use a pen or pencil to mark the center of the bottom of the pot.
- Place the Pot on a Firm Surface: You don’t want the pot to move while you’re drilling, so make sure it’s on a solid surface like a table or countertop
- Put on Safety Goggles: Drilling can create dust and debris, so it’s important to protect your eyes.
- Start With a Small Drill Bit: Begin with a small drill bit and gradually increase the size until you reach the desired diameter for your drainage hole.
- Drill Slowly and Steadily: Apply gentle pressure as you drill and avoid forcing the drill bit through the pot.
- Clean Up Any Debris: When you’re finished drilling, use a brush or vacuum to clean up any debris that’s been created.
- TEst the Drainage Hole: Fill the pot with water and ensure that it drains out properly through the new hole.
- Seal the Edges of the Hole: If desired, you can seal the edges of the hole with silicone caulk or epoxy resin to prevent water from seeping through.
- Let the Sealant Dry: If you’ve used sealant, allow it to dry completely before using the pot again.
How to Prepare Your Ceramic Pot Before Drilling A Drainage Hole?
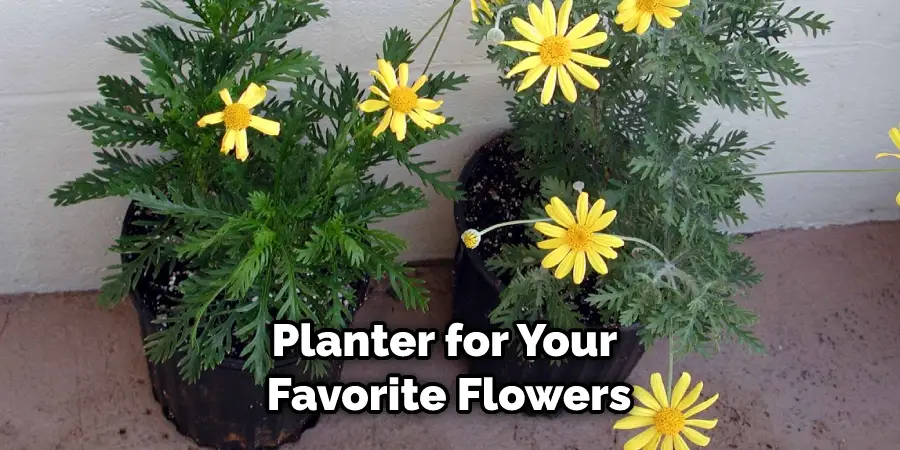
Drilling a drainage hole in your ceramic pot is an easy way to create a unique planter for your favorite flowers or herbs. But, before you pick up your drill, it’s important to take some measures to ensure the project is successful and the pot remains intact.
First, make sure the surface of the pot is completely dry. This will help keep bits from “skipping” along the surface when drilling and will also reduce dust created as you cut through the clay.
Second, placemark where you intend to drill on the outside of your pot with a pencil and ruler so that you have a clear guide point as you begin drilling. Finally, use a diamond-tipped bit specially designed for ceramics; this type of bit offers long life and increased accuracy while preventing chipping around entry points.
With these steps completed, your ceramic pots can be transformed into beautiful planters in no time!
How To Clean and Care For Your Ceramic Pot After Drilling a Drainage Hole?
Caring for your newly drilled ceramic pot is an important step in ensuring it will last for years. Start by removing any dust or debris that may have accumulated inside the pot during the drilling. Then, use a damp cloth to wipe down the inside and outside of the pot.
For especially stubborn dirt buildup, you can use a small brush such as a toothbrush to gently scrub away residue.
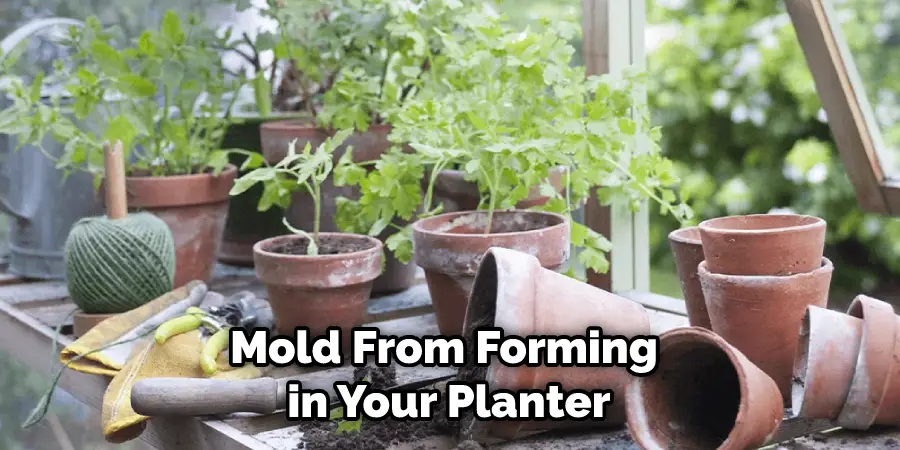
To prevent future mold from forming in your planter, after you’ve finished cleaning it, use rub some rubbing alcohol into the drainage holes. As an extra precautionary measure, put some gravel or rocks at the bottom of your pot before filling it with soil or plants so that water can properly drain away from the roots and give your plants enough aeration.
With these steps applied, your ceramic will be well taken care of and look like new for many years to come!
Conclusion
Drilling a drainage hole in a ceramic pot is an achievable task and one that can be easily mastered with the right tools and techniques. You should carefully determine how to drill a drainage hole in a ceramic pot. Armed with the knowledge of how to do it, anyone can transform their beloved pot into something suited for use at home.
When selecting an appropriate drill bit, pay attention to its hardness rating as different ceramic pots may require different speeds and levels of force. Don’t fear drilling your ceramic pot – no need to get discouraged if you make a mistake.
Most drills have adjustable depth stops to help control the effort being used when drilling into ceramics, so don’t be afraid to play around with them, keeping in mind that too much pressure could lead to breakage. With practice and a bit of patience, anyone can create the perfect drainage system for their plants!
You Can Check It Out to Decorate a Sunroom with Plants
About
Outdoor Fixes is a distinguished figure in the world of Diy design, with a decade of expertise creating innovative and sustainable Diy solutions.
His professional focus lies in merging traditional craftsmanship with modern manufacturing techniques,
fostering designs that are both practical and environmentally conscious. As the author of diy,
outdoorfixes delves into the art and science of outdoorfixes-making, inspiring artisans and industry professionals alike.
Education RMIT University
(Melbourne, Australia) Associate Degree in Design (Outdoor Fixes) Focus on sustainable design, industry-driven projects,
and practical craftsmanship. Gained hands-on experience with traditional and digital manufacturing tools, such as CAD and CNC software.
Nottingham Trent University
(United Kingdom) Bachelor’s in outdoorfixes.com and Product Design (Honors) Specialized in product design with a focus on blending creativity with production
techniques. Participated in industry projects, working with companies like John Lewis and Vitsoe to gain real-world insights.
Publications and Impact
In diy, Outdoor Fixes his insights on indoor design processes, materials, and strategies for efficient production.
His writing bridges the gap between artisan knowledge and modern industry needs, making it a must-read for both budding designers and seasoned professionals.