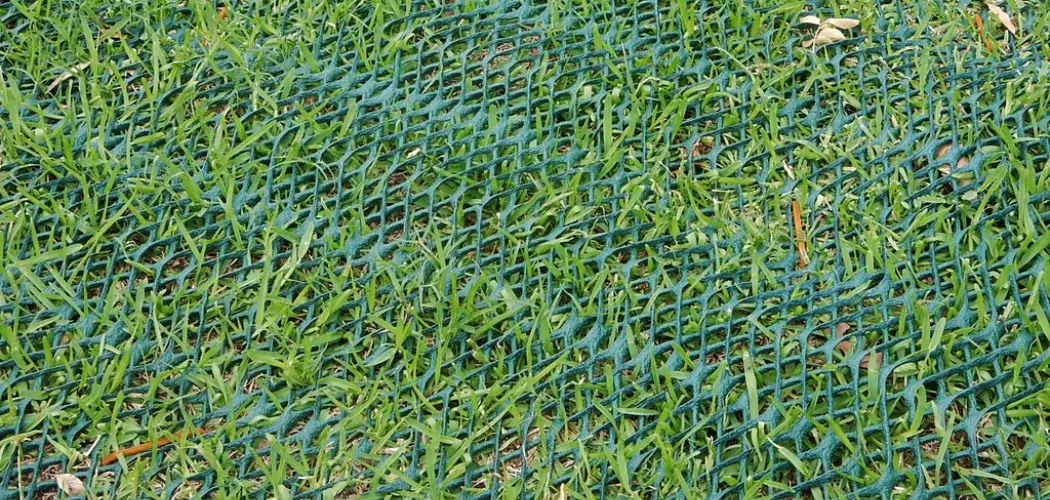
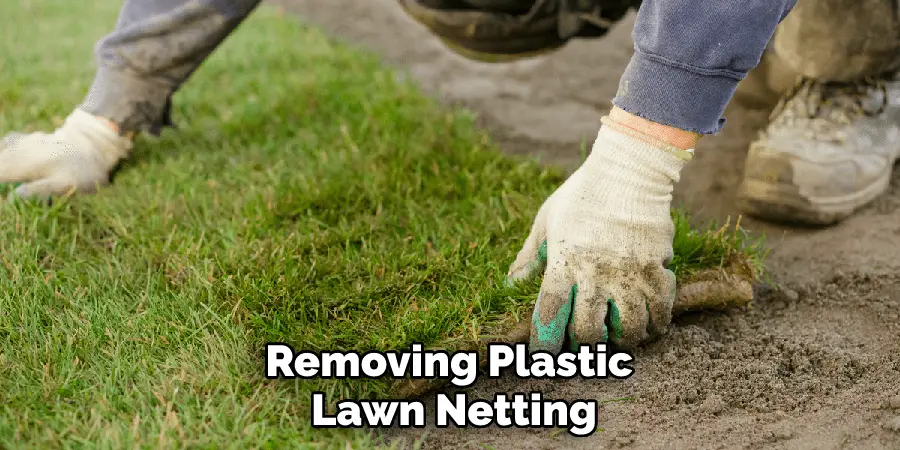
Are you tired of having your garden overgrown with weeds and other unwanted plants? You must know how to remove plastic lawn netting. Plastic lawn netting can be a great solution to this problem, providing an effective barrier that will keep away pests while allowing sunlight and water to reach your grass.
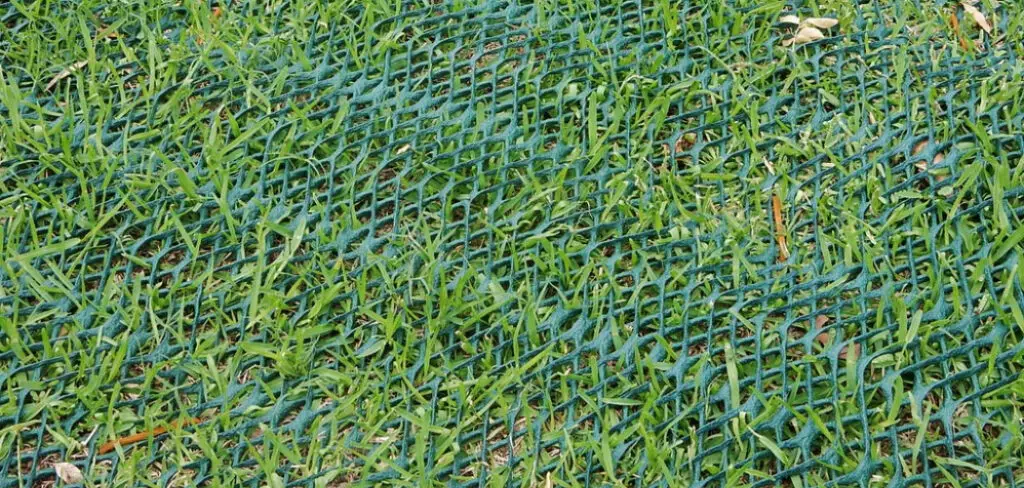
However, plastic lawn netting can also be a hassle when it comes time to remove it. Fortunately, if you’re looking for tips on how to take down plastic lawn netting in an organized and efficient way, we have some helpful advice! In this article, we’ll go over the materials you need for safe removal as well as provide step-by-step instructions for success.
Plus, we share other useful information so that removing plastic lawn netting doesn’t become a huge chore each season. So keep reading to learn more about what’s involved in removing plastic lawn netting.
Tools You Will Need
- Protective gloves
- Ratchet
- Utility knife
- Flat-head screwdriver
- Pliers
6 Steps Guide on How to Remove Plastic Lawn Netting
1. Put on Protective Gloves
When it comes to removing plastic lawn netting, it’s important to protect your hands by wearing protective gloves. This will ensure that the sharp edges of the netting don’t cut your skin in the process.
You don’t want to learn the hard way how difficult it can be to get a splinter from the netting out of your hand, so make sure you slip on a pair of gloves before handling the material.
Even if you’re not removing all of the nettings from an area, it’s still best practice to wear protective gloves when working with this material to ensure maximal safety.
2. Remove Any Staples
If your plastic lawn netting is starting to look worse for wear and needs replacing, a ratchet or flat-head screwdriver can be used to remove the staples that are holding it in place. Place the flat head of the screwdriver beneath each staple and gently press against them until the staple begins to come loose.
Once one corner of the netting is loose, you can progress around the frame of the netting, loosening each staple until eventually all are released. Once all of the staples have been removed from each side, lift away from the frame and discard. This method will save time as opposed to individually removing each nail or staple with pliers.
3. Cut Through Any Knots or Ties
If you need to remove plastic lawn netting, a utility knife is a great tool to have on hand. It can come in handy if the netting is secured with any knots or ties. To reduce the risk of injury, use proper safety protocols such as wearing protective gloves and eyewear when handling and using a utility knife.
With a steady hand and precise movements, carefully cut through each one of the ties or knots that are holding down the plastic lawn netting until all that remains is to pull it away from the surface. Following these steps will ensure that you can safely and effectively remove plastic lawn netting with no hassle.
4. Gently Pull the Netting
If you’ve recently noticed plastic netting in your lawn, you likely want to get rid of it quickly. Doing so may appear straightforward; however, if not done properly, you run the risk of damaging plants and turf beneath the netting. Therefore, it is important to take your time and be gentle when attempting to remove it.
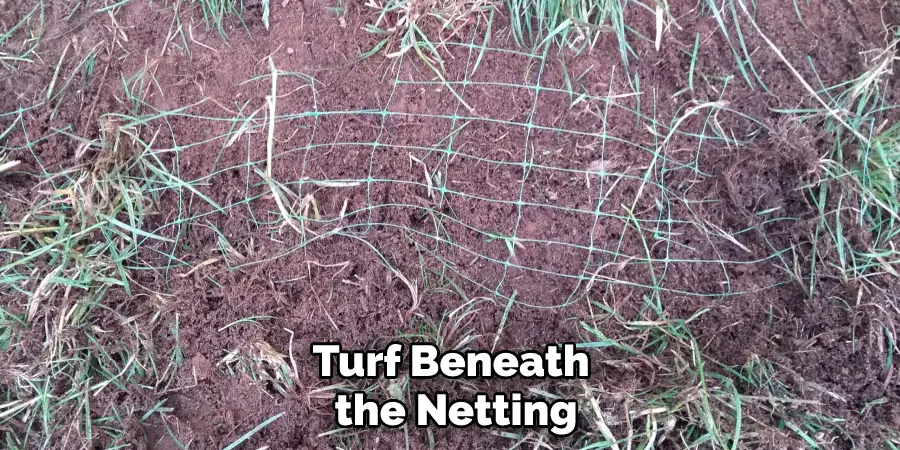
Start at one end by carefully lifting the edge of the netting. As you work your way down and across the lawn, keep pulling and folding the plastic until it is gone.
If possible, check underneath for any pieces that have been torn away and lay flat against the ground – these will need to be carefully removed as well. All pieces should be removed so that they don’t become stuck and unable to degrade over time. Fortunately, disposing of plastic lawn netting isn’t difficult when done cautiously with minimal disruption!
5. Remove Staples
If you’ve had plastic lawn netting in your backyard and it’s time to remove it, don’t forget about staples that may be holding the netting down. If there are still staples embedded in the soil, make sure to use pliers to safely remove them before disposing of them. Take care when handling them as the sharp edges can cause injury if not handled properly.
Keep children away from the area while removing the staples and netting as they could easily hurt themselves on the sharp objects. Ultimately, this step is important to ensure that you effectively remove plastic lawn netting without leaving any unfortunate surprises behind.
6. Fold Up the Netting and Store
Removing plastic lawn netting can be a tedious job, but it is essential for keeping your yard looking its best. After all of the staples have been removed, carefully fold up the netting until it is tight and well-contained. Place the netting in a cool, dry place until the next season so that no dirt or moisture can accumulate on it.
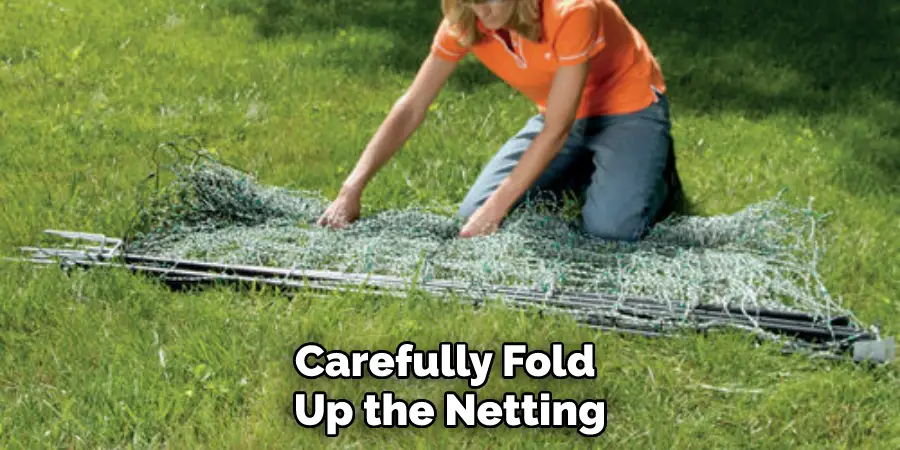
Make sure to include labels indicating what type of netting you are storing, as well as any instructions for reusing it later. Following these steps will ensure that you avoid any rusting or damage to the netting over time and make set-up much easier next year!
Tips to Remove Plastic Lawn Netting
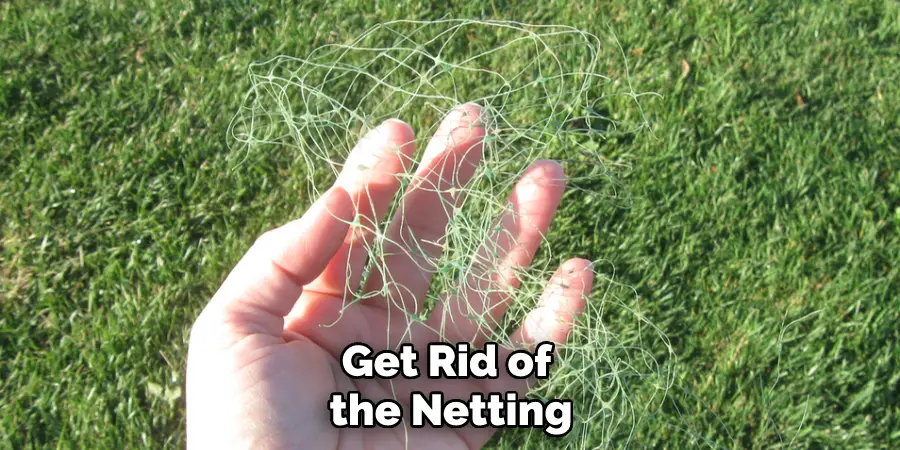
- Cut the netting into small pieces using scissors.
- Place the netting in a garbage bag.
- Tie the garbage bag closed.
- Place the garbage bag in your trash can.
- Repeat steps 1-4 until all of the settings have been removed from your lawn.
- Use a rake to remove any remaining pieces of netting from your lawn.
- Dispose of the rake in your trash can.
- Wash your hands with soap and water.
How to Get Rid of Plastic Lawn Netting Without Damaging Your Yard?
Removing plastic lawn netting can be a tricky task since the material is designed to latch on and hold its position for long periods. However, it is possible to get rid of the netting without leaving any evidence it existed or did damage to the yard. Carefully cut through the netting in small sections with sharp scissors then gather the pieces as you go.
You can throw them away or recycle them depending on your disposal preferences. To make sure that no netting remains trapped beneath the surface, use a metal rake or hoe to lightly move over the area that once held the netting.
After properly disposing of all of the material, apply a fresh layer of grass seed and fertilizer where needed. Your yard will soon look like you never had any plastic lawn netting!
How to Properly Store Away Plastic Lawn Netting Until Next Season?
Storing plastic lawn netting away properly until next season is essential to keep it functioning well and looking good. Before storing it, you should give the netting a thorough cleaning with a mild soap and warm water solution. After it’s clean, shake the netting out and remove any large debris or soil clumps that have accumulated.
Then, roll the netting into pieces about six feet long and tie them off with sturdy elastic cords. Place each roll in a storage container such as a box or bin, making sure that it remains dry inside so it won’t grow mold or mildew while in storage.
Lastly, label your container accordingly so you will know exactly which kind of netting is inside when it comes time to bring out the rolls again for use!
How to Avoid Injuries When Removing Plastic Lawn Netting from Your Lawn?
Preventing injuries while removing plastic lawn netting is an essential part of maintaining a healthy and well-manicured backyard. To avoid any unnecessary discomfort, it’s important to properly wear protective equipment such as thick gloves, long sleeves, and close-toed shoes.
Additionally, make sure your work area is free from any debris or sharp objects that could cause harm to you. Stretch the netting out over the entire area where it needs to be removed in order to ensure no parts get left behind.
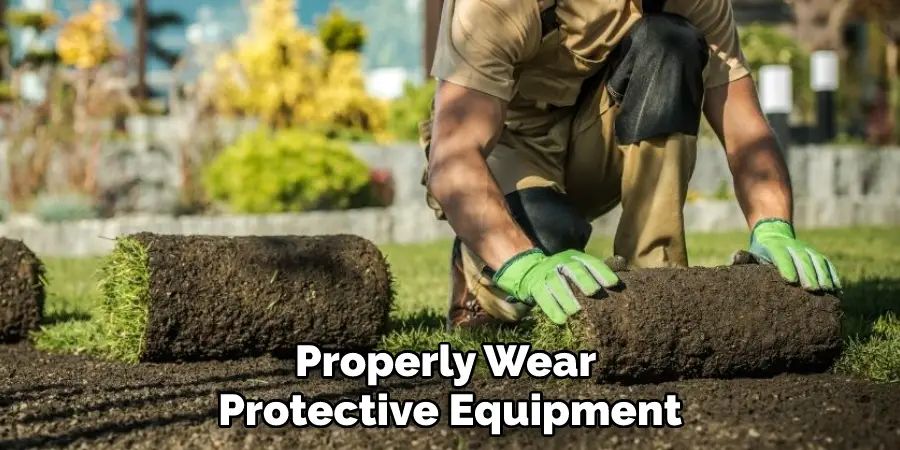
Finally, employ help from a friend or family member when taking down the netting for extra precaution. When executed correctly, removing plastic lawn netting can be done quickly and with minimum risk.
How to Dispose of Used Plastic Lawn Netting Safely and Effectively?
Disposing of used plastic lawn netting can be a difficult task if not done properly. The best way to make sure that it is disposed of safely and effectively is to reuse or recycle it whenever possible. If the netting is reusable, then it should be stored in a dry, covered area to avoid any unnecessary deterioration.
For those pieces that are no longer usable, there are a handful of options for proper disposal. Taking them to a local recycling facility for plastic products is one solution.
Additionally, if the piece contains metal strands or wire, then those portions must be removed before drop-off at the facility. Local government and other organizations may also offer pick-up services for these items; however, this varies by region.
Conclusion
With a few simple steps, you have the knowledge and tools to effectively remove any plastic lawn netting from your garden. You should carefully determine how to remove plastic lawn netting. Not only will you be getting rid of an unsightly eyesore, but you’ll also be taking care of the environment too by properly disposing of the debris.
Always make sure to take extra precautions when dealing with these netting materials, like wearing protective gloves and eye gear to avoid injury.
Furthermore, it’s important to remember that anything made of plastic can take hundreds of years or longer to break down naturally in the environment. So by dedicating just a few minutes a day, people can help reduce their dependability on single-use plastics and ultimately preserve nature for future generations.
About
Outdoor Fixes is a distinguished figure in the world of Diy design, with a decade of expertise creating innovative and sustainable Diy solutions.
His professional focus lies in merging traditional craftsmanship with modern manufacturing techniques,
fostering designs that are both practical and environmentally conscious. As the author of diy,
outdoorfixes delves into the art and science of outdoorfixes-making, inspiring artisans and industry professionals alike.
Education RMIT University
(Melbourne, Australia) Associate Degree in Design (Outdoor Fixes) Focus on sustainable design, industry-driven projects,
and practical craftsmanship. Gained hands-on experience with traditional and digital manufacturing tools, such as CAD and CNC software.
Nottingham Trent University
(United Kingdom) Bachelor’s in outdoorfixes.com and Product Design (Honors) Specialized in product design with a focus on blending creativity with production
techniques. Participated in industry projects, working with companies like John Lewis and Vitsoe to gain real-world insights.
Publications and Impact
In diy, Outdoor Fixes his insights on indoor design processes, materials, and strategies for efficient production.
His writing bridges the gap between artisan knowledge and modern industry needs, making it a must-read for both budding designers and seasoned professionals.