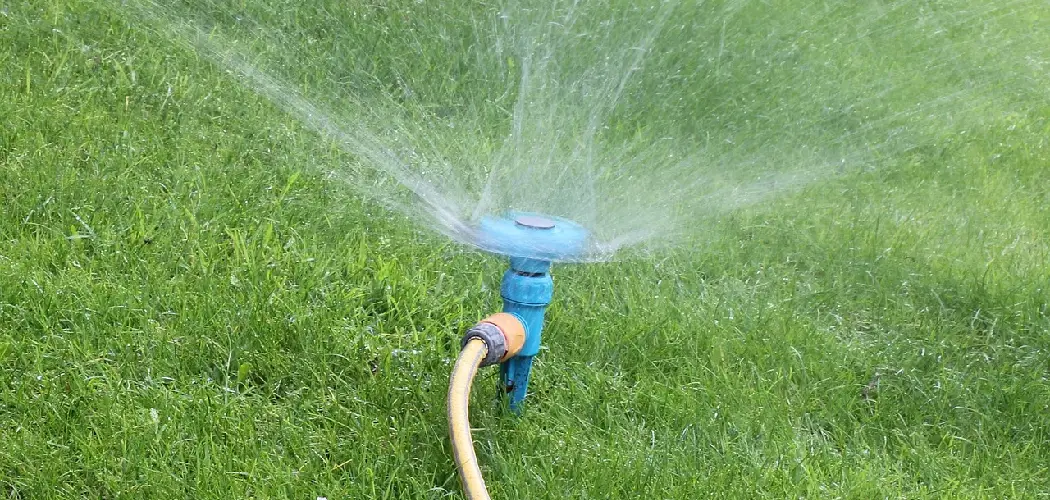
A sprinkler system is a valuable asset in any home or garden. It helps to keep your lawn and plants healthy while conserving water resources. However, these systems need to be regularly checked for proper functioning. Checking your sprinkler system will help you identify potential problems before they become too costly or damaging to fix.
One of the major advantages of knowing how to check a sprinkler system is that it can help you save time and money. Properly checking your system can ensure it is running efficiently, helping you avoid costly repairs or replacements.
Knowing how to spot any potential issues early on can also help you avoid wasting water as a result of a malfunctioning system. In this blog post, You will learn in detail how to check sprinkler system.
Step by Step Processes for How to Check Sprinkler System
Step 1: Inspect the Sprinkler Heads
The first step to take in checking the sprinkler system is to inspect the sprinkler heads for any damage or obstructions. Make sure that all sprinkler heads are intact and not blocked by dirt, debris, or weeds. Also, check for clogs in the nozzles, as these can prevent water from coming out.
Step 2: Check the Sprinkler Valves
Once you have inspected the sprinkler heads, checking the valves for any signs of damage is important. Be sure to turn off the main water supply before inspecting the valves. Check that all valves are in good condition and that there are no leaks or blockages. If necessary, replace any damaged valves.
Step 3: Check the Sprinkler Piping
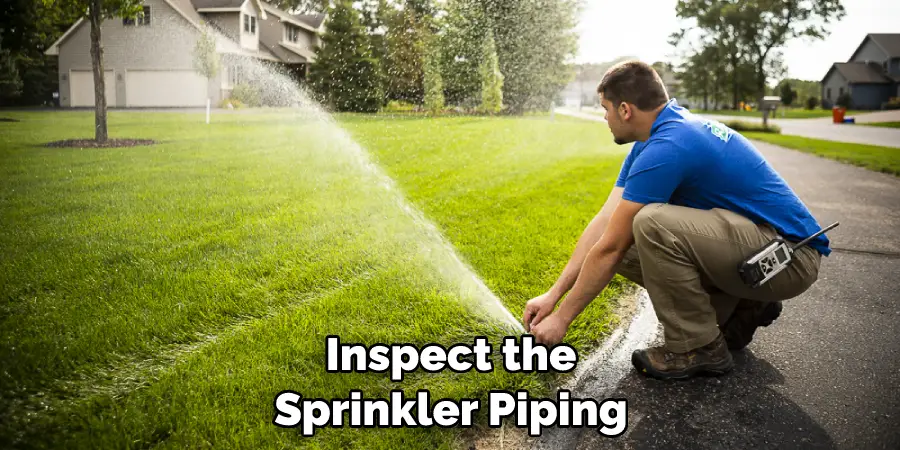
Next, inspect the sprinkler piping for any signs of wear and tear or blockages. It is important to check all parts of the piping, including bends and joints, as these areas can be more prone to damage. Any broken pipes should be replaced immediately.
Next, check the sprinkler zone control panel for any issues or errors. This will enable you to ensure that all zones are operating correctly and that water is distributed evenly across your property. If there are any problems, they should be rectified immediately.
Step 4: Test the Sprinkler System
Once you have checked all of the components, it is time to test the sprinkler system to ensure that it is functioning correctly. Start by turning on each zone individually and checking for any signs of water leakage or other problems. Make sure that each zone is receiving adequate water coverage.
If necessary, you can adjust the sprinkler settings to ensure that your property receives the correct water coverage. You can do this by adjusting the watering schedules and run times for each zone as well as changing the water pressure for each sprinkler head.
Step 5: Reprogram the Sprinkler Control Panel
If you have changed any of the settings on the sprinkler control panel, it is important to reprogram it to ensure that all changes are saved. This will enable you to access the settings in case of any future problems easily or if adjustments need to be made.
The next step is to check the entire system for any signs of leakage or other problems that may have arisen during the inspection process. Make sure to carefully inspect each component and look for any signs of water pooling, dampness, or discoloration in the piping, as these can indicate a leak.
Step 6: Clean the Sprinkler System Components
The final step is to clean all of the components in the sprinkler system. This includes removing any dirt, debris, or weeds that may have accumulated over time, as these can cause blockages and problems with water flow. Use a garden hose to rinse out the sprinkler heads, valves, and pipes. The last step is to perform regular maintenance on your sprinkler system to ensure it works correctly.
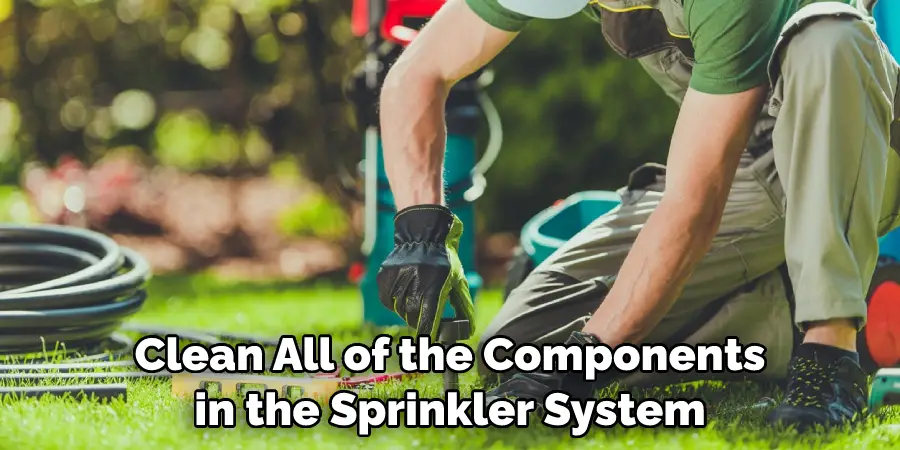
This can include checking for leaks or blockages, adjusting the settings, reprogramming the control panel, and cleaning all of the components. Regular maintenance will ensure that your sprinkler system is functioning properly and provide your property with optimal water coverage. By following these steps for how to check a sprinkler system, you can be sure that your sprinklers are in proper working order and are providing adequate coverage for your property.
Safety Tips for How to Check Sprinkler System
- Always wear protective clothing and safety glasses when inspecting your sprinkler system.
- Make sure to turn off the water supply before performing any adjustments or repairs.
- Check each sprinkler head for proper operation, including coverage area and spray pattern.
- Inspect all lines for leaks and clogs, especially if your sprinklers are not performing as expected.
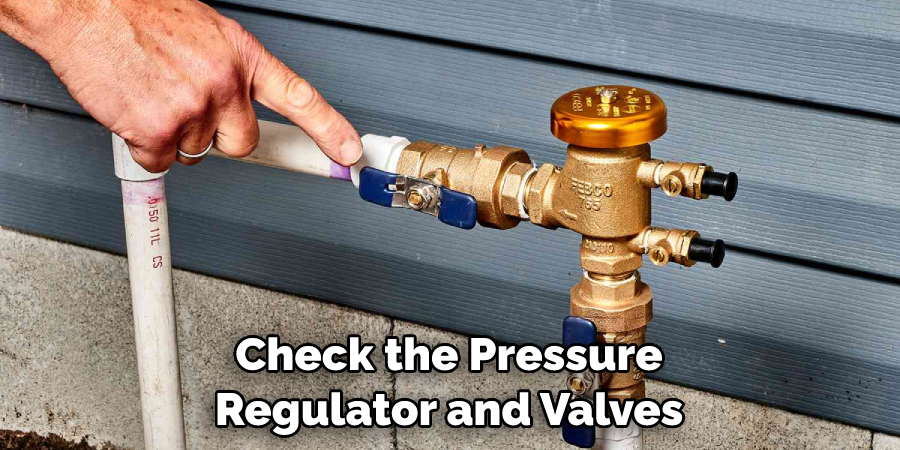
- Check the pressure regulator and valves for any obstructions or corrosion.
- Test the system thoroughly, including manual operation of all control valves.
- Regularly clean debris from around the sprinkler heads to prevent clogging of the nozzles and poor water distribution.
- Have a professional inspect your system annually to ensure proper operation and maintenance.
Following these safety tips will ensure that your sprinkler system is operating properly and efficiently, saving you time and money in the long run.
Are There Any Visible Signs of Leaks in the Sprinkler System?
It’s important to periodically inspect the sprinkler system for any visible signs of leaks or damage. Check all hoses and pipes for any cracks, breaks, or other areas where water may be leaking out.
Make sure that all connections between pipes and hoses are tight and secure. If a leak is present, repair it to prevent further damage immediately and decrease efficiency. Also, check the sprinkler heads for any signs of clogging or wear and tear.
Clear out any debris that may have been collected inside the head and replace any cracked or broken parts. This will help ensure your system is operating at peak efficiency and has the ability to provide even coverage across your lawn.
Finally, check the area around the sprinkler heads for any signs of pooling water or other wet patches. If you notice that a particular area is getting too much water while others remain dry, this indicates an uneven distribution of water and could be a sign that something is wrong with your system.
Is the System Properly Connected to a Water Source?
The first step when checking your sprinkler system is to ensure it is properly connected to a water source. If your system relies on a well, ensure that the pump and pressure tank are both functioning correctly. If you use city water, ensure that the valves and backflow preventer are in working order and are not clogged.
Check the pressure and water flow rate of your sprinkler system to make sure that it is operating under the recommended parameters for the type of nozzle you are using. If there is too much or too little pressure, then adjust the valves accordingly until you get the desired results.
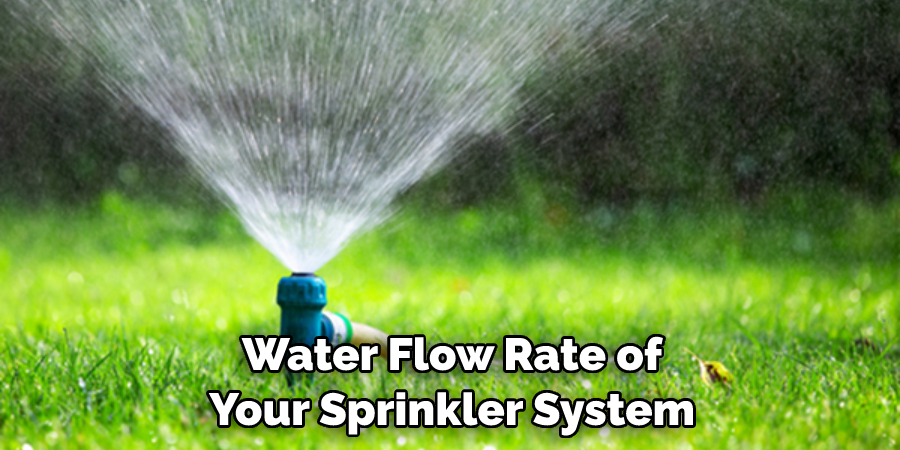
Additionally, you should ensure that all nozzles face the right direction and produce a consistent of water. Examine the sprinkler heads for any blockages or other damage that could impair their performance.
Does the System Require Any Maintenance or Repairs at This Time?
Maintaining a sprinkler system is key to its effectiveness and longevity. To check for any necessary maintenance or repairs, start out by performing a simple visual inspection of the entire area. Look for clogged nozzles, broken pipes, missing heads, or misaligned heads that are spray watering onto walkways or roadways instead of your lawn.
Check the timer to make sure it is set correctly, and look for any signs of water damage, such as standing pools of water or dry patches where a head may be broken or clogged.
If you notice any issues with your sprinkler system after performing a visual inspection, contact a professional repair service to investigate further. Sprinkler system repair services can help diagnose and fix any issues with your system quickly, so you don’t have to worry about wasting water or money on a malfunctioning system.
If the issue is more serious, they may even be able to offer suggestions for replacement parts or an entirely new sprinkler system if needed.
Is the System Equipped With a Rain Sensor or Automatic Shutoff Device?
When checking a sprinkler system, it’s important to determine whether or not the system is equipped with a rain sensor or an automatic shutoff device. If the system has these features, they should be tested to ensure they are working correctly.
A rain sensor will turn off the sprinklers when it detects moisture in the air to prevent overwatering. An automatic shutoff device will turn off the system after a certain amount of time or when moisture is detected. If either of these features is not working properly, it can lead to water waste and an inefficient sprinkler system.
If the sprinkler system has no rain sensor or automatic shutoff device, it may be a good idea to consider investing in one. This can help reduce water waste and ensure the system runs as efficiently as possible.
Another important step when checking a sprinkler system is inspecting all of the components for any signs of damage or wear and tear. The sprinkler heads should be checked for clogging, corrosion, or damage. The valves should be checked for any leaks or wear and tear.
Conclusion
In conclusion, checking your sprinkler system should not be overlooked and is a fairly straightforward process. To check the system, you need to inspect the various components that make up the sprinkler system, such as heads, valves, lines, pipes, etc., for any issues or damage that could cause it to fail.
Check for clogs in the lines and sprinkler heads, and make sure there are no leaks in any of the pipes. If you notice any problems, it’s best to call a professional immediately for help.
Doing regular checkups on your sprinkler system can help save time, money, and water in the long run. I hope this article has been beneficial in learning how to check sprinkler system. Make Sure the precautionary measures are followed chronologically.
You Can Check it Out to Store Rainwater for Plants
About
Outdoor Fixes is a distinguished figure in the world of Diy design, with a decade of expertise creating innovative and sustainable Diy solutions.
His professional focus lies in merging traditional craftsmanship with modern manufacturing techniques,
fostering designs that are both practical and environmentally conscious. As the author of diy,
outdoorfixes delves into the art and science of outdoorfixes-making, inspiring artisans and industry professionals alike.
Education RMIT University
(Melbourne, Australia) Associate Degree in Design (Outdoor Fixes) Focus on sustainable design, industry-driven projects,
and practical craftsmanship. Gained hands-on experience with traditional and digital manufacturing tools, such as CAD and CNC software.
Nottingham Trent University
(United Kingdom) Bachelor’s in outdoorfixes.com and Product Design (Honors) Specialized in product design with a focus on blending creativity with production
techniques. Participated in industry projects, working with companies like John Lewis and Vitsoe to gain real-world insights.
Publications and Impact
In diy, Outdoor Fixes his insights on indoor design processes, materials, and strategies for efficient production.
His writing bridges the gap between artisan knowledge and modern industry needs, making it a must-read for both budding designers and seasoned professionals.

