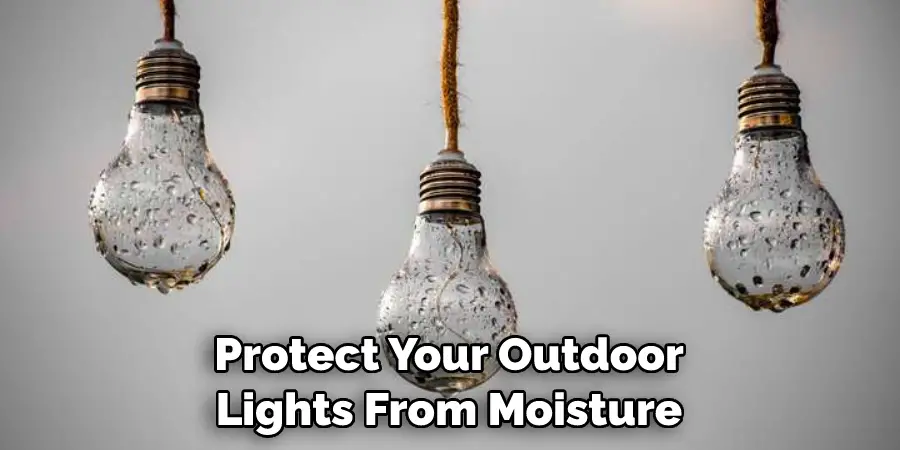
We’ve all had that moment – you are admiring the beautiful, festive light display decorating your yard when suddenly a drop of rain falls and ruins the mood. No one wants to experience this disappointment during the holiday season, but don’t worry – there is an easy fix!

With just a few items from your local hardware store and some basic DIY skills, you can learn how to waterproof outdoor lights so that nothing can ruin their shimmering presence in your yard for years to come. Keep reading for a step-by-step process on exactly how to do it!
Is It OK to Leave Outdoor Lights on in the Rain?
No, it is not ok to leave outdoor lights on in the rain. Even if they are waterproof, leaving them exposed to continuously wet conditions can cause corrosion of electrical components and reduce their lifespan.
Therefore, it is important to take steps to properly protect your lights from excessive moisture when not in use. To do this, you should ensure that any fixtures installed outdoors have a waterproof cover or sealant applied over them before installation.
If your lights are already installed outdoors without protection, consider adding a protective coating such as silicone caulk around the fixture’s edges for added water resistance. Additionally, make sure all connections between wiring and lighting fixtures are securely tightened and sealed off from moisture with silicone caulk or heat-shrink tubing.
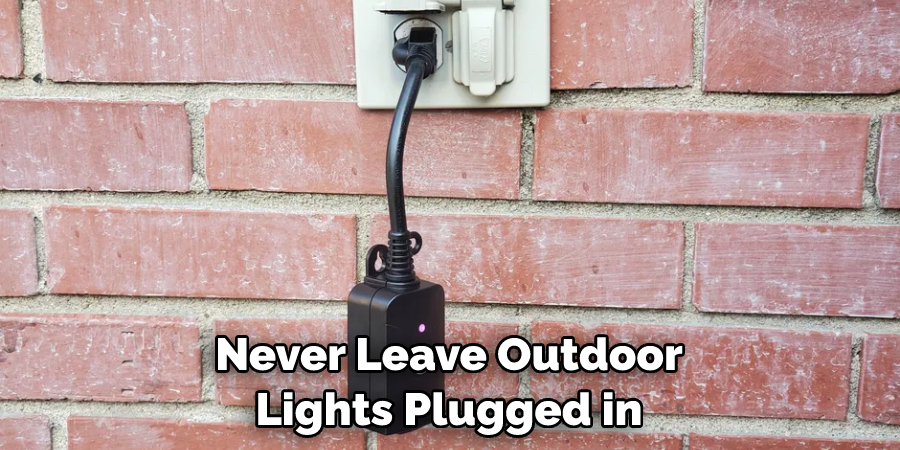
Lastly, never leave outdoor lights plugged in when not in use, and always unplug them prior to any rain or inclement weather. With these precautions, you can enjoy your outdoor lighting safely, even during wet weather.
By taking steps to properly protect your outdoor lights from moisture, you’ll be able to ensure that they are safe from harm and last for a long time. Do some research on waterproofing materials and techniques so that you can make sure your lighting installation is up to par with the latest safety standards.
7 Effective Methods How to Waterproof Outdoor Lights
1. Use a Sealant
One of the best ways to waterproof your outdoor lights is to use a sealant. Sealants are designed to create a barrier between your lights and the elements, preventing water from damaging them. There are a variety of sealants available on the market, so be sure to choose one that is appropriate for the material of your lights.
If you’re unsure, consulting a professional should help. Although some sealants may require you to wait a few days before using the lights, they will offer the best protection. To apply, simply follow the instructions on the product and apply it to your lights evenly.
2. Use Silicone Caulk
Another effective way to waterproof your outdoor lights is to use silicone caulk. Silicone caulk is a flexible, water-resistant sealant that can be used on a variety of surfaces. It is important to note that silicone caulk should only be used on lights that are not made of plastic, as it can cause the plastic to degrade over time.
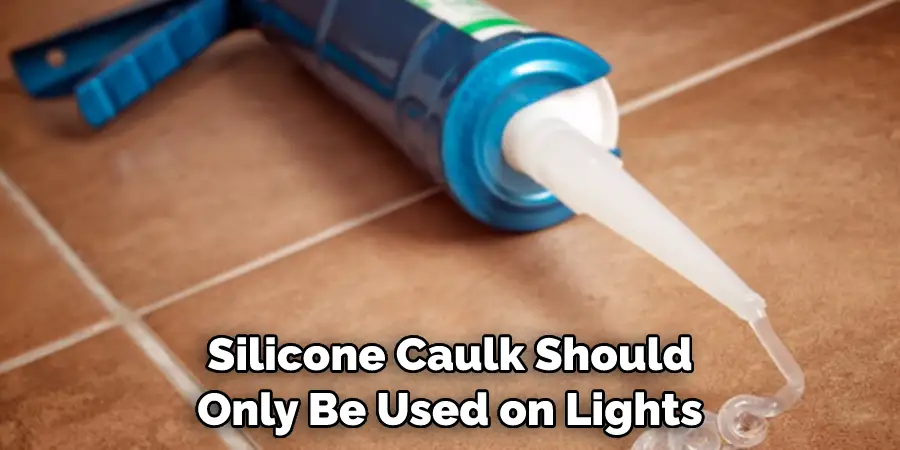
Before applying the caulk, make sure that the surface is clean and dry. To apply the silicone caulk, you will need a caulking gun. Cut the tip of the caulk tube so it will fit into the gun, and then place the tube in the gun. Apply a generous amount of caulk around the base of the light fixture and press it into place. Wipe away any excess caulk, and allow the silicone to dry completely before testing the light.
3. Use Electrical Tape
If you cannot find a sealant or silicone caulk that is appropriate for your outdoor lights, you can also use electrical tape. Electrical tape is designed to withstand high temperatures and moisture, making it an ideal choice for waterproofing outdoor lights.
Simply wrap the tape around the base of the light, being sure to cover all exposed areas. Electrical tape is available in many sizes and colors, so you can choose the right one for your lights. Be sure to replace the electrical tape regularly to ensure that your outdoor lights remain waterproof.
4. Use Heat Shrink Tubing
Heat shrink tubing is another great option for waterproofing outdoor lights. Heat shrink tubing is made of a flexible material that shrinks when heated, creating a tight seal around your lights. Be sure to measure the tubing before you purchase it, as it will need to be long enough to fit around the entire circumference of the light. Then, simply slide the tubing over the light and use a heat gun to shrink it down.
Once it’s cool, your outdoor lights will be protected from moisture and water. When choosing heat shrink tubing, make sure to select a material that’s designed for outdoor use and won’t be damaged by weather or sunlight. Additionally, opt for a UV-resistant variety to ensure that the tubing doesn’t discolor over time. With proper installation and maintenance, heat shrink tubing can provide reliable waterproofing for outdoor lights.
5. Use Plumber’s Putty
Plumber’s putty is another popular choice for waterproofing outdoor lights. Plumber’s putty is a malleable substance that can be easily molded around your lights. Once it dries, it forms a watertight seal that will protect your lights from moisture damage.
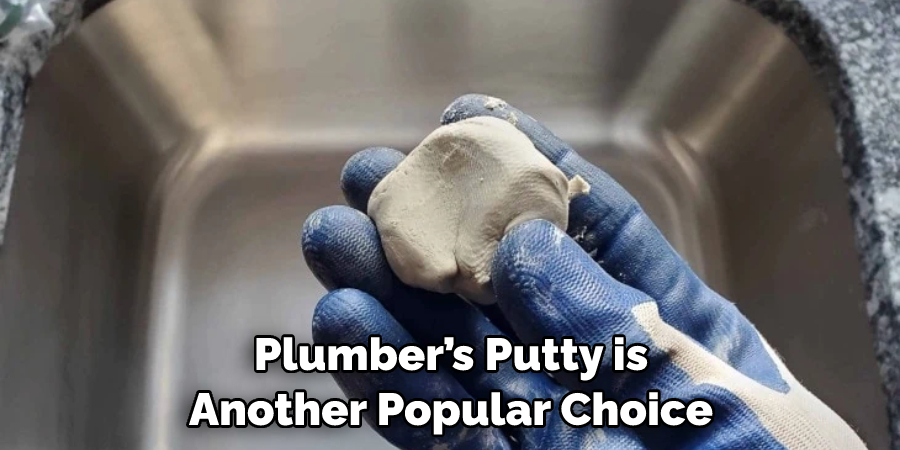
To use a plumber’s putty, simply apply it around the lights and make sure there are no gaps. Let the putty dry for a few hours, and your lights will be properly waterproofed. Plumber’s putty is an affordable and easy solution to protect your outdoor lights. To ensure your lights are thoroughly waterproofed, it is best to use a plumber’s putty in combination with the other solutions listed above.
6. Use Rubber Grommets
Rubber grommets are small rubber discs that can be used to create a watertight seal around your outdoor lights. Simply place the grommets around the base of the light and secure them in place with screws or nails. This will also help protect the wiring of your outdoor lights from moisture, allowing them to last longer.
Make sure you choose a grommet that is made of durable, weather-resistant materials to ensure your lights remain protected from water damage. Try to avoid using plastic grommets, as these are more prone to wear. You can find rubber grommets in most hardware or home improvement stores.
7. Use Liquid Latex
Liquid latex is another effective option for waterproofing outdoor lights. Liquid latex can be painted or sprayed onto your light fixtures, forming a durable barrier against moisture damage. Make sure to use a brush with synthetic bristles so that the latex will adhere better to metal and plastic surfaces.
When applying liquid latex, start at the top of your fixture and apply it in even layers, working in a downward direction. Allow each coat to dry before applying the next layer. You may need to apply several coats of latex in order to achieve a truly waterproof seal. Once your outdoor lights are fully coated in latex, they will be better protected against the elements.
By following these steps and using the appropriate waterproofing materials, you can ensure that your outdoor lights are protected from moisture damage. This will help them last longer, ensuring that you can enjoy your outdoor lighting for years to come.
Are Led Lights Rain Proof?
Many LED lights are designed to be rainproof, but an additional coating of waterproof sealant can help protect your outdoor lights from moisture. To determine whether your LED lights are already rainproof, check the packaging and product information for IP (ingress protection) ratings.
The two-digit number that follows the “IP” indicates how well-protected something is against dust and water. The first digit indicates protection against solid objects, and the second digit indicates protection against liquids. A light with a rating of IP67 is completely dustproof and waterproof up to one meter deep.
Things to Consider When Waterproof Outdoor Lights
1. Choose a Waterproof Light Fixture:
When choosing outdoor lights, it’s important to make sure that the fixtures you select are designed for outdoor use and are waterproof. You can find a wide variety of outdoor lights at most home improvement stores, or you can shop online for specialty products. Depending on the type of fixture you choose, some may need to be sealed with additional waterproofing materials like silicone sealant or a special gasket.
2. Check that It Is Rated for Your Environment:
When shopping for outdoor lights, look for a fixture that is rated for the environment you plan to install it. This includes the climate and any potential moisture issues like humidity or snowfall.
Some fixtures are designed specifically for wet conditions and will stand up to more extreme weather than others. For best results, be sure to select a fixture that is rated for your particular area.
3. Check Seals and Wiring:
Once your light fixture is installed, inspect all of the seals and wiring carefully to make sure they are watertight and secure. If anything looks loose or damaged, replace it before turning on the power.
You should also check frequently during use to ensure everything remains secure at all times. Additionally, avoid using electrical outlets near bodies of water, as water and electricity don’t mix.
4. Use Waterproof Light Bulbs:
Be sure to use the correct type of light bulb for your outdoor lights, specifically one that is designed to handle wet conditions. This might be a halogen or LED light bulb that is specially designed for outdoor use.
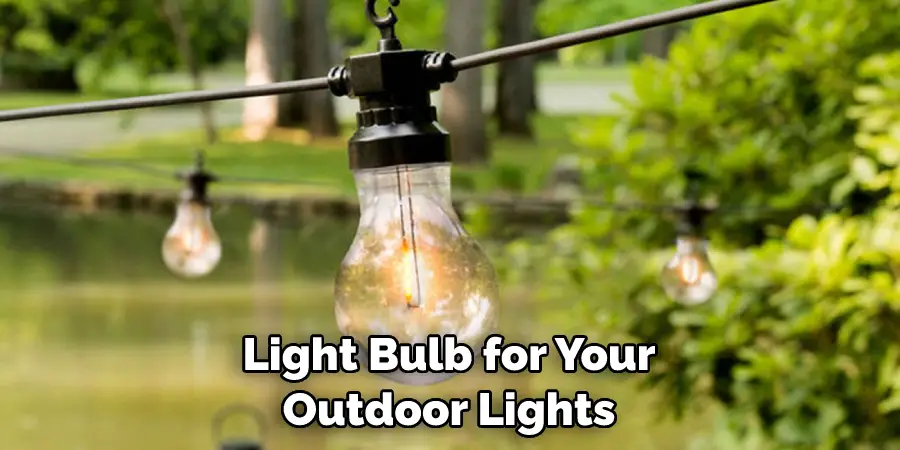
Avoid using standard indoor bulbs outdoors since these could be damaged by moisture over time. If you’re not sure which type of bulb will work best with your fixture, check the manufacturer’s documentation or ask an expert at the store where you purchased it.
5. Regular Maintenance:
Finally, make sure to inspect your outdoor lighting fixtures regularly for any signs of damage or wear and tear. Replace any seals, bulbs, or wiring as needed and tighten any connections. This will help to ensure that your lights stay waterproof and continue to provide reliable lighting for years to come.
With proper installation and maintenance, you can enjoy the beauty of outdoor lighting without having to worry about water damage. By following these tips, you’ll have a safe, beautiful outdoor lighting setup that will last for many years.
Some Common Mistakes When Waterproofing Outdoor Lights
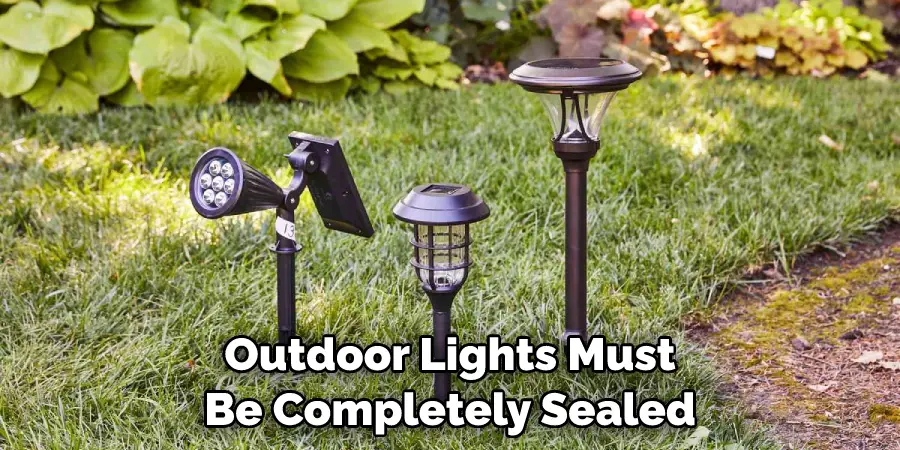
1. Not Taking Precautions:
Outdoor lights must be completely sealed in order to prevent water damage. If any part of the light is left exposed, it can lead to water damage over time.
2. Not Checking for Leaks:
After waterproofing the lights, it is important to check for any leaks or cracks in the sealant. If water is able to get inside, it can cause corrosion and other damage.
3. Not Testing Lights:
Before installing the lights, it is important to test them in order to make sure they are working correctly and that all components are secure. This includes testing the lights in different weather conditions to ensure that they are waterproof.
4. Not Cleaning the Lights:
Before waterproofing outdoor lights, it is important to clean them with a mild soap and water solution in order to remove any dirt or debris that could interfere with the sealant.
Conclusion
Making sure that your outdoor lights are waterproof is essential to maintaining their durability and getting the best use out of them. By keeping on top of your lighting maintenance, you can almost guarantee that they’ll last a good chunk of time.
Each step we have outlined will enable you to make sure you get the most out of these products. Even if you don’t encounter rain often enough, accidents do happen – and you want to ensure your lights won’t break if something unexpected happens!
So, if you want to be sure your outdoor lights stay protected from dust, wind, rain, or sun exposure, be sure to keep up with any necessary maintenance steps, such as coating exposed screws with silicone sealant or replacing already-damaged material immediately. With these steps in mind, you can trust that you have taken all necessary precautions when it comes to how to waterproof outdoor lights.
About
Outdoor Fixes is a distinguished figure in the world of Diy design, with a decade of expertise creating innovative and sustainable Diy solutions.
His professional focus lies in merging traditional craftsmanship with modern manufacturing techniques,
fostering designs that are both practical and environmentally conscious. As the author of diy,
outdoorfixes delves into the art and science of outdoorfixes-making, inspiring artisans and industry professionals alike.
Education RMIT University
(Melbourne, Australia) Associate Degree in Design (Outdoor Fixes) Focus on sustainable design, industry-driven projects,
and practical craftsmanship. Gained hands-on experience with traditional and digital manufacturing tools, such as CAD and CNC software.
Nottingham Trent University
(United Kingdom) Bachelor’s in outdoorfixes.com and Product Design (Honors) Specialized in product design with a focus on blending creativity with production
techniques. Participated in industry projects, working with companies like John Lewis and Vitsoe to gain real-world insights.
Publications and Impact
In diy, Outdoor Fixes his insights on indoor design processes, materials, and strategies for efficient production.
His writing bridges the gap between artisan knowledge and modern industry needs, making it a must-read for both budding designers and seasoned professionals.