Draining an inground pool is an essential maintenance task that ensures the water remains clean and balanced over time. Whether you’re preparing for seasonal pool closure, performing repairs, or addressing water quality issues, knowing how to safely and efficiently drain your pool is critical.
This guide on how to drain inground pool will walk you through the steps to drain your inground pool properly while avoiding potential damage to the pool structure and surrounding area.

Know Your Pool Type
Before you begin draining your inground pool, it’s important to identify the type of pool you have, as each type requires different considerations. There are three common types of inground pools: concrete, vinyl-lined, and fiberglass. Concrete pools are durable but can be prone to cracking if not drained carefully.
Vinyl-lined pools have delicate liners that can shrink or tear when exposed to prolonged air or sunlight. Fiberglass pools, on the other hand, can face structural damage if too much pressure is exerted on the walls when the water is removed. Understanding your pool type will help you determine the safest method for draining and prevent costly damage.
Understand Local Regulations
Before draining your pool, it’s essential to familiarize yourself with local regulations and guidelines regarding pool water disposal. Many municipalities have strict rules about where and how pool water can be discharged, often requiring it to be directed into a sanitary sewer system rather than storm drains to prevent pollution.
Some areas also mandate pre-treatment of the water, particularly if it contains chemicals like chlorine or algaecides. Failing to comply with these regulations can result in fines or other penalties, so it’s important to check with your local government or water authority for specific requirements. This step not only ensures that you’re following the law but also helps protect the local environment and water systems.
When and How Often to Drain?
The frequency and timing of swimming pool drainage depend on several factors, including usage, water quality, and maintenance practices. Generally, pools should be drained and refilled every 3 to 5 years under normal conditions. However, if the water becomes difficult to balance due to high levels of dissolved solids or contaminants, earlier drainage might be necessary.
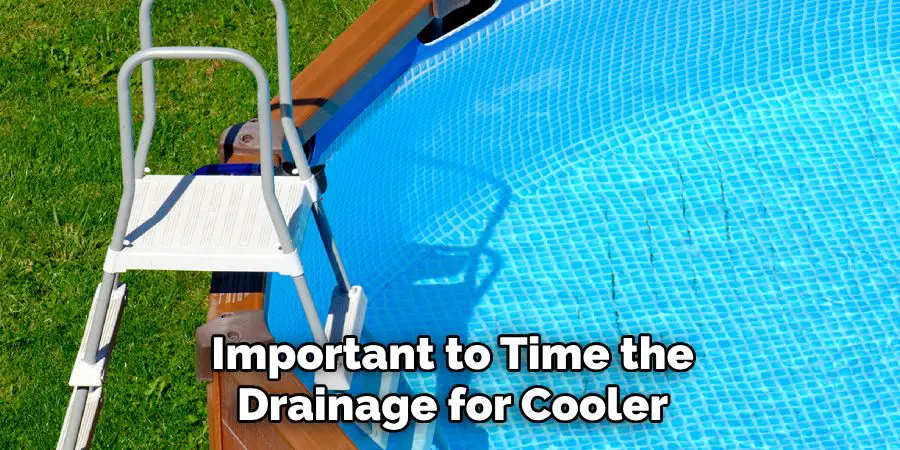
It’s also important to time the drainage for cooler, dry periods to reduce the risk of damage to the pool structure, as groundwater pressure can sometimes cause an empty pool to lift or crack. Always ensure you follow the proper steps and guidelines to drain the pool safely and in accordance with local regulations.
Tools and Equipment Needed
- Submersible Pump or Sump Pump
- Discharge Hose (Long Enough to Reach Drain Area)
- Garden Hose for Rinsing
- Pool Water Test Kit (for Chlorine Neutralization)
- Chemical Neutralizer (if Needed)
10 Step-by-Step Guidelines on How to Drain Inground Pool
Step 1: Prepare the Equipment
Begin by gathering all the necessary tools and equipment listed above to ensure a smooth and efficient process. Inspect the submersible pump or sump pump to confirm it is in good working condition. Attach the discharge hose securely to the pump, ensuring the hose is long enough to reach the designated drain area.
If a chemical neutralizer is required, have it ready to treat the water before discharge. Additionally, set aside a garden hose for rinsing purposes and the pool water test kit to check chlorine levels. Having everything prepared beforehand will streamline the draining process and reduce the risk of delays.
Step 2: Check Local Regulations
Before proceeding with draining your pool, it is crucial to check local regulations and guidelines regarding water discharge. Many municipalities have specific rules in place to prevent environmental harm, such as restrictions on draining chlorinated or chemically treated water into storm drains or natural water sources.
Contact your local water authority or review city ordinances to determine permissible methods of disposal. This step ensures you remain compliant with legal requirements and helps protect the environment from potential contamination.
Step 3: Test the Pool Water
Before draining your pool, it’s essential to test the water quality to ensure it meets safe disposal standards. Use a reliable pool water testing kit to measure key factors such as chlorine levels, pH, and total dissolved solids (TDS). Chlorine levels must typically be reduced to near zero, and the pH should be neutral (between 6.5 and 8.5) to minimize environmental impact.
Additionally, check for any other contaminants or chemicals that could harm plants, animals, or waterways in the vicinity. Taking the time to test your pool water prevents unintended environmental damage and ensures responsible water management practices.

Step 4: Lower Water Level
Once the water has been properly tested and treated, the next step is to lower the water level in your pool. Use a submersible pump or the pool’s drainage system to safely remove water. Be cautious to avoid flooding any surrounding areas by directing the drained water to an appropriate location, such as a sanitary sewer system approved for pool water disposal.
Lowering the water level helps prepare the pool for maintenance, repairs, or winterization, depending on your specific needs. Always ensure that the process complies with local laws and regulations regarding water drainage.
Step 5: Direct Water Away from Home
When draining your pool, it is crucial to ensure that the water does not flow towards your home or other structures. Direct the drained water to a safe and appropriate location, such as a storm drain or a designated runoff area, to prevent potential water damage to your property.
Use hoses or drainage pipes to guide the water away from your home’s foundation and landscaping. Always be mindful of local guidelines or restrictions regarding water disposal to avoid fines or environmental harm. Taking these precautions will help you manage the process safely and effectively.
Step 6: Dispose of Water Properly
Once the water has been drained, it is important to dispose of it properly. Do not allow the water to flow into storm drains, as this can pollute local water sources. Instead, consider using the water to hydrate plants or grass in your yard, if it is safe to do so.
If disposing of the water is not feasible, contact your local waste management agency for guidance on proper disposal methods.
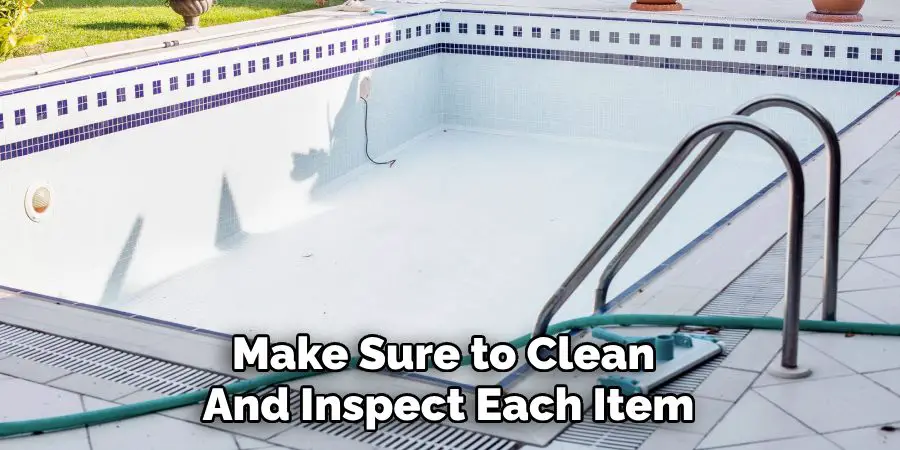
Step 7: Clean and Store Pool Equipment
Before storing any pool equipment for the season, make sure to clean and inspect each item. This includes pool covers, filters, pumps, and any other accessories.
Remove any debris or buildup from these items and allow them to completely dry before storing them in a dry and secure location. This will help prolong their lifespan and prevent any potential damage from mold or mildew.
Step 8: Make Necessary Repairs
As you prepare your pool for the offseason, take note of any repairs that may need to be made. This can include cracks in the pool walls, loose tiles, or malfunctioning equipment. Make a list of these repairs and schedule them for completion before the next pool season begins. This will ensure that your pool is ready for use when the warmer weather returns.
It’s also important to address any safety concerns during this time. Check that all gates and fences surrounding the pool are in good working condition and make any necessary repairs or replacements.
Step 9: Properly Store Chemicals
Properly storing pool chemicals is essential for their effectiveness and safety. For liquid chemicals, make sure they are stored upright and tightly sealed in a cool, dry location away from direct sunlight. For powdered chemicals, keep them in their original containers with tightly sealed lids and store them in a cool, dry location as well.
It’s also important to keep all pool chemicals out of reach of children and pets. Consider investing in a lockable storage unit or cabinet specifically designed for chemical storage.
Step 10: Clean and Maintain Pool Equipment
Pool equipment such as filters, pumps, and heaters should be regularly cleaned and maintained to ensure they are working properly. Check manufacturer recommendations for specific maintenance schedules for your equipment.
Following these steps on how to drain inground pool will help to prevent damage and extend the lifespan of your pool.
Frequently Asked Questions
Q1: How Often Should I Clean My Pool Equipment?
A- It is recommended to clean your pool equipment at least once a month, but check the manufacturer’s recommendations for specific maintenance schedules.
Q2: Can I Drain My Pool by Myself?
A- Yes, you can drain your pool by yourself, following the steps mentioned in this guide. However, it is recommended to seek professional help if you are unsure or unfamiliar with the process.
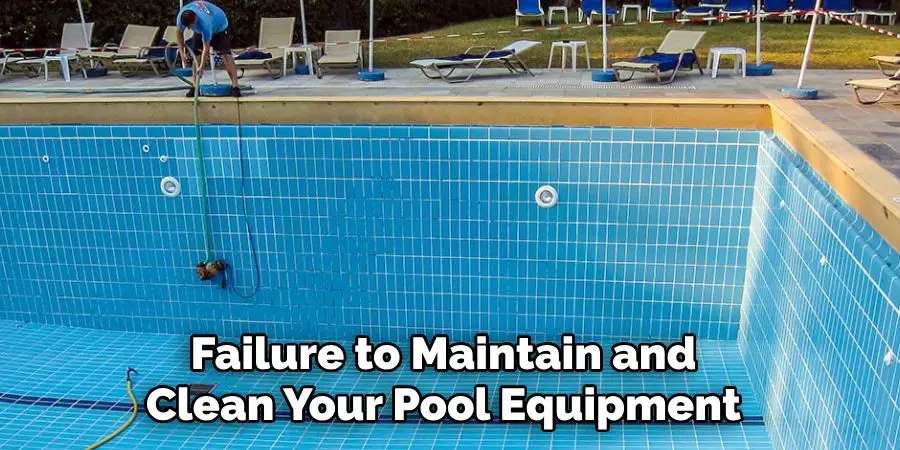
Q3: What Can Happen if I Don’t Properly Maintain and Clean My Pool Equipment?
A- Failure to maintain and clean your pool equipment can result in inadequate water circulation, reduced efficiency of filters and pumps, and potential damage to the equipment itself. This can lead to costly repairs and replacements, as well as unsafe swimming conditions.
Conclusion
Proper pool maintenance is essential to ensure a safe, clean, and enjoyable swimming environment. By following the recommended practices outlined in this guide on how to drain inground pool, you can extend the lifespan of your pool equipment, reduce costly repairs, and maintain water quality.
Remember, consistency in upkeep is key, and seeking professional assistance when needed can help avoid potential complications. With diligent care, your pool can remain a source of relaxation and enjoyment for years to come.
About
Outdoor Fixes is a distinguished figure in the world of Diy design, with a decade of expertise creating innovative and sustainable Diy solutions.
His professional focus lies in merging traditional craftsmanship with modern manufacturing techniques,
fostering designs that are both practical and environmentally conscious. As the author of diy,
outdoorfixes delves into the art and science of outdoorfixes-making, inspiring artisans and industry professionals alike.
Education RMIT University
(Melbourne, Australia) Associate Degree in Design (Outdoor Fixes) Focus on sustainable design, industry-driven projects,
and practical craftsmanship. Gained hands-on experience with traditional and digital manufacturing tools, such as CAD and CNC software.
Nottingham Trent University
(United Kingdom) Bachelor’s in outdoorfixes.com and Product Design (Honors) Specialized in product design with a focus on blending creativity with production
techniques. Participated in industry projects, working with companies like John Lewis and Vitsoe to gain real-world insights.
Publications and Impact
In diy, Outdoor Fixes his insights on indoor design processes, materials, and strategies for efficient production.
His writing bridges the gap between artisan knowledge and modern industry needs, making it a must-read for both budding designers and seasoned professionals.