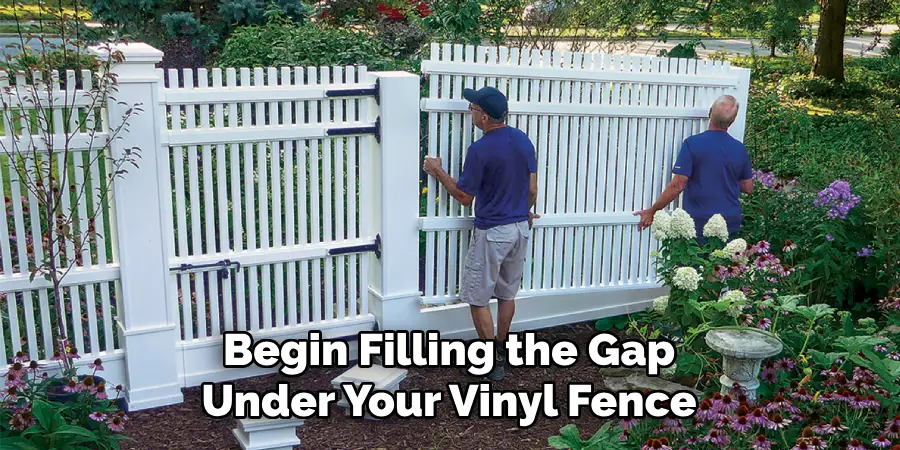
Are you wondering how best to fill the gap underneath your vinyl fence? Are unsightly weeds and other plants sprouting up, causing an unappealing look for your outdoor space? Don’t worry! Filling the holes below your fence doesn’t have to be expensive or inconvenient.
In this blog post, we will take a deep dive into how to fill gap under vinyl fence without investing significant dollars or time into it. Through tips and tricks on removing weeds and debris, preparing the soil beneath your fence, protecting against wildlife intrusion, and choosing long-term solutions, you will hopefully walk away from this guide with all the information necessary to close off that pesky hole beneath your vinyl fence seamlessly!
What Will You Need?
Before we delve into the process of filling the gap under your vinyl fence, you should gather a few tools and materials:
- A spade or shovel
- Garden gloves
- Soil, preferably topsoil free from debris
- Mulch or gravel (depending on your preference)
- Landscape fabric or chicken wire (optional)
Once you have these items on hand, you are ready to begin filling in the gap!
10 Easy Steps on How to Fill Gap Under Vinyl Fence
Step 1: Clear Out Debris
The first step to filling in the gap under your vinyl fence is removing any debris that may be present. This can include rocks, weeds, leaves, and other types of plant life. Carefully remove these items using a spade or shovel to create a clean surface.
Step 2: Remove Weeds
Once the debris is removed, carefully remove any weeds or grass growing in the gap. These can easily be pulled out by firmly gripping them at the base, close to the soil, and pulling them upwards. Consider using a hand weeder or a pair of garden gloves for stubborn weeds to protect your hands. Remove as much of the root system as possible to prevent regrowth.
Step 3: Prepare the Soil
After removing all the weeds and other debris, it’s time to prepare the soil. Use your spade or shovel to loosen the soil beneath your fence’s gap. This will make it easier for you to add soil, mulch, or gravel. If the soil is dry or compacted, water it lightly to make it easier to work with. Be sure to level the soil evenly across the gap length to ensure a uniform filling.
Step 4: Add the Soil
With the soil prepared, you can now begin filling the gap under your vinyl fence. Start by adding topsoil, spreading it evenly across the gap using your spade or shovel. Ensure that the soil is compacted gently to reduce any future settling. Fill the gap until the soil level is just below the bottom of the vinyl fence. Remember, adding more soil than you think you need is better, as you can always remove the excess water.
Step 5: Add Mulch or Gravel
Once the soil is evenly spread and compacted, it’s time to add mulch or gravel, depending on your preference. If you choose mulch, it will help retain moisture and suppress weed growth, while if you opt for gravel, it will provide a sturdy and heavy-duty solution to prevent the gap from reforming. Spread your chosen material evenly over the soil, ensuring it aligns flush with the bottom edge of your vinyl fence.
Step 6: Secure the Area (Optional)
This step is optional but can provide security against wildlife or pets that may dig under the fence. If you wish to secure the area further, you can use landscape fabric or chicken wire. Cut the fabric or wire to the length of the gap and secure it over the soil and your chosen material using ground staples or stakes. This will provide additional protection and prevent any unwanted intrusions from burrowing animals.
Step 7: Regular Maintenance

Once you’ve successfully filled the gap under your vinyl fence, it’s essential to watch it for any signs of erosion or weed growth. Regular maintenance is crucial to ensure the longevity of your solution. Check the area regularly and refill with soil, mulch, or gravel as needed. If weeds start to pop up, pull them out immediately to prevent them from establishing roots and creating a new gap under your fence. You can keep your fence looking great and unwanted visitors out of your yard by staying vigilant.
Step 8: Revisit Seasonally
As the seasons change, so do the conditions of your soil. To maintain the filled gap under your vinyl fence, it’s important to revisit this area seasonally. During the dry summer months, the soil might become compacted and need loosening or replenishing. During the wet winter months, additional soil or gravel might be needed to replace what could have been washed away by heavy rains. Regular seasonal checks ensure the gap underneath your vinyl fence remains filled and in good condition throughout the year.
Step 9: Consider Professional Assistance (Optional)
This step is optional and depends on the severity and complexity of the gap beneath your vinyl fence. If you’ve followed all the steps, but the gap keeps reappearing, or the task is too daunting to handle independently, don’t hesitate to seek professional help. A professional landscaping or fencing company can provide a more permanent solution, such as installing a decorative border or adjusting the fence to eliminate the gap. Although it might cost more than a DIY solution, getting professional assistance ensures that the task is done effectively and efficiently.
Step 10: Celebrate Your Hard Work
Finally, after diligently following all these steps, take a moment to appreciate your hard work. The task of filling the gap under a vinyl fence might seem trivial. Still, it is crucial for maintaining the aesthetics of your property, and more importantly, it ensures the safety and privacy of your home. Congratulations, you have successfully learned how to fill a gap under a vinyl fence and implemented it effectively! Now, you can enjoy your yard with a sense of accomplishment and peace of mind.
By following these ten easy steps, you can fill the gap under your vinyl fence quickly.
5 Additional Tips and Tricks
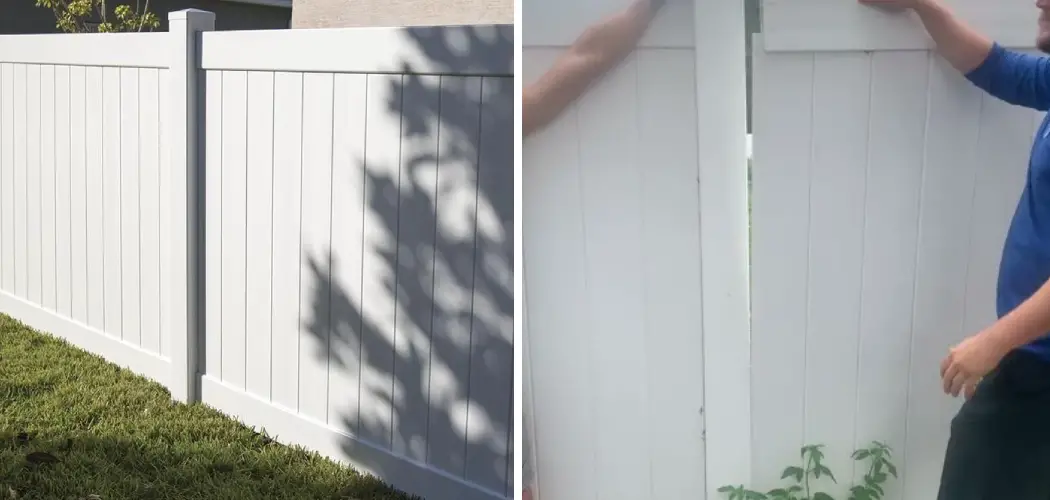
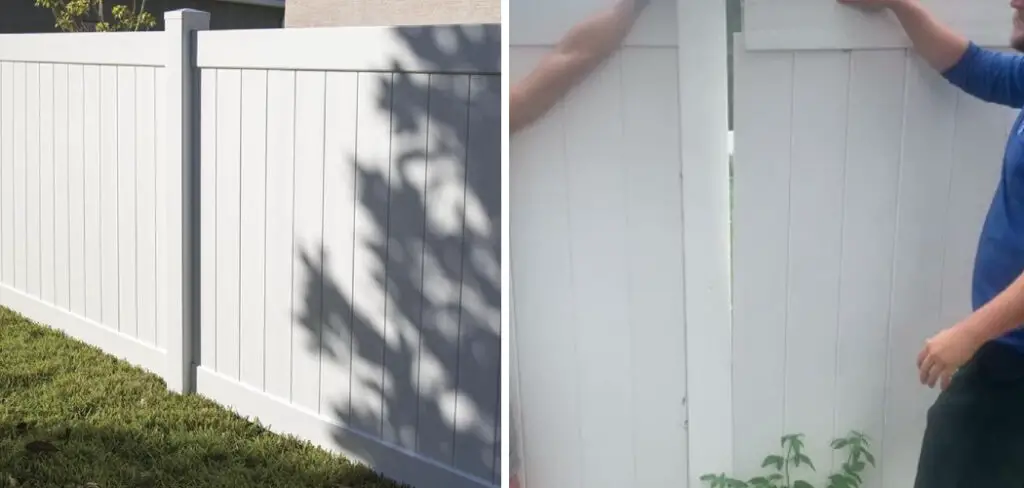
- Use a Vinyl Fence Gap Blocker: A vinyl fence gap blocker is a great solution. You can install a piece of vinyl material at the bottom of the fence to cover the gap. They are easily installable and available in various sizes to fit your fence gap.
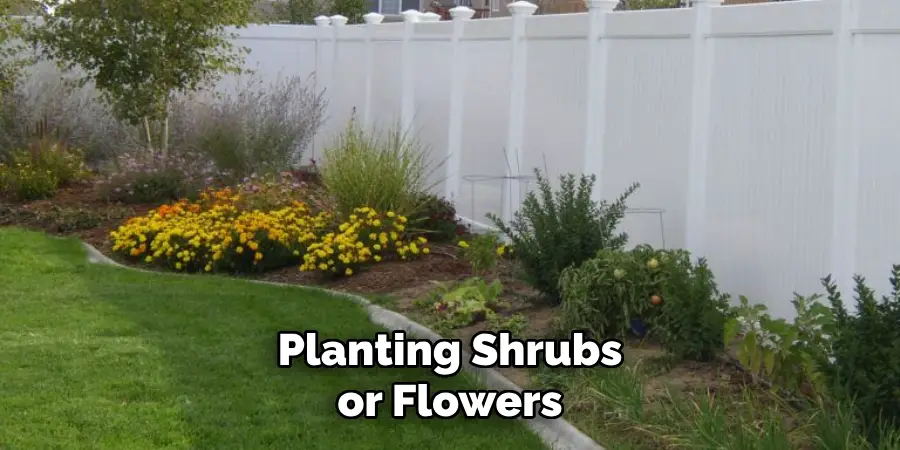
- Landscape the Area: Planting shrubs or flowers near the bottom of the fence can help conceal the gap. Consider using plants that spread out as they grow, like ground ivy or creeping thyme.
- Install a Fence Board: You can attach an additional fence board at the base of the fence. Ensure you measure the fence and the gap correctly so the board fits snugly.
- Use Rocks or Stones: Scatter some decorative rocks or stones along the bottom of the fence. Not only does this fill the gap, but it also adds a decorative touch to your yard.
- Maintain the Fence: Regular vinyl fence maintenance can prevent gaps from forming. Ensure that the fence posts are secure and that the fence is level. Regular cleaning can also prevent warping and shrinkage that can lead to gaps.
With these additional tips and tricks, you can fill the gap under your vinyl fence. Always measure accurately and choose a solution that fits your needs and budget.
5 Things You Should Avoid
- Avoid Ignoring Gaps: Overlooking small gaps can lead to larger problems in the future. Pests and small animals may use the gaps as a gateway into your yard, which could lead to more serious issues.
- Avoid Inadequate Tools: Using the wrong tools for the job can cause additional damage to the fence. Ensure you always use the correct and well-maintained tools to prevent harm to your vinyl fence.
- Avoid Improper Measurement: A common mistake is not accurately measuring the gap. Only accurate measurements can lead to effective solutions, resulting in wasted time and resources.
- Avoid Neglecting Regular Maintenance: Neglecting regular maintenance can lead to wider gaps. Regular maintenance ensures the fence remains in good condition, preventing the formation of gaps.
- Avoid Quick Fixes: While tempting, quick fixes are often not durable. They may seem to solve the problem initially, but the gap may reappear over time, leading to further issues. It’s always better to invest time and effort in a long-lasting solution.
With these tips, you can effectively fill the gap under your vinyl fence and ensure its longevity.
Conclusion
In summary, this article has covered the basics of how to fill gap under vinyl fence. With a few simple steps and supplies, you can easily improve the overall look and feel of your backyard fencing.
This task may require some back-breaking work, depending on how much dirt you need to fill in, but it is well worth it when you are finished. It is important to ensure that the area around the fence line is level before filling in with dirt so that moisture will not settle there when it rains or snows. Regardless of which material you use to fill the gap, select one that adheres to local building codes and is resistant to rot and erosion.
Finally, with a little effort from yourself or a professional contractor, you can enjoy a great-looking backyard with a properly filled vinyl fence gap!
About
Outdoor Fixes is a distinguished figure in the world of Diy design, with a decade of expertise creating innovative and sustainable Diy solutions.
His professional focus lies in merging traditional craftsmanship with modern manufacturing techniques,
fostering designs that are both practical and environmentally conscious. As the author of diy,
outdoorfixes delves into the art and science of outdoorfixes-making, inspiring artisans and industry professionals alike.
Education RMIT University
(Melbourne, Australia) Associate Degree in Design (Outdoor Fixes) Focus on sustainable design, industry-driven projects,
and practical craftsmanship. Gained hands-on experience with traditional and digital manufacturing tools, such as CAD and CNC software.
Nottingham Trent University
(United Kingdom) Bachelor’s in outdoorfixes.com and Product Design (Honors) Specialized in product design with a focus on blending creativity with production
techniques. Participated in industry projects, working with companies like John Lewis and Vitsoe to gain real-world insights.
Publications and Impact
In diy, Outdoor Fixes his insights on indoor design processes, materials, and strategies for efficient production.
His writing bridges the gap between artisan knowledge and modern industry needs, making it a must-read for both budding designers and seasoned professionals.