Are you looking to create a stunning visual centerpiece in your backyard garden? Installing a pond is an easy and beautiful way to add interest and tranquility to the landscape. Before you can install a pond, however, it must be filled with dirt or soil.
Filling a pond with dirt may seem intimidating at first, but with the right preparation and materials, it’s quite straightforward! In this blog post, we will show you how to fill in a pond with dirt step-by-step so that you can enjoy your new backyard piece of paradise for years to come.
If you have a large body of water on your property that you want to transform into something more useful and visually appealing, filling in the pond with dirt might be just what you need. Bringing an expansive open space like this down to grade level can turn a neglected area into one of the most beautiful parts of your lot.
Filling in a pond with dirt is not as difficult as it may seem, and with some simple preparation, knowledge, and resources, anyone can get terrific results. In this article, we will discuss all the steps necessary for successful pond-filling so that you can enjoy having flat land on your own property in no time!
Why May You Want to Fill in a Pond With Dirt?
You may want to fill in a pond with dirt for many reasons. Such as:
1. To Create More Usable Land
One of the most common reasons for filling in a pond is to create more usable land. This could be for gardening, landscaping, or building a structure such as a patio or shed.
2. To Reduce Mosquito Breeding
Standing water makes an ideal breeding ground for mosquitoes, so if your pond has become overrun with mosquitoes, it may be a good idea to fill it in with dirt.
3. To Improve Water Quality
Filling a pond with dirt can also help improve the water quality of nearby lakes and rivers. This is because the sediments from the soil will filter out pollutants before they reach nearby bodies of water.
4. To Reduce Odor Problems
Ponds that are not regularly maintained can become stagnant and emit an unpleasant odor. Filling in the pond with dirt will help to reduce odor problems.
Once you have decided that it is time to fill in your pond with dirt, the next step is to understand the best way to do so. This process can be complicated and should not be undertaken without careful planning and consideration.
How to Fill in a Pond With Dirt in 7 Easy Steps
The following steps will help guide you through the process of filling in a pond with dirt:
Step 1: Clear the Area
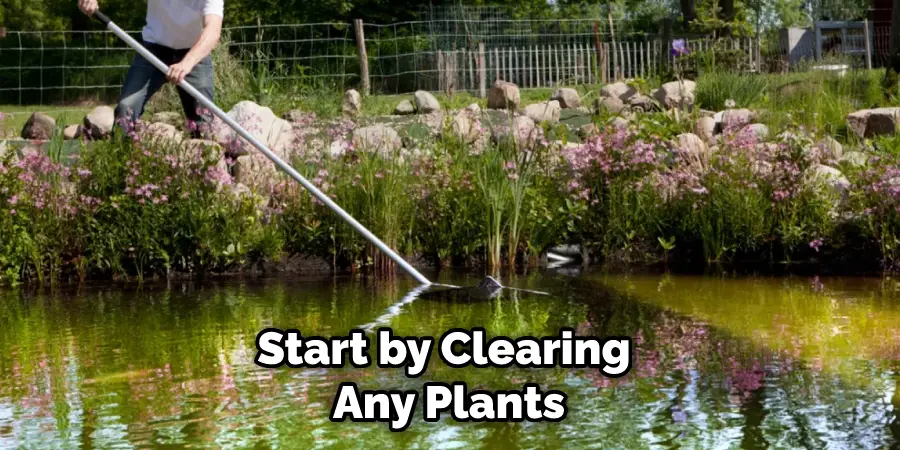
Start by clearing any plants, rocks, and debris from the area that you plan to fill with dirt. This will ensure that the soil is able to settle evenly and not become disturbed or uneven.
Step 2: Dig Out the Pond
Once you have cleared the area, use a shovel to begin digging out the pond. Be sure to remove any large stones or roots that may be present, as these can disrupt the filling process later on.
Step 3: Create an Incline
Once you have dug out the pond, it is important to create an incline in order for the dirt to settle evenly. To do this, use a rake or other tool and ensure that the pond’s edges are slightly higher than its center.
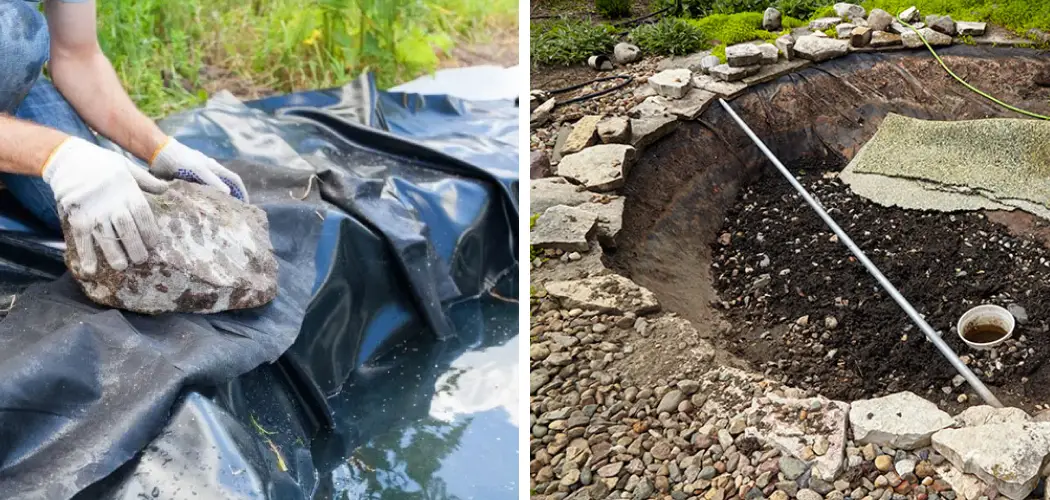
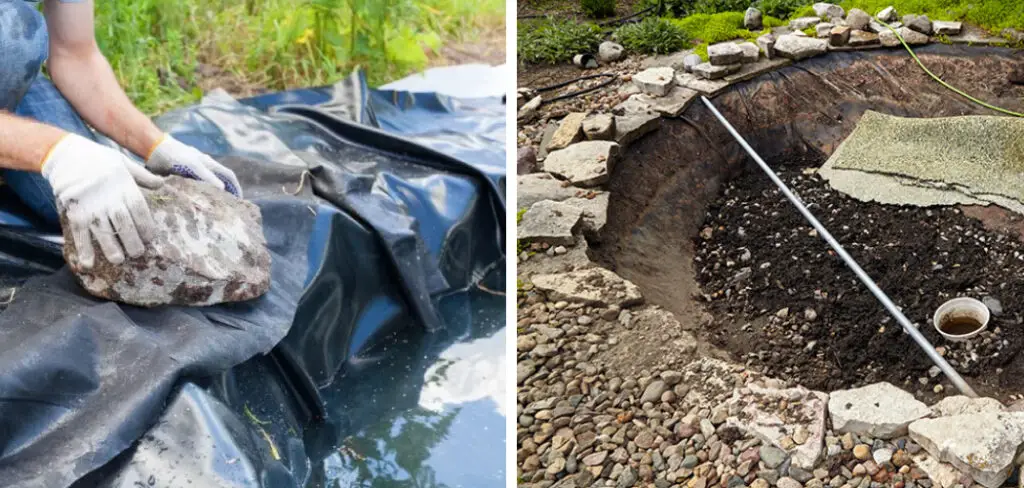
Step 4: Add Sand and Gravel
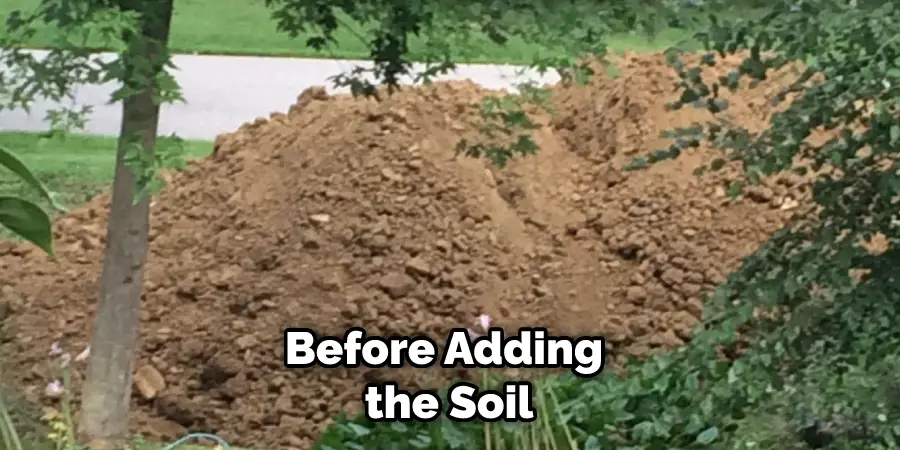
Before adding the soil, it is important to add a layer of sand and gravel in order to prevent erosion. Also, this will help create a solid foundation for the dirt to settle on.
Step 5: Add the Soil
Now it is time to add the soil. Begin by adding small amounts at a time and using a rake or hoe to ensure that it is even. Use a shovel to move the soil around and create a level surface if necessary.
Step 6: Compact the Soil
Once you have filled in the pond, it is important to compact the soil to ensure it will not settle unevenly later on. This can be done by using a tamper or heavy object such as a large rock or log.
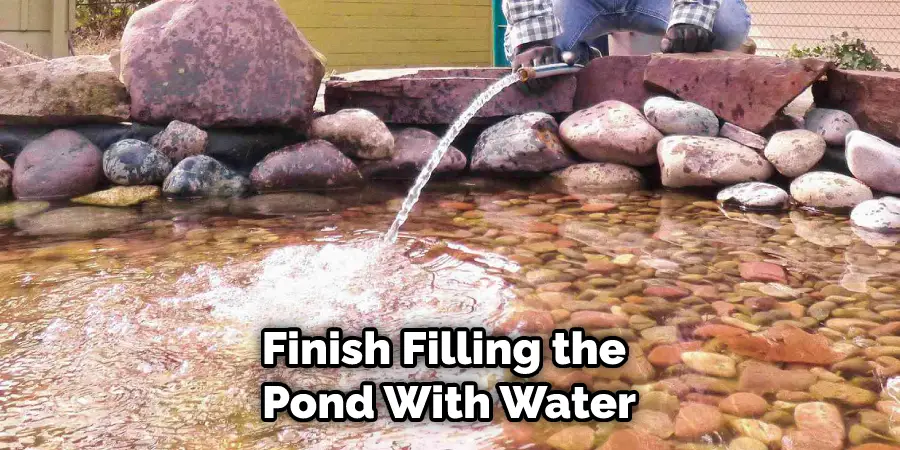
Step 7: Finish Filling With Water
Finally, you can finish filling the pond with water. This will help settle the soil and create a more natural look. It is important to add only enough water so that it does not run off or overflow.
Filling in a pond with dirt can be challenging, but with the right steps, it can be done with ease. Follow these seven easy steps, and you will have a beautiful pond in no time! Good luck!
Some Additional Tips to Fill in a Pond With Dirt
1. Use a Backhoe or Excavator to Dig
This is the most efficient way to dig out the pond and fill it in with dirt. Hiring a professional to do the job can also save you money. Also, remember to dispose of any soil that was removed from the pond properly.
2. Fill the Pond With Sand and Gravel
This is a great way to create an even bed for the dirt to be placed on. It also helps with drainage so that you won’t have standing water in your newly-filled pond. Make sure to spread the sand and gravel evenly across the pond.
3. Use Compacted Soil
This is important for ensuring that your soil is stable and doesn’t sink or cave in once it is filled. Make sure to use a compaction plate or roller to compress the soil before you fill it into your pond.
4. Add a Layer of Topsoil
Adding topsoil to the dirt will help prevent weeds and other plants from growing in your pond. This is a great way to ensure the longevity of your newly-filled pond.
5. Plant Grass or Other Plants Around Your Pond
If you want to add some aesthetic value to your pond, planting grass or other plants around the edges will do just that. Not only does this add a nice touch of color and texture to the pond, but it also helps with erosion control and keeping unwanted pests away.
6. Add a Filtration System
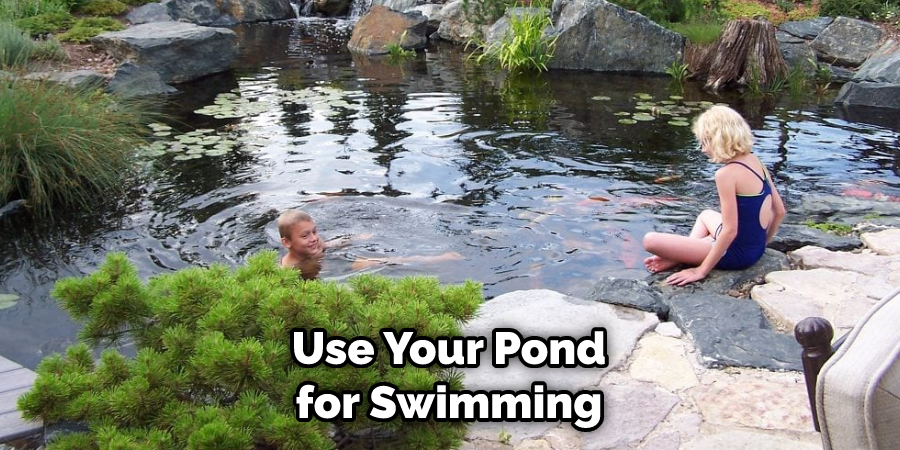
Adding a filtration system is important for keeping your water clean and clear. This is especially important if you plan to use your pond for swimming or fishing. A filtration system will also help to keep out algae and other pests that could otherwise negatively affect the quality of your pond water.
7. Fill in Any Gaps With Rocks
If there are any gaps or low spots in the soil, fill them in with rocks to provide extra stability. This is especially important if you plan on using your newly-filled pond for swimming or fishing, as it will help prevent any accidents.
8. Give It Time
Once you’ve filled the pond and everything has been set up, give it some time and let the soil settle. Make sure to check back regularly and refill any low spots with dirt or rocks as needed.
By following these steps, you will be able to fill in a pond with dirt quickly and effectively. Just remember that it is important to properly prepare the area before filling, use the right kind of soil, and give it time to settle. Good luck!
Frequently Asked Questions
What Precautions Should I Take When Filling in a Pond With Dirt?
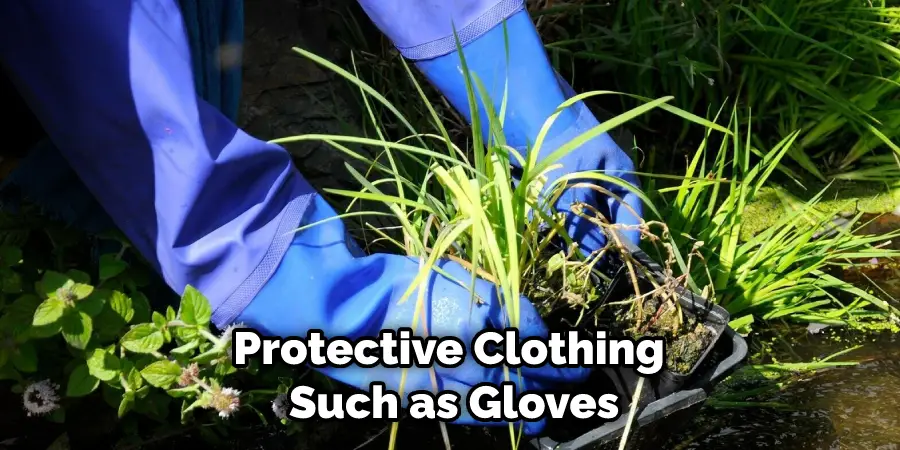
When filling in a pond with dirt, it is important to take safety precautions. Wear protective clothing such as gloves and eye protection. Make sure to remove any large stones or tree stumps in the pond area before beginning your project.
Furthermore, check for underground utilities and be mindful of any surrounding vegetation that could be damaged during the process.
What Are Some Considerations When Selecting Dirt for Filling a Pond?
When selecting dirt to fill in your pond, it is important to ensure that the soil type is appropriate for your project. Avoid using topsoil as this may be too light and cause erosion or other problems with the finished project. It is also important to consider whether the dirt is free of debris, weeds, and other items that could interfere with the pond’s functionality.
Lastly, make sure to properly compact the soil after filling in order to prevent settling or other issues down the line.
What Is The Best Way To Fill in a Pond With Dirt?
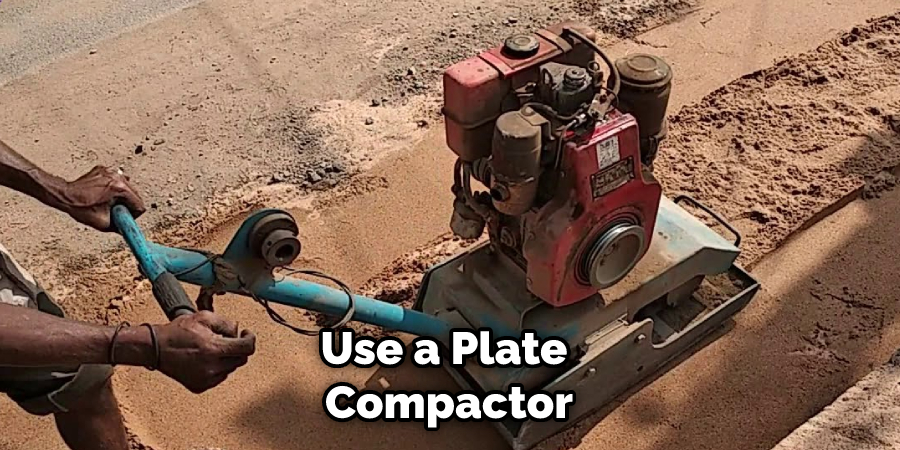
The best way to fill a pond with dirt is to remove any large debris or stones from the area. Next, evenly spread the dirt around the perimeter of the pond using shovels and rakes. After that, use a plate compactor to ensure proper soil compaction and reduce settling. Finally, use a hand tamper to fill in any low or uneven spots.
What Are Some Benefits of Filling in a Pond With Dirt?
Filling in a pond with dirt can provide several benefits, such as improved water quality, increased rainfall infiltration rate and reduced weed growth. Additionally, it can improve the aesthetic of your landscape by providing a level base for other landscaping projects. Lastly, it can also help reduce the risk of mosquito infestations in your area.
What Are Some Disadvantages of Filling in a Pond With Dirt?
One disadvantage of filling in a pond with dirt is that it may cause issues with drainage. If not properly compacted, the soil can shift, leading to a buildup of water in the area. Additionally, removing dirt can be difficult and costly if you decide to restore the pond down the line.
Lastly, filling in a pond with dirt can disturb local wildlife that depends on the water source for survival. Therefore, it is important to carefully consider all benefits and disadvantages prior to beginning your project.
What Are The Costs Associated With Filling in a Pond With Dirt?
The cost of filling in a pond with dirt will vary depending on the size of the job and the materials used, however, the average cost is usually around $350. This price range includes rental equipment, soil, and labor costs. It is important to remember that the cost of the project may increase if the pond is particularly large or if there are any unforeseen issues during the process.
Conclusion
Now you know how to fill in a pond with dirt. Begin by properly preparing the area, using the right kind of soil, and compacting it with a compactor. Additionally, be sure to take safety precautions and have an understanding of all costs associated with the project. Finally, make sure to give it time to settle before enjoying your newly filled-in pond.
Finally, filling in a pond can be an easy and rewarding task when following the right steps. Always be sure to check local laws before you begin any project such as this, and seek professional help if needed.
Have patience and take the time to plan the project before diving too deeply into the process. With careful consideration and the proper procedures, you can have a beautiful new outdoor area for your home that is safe for all of your family members. Be sure to stay aware of possible risks and have fun during the process.
About
Outdoor Fixes is a distinguished figure in the world of Diy design, with a decade of expertise creating innovative and sustainable Diy solutions.
His professional focus lies in merging traditional craftsmanship with modern manufacturing techniques,
fostering designs that are both practical and environmentally conscious. As the author of diy,
outdoorfixes delves into the art and science of outdoorfixes-making, inspiring artisans and industry professionals alike.
Education RMIT University
(Melbourne, Australia) Associate Degree in Design (Outdoor Fixes) Focus on sustainable design, industry-driven projects,
and practical craftsmanship. Gained hands-on experience with traditional and digital manufacturing tools, such as CAD and CNC software.
Nottingham Trent University
(United Kingdom) Bachelor’s in outdoorfixes.com and Product Design (Honors) Specialized in product design with a focus on blending creativity with production
techniques. Participated in industry projects, working with companies like John Lewis and Vitsoe to gain real-world insights.
Publications and Impact
In diy, Outdoor Fixes his insights on indoor design processes, materials, and strategies for efficient production.
His writing bridges the gap between artisan knowledge and modern industry needs, making it a must-read for both budding designers and seasoned professionals.