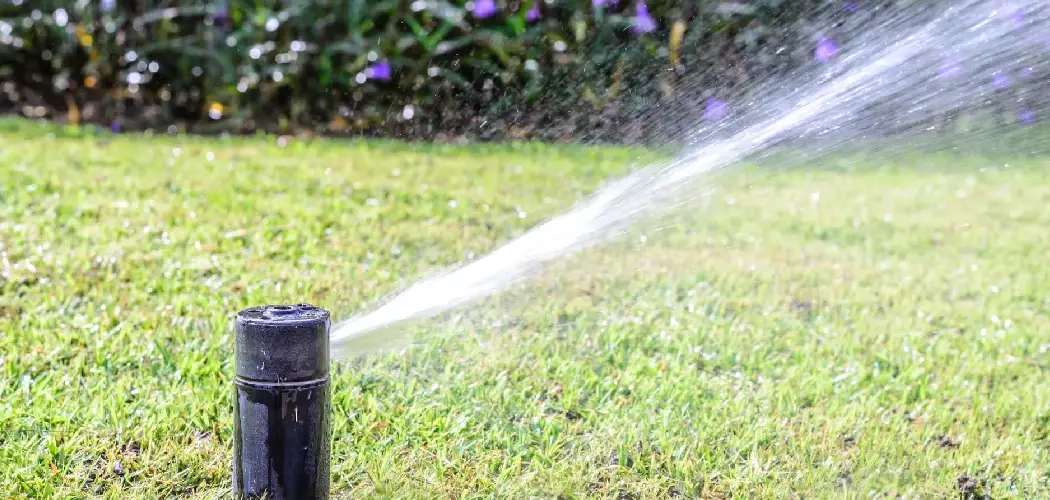
A well-maintained lawn is a source of pride for any homeowner, and an efficient sprinkler system is crucial for achieving that lush, green look. However, over time, sprinkler heads can become buried under soil, thatch, or overgrown grass, making them difficult to locate. This not only hinders their performance, leading to dry spots and wasted water, but also makes routine maintenance nearly impossible.
Locating these hidden components is a common challenge for homeowners. Whether you’ve just moved into a new property or have simply lost track of your system’s layout, finding buried sprinkler heads is an essential first step toward effective irrigation and system longevity. This guide on how to find buried sprinkler heads will provide a detailed, step-by-step approach to help you uncover your entire sprinkler network with confidence.
Understanding Sprinkler Systems
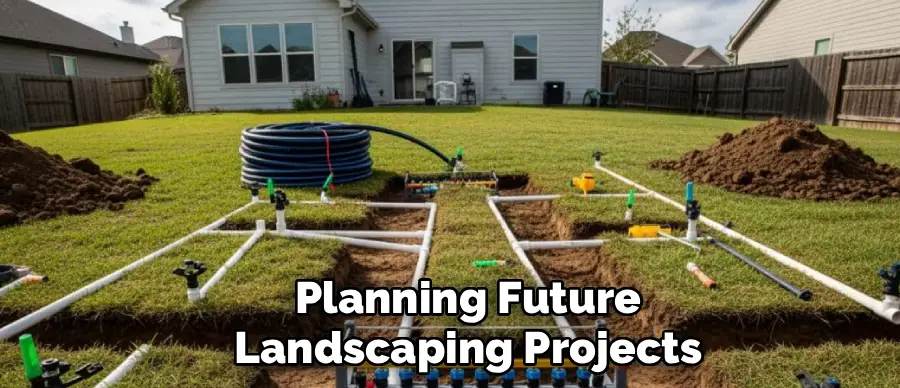
Before you can effectively find buried sprinkler heads, it helps to have a basic understanding of how the entire system operates. An irrigation system is more than just the heads you see popping up; it’s a network of pipes, valves, and a controller working in concert to deliver water precisely where it’s needed. The system begins at the main water line, which feeds into a backflow preventer to protect your home’s potable water supply. From there, water flows to a series of zone valves, which are typically housed in a green rectangular box buried in the ground.
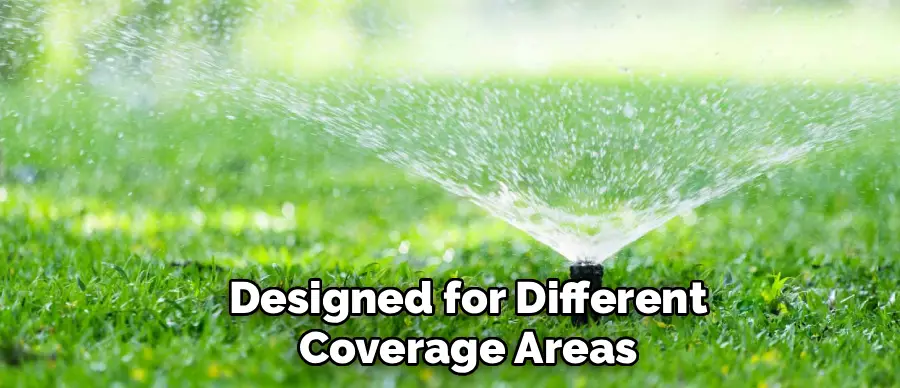
These valves act as gates, opening and closing on command from the central sprinkler controller. Each valve controls a specific “zone” of your yard, which is a group of sprinkler heads connected by a series of underground PVC or poly pipes. When a zone is activated, water pressure builds in the pipes, causing the pop-up sprinkler heads in that zone to rise and spray water. The heads themselves come in various types, including rotors (which rotate in a stream) and spray heads (which emit a fixed fan of water), each designed for different coverage areas.
So, why do these critical components get buried? It’s a natural process that happens over several seasons. Topsoil and mulch added to garden beds can slowly cover the heads located near the edges. Grass and thatch build up over time, gradually engulfing the heads of the lawn. The ground itself can shift and settle, causing the heads to sink lower. Additionally, lawn aeration can push soil cores over the top of the heads, and regular mowing without proper trimming around the heads can allow grass to grow over and conceal them. Understanding this allows you to anticipate where heads might be hiding and why they disappeared in the first place.
6 Simple Step-By-Step Guidelines on How to Find Buried Sprinkler Heads
Step 1: Gather Your Tools and Turn on a Zone
Preparation is key to an efficient search. Before you begin, gather a few essential tools that will make the process much easier. You will need a small garden trowel or a soil knife for gentle digging, a long, thin screwdriver or a specialized soil probe to check for hard objects beneath the surface, and several marker flags to mark the locations of the heads as you find them.
Having a bucket for excess soil is also helpful. Additionally, prepare to access your sprinkler system’s controller, which is typically located in a garage, basement, or on an exterior wall. If you have the original plot plan or any documentation for your system, have it handy, though this guide is designed for situations where you have no map.
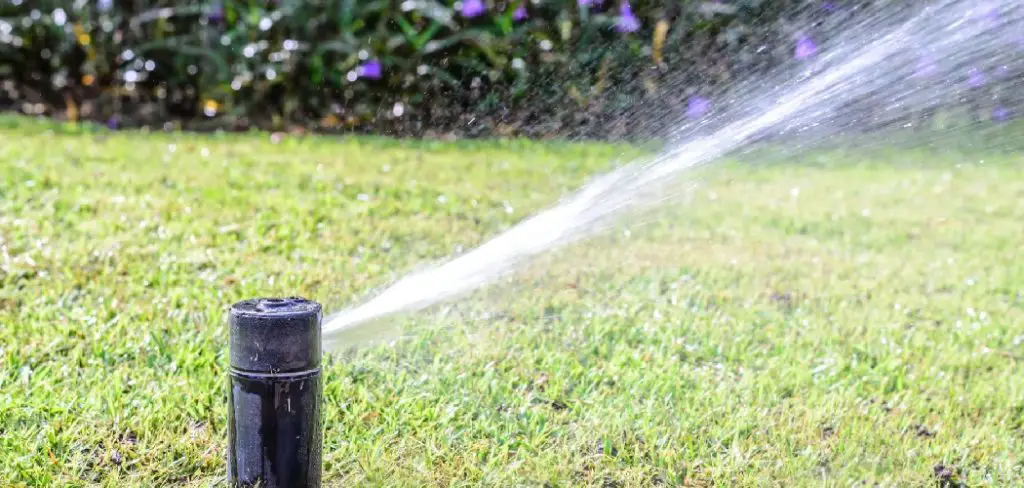
With your tools ready, the first active step is to activate one of the irrigation zones. Go to your sprinkler controller and manually turn on the first zone. This action sends water pressure down the pipes connected to a specific group of sprinkler heads. Even if the heads are completely buried, this is the most critical step.
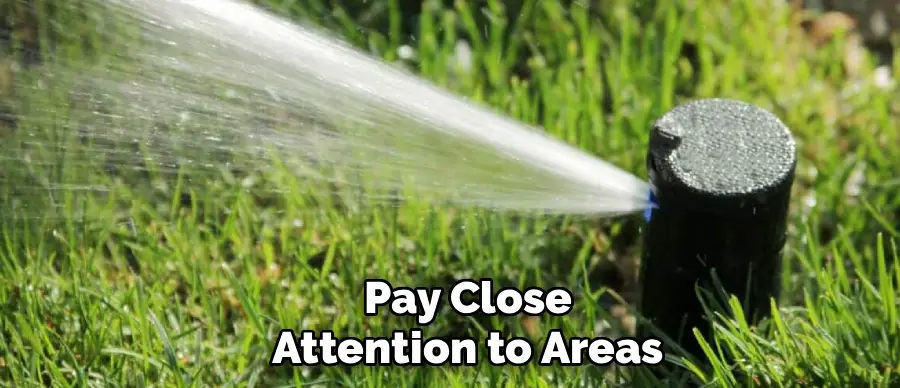
The water pressure will often cause a small puddle to form, create a visible bubbling or gushing effect on the surface, or produce a distinct hissing or spraying sound just below the ground. Walk through the area you believe is covered by this zone and listen carefully. Pay close attention to areas that become unusually wet or where you hear the telltale sound of spraying water. This initial zone activation provides the first set of clues to your system’s layout.
Step 2: Use a Probe to Methodically Search the Area
Once a zone is running, you have a general idea of where to begin your search. Start with any visible heads in that zone or the wettest spot you identified. Sprinkler systems are typically laid out in logical patterns, often following the contours of driveways, walkways, and garden beds, or spaced in a grid pattern across open lawn areas. Use this logic to your advantage.
From a known head, estimate the distance to the next one. Spacing can range from 8 to 15 feet for spray heads and 20 to 40 feet or more for rotors. Measure this distance and begin your physical search in that vicinity.
Take your long screwdriver or soil probe and start probing the ground gently. The goal is not to puncture the pipes but to feel for the hard plastic casing of the sprinkler head. Push the probe into the ground every few inches in a grid-like pattern around the suspected area. You will quickly learn to distinguish the feel of hitting a rock versus the distinct, hollow-sounding “thud” of a plastic sprinkler head.
The top of the head is typically only a few inches below the surface. Be patient and methodical. When you successfully locate a hard object that feels like a sprinkler head, leave the probe in place or immediately place a marker flag right next to it so you don’t lose the spot. Repeat this process, moving from one found head to the next, until you believe you have located all the heads in that zone.

Step 3: Check Valve Boxes and Follow the Pipes
If probing proves difficult or you’re dealing with a large, undefined area, locating the valve boxes can provide an excellent starting point. Sprinkler valve boxes are typically green, rectangular boxes set flush with the ground, containing the electronic valves that control each zone.
They are often located near the water source, such as close to the house foundation or near the water meter. Sometimes there is one central manifold of valves, while other systems have multiple boxes scattered around the property. Once you find a valve box, you have found the starting point for the pipes leading to each zone.
Open the lid of the valve box. You will see several valves, each with wires connected to it. While one zone is running, you can often hear or feel which specific valve is active. The pipe leading out of that active valve is the lateral line that feeds all the sprinkler heads for that zone. While the pipes are buried, they usually run in relatively straight lines away from the valve box. You can use this knowledge to refine your search.
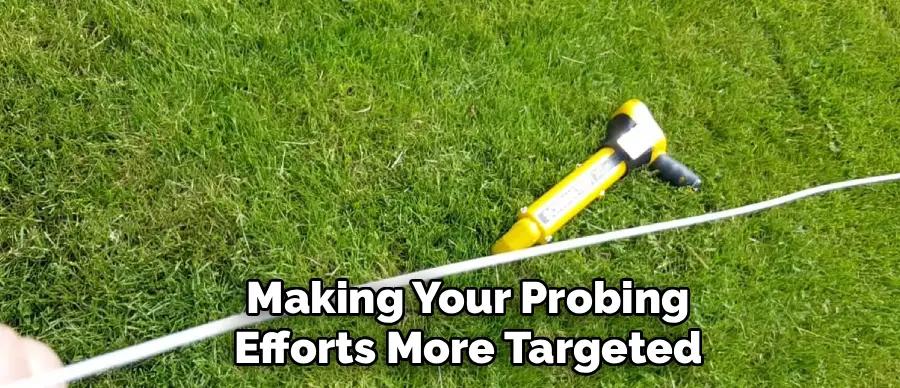
Probe the ground along the likely path of the pipe, moving away from the valve box toward the area you want to water. This method helps you stay on track and provides a logical path to follow, significantly narrowing down the search area and making your probing efforts more targeted and effective.
Step 4: Utilize a Metal Detector for Solenoids
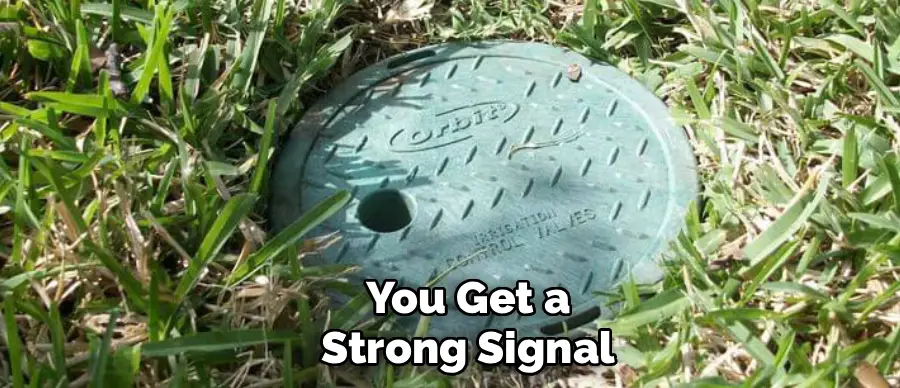
This step introduces a more technical approach that can be incredibly effective, especially for finding the valve boxes themselves, which are the nerve centers of your zones. Each automatic sprinkler valve is operated by a small component called a solenoid. The solenoid is an electromagnet that, when energized by the controller, lifts a plunger to allow water to flow through the valve. Most solenoids contain metal components, making them detectable with a basic metal detector. If you are struggling to find your valve boxes, this is an excellent strategy.
Rent or borrow a metal detector and sweep it over the areas where you suspect the valve boxes might be located—near the water meter, along the side of the house, or at the edges of the property. The detector will signal when it passes over the metal in the solenoids.
Once you get a strong signal, probe the area to confirm you’ve found the hard plastic lid of the box. This technique can also sometimes help locate individual heads if you have a very sensitive detector and there’s enough metal in their construction, but it is far more reliable for finding the valve manifolds. Finding the valves provides a clear starting point for tracing the pipelines and, subsequently, the heads.
Step 5: Activate Each Zone Sequentially
A common mistake is trying to find all the sprinkler heads at once. A much more organized and less overwhelming approach is to work through your system one zone at a time. After you have located, flagged, and excavated all the heads in the first zone, go back to your controller and turn that zone off. Then, manually activate the second zone. Repeat the entire process you just completed: listen for the sound of water, look for wet spots, and walk the area to get a sense of its coverage.
By tackling the system in this sequential manner, you avoid confusion and create a mental map of your property’s irrigation layout. Start probing and searching for the heads in this new active zone, using the same techniques as before. Place marker flags at each discovered head. Continue this process for every zone in your system—zone three, zone four, and so on—until you have methodically worked through the entire property.
This step-by-step progression ensures you don’t miss any zones and helps you understand how the different zones work together to cover your lawn and gardens. It also helps identify any potential issues, such as a zone that isn’t working at all, which could indicate a faulty valve or a line break.
Step 6: Mark and Measure for a Permanent Record
As you locate each sprinkler head, don’t just move on to the next one. Immediately place a marker flag at the location. Once you have found all the heads in a particular zone, it’s time to create a permanent record. This is arguably the most important step for future maintenance and will save you from ever having to repeat this extensive search process again. You are essentially creating the system map that you wish you had from the beginning. Using a long measuring tape, start documenting the location of each head.
Measure the distance of each sprinkler head from at least two fixed points, such as the corner of a house, the edge of a driveway, or a specific tree. For example, a head might be “15 feet from the east wall of the house and 10 feet from the edge of the patio.” Record these measurements on a piece of graph paper or in a notebook.
Sketch a rough map of your property and draw in the locations of the heads, valve boxes, and the approximate paths of the pipes. This documentation is invaluable for future repairs, adjustments, or system upgrades. It allows you to quickly locate any component without having to search again, saving immense time and effort down the line.
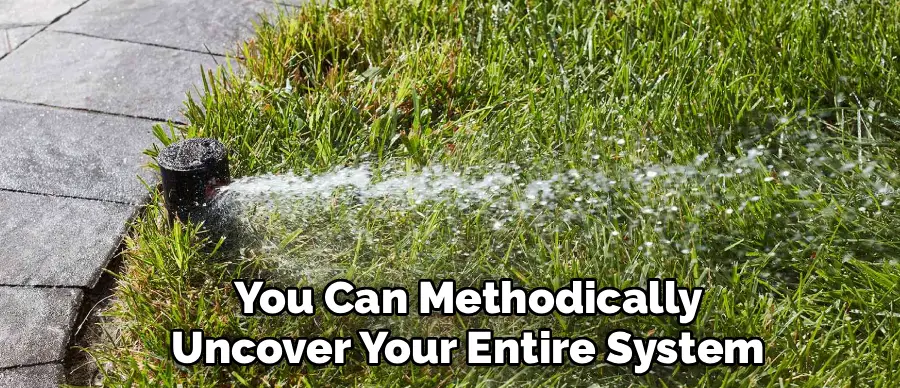
Finding your lost sprinkler heads might seem like searching for a needle in a haystack, but a systematic approach can turn this daunting task into a manageable project. By following these guidelines on how to find buried sprinkler heads, you can methodically uncover your entire system and prepare it for proper maintenance.
Excavation and Verification
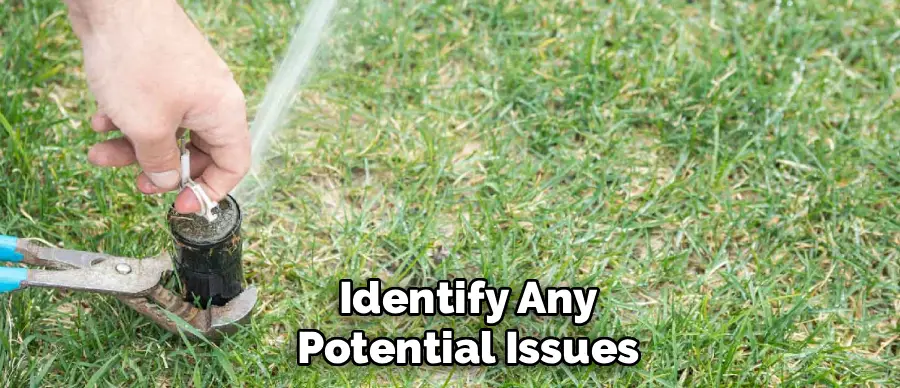
Once you’ve located a suspected sprinkler head with your probe, the next step is to carefully excavate it to confirm its identity and assess its condition. Use a small garden trowel or a soil knife to cut a circle in the turf about 8-10 inches in diameter around your marker flag. Carefully remove this plug of grass and soil and set it aside. This allows you to easily replace the turf later. Dig down gently with your hands or the trowel until you expose the top of the sprinkler head.
Be careful not to damage the head or the pipe fitting underneath it. Once uncovered, verify that it is indeed a sprinkler head. You can now check its condition. Is it clogged with dirt? Is the plastic casing cracked? Is it sitting too low? This is the perfect time to clean the head, adjust its height with a riser if necessary, or replace it if it’s broken. After verifying and servicing the head, you can replace the soil and turf plug.
Common Mistakes to Avoid
When searching for buried heads, many people make simple errors that waste time and can potentially damage the system. Avoid these common mistakes:
- Probing too aggressively, which can puncture the underground PVC pipes and create a much larger repair job.
- Forgetting to mark the location of a found head immediately, forcing you to re-do your search later.
- Digging with a large, sharp shovel, which can easily break the sprinkler head or the fittings below it.
- Not creating a map after finding the heads guarantees you will have to repeat the process in a few years.
- Giving up after a quick search and assuming a zone is broken when the heads are just well hidden.
Documentation and Mapping
The importance of creating a detailed map of your sprinkler system cannot be overstated. After investing the time and effort to find every buried component, documenting their locations is the crucial final step that protects your investment. A good sprinkler map should include the locations of all sprinkler heads, the valve boxes, the controller, and even the water source. Use the measurements you took from fixed landmarks to create a to-scale drawing of your property with these components accurately plotted.
Note the type of head at each location (e.g., rotor, spray head, drip emitter) and the zone it belongs to. You can even color-code the zones on your map for added clarity. Keep this map with your other important home documents or take a photo of it to store on your phone or computer. This map will be an invaluable resource for winterizing your system, making repairs, adjusting coverage, or planning future landscaping projects. It turns a frustrating treasure hunt into a simple matter of looking at a diagram.
Frequently Asked Questions
Q1: How Do I Locate Sprinkler Heads Without a Map?
A1: Start by turning on one zone at a time from the controller. Walk through your yard and listen for the sound of spraying water and look for areas where water is bubbling up or puddling. Use a long screwdriver or a soil probe to gently poke the ground in these wet areas until you feel the hard plastic of the sprinkler head casing. Work methodically from known head locations, as they are often spaced in predictable patterns.
Q2: Can a Metal Detector Find Plastic Sprinkler Heads?
A2: A metal detector is generally not effective for finding the plastic bodies of the sprinkler heads themselves. However, it is an excellent tool for locating the sprinkler valve boxes. The electronic solenoids that operate the valves contain metal components that most metal detectors can easily pick up. Finding the valve box gives you a starting point for tracing the pipe and finding the heads in that zone.
Q3: What Should I Do Once I Find a Buried Sprinkler Head?
A3: Once you locate a head, carefully dig around it with a small trowel to expose it. Clear away any dirt, grass, or roots that are obstructing it. Check to see if it is damaged or clogged. This is the perfect opportunity to clean the filter, replace the nozzle if needed, or install a taller pop-up riser to bring it back to the proper height, level with the soil. Mark its location on your map before moving on.
Conclusion
Finding buried sprinkler heads is a task that combines patience, logic, and a little bit of detective work. While it may seem challenging at first, following a systematic process of activating zones, listening for clues, probing methodically, and excavating carefully will lead you to success. By uncovering these hidden components, you are taking a critical step toward a more efficient and effective irrigation system, ensuring your lawn receives the water it needs to thrive while conserving resources.
The effort you put in today will pay dividends for years to come, especially if you conclude your project by creating a detailed map of your system. This simple document transforms future maintenance from a frustrating guessing game into a quick and easy task. A well-maintained sprinkler system is a valuable asset to your home, and with this guide on how to find buried sprinkler heads, you now have the knowledge to keep it operating at peak performance.
About
Outdoor Fixes is a distinguished figure in the world of Diy design, with a decade of expertise creating innovative and sustainable Diy solutions.
His professional focus lies in merging traditional craftsmanship with modern manufacturing techniques,
fostering designs that are both practical and environmentally conscious. As the author of diy,
outdoorfixes delves into the art and science of outdoorfixes-making, inspiring artisans and industry professionals alike.
Education RMIT University
(Melbourne, Australia) Associate Degree in Design (Outdoor Fixes) Focus on sustainable design, industry-driven projects,
and practical craftsmanship. Gained hands-on experience with traditional and digital manufacturing tools, such as CAD and CNC software.
Nottingham Trent University
(United Kingdom) Bachelor’s in outdoorfixes.com and Product Design (Honors) Specialized in product design with a focus on blending creativity with production
techniques. Participated in industry projects, working with companies like John Lewis and Vitsoe to gain real-world insights.
Publications and Impact
In diy, Outdoor Fixes his insights on indoor design processes, materials, and strategies for efficient production.
His writing bridges the gap between artisan knowledge and modern industry needs, making it a must-read for both budding designers and seasoned professionals.