
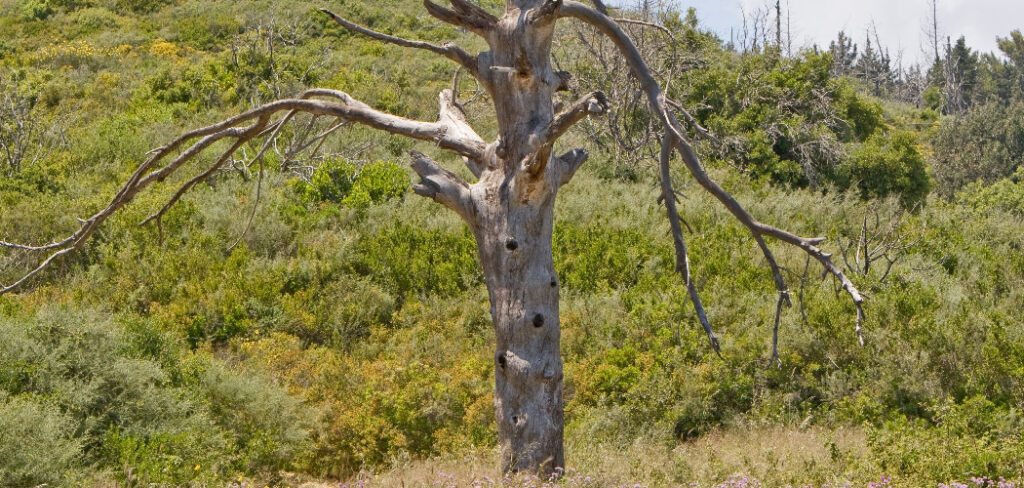
Are you dealing with a tree that has been pruned incorrectly? Don’t worry, there are steps you can take to restore your tree.
When a tree becomes badly pruned, it can be an eyesore to look at and cause disappointment for anyone who was hoping to enjoy its beauty. What’s worse is when the branches are chopped off without any thought, making it even harder to remedy the mistakes. However, don’t despair! There is hope in sight – with proper care and some creativity, you can fix a badly pruned tree and make it something that will bring pleasure instead of frustration.
In this blog post, we’ll provide tips on how to fix a badly pruned tree, from selecting the right plants for the scene to styling them in ways that decorate rather than detract. Read on for detailed advice that changes your badly cut plant into sparkling works of art!
Will Tree Grow Back After Pruning?
Yes, trees will usually grow back after pruning. The process of regrowth depends on how much damage has been done to the tree. If it’s a minor case of poorly shaped plants, growth can be encouraged with some careful pruning and trimming. In cases where too much has been removed, however, there is no guarantee that the tree will ever look the same.
The best way to ensure a successful recovery from bad pruning is to give your tree plenty of TLC straight away. This means watering correctly (not over-watering but ensuring the soil remains consistently moist), feeding with appropriate fertilizer, and providing enough light for photosynthesis.
This article will explain how to prune and shape a badly pruned tree correctly.
What Will You Need?
Before you get started, make sure you have the right tools and supplies:
- Pruning shears
- Loppers
- A saw (if needed)
- Rope or wire
- Fertilizer
- Watering can and hose (optional)
Once you have gathered everything together, it’s time to get started!
10 Easy Steps on How to Fix a Badly Pruned Tree
Step 1: Identify the Problem Areas
The first step is to assess how badly the tree has been pruned. Look for areas that are too long, too short, or misshapen. Note these areas so that you can focus your energy on them. If the tree has been severely damaged, you may need to call in a professional arborist for advice.
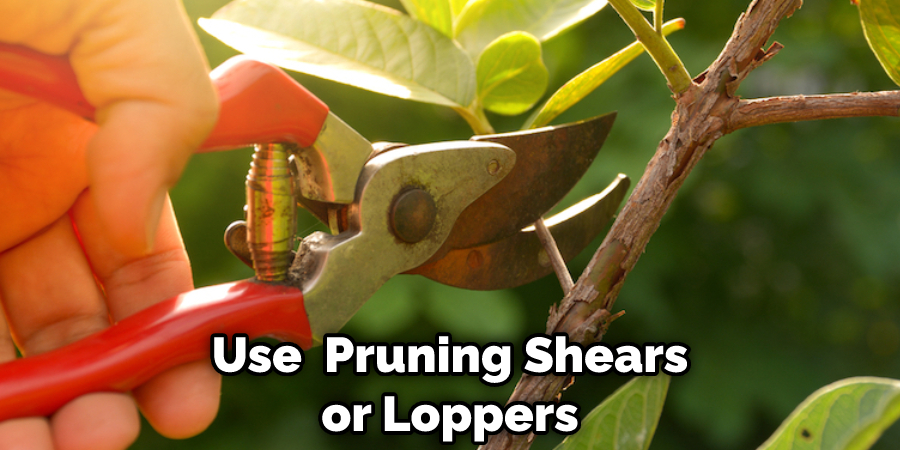
Step 2: Prune Back Further
Once you have identified the problem areas, it’s time to prune back further. Use your pruning shears or loppers to carefully remove any branches that are obviously out of place or dying. Don’t be afraid to cut away large sections if needed – this is how you will create the desired shape.
Step 3: Train the Tree
Now that you have removed the incorrect branches, it’s time to train your tree into its new shape. Start by tying back any long branches with rope or wire so they point in the right direction. You may even want to guide the tree’s branches into specific shapes with your pruning shears.
Step 4: Fertilize and Water
Be sure to fertilize and water the tree correctly after each pruning session. This will help ensure it has all the nutrients it needs for optimal growth and health. Be careful not to over-water, as this can lead to root rot. Because fertilizer can be difficult to find, you may want to contact a local nursery for advice on what kind is best for your particular tree.
Step 5: Monitor Growth
Monitor how the tree grows over time, noting any changes. If you notice anything unusual or concerning, consult a professional arborist right away. Ensure that your tree is getting enough sunlight, which will help it grow. Don’t forget to keep an eye out for pests as well.
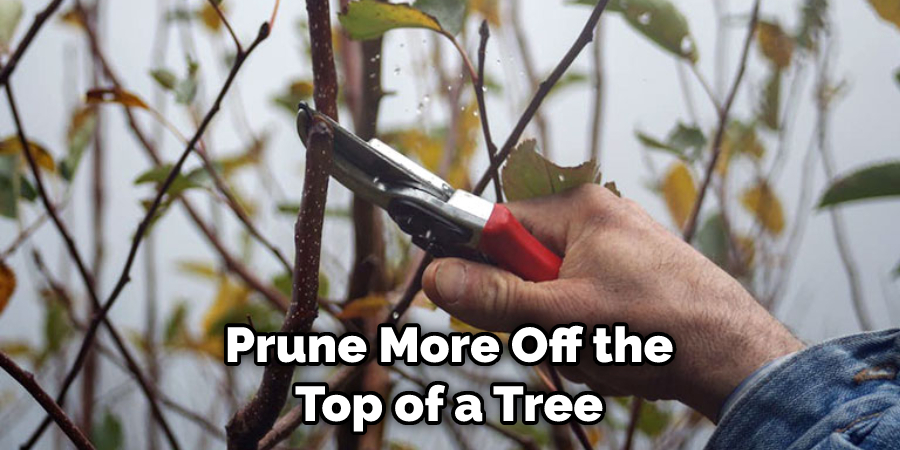
Step 6: Make Adjustments
Continue to make adjustments to the tree as it grows. This can include pruning away any branches that are out of place or excessive, tying back long branches, and encouraging new growth in specific areas. Additionally, you may need to prune more off the top of a tree if it is getting too tall.
Step 7: Provide Shade
In some cases, providing shade may be necessary if the tree is receiving too much direct sunlight. You can do this by putting up a shade cloth around the trunk or planting other trees nearby to provide natural shading. This can help the tree to thrive and prevent damage from intense sunlight. Moreover, it can also help to reduce stress on the tree.
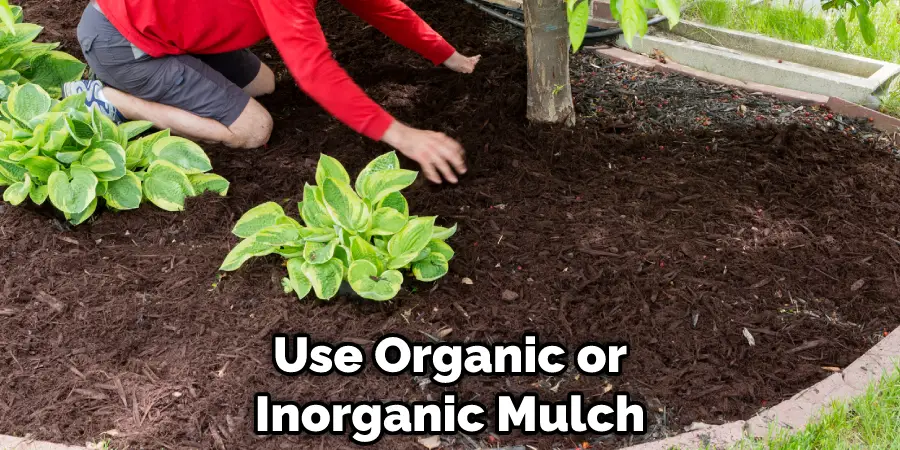
Step 8: Add Mulch
Adding mulch around the tree’s base can help promote healthy growth and protect the roots from extreme temperatures. This can help to retain moisture and provide nutrients for the tree. You can use organic or inorganic mulch; just be sure it is not too deep. It will need to be replaced every few years as it breaks down.
Step 9: Take Care of Pests
Pests can be a huge problem for trees, so monitoring them and taking action if necessary is important. If you notice any signs of pests, such as holes in the leaves or bark, be sure to apply a suitable pesticide to protect your tree from further damage. Try to identify the pest and treat it specifically for that particular species. Because of the potential toxicity of pesticides, it is best to consult with a professional before applying any treatments.
Step 10: Enjoy the Results
Finally, sit back and admire your handy work! As long as you have followed these steps correctly, your tree should look much better than before. Just remember to keep monitoring grass to growing over time, making adjustments as needed. Your tree will soon become a beautiful centerpiece in your garden with proper care!
By following these steps, you can easily learn how to fix a badly pruned tree. With the right care and maintenance, you’ll soon have a healthy, beautiful tree that will last for many years to come. Happy gardening!
5 Additional Tips and Tricks
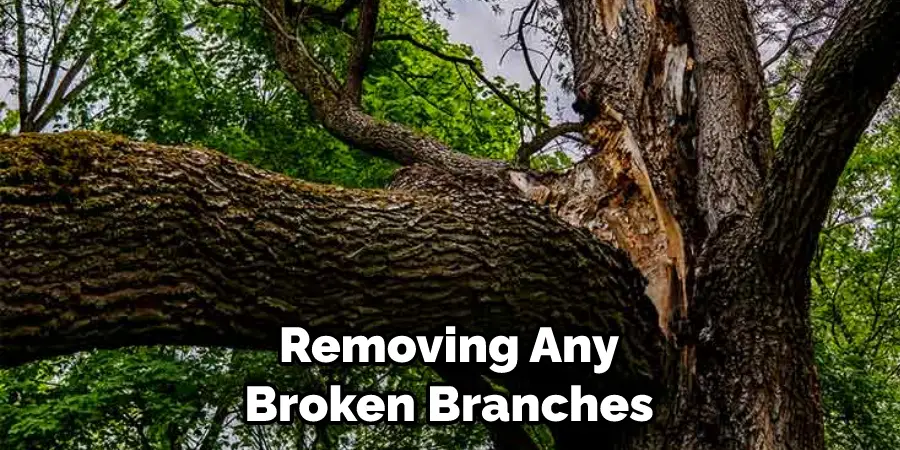
- If the bad pruning was done recently, you may be able to save the tree by removing any broken branches. Doing it as soon as possible can help reduce damage to the rest of the tree.
- For more established pruning, you will need to wait until late winter or early spring when new buds appear on the branches before attempting to fix it.
- Make sure that your cuts are made with clean and sharp tools, so they heal quicker and look better when finished.
- Seal off any wounds created from pruning with a wound dressing designed for trees – this helps protect them against disease and pests while healing faster too!
- Finally, ensure enough space around the tree for air circulation so that it can breathe easily and recover faster. A lack of air circulation can prevent the tree from healing properly.
By following these tips, you’ll be able to effectively fix a badly pruned tree and get it back on track for healthy growth. With patience and regular maintenance, your tree will look just as good as before in no time!
5 Things You Should Avoid
- Don’t leave too many large branches. When pruning a tree, it is important to take into account how much of the branch you are removing and how much will remain. Leaving too many large branches can weaken the structure and cause the tree to become top-heavy, leading to potential collapse or injury should a storm occur.
- Don’t remove more than one-third of the total crown at any given time. Removing more than one-third of the crown in a year can shock the tree and cause permanent damage, such as dieback or a significant decline in health.
- Avoid making flush cuts when pruning your tree. Flush cuts remove bark along with tissue that has living cells and can leave the tree vulnerable to infection and disease.
- Don’t use a pruning saw unless you have to. Pruning saws are designed for cutting large branches, but they can cause more damage than good when used on smaller branches as they can tear through the bark and leave jagged edges that are difficult to repair.
- Don’t remove live branches without a specific reason or cause. Removing healthy branches should only be done if necessary to improve the tree’s shape or reduce its size when needed, not just because you don’t want them there anymore.
Avoiding these mistakes when pruning a tree can help ensure that you don’t cause inadvertent damage and deterioration of the tree’s health. With careful thought and attention to detail, you should be able to fix a badly pruned tree and keep it healthy for years to come.
5 Signs of Over Pruning
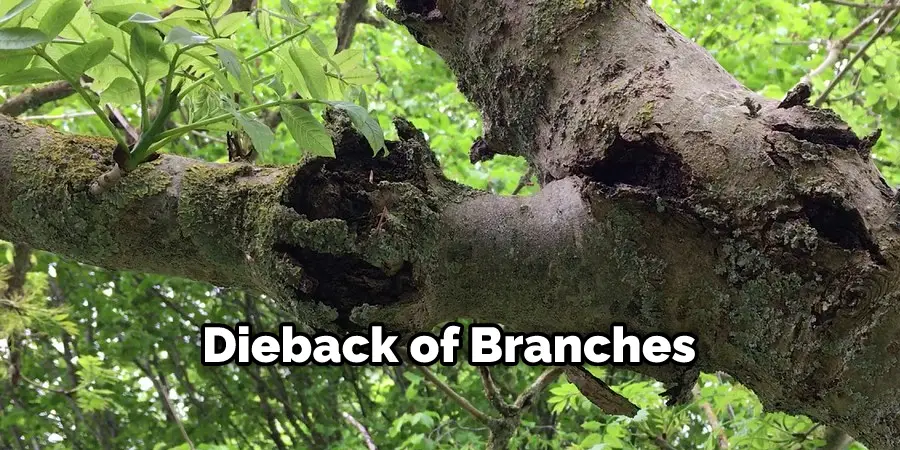
- Dieback of Branches: If you have noticed that some of the branches are turning brown and dying away, this is a sign that the tree has been over pruned.
- Signs of Decay: Over pruning can leave large, open wounds on the tree where it cannot repair itself quickly enough. This can cause fungal and bacterial infections to set in, which will lead to rotting and decay around the wound site.
- Excessively Thin Crown: If you see that your tree’s canopy is thinning out significantly more than it used to, then this could be a sign that too much was removed during pruning or shaping.
- Weak Branches: Branches that appear weak and brittle with leaves falling off may be an indication of too much pruning.
- Sunburn: If your tree is receiving too much direct sunlight due to the removal of branches, it could lead to sunburn on the remaining trunk and limbs. This can cause further damage and decay at a rapid rate if left unchecked.
If you notice any of these signs, it’s important to take action as soon as possible in order to fix a badly pruned tree. Prune out any dead or decaying material and heavily reduce the amount of foliage removed for the remainder of the season while being sure not to remove more than one-third of the total crown when possible.
What to Put on Trees After Pruning?
Once you’ve finished pruning your tree, using a sealant is important to help protect and heal the wounds left behind. This will help promote healthy new growth and reduce the risk of infection or disease. There are several products available specifically designed for this task, including:

- Tree Wound Dressing: A tree wound dressing is a wax-based product that can be applied directly onto pruned areas in order to seal them off from air and moisture.
- Pruning Paint: Pruning paint works similarly to tree wound dressings but is usually oil-based rather than wax based, which allows for better protection against extreme weather conditions.
- Whitewash/lime Sulfur Paint: This mixture of water, lime, and sulfur can be used to coat wounds on trees. It helps protect against sunburn or infection and can help prevent the disease from spreading between branches.
No matter how you decide to seal your tree’s wounds, it’s important to remember that this should only ever be done as a last resort after any necessary pruning has already been completed. Properly caring for your trees and avoiding over-pruning in the first place will help ensure they stay healthy for many years to come.
Conclusion
In conclusion, pruning a tree is a challenging process that requires precision and the right tools for the job. It’s important to take your time with painting and be sure to get rid of any dead or diseased branches. Don’t forget to use proper safety equipment, such as work gloves and goggles, when handling sharp tools and branches.
Furthermore, always cut into healthy wood below the branch collar on every cut you make when executing a prune. Finally, never over-prune or remove more than 30% of a tree at once, as this can damage it severely. With good preparation, hard work, and expert guidance, you can easily fix a badly pruned tree.
Hopefully, the article on how to fix a badly pruned tree has been of great help. Thanks for reading!
About
Outdoor Fixes is a distinguished figure in the world of Diy design, with a decade of expertise creating innovative and sustainable Diy solutions.
His professional focus lies in merging traditional craftsmanship with modern manufacturing techniques,
fostering designs that are both practical and environmentally conscious. As the author of diy,
outdoorfixes delves into the art and science of outdoorfixes-making, inspiring artisans and industry professionals alike.
Education RMIT University
(Melbourne, Australia) Associate Degree in Design (Outdoor Fixes) Focus on sustainable design, industry-driven projects,
and practical craftsmanship. Gained hands-on experience with traditional and digital manufacturing tools, such as CAD and CNC software.
Nottingham Trent University
(United Kingdom) Bachelor’s in outdoorfixes.com and Product Design (Honors) Specialized in product design with a focus on blending creativity with production
techniques. Participated in industry projects, working with companies like John Lewis and Vitsoe to gain real-world insights.
Publications and Impact
In diy, Outdoor Fixes his insights on indoor design processes, materials, and strategies for efficient production.
His writing bridges the gap between artisan knowledge and modern industry needs, making it a must-read for both budding designers and seasoned professionals.