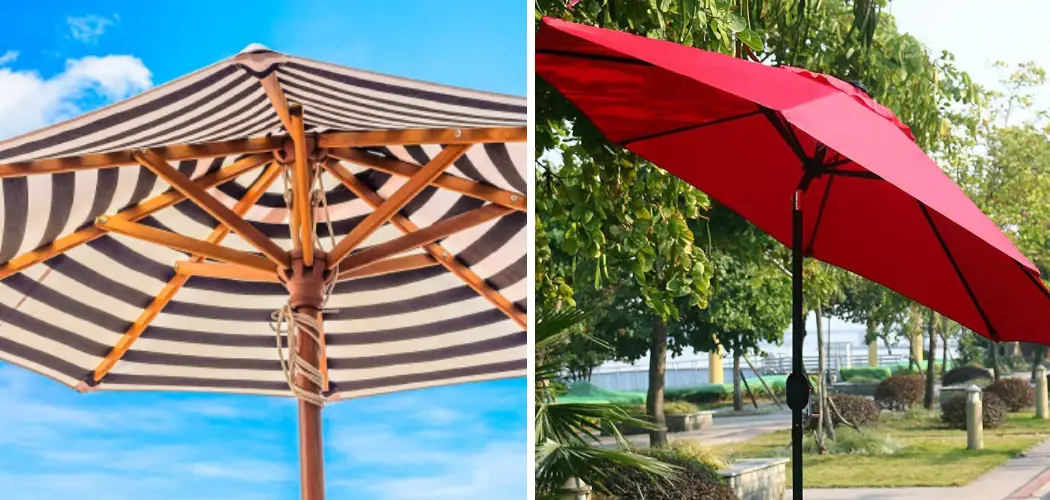
If you own a patio umbrella, chances are you’re familiar with the unfortunate feeling of having to replace it due to broken poles. Broken umbrellas can be both expensive and inconvenient. But don’t worry – there’s no need to go out and buy a replacement just yet!
There are steps you can take to repair your existing pole without breaking the bank or spending hours trying to find the perfect replacement. In this blog post, we’ll walk you through easy-to-follow instructions on how to fix broken patio umbrella poles so that your outdoor space can look good as new in no time.
Tools You Will Need
- Screwdriver
- Patio umbrella pole replacement parts
- Pliers
- Sandpaper
6 Steps Guide on How to Fix Broken Patio Umbrella Pole
Step 1: Inspect the Damage
Maintaining a broken patio umbrella pole can take time and effort, but it’s worth the hassle to keep your outdoor area looking sharp. The first step in this process is to assess the damage— does the pole have any visible signs of decay such as rust or cracks? Are there pieces of the pole missing or broken that need replacing?
Checking for these issues can give you a better idea of exactly how much work needs to be done and what kind of supplies you’ll need to complete the repair. Once you’ve inspected the damage, you can determine how best to proceed with fixing it.
This may mean replacing certain components altogether or making repairs with special tools and materials. Inspecting the damage carefully ensures that your patio umbrella pole will look great for years to come!
Step 2: Gather Your Repair Parts
If you want to fix a broken patio umbrella pole, the first step is to gather all the repair parts you need. Start by taking an inventory of what might be damaged and requires replacement or repair. If the pole snapped, measure it accurately and find another pole that is the same size.
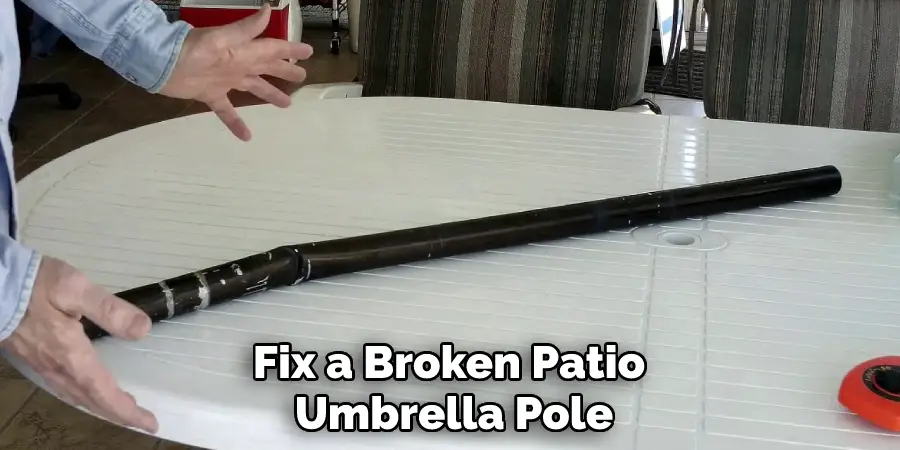
You may need screws, bolts, or rivets depending on how you plan to reconnect the two halves of the pole. If slats are missing from the umbrella head, investigate the market for similar replacements that match in style and shape.
If any of the joints show signs of corrosion due to exposure to weather, get some lubricant that can help protect them against rusting further. Once you’ve got all these materials together, you can start repairing your patio umbrella with confidence.
Step 3: Clean the Pole
Cleaning a patio umbrella pole is a process that needs to be done carefully and thoroughly to repair the damage. Depending on the material of the pole, it may be necessary to use different cleaning solutions such as water mixed with mild dish soap or a commercial solution specifically made for cleaning umbrellas.
Before applying any solutions, it is important to make sure that it won’t cause damage to the structural components of the pole. Once you have chosen an appropriate solution, slowly and gently scrub the pole with a soft cloth or brush using gentle circular motions until all dirt and debris are removed.
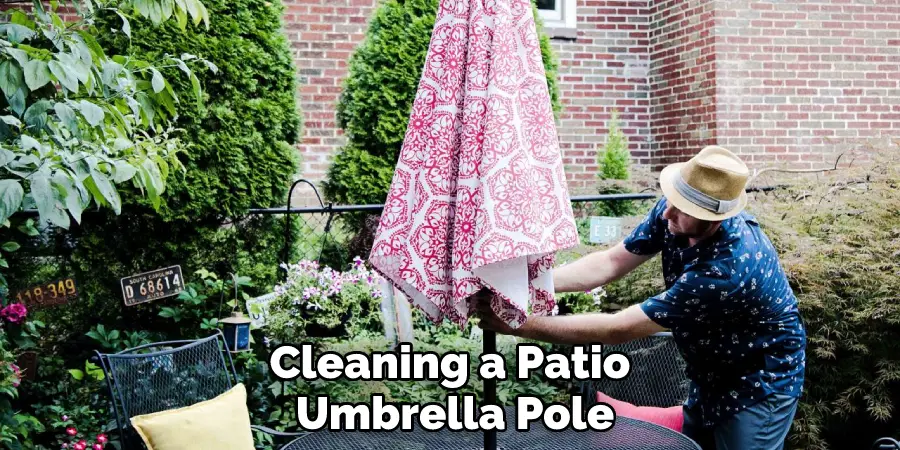
Rinse off any remaining soapy residue and allow time for drying before repairing the broken parts.
Step 4: Assemble the Pieces
If your patio umbrella pole has broken and is unrepairable, you’ll need to assemble a new one. Start by measuring the length of the broken pole and getting one close to those measurements. Ensure it fits in the frame or any other part that has been salvaged from the original pole. Then, use either glue and/or a clamp to connect all pieces of the pole.
Make sure not to over-tighten any screws, bolts, or clamps– as this could damage or warp the different components -latch and secure everything together in whatever correct order is needed for assembly. When done properly, you’ll have a fixed umbrella ready for relaxing in the sunshine!
Step 5: Join the Parts
Fixing a broken patio umbrella pole doesn’t have to be a daunting task. With some basic tools and techniques, you can easily put it back together. To start with, you should collect all the parts of the patio umbrella pole. Make sure you have all the screws, clips, or any other connectors that came loose from it.
The next step is to lay out the parts in the correct order to ensure easy assembly later on. Now, depending on your setup, either use clamps to position and join the parts together or use an adhesive product like superglue for firm joining.
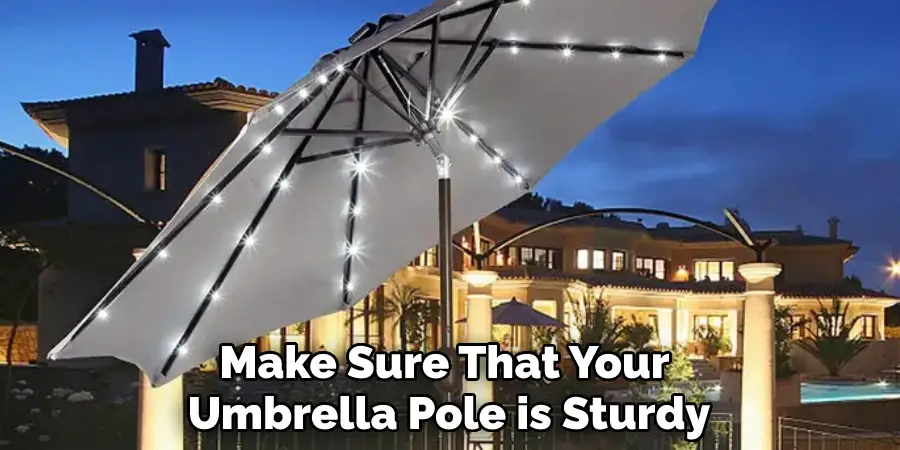
No matter which strategy you choose, make sure that your umbrella pole is sturdy and fits perfectly before putting it into use again.
Step 6: Test Out Your Repair
It’s the start of summer, and you’re ready to enjoy all of the great things that come with it – warm days, sunny skies, and lounging in a patio chair. Unfortunately, your patio umbrella pole is broken and needs repairs. Don’t worry! A few simple steps can help you test out your repair so you’ll be back to enjoying the outdoors in no time.
Check for loose connections or weak support points. Make sure that any glue has dried properly before putting any weight on the pole. Test out the repaired umbrella for sturdiness by pushing down gently on top of the area that was repaired.
If it feels strong, then you’re good to go! With this simple test, you can rest easy knowing that your outdoor relaxation will be hassle-free as soon as you finish repairs. Enjoy your summer!
Following these steps will give you a strong and stable patio umbrella pole that will last for years to come. Plus, it’s an easy way to save money on expensive replacements. So if you’re looking for an effective and affordable solution to your broken patio umbrella pole, look no further – follow these steps and you’ll have your outdoor space looking like new in no time!
Tips to Fix Broken Patio Umbrella Pole
- Inspect the pole for any cracks or damage. If there are any, use a piece of duct tape or electrical tape to temporarily hold the pole together.
- If the pole is just slightly bent, try to straighten it out by hand. If it is too difficult to do so, you can use a pipe wrench or a similar tool to help straighten it out.
- Once the pole is straightened out, use a piece of duct tape or electrical tape to secure it in place.
- If the ribs on your umbrella are bent, try to gently bend them back into place. If they are too difficult to budge, you can use a pair of pliers or a similar tool to help straighten them out.
- Once the ribs are straightened out, use a piece of duct tape or electrical tape to secure them in place.
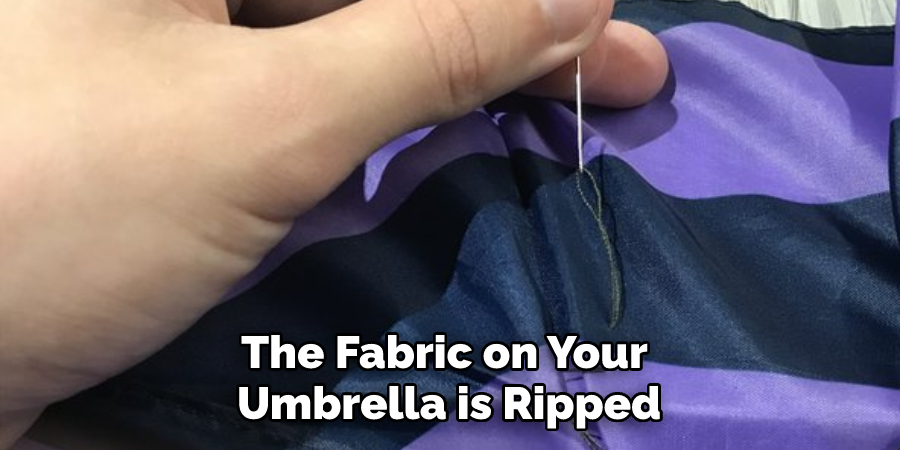
- If the fabric on your umbrella is ripped or torn, you can use a needle and thread to sew it back together. Alternatively, you can use a piece of duct tape or electrical tape to temporarily hold the fabric in place.
- Once the fabric is repaired, use a piece of duct tape or electrical tape to secure it in place.
- If the tilt mechanism on your umbrella is broken, you can try to repair it by following the instructions in your umbrella’s manual. Alternatively, you can contact the manufacturer for assistance.
- If the crank handle on your umbrella is broken, you can try to repair it by following the instructions in your umbrella’s manual. Alternatively, you can contact the manufacturer for assistance.
- Once you have repaired all of the broken parts on your umbrella, test it out to make sure that everything is working properly before using it again.
How to Quickly Reassemble and Test Out Your Repaired Patio Umbrella Pole?
Once your patio umbrella pole is successfully repaired, it’s time to reassemble and test out the product.
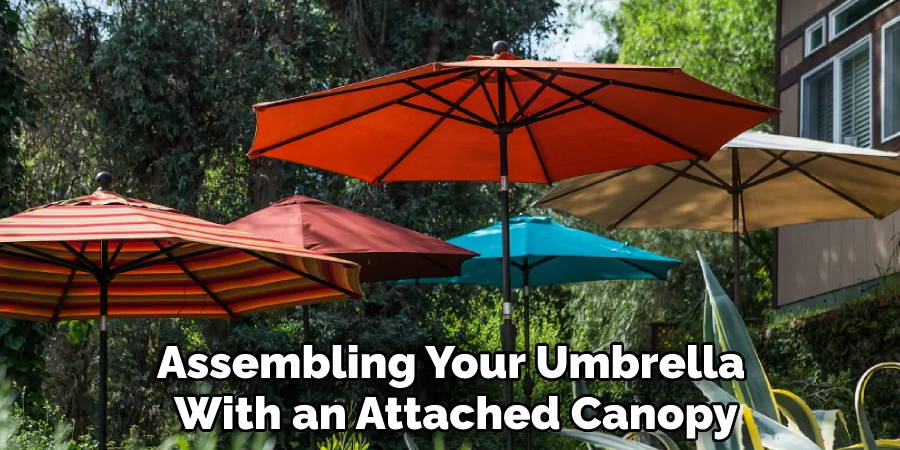
First off, carefully follow the manufacturer’s instructions for assembly, paying special attention to pole sizing and part and joint placements. After properly assembling your umbrella with an attached canopy, open it and make sure that the frame is sturdy and that the fabric reaches all points evenly.
Finally, use a broom handle or similar device to test the tension of the frame and determine whether any parts need adjusting before fully opening your umbrella. With all these steps complete, you can finally relax in the full knowledge that your patio umbrella pole is repaired and secure!
How to Make Affordable Repairs on a Broken Patio Umbrella Pole?
Making repairs on a broken patio umbrella pole doesn’t have to be expensive or complicated. It just takes a few supplies and the right approach. First, you will need to locate the problem with your pole. This can often be done simply by bending and flexing it to feel for any weak spots or broken pieces.
If possible, repair any minor damages with epoxy glue or tape. When this isn’t enough, finding and replacing parts for your umbrella can cost much less than replacing the entire unit. Many online stores carry refurbished items at discounted prices.
While searching for replacement parts, take time to measure the diameter of your pole so that the new components fit properly in place. With a bit of patience, you can save money while restoring your umbrella functioning in no time at all!
How to Save Money on Expensive Replacements with Simple DIY Repairs?
Everyone knows that purchasing a replacement for a broken item can be expensive, and if you don’t have the extra funds readily available, it can easily become a financial burden. The good news is that there are simple DIY repairs you can do to save money on expensive replacements.
It’s amazing what some basic items found around the house – duct tape, glue, screws, etc. – and an afternoon of hard work can do. Before you head out to purchase something new, take some time to assess the situation and see if you might be able to fix it yourself.
You’ll be surprised at how easy it is to repair something on your own when works through trial and error – plus the wallet-friendly feeling afterward makes all of your hard work worth it!
Conclusion
So, the next time your patio umbrella pole snaps in half, don’t panic. You should carefully determine how to fix broken patio umbrella pole. With a little bit of elbow grease (and maybe some duct tape), you can have it back up and work in no time. Thanks for reading and good luck!
About
Outdoor Fixes is a distinguished figure in the world of Diy design, with a decade of expertise creating innovative and sustainable Diy solutions.
His professional focus lies in merging traditional craftsmanship with modern manufacturing techniques,
fostering designs that are both practical and environmentally conscious. As the author of diy,
outdoorfixes delves into the art and science of outdoorfixes-making, inspiring artisans and industry professionals alike.
Education RMIT University
(Melbourne, Australia) Associate Degree in Design (Outdoor Fixes) Focus on sustainable design, industry-driven projects,
and practical craftsmanship. Gained hands-on experience with traditional and digital manufacturing tools, such as CAD and CNC software.
Nottingham Trent University
(United Kingdom) Bachelor’s in outdoorfixes.com and Product Design (Honors) Specialized in product design with a focus on blending creativity with production
techniques. Participated in industry projects, working with companies like John Lewis and Vitsoe to gain real-world insights.
Publications and Impact
In diy, Outdoor Fixes his insights on indoor design processes, materials, and strategies for efficient production.
His writing bridges the gap between artisan knowledge and modern industry needs, making it a must-read for both budding designers and seasoned professionals.

