Having large cracks in clay soil can present a major challenge when dealing with gardening and landscaping. You must know how to fix large cracks in clay soil. Not only can these large cracks affect the stability of your plants, but they also make it hard for vital nutrients to get into the ground.

The good news is, you don’t have to put up with cracked clay soil any longer – there are practical tips and tricks that you can use to fix them! In this blog post, we’ll explore how to address those pesky cracks and leave your garden looking better than ever before.
Tools You Will Need
- Shovel
- Wheelbarrow or Garden Cart
- Organic Compost, such as manure or leaf mold
- Sand
- Rake
- Hose
6 Steps Guide on How to Fix Large Cracks in Clay Soil
1. Remove Any Existing Weeds
Preparing the clay soil before filling large cracks is an essential part of the repair process. Start by taking a shovel and using it to remove any existing weeds from the area – this will give you a clean surface to work with. Afterward, dig up a few inches of soil from any areas surrounding the cracked soil and add in some compost – this allows for better water absorption and will provide better support for the cracks during rain or irrigation.
Use a trowel or wide-bladed knife to fill in any deep cracks with topsoil. Finally, finish off by pressing lightly on the surface to ensure proper adhesion and make sure that your repair job stays put.
2. Transport Organic Compost
Fixing large cracks in clay soil is an important step for successful gardening, and organic compost such as manure or leaf mold is the ideal material for the job. After weeding your garden bed to prepare it for repair, use a wheelbarrow or garden cart to move the compost to the affected area, taking extra care not to damage existing flowers and plants.
Remember that for best results, aim for three inches in depth when applying the compost – this will give enough coverage to fill any gaps, furrows, or cracks. Once you’ve covered your garden with compost, you can add a layer of mulch to help nourish the soil and prevent future weed growth. With these simple steps, you can transform any soil patch into a healthy and thriving garden oasis!
3. Mix the Compost and Soil
When it comes to Fixing Large Cracks in Clay Soil, a rake can be an invaluable tool. Using your rake in combination with compost and soil will help create a thick slurry that can fill large cracks. This mixture, which is composed of equal parts compost and soil, needs to be blended together until no chunks remain so that all parts adhere together when pressed into the cracks.
After mixing everything up, use the rake to spread and pack it into the cracks to seal them and create level surfaces. As long as everything is packed tightly and watered afterward, the cracks should stay sealed until they need to be repaired again or you choose to add a top coat of soil.
4. Spread It Across the Affected Area
After you have prepped and successfully made a slurry perfect for fixing large cracks in clay soil, the next step is to spread it evenly across the area that needs repair. This can be done simply by using either a shovel or rake and filling any cracks with your slurry.
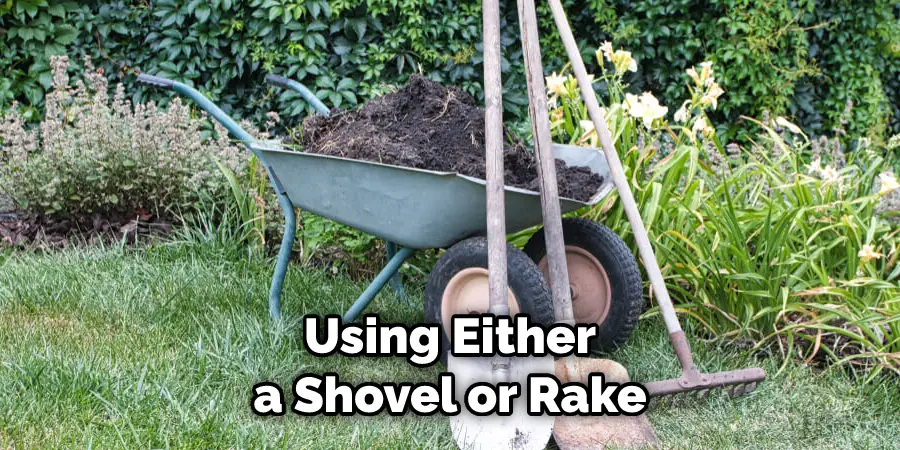
If needed, you can also dig channels into the surface of the soil itself so that none of this essential material goes to waste. Doing this consistently will provide long-term solutions for your garden, pavement, or another project – so make sure to do the job right the first time!
5. Use Sand to Give the Area an Even Surface
Finishing off your clay soil fix is an important step to ensure the success and stability of your new garden or planting project. Including sand in the clay soil will help even out the surface area, providing a secure base for your plants to take root.
The addition of sand will also assist with aerating and draining any excess water from the soil. Incorporating sand into your clay soil is an easy fix that likely won’t require as many additional materials or extra effort as you think – helping you get on with your project sooner!
6. Ensure That Your Soil Remains Firm and Solid
After filling the cracks in your clay soil, it’s important to get them thoroughly waterlogged for stronger results. The best way to do this is to use a hose and spray the area affected by the large cracks until every bit of slurry is wet.
Not only will this help keep the soil solid and intact, but it will also make sure that all layers have been properly glued together. This process needs to be repeated regularly during hot spells or extended drought periods for you to reap maximum benefits from your soil-filling endeavors.
By following these 6 steps, you should be able to easily fix any large cracks in your clay soil and get your garden looking its best. With a little effort and the right tools, you can have an attractive and healthy lawn in no time. Happy gardening!
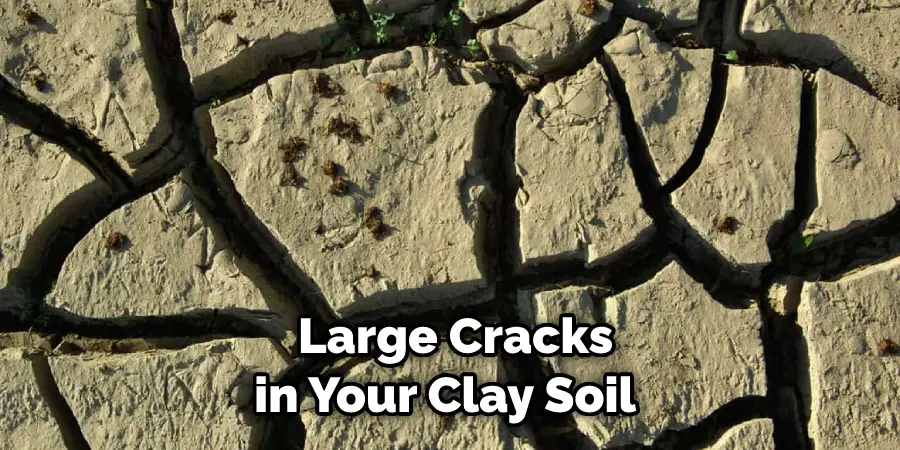
Tips to Fix Large Cracks in Clay Soil
- The first step is to remove any debris from the crack, such as rocks, roots, or other organic matter. This will help to ensure that the repair material can bond properly to the sides of the crack.
- Next, use a wire brush or other tool to roughen up the sides of the crack. This will help the repair material to adhere better.
- Once the sides of the crack are prepared, you can begin to fill it with a repair material. There are a variety of materials that can be used for this purpose, such as epoxy resin, polyurethane foam, or acrylic caulk.
- If you are using a liquid repair material, such as epoxy resin or polyurethane foam, you will need to apply it with a syringe or other applicator. Slowly inject the material into the crack, filling it.
- If you are using a solid repair material, such as acrylic caulk, simply squeeze it into the crack until it is filled.
- Once the crack is filled, use a putty knife or other tool to smooth out the surface of the repair material. Allow the material to cure according to the manufacturer’s instructions before proceeding.
- Once the repair material has cured, you can begin to backfill the crack with soil. Use your hands or a small shovel to slowly add soil to the crack, packing it in as you go.
- Continue backfilling until the soil is level with the surrounding area. Tamp down the soil firmly to compact it and prevent further settling.
- Water the area well to help settle the soil and encourage plant growth.
How to Achieve a Firm and Durable Fix for Large Cracks in Clay Soil?
Achieving a firm and durable fix for large cracks in clay soil can be difficult. Thankfully, there are several methods that you can use to tackle this problem such as building retaining walls and using compaction techniques.
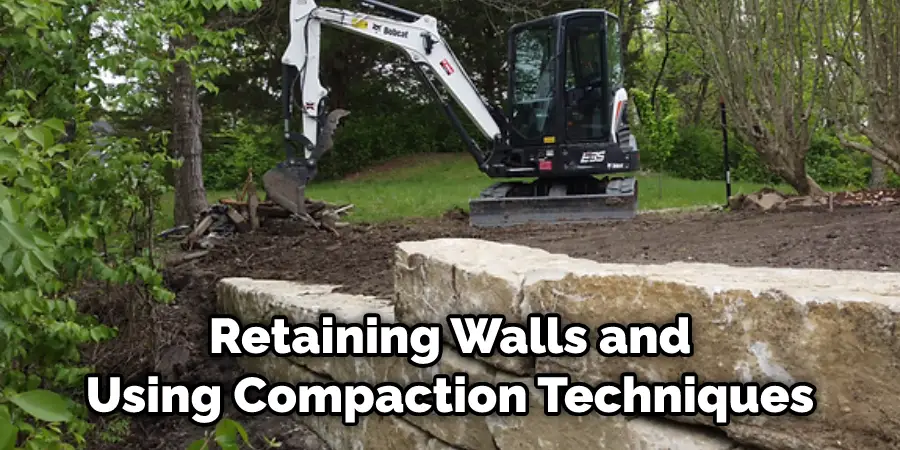
If the crack is still present after these practices have been used, then the best solution would be to seek out a professional soil engineer who will be able to assess the situation properly and provide a tailored solution that can easily strengthen the affected area. Furthermore, always make sure to undertake regular inspections of your soil, as large cracks can grow quickly if left untended.
Taking the time and effort now will save you trouble in the long run and ensure your clay soil remains stable.
A Comprehensive Guide on How to Repair the Damage of Large Cracks in Clay Soil
Clay soil is a specific type of soil that is created by the weathering of bedrock over many years. Unfortunately, cracking can often occur in clay soil due to violent swings in temperature throughout the year. If left unchecked, large cracks can form and cause serious damage to plants and landscaping features.
Fortunately, there are a few key repairs that can be taken to restore clay soil and reduce the impact of these large cracks. To begin with, make sure to add organic material such as peat moss or composted leaves into the affected area. This helps retain moisture and reduce further cracking from slamming temperatures. Secondly, make sure any exposed edges are watered regularly with water or wetting agents. Good watering practices will also help fill in small fissures and cracks.
Finally, apply a layer of quality topsoil over the affected area and carefully tamp down for a seamless transition back to regular soil composition. By following these steps you should be able to reduce the appearance of large cracks in clay soil and enjoy your landscaping for years to come.
How to Make Sure Your Fix for Large Cracks in Clay Soil Lasts for Years?
If you need to repair large cracks in clay soil, there are steps you can take to ensure your fix lasts for years. Prepare the surface to be repaired by removing any loose material from the cracks and then compacting the soil until it is firm.
For serious damage, the crack may need to be widened and then excavated so that new material can be put in place. Choose building materials that match the existing soil’s texture and color as much as possible. Adjustment of drainage may be needed in some cases if groundwater levels are high or other runoff water may impact the repair site.
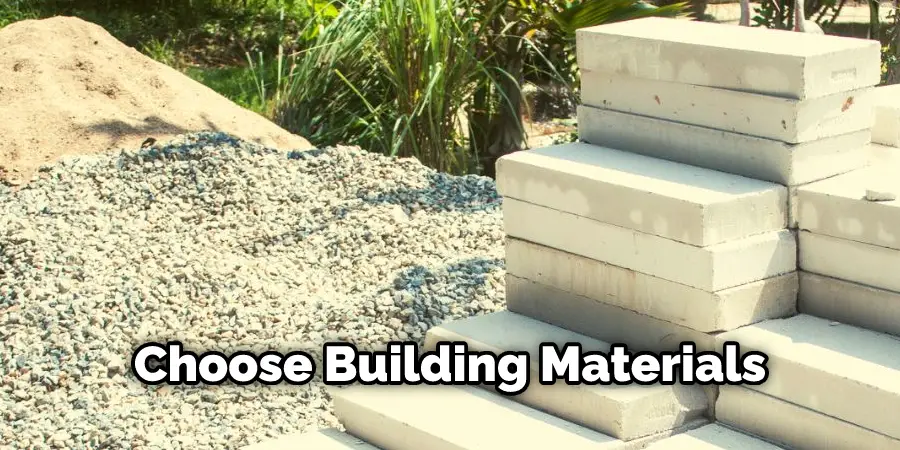
Finally, pack the material into place tightly, ensuring all edges of the crack are filled and consider settling with a roller across the patch if needed. With proper preparation and installation of your concrete bedding mix, your repairs will stand strong for many years to come.
Frequently ASked Questions
Where Can I Find Materials to Repair Large Cracks in Clay Soil?
There are a variety of materials available that can be used to repair large cracks in clay soil. These include sand, gravel, peat moss, and compost. Sand is the most common material used for this purpose as it helps to fill gaps between larger particles in the soil and provides drainage. Peat moss helps to retain moisture and nutrients in the soil while reducing erosion and compaction.
Compost adds organic matter to the soil, which helps improve its structure and fertility. It also creates a more stable environment for plants to grow in. All of these materials can be purchased at most garden centers or home improvement stores. Depending on the size of the crack, it may also be necessary to use a trowel or other gardening tool to break up the soil before adding any materials.
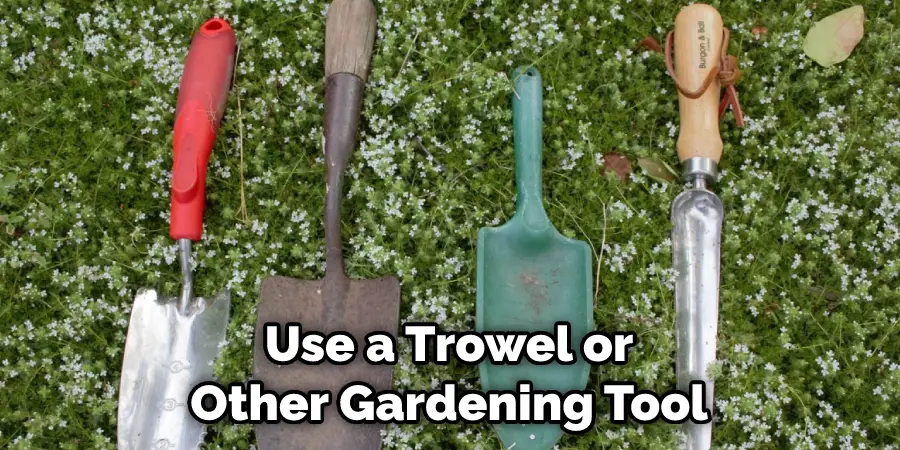
Once the material is added, it should be packed down firmly and watered regularly to help ensure that it takes root in the soil. If done correctly, this process can successfully repair large cracks in clay soil.
In some cases, it may be necessary to use more than one material to properly fill large cracks in clay soil. For example, a layer of sand may need to be followed by a layer of compost or peat moss before the final layer of gravel is applied. This can help ensure that the patch is effective and will last for a long time.
It is also important to note that large cracks in clay soil can sometimes be difficult to repair and may require repeated applications of the material to adequately fill them. If the problem persists, it may be necessary to contact a professional who specializes in repairing these types of issues.
How Often Should I Water the Patch to Help Ensure That It Takes Root?
Watering the patched area regularly is important to ensure that the material used to repair large cracks in clay soil takes root. How often to water will depend on the climate and type of soil, but in general it should be done at least once every week. If the patch has been exposed to extreme heat or if the soil is particularly dry, it may need to be watered more often.
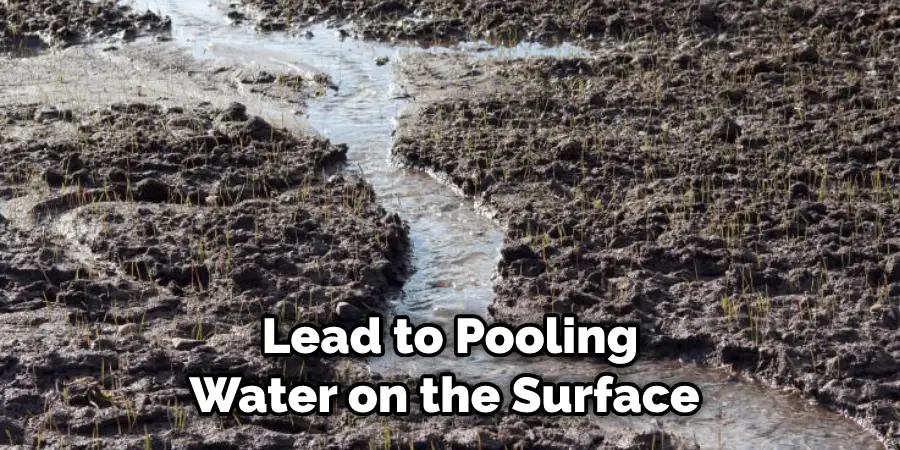
Additionally, it’s important to avoid overwatering as this can lead to pooling water on the surface and can cause the patch to shift or erode. Keeping an eye on the moisture level of the soil around the patch and adjusting watering as needed is important for ensuring that it takes root properly.
Conclusion
Cracks in clay soil are unsightly and can be damaging to your home foundation if left unchecked. You should carefully determine how to fix large cracks in clay soil. Luckily, there are a few things you can do to fix large cracks in clay soil. By following the tips outlined in this blog post, you can quickly and easily get rid of those pesky cracks for good!
About
Outdoor Fixes is a distinguished figure in the world of Diy design, with a decade of expertise creating innovative and sustainable Diy solutions.
His professional focus lies in merging traditional craftsmanship with modern manufacturing techniques,
fostering designs that are both practical and environmentally conscious. As the author of diy,
outdoorfixes delves into the art and science of outdoorfixes-making, inspiring artisans and industry professionals alike.
Education RMIT University
(Melbourne, Australia) Associate Degree in Design (Outdoor Fixes) Focus on sustainable design, industry-driven projects,
and practical craftsmanship. Gained hands-on experience with traditional and digital manufacturing tools, such as CAD and CNC software.
Nottingham Trent University
(United Kingdom) Bachelor’s in outdoorfixes.com and Product Design (Honors) Specialized in product design with a focus on blending creativity with production
techniques. Participated in industry projects, working with companies like John Lewis and Vitsoe to gain real-world insights.
Publications and Impact
In diy, Outdoor Fixes his insights on indoor design processes, materials, and strategies for efficient production.
His writing bridges the gap between artisan knowledge and modern industry needs, making it a must-read for both budding designers and seasoned professionals.

