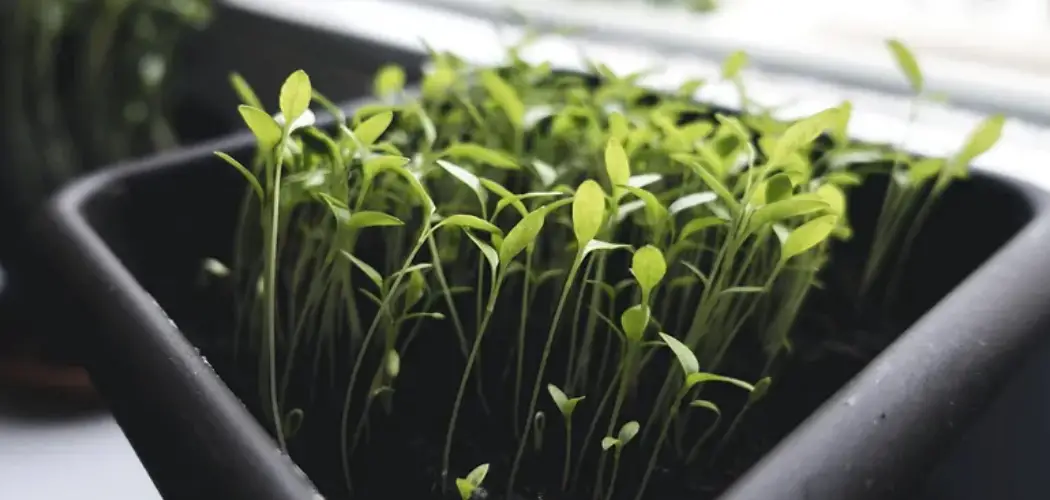
Growing sprouts for chickens is a great way to provide your feathered friends with fresh, nutritious greens all year round. Not only will they enjoy the taste, but sprouts are also packed with essential vitamins and minerals that can improve their overall health. In this guide on how to grow sprouts for chickens, we will discuss everything you need to know about growing sprouts for your chickens.
Why Grow Sprouts for Chickens?
Chickens are omnivorous animals and require a balanced diet to stay healthy. While commercial chicken feed provides them with the necessary nutrients, it often lacks fresh greens that can benefit their digestive system and overall well-being. By growing sprouts for your chickens, you can add variety to their diet and ensure they have access to fresh, nutrient-rich food.
Necessary Items for Growing Sprouts
Before you start growing sprouts for your chickens, there are a few essential items you will need:
- Seeds: Any type of seed can be used to grow sprouts, but some popular choices include alfalfa, broccoli, clover, and sunflower seeds.
- A Container: This can be a plastic or glass jar with a lid, a shallow tray, or even a small bucket. Just make sure it has drainage holes to prevent water from accumulating.
- Water: Use filtered or distilled water to avoid any harmful chemicals or bacteria.
- A Sprouting Rack (optional): This can help keep your sprouts organized and allow for proper air circulation.
12 Steps on How to Grow Sprouts for Chickens
Step 1: Soak the Seeds
Start by soaking the seeds in water for 8-12 hours. This will help them germinate faster and ensure a higher sprouting rate. And remember, the more seeds you soak, the more sprouts you will have. So don’t be afraid to soak a generous amount.
Step 2: Rinse the Seeds
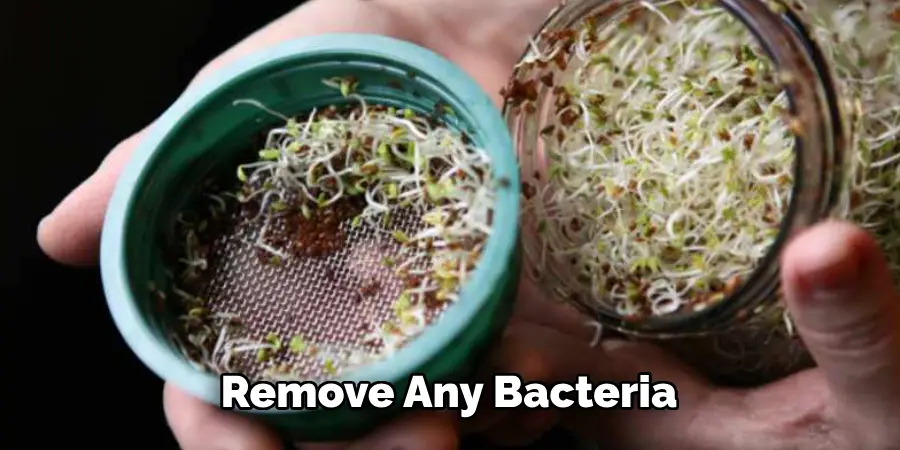
After soaking, rinse the seeds thoroughly with clean water and drain out any excess. This will help remove any toxins or bacteria that may be present in the seeds. As a general rule, rinse your seeds at least twice a day to prevent mold growth.
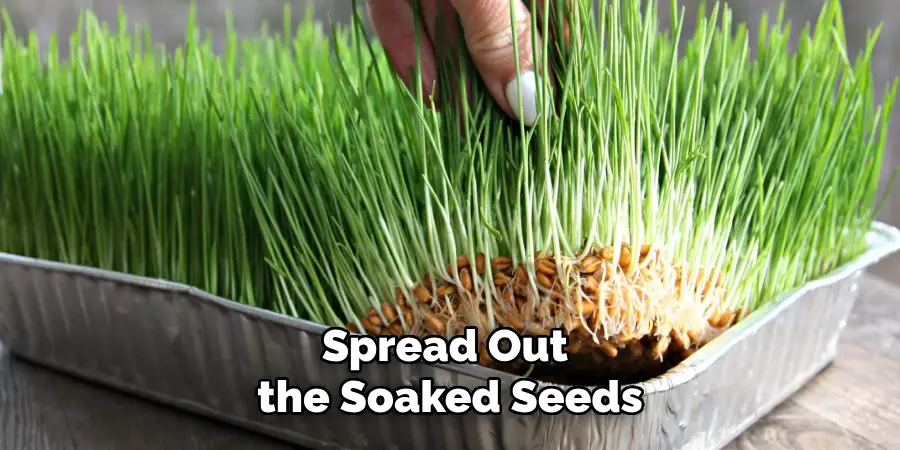
Step 3: Place the Seeds in Your Container
Spread out the soaked seeds evenly in your container. Make sure they are not too tightly packed together, as this can lead to poor air circulation and mold growth. If using a jar, fill about one-third of it with seeds.
Step 4: Drain the Water
Once your seeds are in the container, drain out any excess water. You want to keep the seeds moist but not soaked. Then, cover the container with a lid or a mesh cloth to prevent any debris or insects from entering.
Step 5: Place the Container in a Warm and Dark Area
For best results, place your sprouting container in a dark area at room temperature (around 70 degrees Fahrenheit). This will provide an ideal environment for the seeds to sprout. When choosing a spot, make sure it’s away from direct sunlight and heat sources.
Step 6: Rinse the Seeds Daily
As mentioned earlier, rinsing your seeds at least twice a day is crucial. This will keep them moist and prevent mold growth. Just fill the container with water, swirl it around, and drain out any excess. Some people also add a small amount of hydrogen peroxide to the water for added protection against bacteria.
Step 7: Repeat the Process
Continue rinsing and draining your seeds daily until you see sprouts starting to form. This can take anywhere from 3-7 days, depending on the type of seed. Of course, the more you rinse, the faster your sprouts will grow.
Step 8: Place the Sprouts in a Sunny Area
Once your sprouts have grown to about 1-2 inches in length, move them to a sunny area. This will help them green up and provide them with essential nutrients from sunlight. Then, continue to rinse and drain them daily.
Step 9: Harvest Your Sprouts
When your sprouts have reached the desired length (usually around 3-4 inches), it’s time to harvest them. Simply cut or pull off the sprouts from their roots and discard any un-sprouted seeds or debris.
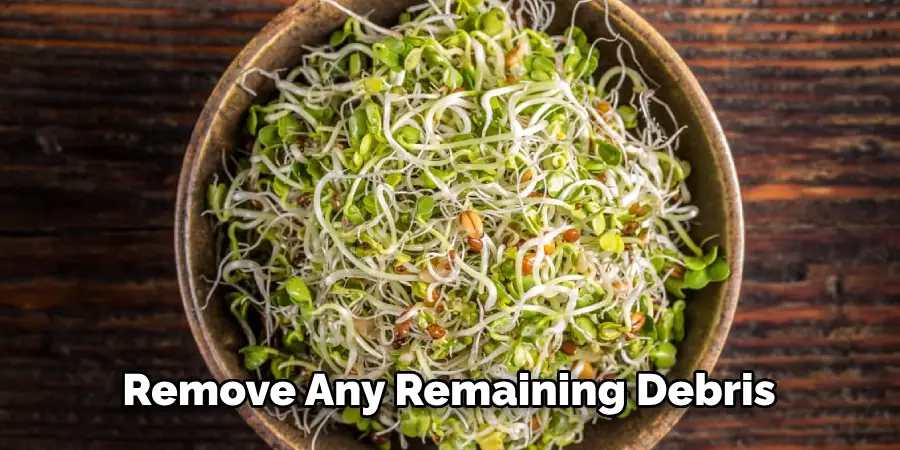
Step 10: Rinse the Sprouts
After harvesting, give your sprouts a final rinse to remove any remaining debris or un-sprouted seeds. While it’s not harmful for chickens to eat these, they may prefer the fresh, green sprouts.
Step 11: Feed Your Chickens
Now that your sprouts are ready, you can feed them to your chickens! You can give them whole sprouts or chop them up into smaller pieces. Just make sure to remove any uneaten sprouts after a few hours to prevent spoilage.
Step 12: Repeat the Process
Once you have harvested your sprouts, you can repeat the process and start growing a new batch. This will ensure your chickens always have fresh, nutritious greens available. Just remember to clean your container thoroughly before starting a new batch.
Growing sprouts for chickens is a simple and cost-effective way to provide your feathered friends with fresh, nutritious greens. By following these steps, you can ensure your chickens have access to a varied diet that promotes their health and well-being. So go ahead and give it a try – your chickens will thank you!
9 Safety Measures to Keep in Mind When Growing Sprouts
While growing sprouts for your chickens is generally safe, there are a few precautions you should keep in mind:
1) Use Clean Seeds
Make sure to use high-quality, clean seeds for sprouting. Avoid using seeds that are meant for planting, as they may be treated with chemicals or pesticides. Soak and rinse your seeds thoroughly before sprouting to remove any potential toxins.
2) Use Clean Water
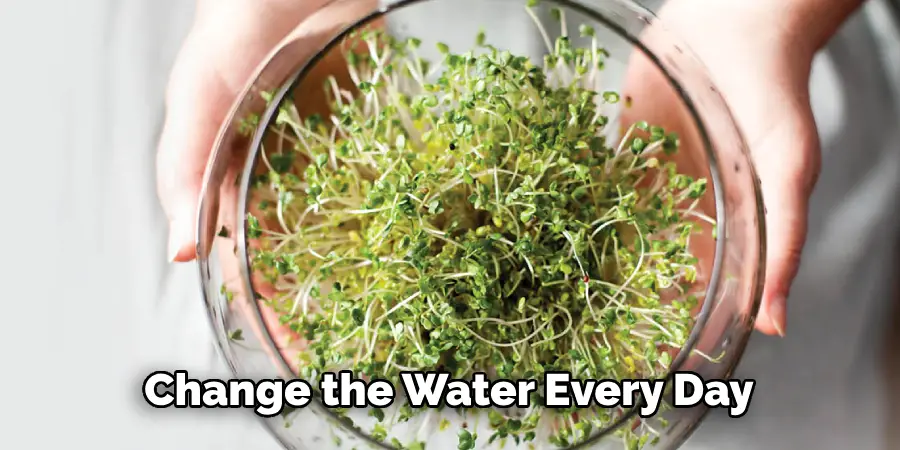
Always use clean, filtered water to rinse and soak your seeds. This will prevent any harmful bacteria from entering the sprouting process. And remember to change the water every day to ensure it stays fresh.
3) Avoid Cross-Contamination
To prevent cross-contamination, make sure to clean your containers and equipment thoroughly before starting a new batch. This will help prevent any potential bacteria from spreading and affecting the sprouts.
4) Keep Your Hands Clean
Wash your hands before handling the sprouts to prevent any harmful bacteria from being transferred onto them. This is especially important if you have been handling other animals or plants.
5) Keep Your Sprouting Area Clean
Make sure the area where you are sprouting your seeds is clean and free from potential contaminants. Avoid placing the container on the ground or near areas where other animals may have access.
6) Proper Air Circulation
As mentioned earlier, proper air circulation is crucial for successful sprouting. Make sure your container has enough space between the seeds and that it’s not placed in a tightly enclosed area. However, avoid placing it in a drafty area, as this can dry out the sprouts.
7) Monitor for Mold
Regularly check your sprouts for any signs of mold growth. If you see any, discard that batch and start over with clean containers and seeds. Mold can be harmful to both humans and animals, so it’s important to take preventative measures.
8) Harvest and Store Properly
To avoid mold growth, it’s important to harvest and store your sprouts correctly. Make sure to rinse them thoroughly before storing them in the fridge for up to a week. Also, make sure there is no excess water or moisture left on the sprouts before storage.
9) Use Caution with Certain Seeds
Some seeds, such as alfalfa and clover, have a higher risk of bacteria growth. It’s important to follow proper safety measures when sprouting these types of seeds, including rinsing them more frequently and using hydrogen peroxide in the water.

By following these safety measures on how to grow sprouts for chickens, you can ensure your chickens are getting safe and nutritious sprouts. So go ahead and start growing your own chicken feed – your feathered friends will thank you!
8 Things to Avoid When Growing Sprouts
While sprouting for chickens is a simple process, there are a few things you should avoid to ensure successful sprouts:
1) Overcrowding
Avoid overcrowding your sprouts in the container. This can prevent proper air circulation and lead to mold growth. And if the sprouts are too crowded, they may not grow properly. So, make sure to leave enough space between the seeds.
2) Using Dirty Equipment
Always clean your containers and equipment before starting a new batch. This will prevent any bacteria or mold from contaminating your sprouts. For best results, use hot water and soap to thoroughly clean your equipment.
3) Not Rinsing Enough
Rinsing is a crucial step in the sprouting process. Make sure you rinse your seeds at least twice a day to prevent any bacteria growth. And if the weather is particularly warm, consider rinsing them a third time to keep them hydrated.
4) Not Soaking Long Enough
Soaking your seeds is important as it activates the enzymes and helps them sprout faster. Make sure to soak them for at least 8 hours, but no longer than 24 hours, to prevent spoilage. Just remember to discard the soaking water before rinsing and sprouting.
5) Not Providing Enough Light
Sprouts need light to grow, so make sure to place your container in a well-lit area. If you’re using natural sunlight, rotate the container daily to ensure all sides of the sprouts receive equal exposure. And if you’re using artificial light, make sure to follow the recommended distance and time for optimal growth.
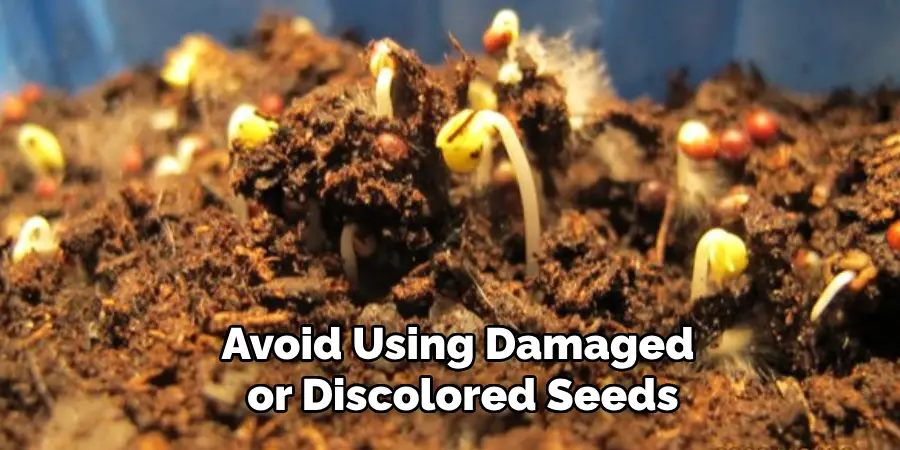
6) Using Damaged Seeds
Avoid using damaged or discolored seeds, as they may not sprout properly. Before starting a new batch, make sure to inspect your seeds for any signs of damage or discoloration and discard those that are not in good condition.
7) Not Removing Uneaten Sprouts
If your chickens don’t finish all the sprouts, make sure to remove any uneaten ones from their coop or feeding area. This will prevent mold growth and potential health risks for your chickens. However, if the sprouts have not been contaminated and are still fresh, you can rinse them and feed them to your chickens the next day.
8) Not Rotating Your Sprouting Seeds
To ensure even growth, make sure to rotate your sprouting seeds daily. This will prevent any seeds from being crushed or damaged by other sprouts and promote healthier growth overall. If you’re using a sprouting tray, this step may not be necessary as the seeds are already spread out evenly.
By avoiding these common mistakes, you can ensure successful and safe sprouts for your chickens. So go ahead and start growing your own chicken feed. Sprouting is an easy and cost-effective way to provide nutritious food for your chickens.
8 Additional Tips for Growing Sprouts
If you’re new to sprouting or just looking for some extra tips, here are 8 additional things you can do to ensure successful and healthy sprouts for your chickens:
1) Experiment with Different Seeds
Don’t limit yourself to just one type of seed. There are many different types of seeds that can be sprouted, each with its own unique nutritional benefits. Try experimenting with different varieties to find out which ones your chickens enjoy the most.
2) Use Organic Seeds
Using organic seeds can ensure that you’re providing your chickens with the healthiest and most nutritious sprouts possible. Non-organic seeds may contain harmful chemicals or pesticides that can be detrimental to both humans and animals.
3) Add Supplements
You can enhance the nutritional value of your sprouts by adding supplements such as kelp, wheatgrass, or probiotics. These supplements can provide additional vitamins and minerals for your chickens, promoting overall health and well-being.
4) Use a Heating Pad
If you live in a colder climate, using a heating pad under your sprouting container can help speed up the growth process. Just make sure to monitor the temperature and adjust as needed.
5) Try Soaking in Apple Cider Vinegar
Soaking your seeds in a solution of water and apple cider vinegar can help remove any bacteria or mold spores that may be present on the seeds. This can prevent contamination and promote safer sprouting. Just make sure to rinse the seeds thoroughly before sprouting.
6) Use Different Sprouting Methods
There are various methods for sprouting, including using jars, trays, or even a mesh bag. Experiment with different techniques to see which one works best for you and your chickens. Then, stick with the method that yields the best results.
7) Store Sprouts in the Fridge
If you have extra sprouts or want to pre-sprout seeds for convenience, you can store them in the fridge. Just make sure to rinse and drain them well before storing them in an airtight container. They can last up to a week in the fridge.
8) Feed Sprouts in Moderation
While sprouts are a nutritious treat for chickens, they should not make up the majority of their diet. Make sure to feed them in moderation and provide a well-balanced diet that includes grains, protein, and other necessary nutrients. Consult with your veterinarian or do research on the appropriate ratio of sprouts to regular feed for your specific chicken breed.
Overall, sprouting is a simple and beneficial practice that can provide healthy and tasty food for your chickens. By avoiding common mistakes and following these additional tips on how to grow sprouts for chickens, you can ensure successful sprouts every time.
Frequently Asked Questions
Can I Sprout Seeds From My Garden?
Yes, you can sprout seeds from your own garden. Just make sure to follow the same steps and precautions as you would with store-bought seeds. Ensure that the seeds are not damaged or diseased before sprouting.
Can I Sprout Seeds for Other Animals?
Yes, sprouts can be a nutritious treat for other animals, such as goats, sheep, and rabbits. Just make sure to research which types of seeds are safe and beneficial for each specific animal. Always consult with your veterinarian before making any significant changes to your animal’s diet.
How Often Should I Feed My Chickens Sprouts?
Sprouts should be fed in moderation as a supplement to their regular feed. Consult with your veterinarian or do research on the appropriate ratio of sprouts to regular feed for your specific chicken breed. As a general rule, no more than 10% of their daily diet should consist of sprouts.
Can I Sprout Grains for My Chickens?
Yes, you can sprout grains for your chickens. This process is similar to sprouting seeds and can provide additional nutrients and variety in their diet. Just make sure to research the appropriate types of grains and follow the same steps as germinating seeds. As always, consult with your veterinarian before making any significant changes to your animal’s diet.
Can I Sprout Year-Round?
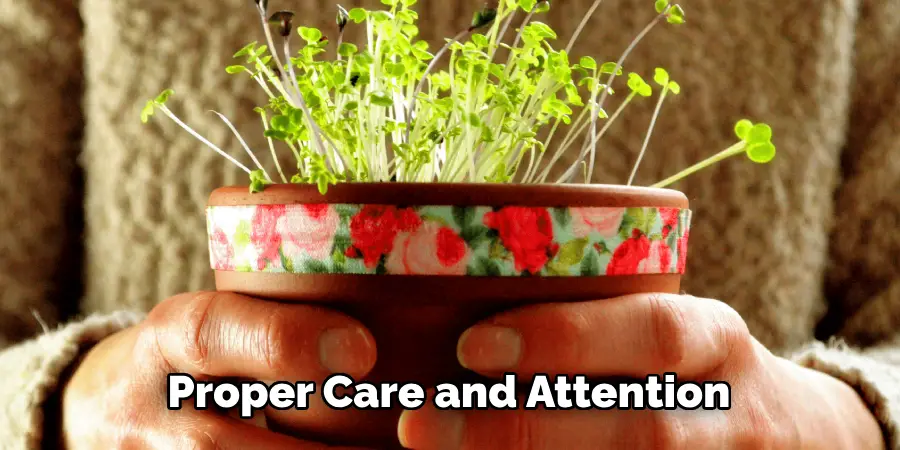
Yes, you can sprout year-round as long as you have a warm and well-lit area for the sprouts to grow. Depending on the temperature and conditions, you may need to adjust certain steps, such as using a heating pad or rotating the sprouts more frequently. But with proper care and attention, you can enjoy fresh sprouts for your chickens all year long.
Conclusion
Sprouting is an easy and cost-effective way to provide nutritious food for your chickens. By avoiding common mistakes and following these tips on how to grow sprouts for chickens, you can ensure successful growth and safe consumption of sprouts for your chickens.
Remember to always consult with your veterinarian and do research on the appropriate types and ratios of sprouts for your specific chicken breed. With proper care and attention, you can enjoy healthy and happy chickens that will benefit from the nutritious treats of homegrown sprouts.
About
Outdoor Fixes is a distinguished figure in the world of Diy design, with a decade of expertise creating innovative and sustainable Diy solutions.
His professional focus lies in merging traditional craftsmanship with modern manufacturing techniques,
fostering designs that are both practical and environmentally conscious. As the author of diy,
outdoorfixes delves into the art and science of outdoorfixes-making, inspiring artisans and industry professionals alike.
Education RMIT University
(Melbourne, Australia) Associate Degree in Design (Outdoor Fixes) Focus on sustainable design, industry-driven projects,
and practical craftsmanship. Gained hands-on experience with traditional and digital manufacturing tools, such as CAD and CNC software.
Nottingham Trent University
(United Kingdom) Bachelor’s in outdoorfixes.com and Product Design (Honors) Specialized in product design with a focus on blending creativity with production
techniques. Participated in industry projects, working with companies like John Lewis and Vitsoe to gain real-world insights.
Publications and Impact
In diy, Outdoor Fixes his insights on indoor design processes, materials, and strategies for efficient production.
His writing bridges the gap between artisan knowledge and modern industry needs, making it a must-read for both budding designers and seasoned professionals.