There is nothing quite like enjoying a quiet evening on your deck or patio, but invading swarms of mosquitoes and other flying pests can quickly ruin the mood. A bug zapper offers a satisfyingly effective solution, luring insects away from your social areas with its irresistible ultraviolet light before dispatching them with a decisive zap. However, simply buying a bug zapper is only half the battle. Its effectiveness hinges almost entirely on where and how it is installed.

Placing it too close to your seating area or at the wrong height can render it useless or even attract more bugs toward you. By understanding the behavior of insects and the mechanics of the device, you can turn your zapper into a powerful perimeter defense system.
This guide will provide clear, actionable advice on exactly how to hang a bug zapper for maximum impact, ensuring your summer nights are peaceful and pest-free.
When it comes to keeping pesky bugs at bay, a bug zapper can be an effective tool. However, its effectiveness is heavily dependent on where and how it is installed. Simply placing the zapper anywhere may not yield the desired results.
Understanding Insect Behavior
Before we jump into the actual process of hanging a bug zapper, it’s important to understand a little bit about insect behavior. Insects are attracted to light, heat and carbon dioxide. This is why bug zappers work so well – the UV light attracts insects while the electric grid kills them upon contact.
However, not all bugs are attracted to the same type of light or level of heat. For example, mosquitoes are drawn to blue and ultraviolet lights more than any other color, while moths tend to be attracted to yellow or white lights more. That’s why it’s important to consider what types of insects you want to target before deciding on a bug zapper and its location.
7 Step-by-Step Guide on How to Hang a Bug Zapper
Step 1: Choose the Optimal Location
The single most important rule of bug zapper placement is to create a “zone of protection” by hanging the device away from where you and your guests will be gathering. Your goal is to intercept bugs, not invite them to the party. The ideal location is about 15 to 25 feet away from your deck, patio, or entryway.
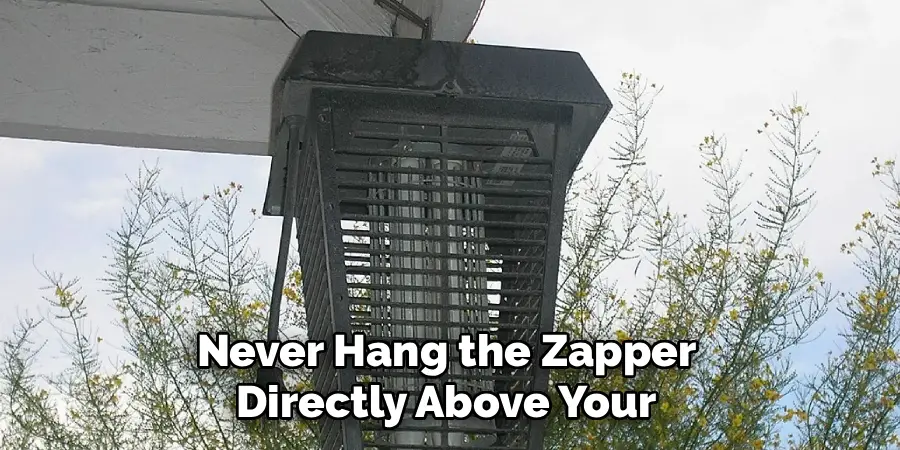
Place it on the perimeter of your yard, between the bug’s source (like woods, standing water, or dense shrubbery) and your activity area. This strategic placement ensures that flying insects are drawn toward the zapper’s light and away from you, effectively luring them to their demise before they ever reach your personal space. Never hang the zapper directly above your picnic table or seating area.
Step 2: Determine the Correct Hanging Height
Once you have selected the general location, the next factor is height. For most flying pests like mosquitoes and moths, a height of about six to seven feet off the ground is ideal. Hanging the zapper at this level places it directly in the natural flight path of most insects.
It also ensures the UV light source is clearly visible from a distance, maximizing its attractive power. Hanging it too low can limit the light’s range, while hanging it too high might place it above the primary insect traffic zone. This elevation also has a practical safety benefit, keeping the device well out of reach of curious children and pets who might be tempted to touch it.
Step 3: Consider Wind Direction
Flying insects are not strong fliers and are significantly influenced by even a gentle breeze. Before you decide on a final hanging spot, take a moment to observe the prevailing wind direction in your yard. You want to hang the bug zapper downwind from your living area. Insects often travel with the wind as they search for a meal.
By placing the zapper downwind, the scent of the attractant and the zapped bugs will be carried further away from you, not toward you. This simple consideration enhances the device’s effectiveness by using natural air currents to your advantage, ensuring that pests follow the breeze to the zapper and not to your backyard barbecue.
Step 4: Ensure Access to a Safe Power Source
Most bug zappers require a continuous electrical supply. You must have access to a GFCI (Ground Fault Circuit Interrupter) protected outdoor outlet. A GFCI outlet is a critical safety feature that will automatically shut off the power if it detects any moisture or short circuit, preventing the risk of electrical shock.
Use only outdoor-rated, heavy-duty extension cords that are designed to withstand the elements. When you run the cord, make sure it does not create a tripping hazard. Secure it along the edge of a deck or pathway, or use landscape staples to hold it safely to the ground. Never use indoor extension cords outside.
Step 5: Find a Secure Anchor Point
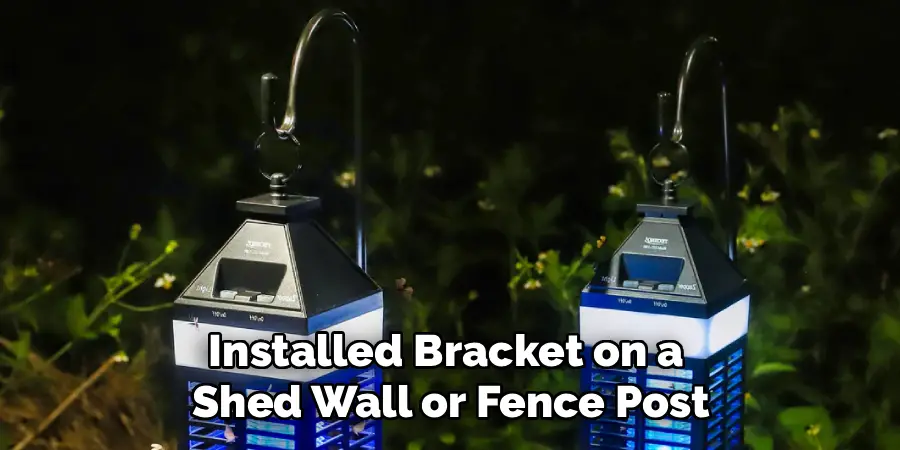
Your bug zapper needs to be hung from a stable and secure point that can support its weight and withstand wind and weather. A sturdy tree branch is a popular and effective choice. You can also use a dedicated shepherd’s hook, a strong metal plant hanger designed for heavy baskets, or a securely installed bracket on a shed wall or fence post.
Do not hang the device from flimsy structures like a gutter, a thin trellis, or temporary tent poles. Whatever anchor you choose, ensure it is strong enough to prevent the zapper from falling, which could damage the unit or create an electrical hazard on the ground.
Step 6: Hang the Device Using the Included Hardware
Your bug zapper should come with a chain or a sturdy ring on top specifically for hanging. Use this hardware to suspend the device from your chosen anchor point. Ensure that there is adequate clearance on all sides of the zapper, with at least 12 inches of open space around it. This prevents the unit from swinging in the wind and hitting a wall or tree trunk, which could damage the fragile UV bulbs or the electrical grid inside. Proper clearance also allows the light to radiate in all directions, maximizing its visibility and effectiveness in attracting insects from a 360-degree radius.
Step 7: Test the Unit and Add an Attractant
Once the zapper is securely hung and plugged into a GFCI outlet, it is time for a final test. Turn the unit on. You should see the UV bulb glow brightly, and you might hear a low hum from the electrical grid. Many modern bug zappers come with or have slots for an octenol lure. Octenol is a chemical that mimics the scent of human breath, which is highly attractive to mosquitoes and other biting flies. Adding an attractant cartridge can dramatically increase the zapper’s effectiveness, especially against mosquitoes. Replace this lure according to the manufacturer’s instructions, typically every 30 days, to maintain its potency throughout the season.
Frequently Asked Questions
Should I Leave My Bug Zapper on All the Time?
It is most effective to run your bug zapper from dusk until dawn, as this is when most night-flying insects are active. Leaving it on 24/7 is generally not necessary and consumes extra electricity. For best results, turn the unit on about 30 minutes before you plan to go outside to give it time to start clearing the area. Many people plug their zappers into an outdoor timer for automated, hassle-free operation.
Where Is the Worst Place to Hang a Bug Zapper?
The absolute worst place to hang a bug zapper is right next to your seating area, on your porch, or near an entryway.
- Attraction: The zapper is designed to attract bugs. Placing it near you means you are inviting the bugs directly to your location.
- Mess: The zapping process can create a fine mist of insect parts that can settle on nearby surfaces, including your furniture or food.
- Noise: The constant zapping sound can be disruptive to conversations.
Do Bug Zappers Work on Mosquitoes?
Standard bug zappers that only use a UV light are not very effective against mosquitoes, as mosquitoes are more attracted to carbon dioxide (from breath) and body heat. However, zappers that incorporate an octenol lure are significantly more effective. The octenol acts as a powerful mosquito attractant, drawing them to the device where they are then zapped. For serious mosquito problems, a lure is essential.
How High Should a Bug Zapper Be Off the Ground?
The ideal height is between 6 and 7 feet. This places the device in the typical flight path of most flying insects and keeps it safely out of reach of children and pets. Hanging it at this height also allows the UV light to be visible over a wider area, maximizing its ability to draw pests in from all directions. Avoid placing it directly on the ground or hanging it too high above the action.
How Far Away from the House Should I Hang My Bug Zapper?
A distance of 15 to 25 feet away from your primary activity zone (deck, patio, etc.) is recommended. This creates a protective perimeter by drawing bugs to the zapper before they get to you. You want to place it between your home and the most likely source of the insects, such as a wooded area, a pond, or dense bushes.

Conclusion
A bug zapper can be an incredibly effective tool for reclaiming your yard from flying pests, but only when it is installed with a thoughtful strategy. The key to success lies in location—placing it far enough from your social spaces to draw bugs away, at the right height to intercept their flight paths, and downwind to carry attractants away from you. By following these simple steps, you can create a far more effective and enjoyable pest control system. Do not let another beautiful evening be ruined by buzzing intruders. Now that you have the complete guide on how to hang a bug zapper, you are ready to set up your defenses and enjoy a peaceful, bug-free outdoor season.
About
Outdoor Fixes is a distinguished figure in the world of Diy design, with a decade of expertise creating innovative and sustainable Diy solutions.
His professional focus lies in merging traditional craftsmanship with modern manufacturing techniques,
fostering designs that are both practical and environmentally conscious. As the author of diy,
outdoorfixes delves into the art and science of outdoorfixes-making, inspiring artisans and industry professionals alike.
Education RMIT University
(Melbourne, Australia) Associate Degree in Design (Outdoor Fixes) Focus on sustainable design, industry-driven projects,
and practical craftsmanship. Gained hands-on experience with traditional and digital manufacturing tools, such as CAD and CNC software.
Nottingham Trent University
(United Kingdom) Bachelor’s in outdoorfixes.com and Product Design (Honors) Specialized in product design with a focus on blending creativity with production
techniques. Participated in industry projects, working with companies like John Lewis and Vitsoe to gain real-world insights.
Publications and Impact
In diy, Outdoor Fixes his insights on indoor design processes, materials, and strategies for efficient production.
His writing bridges the gap between artisan knowledge and modern industry needs, making it a must-read for both budding designers and seasoned professionals.